
Introduction to CorelDRAW Powerclip
In this article, we are going to learn how to use powerclip in CorelDraw. Using powerclip we can place any object inside any other object which is vector and that is usually shaped like a rectangle, ellipse, or even text. The only condition is that object used to powerclip should be a vector. We will also see how to remove objects from the powerclip and convert the frame created back to vector objects when the clipping is done. Apart from that, we will look at some optimization techniques which will increase the speed of workflow.
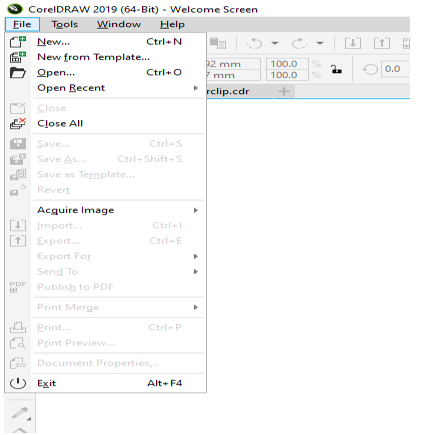
Step 1: Let’s start with a new document from the file menu or pressing Ctrl + N. Another method is to create it from the welcome screen where there is an option to select new, recent, or template files.
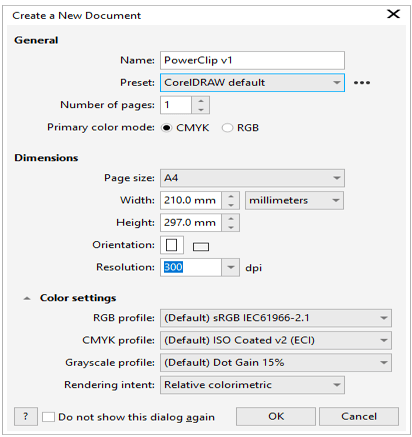
Step 2: Give a name and then select a preset of CorelDRAW default, we will keep a number of pages to 1, and primary mode will be CMYK as it is used for printing. We will keep the dimensions to the page to A4 along with the standard width and height with the orientation of portrait and resolution of 300 dpi which will be good to print. We will keep the color settings as it is and click OK.
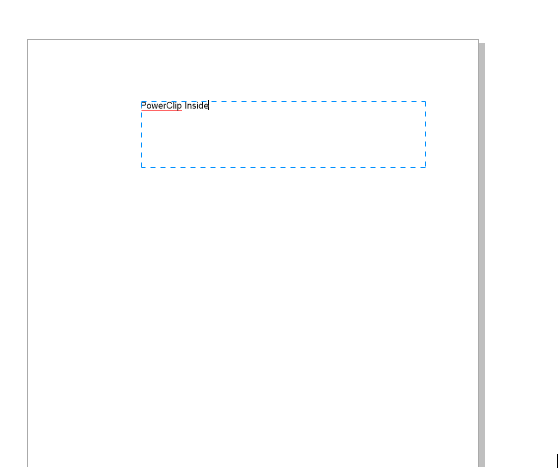
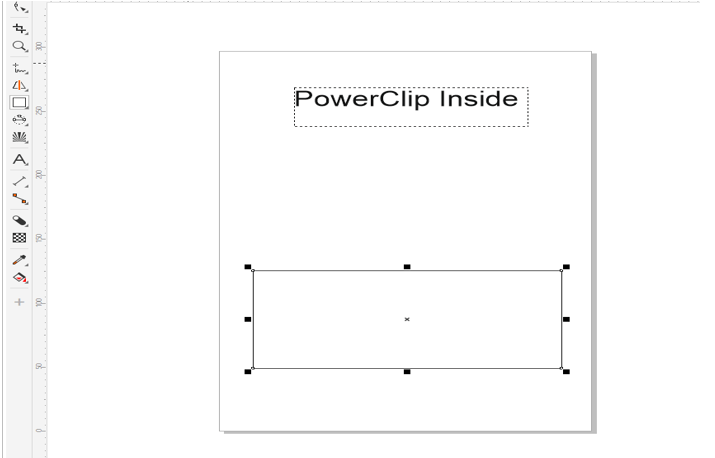
Step 3: Then use the text tool by clicking on the “A” symbol or press F8 and drag on the page to create a box and put some text in it as shown.
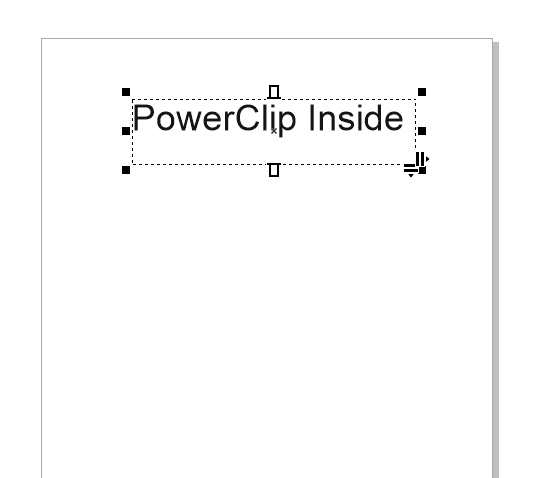
Step 4: Then increase the font size to 48 pt.
Step 5: Then use the rectangle tool by clicking on the rectangle icon or pressing F6. Create a rectangle as shown.
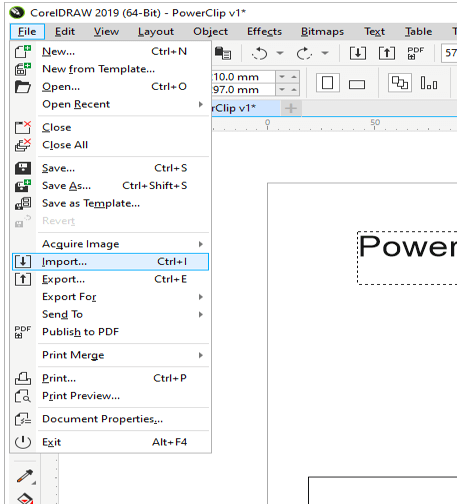
Step 6: Now let’s import an image for this you can go to the file menu and then import or press Ctrl + I or from the toolbar.
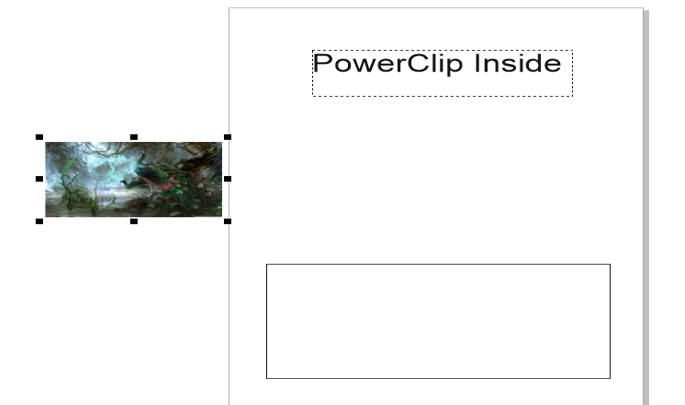
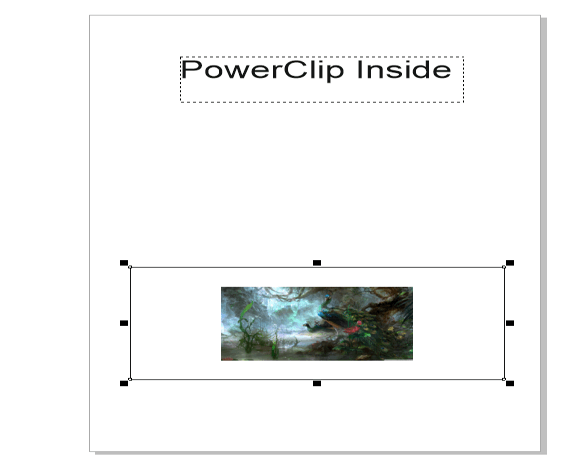
Step 7: We have placed the image as shown.
Step 8: Now we will use powerclip functionality to clip the image inside the rectangle. There are multiple ways to achieve this. First method is we use the Object menu. From there go to Powerclip and place inside the frame while the image is selected.
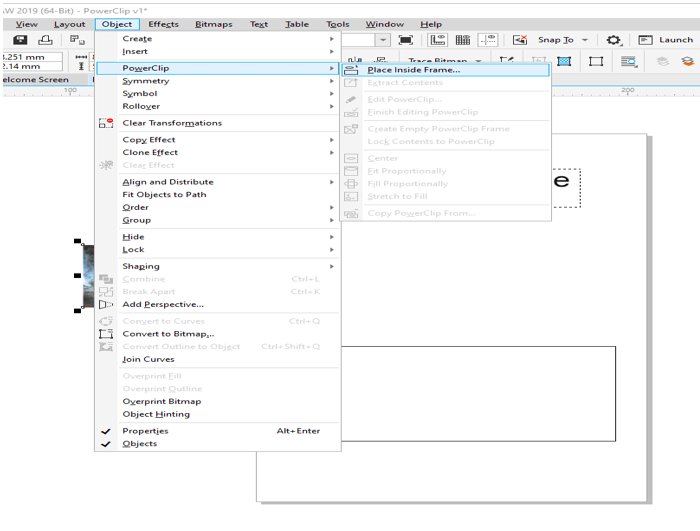
Step 9: Then you will get an arrow while you will hover over the rectangle which means you can clip the image. Click inside it and the image will be clipped automatically.
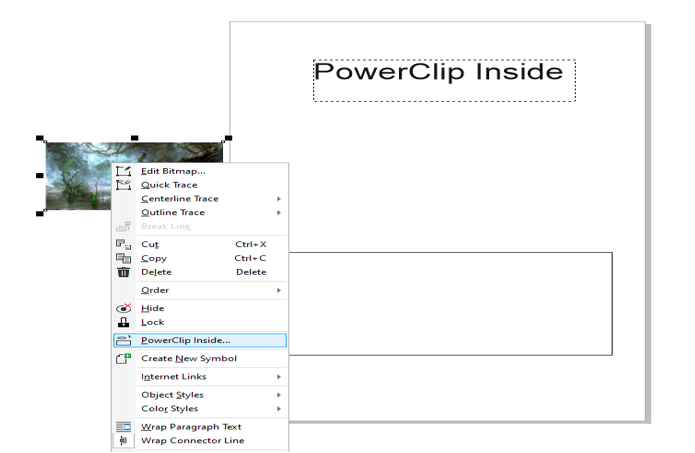
Step 10: Then we will try the next way. For this, we will first undo what we have done by pressing Ctrl + Z and then right-click and select PowerClip Inside…
Step 11: Again we will get an arrow on hover inside the rectangle and click it the image will be clipped.
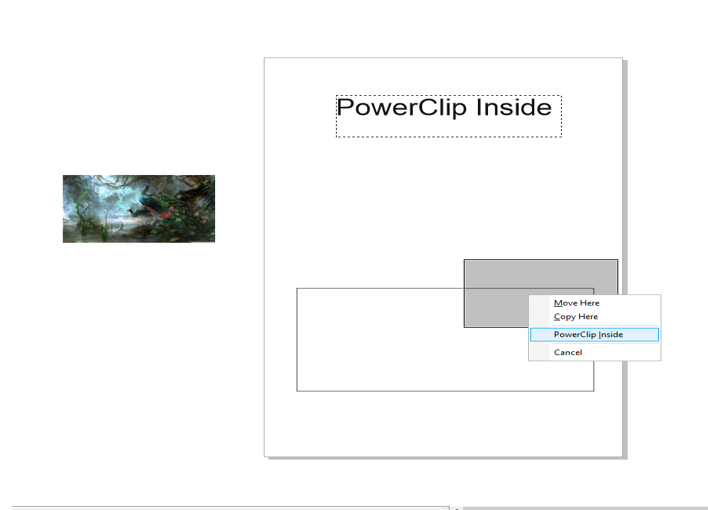
Step 12: Next method is to right-click and drag while holding the right click on the rectangle and then lift the right click when you will get an option for Powerclip inside in the context menu.
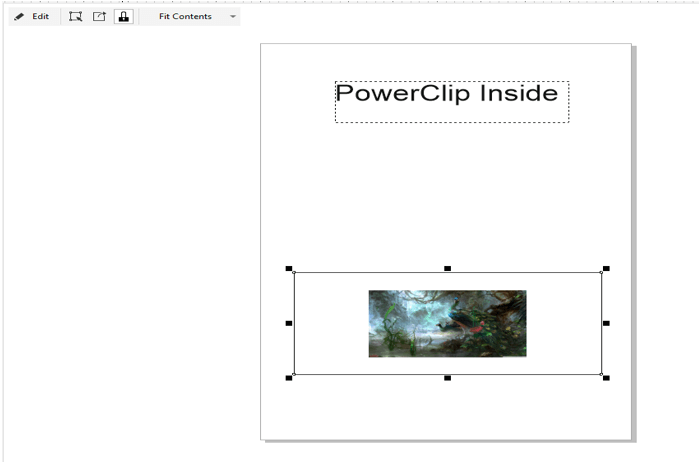
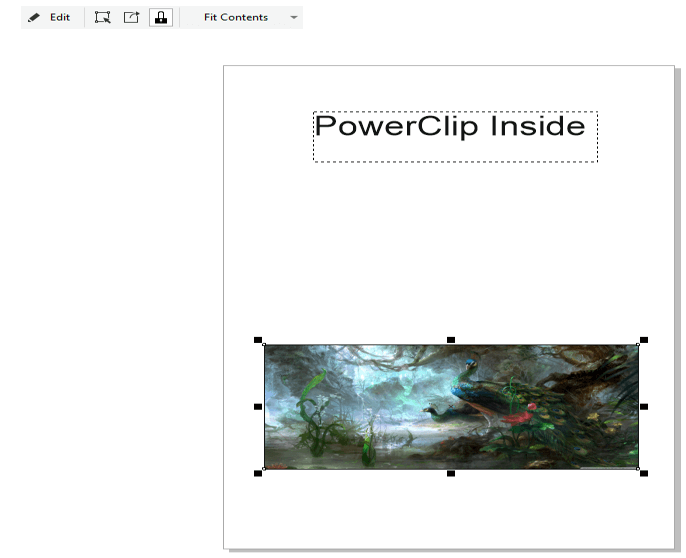
Step 13: As we can see the image is clipped inside the rectangle of your chosen position and you get options to edit the properties of the image on the top left corner.
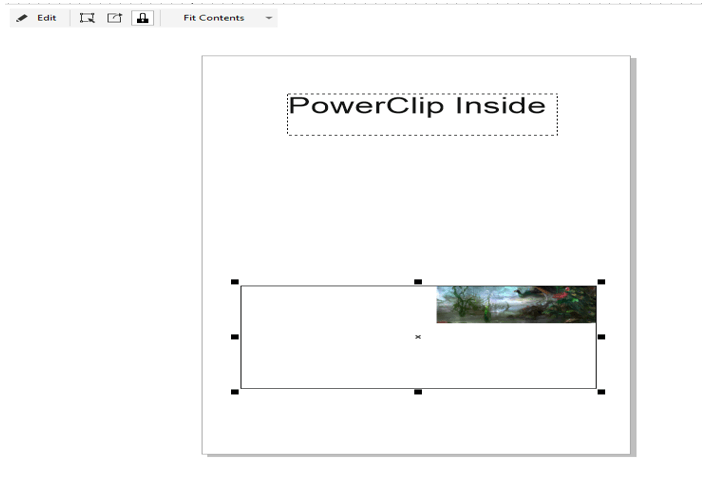
Step 14: First we will look at the fit contents drop-down and select center while keeping the rectangle selected or any object inside which the image is clipped.
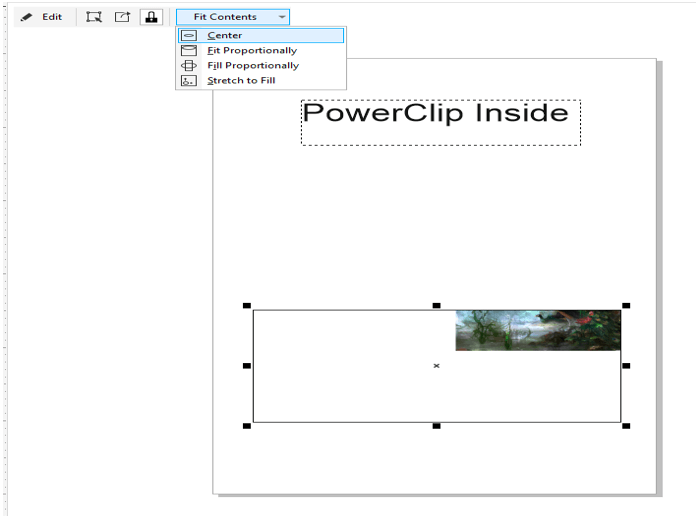
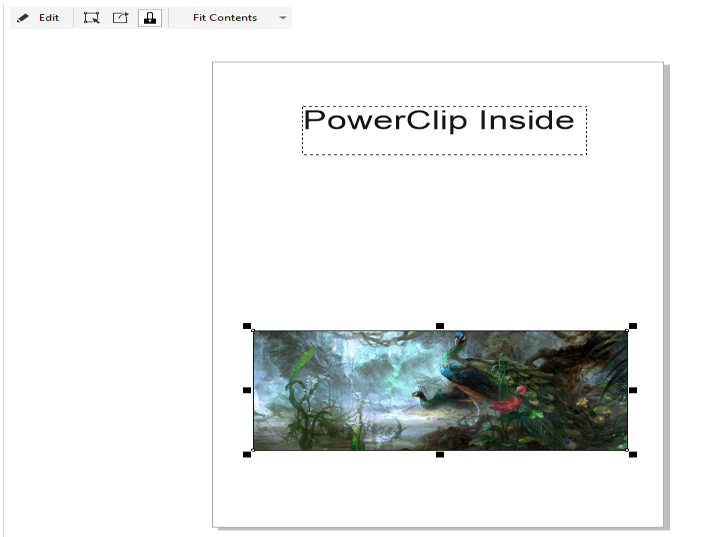
Step 15: After fitting contents to the center we can see that the image is centered horizontally and vertically. Also, the image size is not changed.
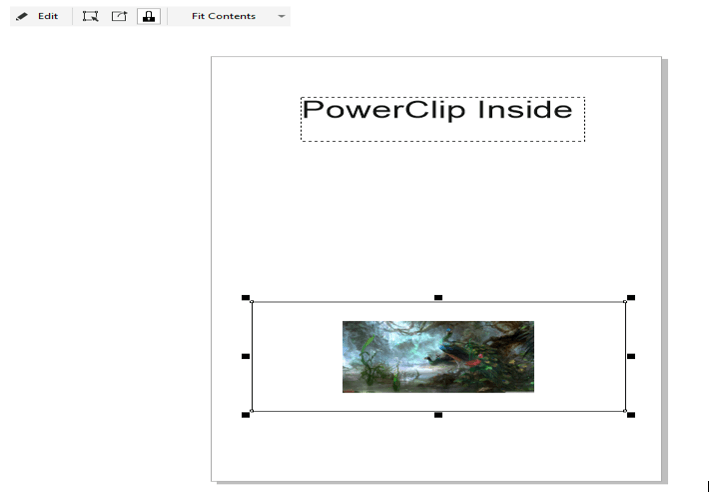
Step 16: Now let’s look at the second option which is Fit Proportionally
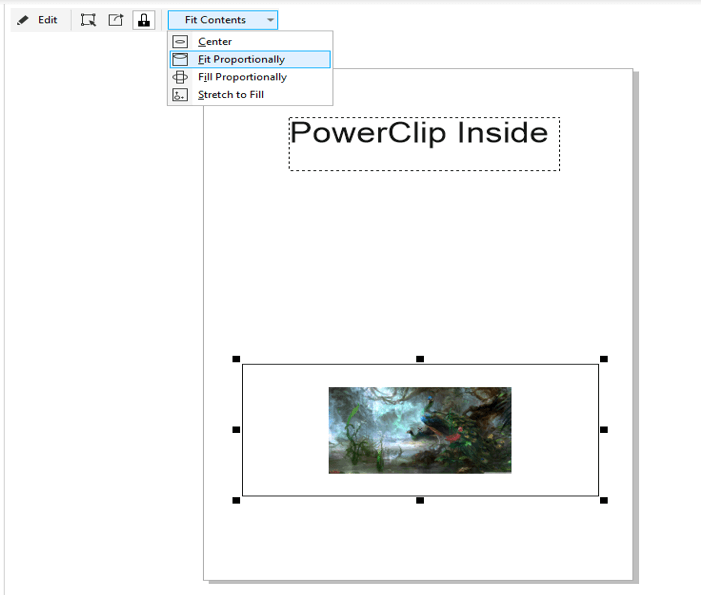
Step 17: This will fit the image inside the rectangle while maintaining its aspect ratio.

Step 18: Now let’s look at Fill Proportionally to fit contents.
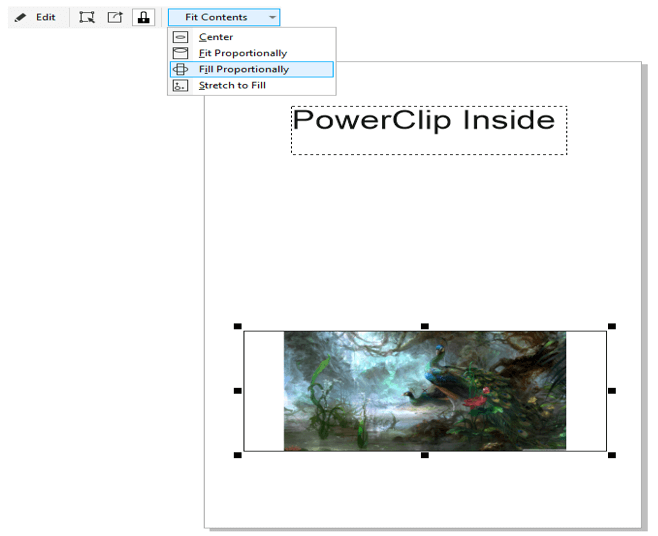
Step 19: This option will fill the entire rectangle while maintaining its aspect ratio.
Step 20: Last option is to Stretch to Fill in fit contents.
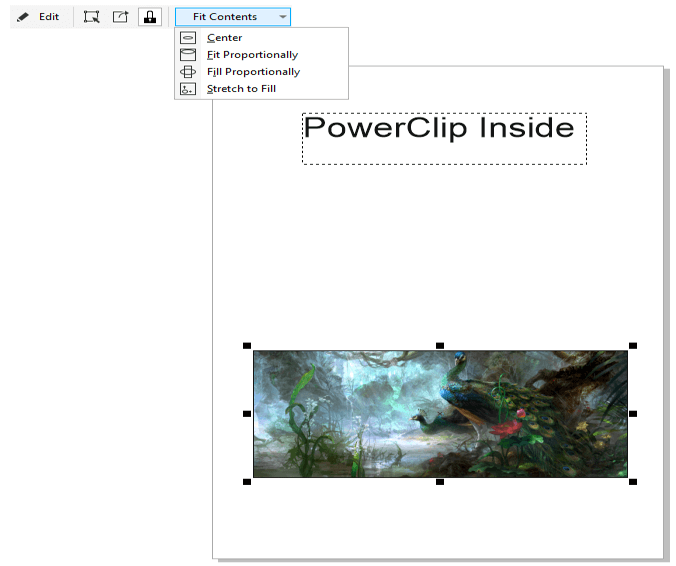
Step 21: This will distort the image to fit vertically and horizontally which will change the aspect ratio and the image will look flat or compressed depending on the shape of the object.
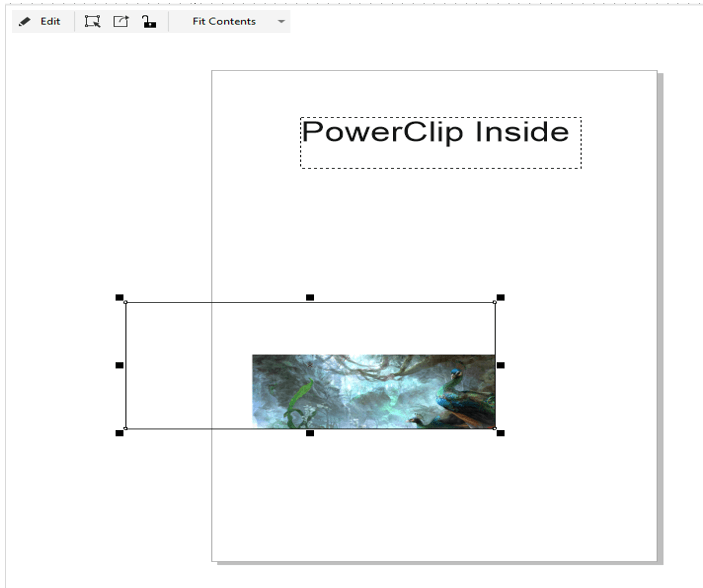
Step 22: Now let’s look at the lock contents which will keep the contents inside the frame with it when locked.
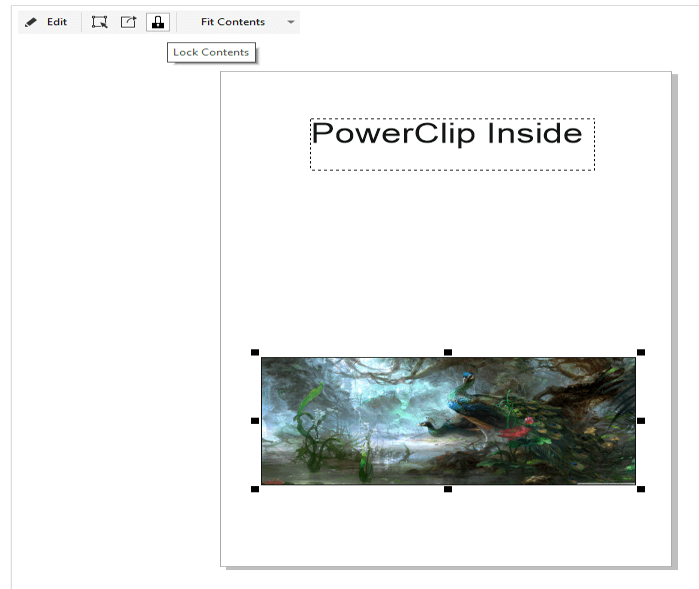
Step 23: After unlocking when we move the frame the contents inside will not move as shown.
Step 24: Let’s look at extract contents which will extract the images and convert the rectangle to frame
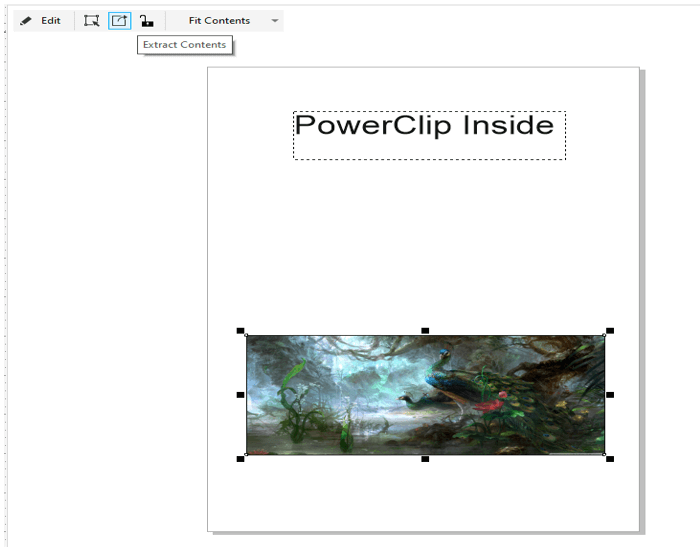
Step 25: So we can remove the image and since the rectangle is frame now so we can drag an object onto it without doing powerclip. As you will hover the text on the rectangle you will get a blue highlight so you can clip the text.
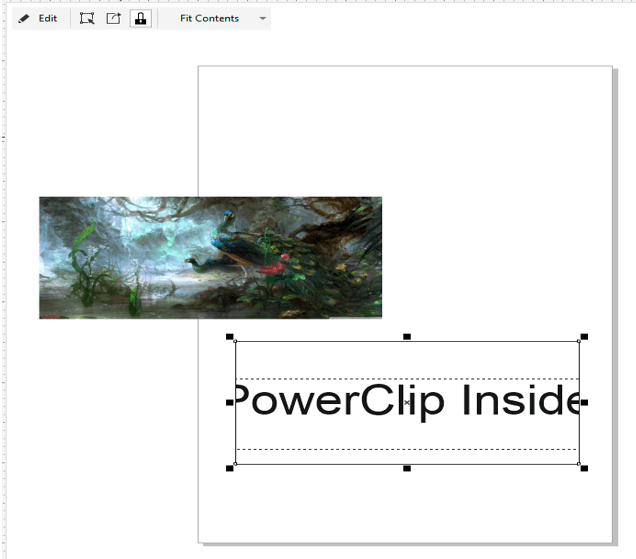
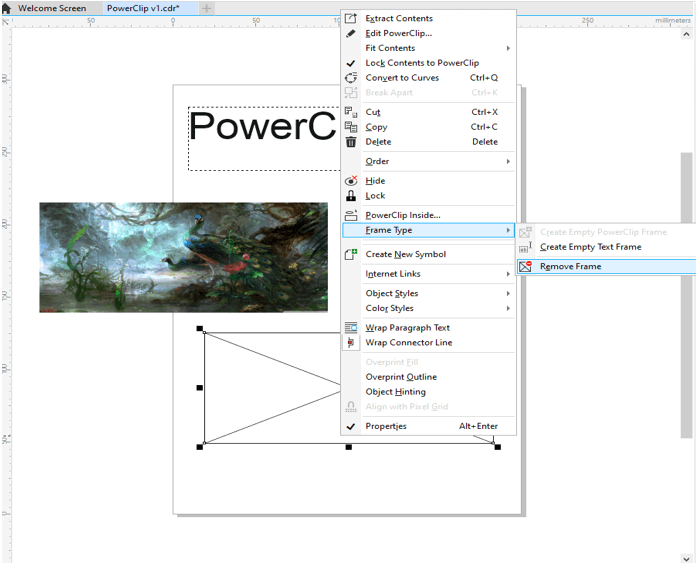
Step 26: So we have extracted the text and converted the frame back to a rectangle by right-clicking and going to frame type and then remove the frame.
Step 27: Now if you bring the text on the rectangle then it will not be clipped.
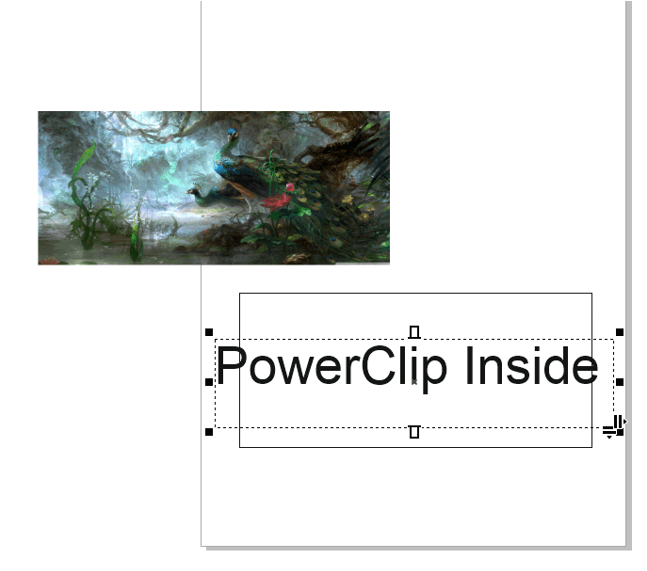
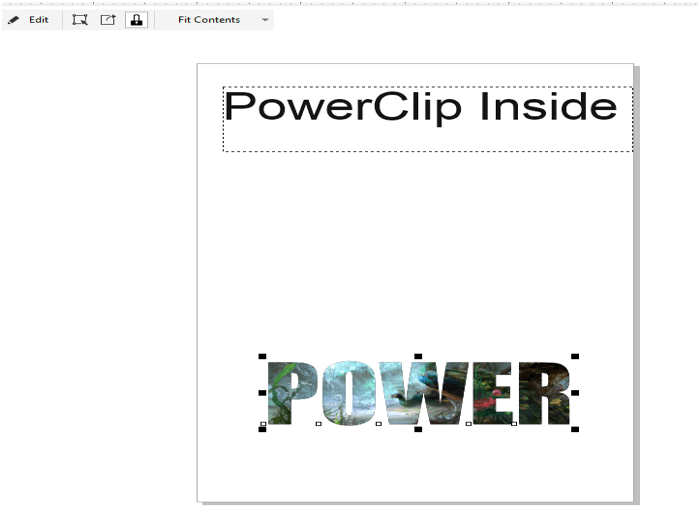
Step 28: We can not only do clipping inside shapes but also inside texts. As shown we have created a text and now, we will clip the image inside it.
Step 29: Let’s right-click and do powerclip inside and select the text when the arrow appears.
Step 30: The image is clipped inside the text and again we can change how the content fits inside the text using fit contents if you want.
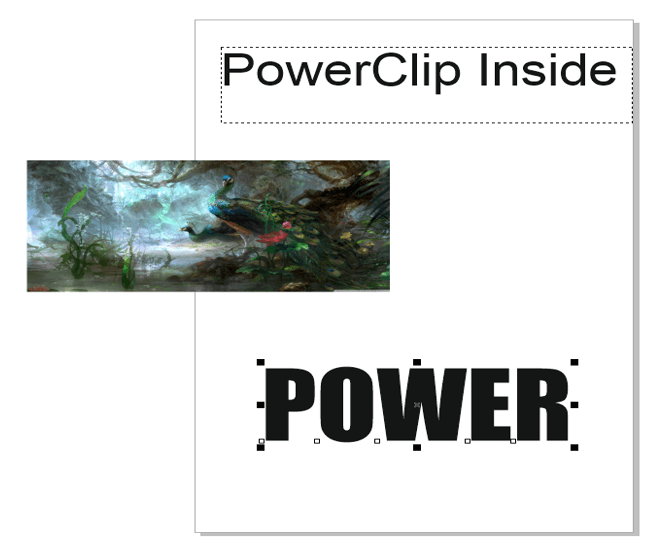
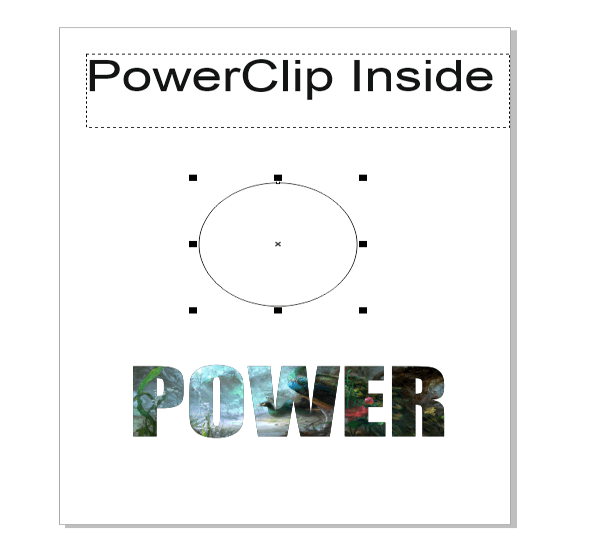
Step 31: Next we will use the ellipse tool or press F7 to create a circle by pressing Ctrl to draw a circle and shift to draw from the center.
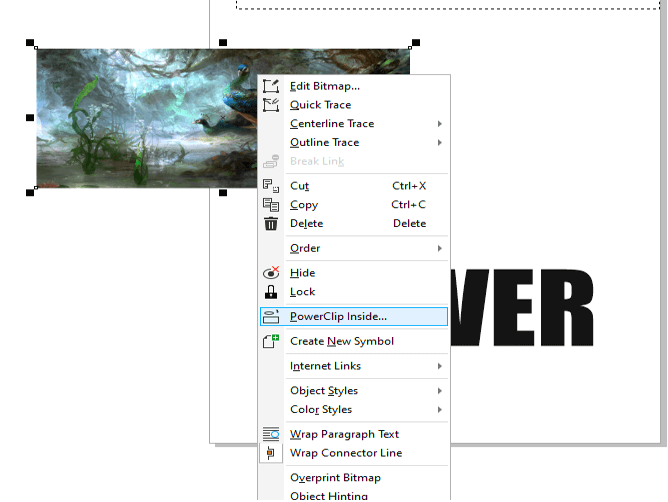
Step 32: Then we will go to objects -> powerclip -> Copy Powerclip From…
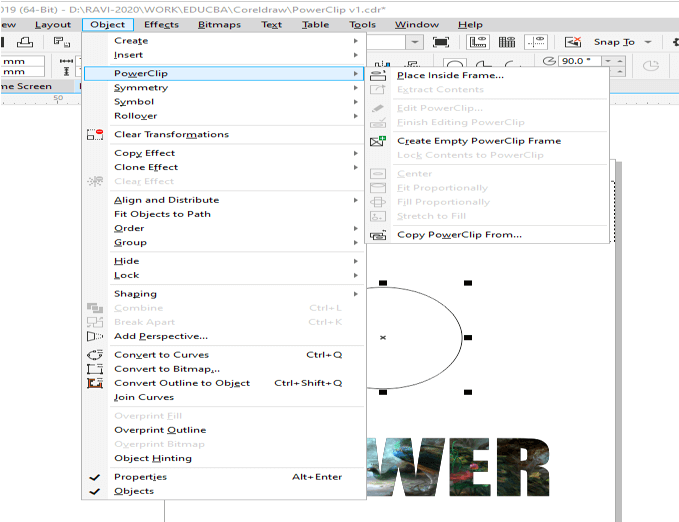
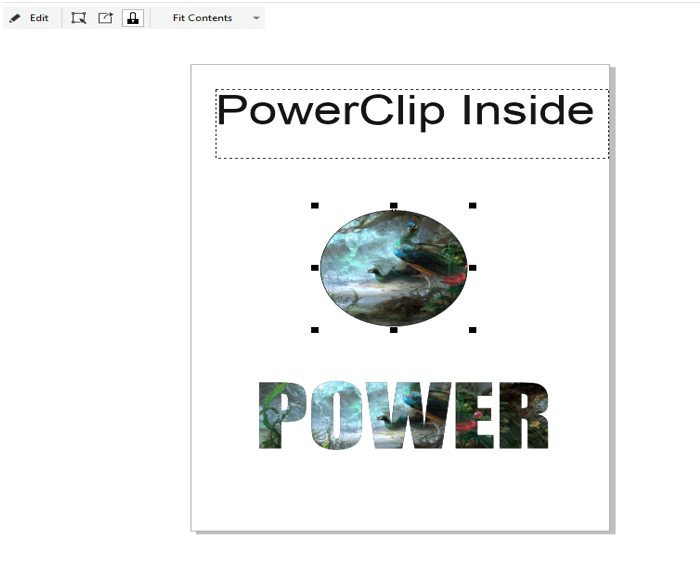
Step 33: Now select the text when the arrow appears this will copy the clipped contents from the text to the circle. The main advantage of this is you do not have to extract the content from the text and then powerclip inside a circle.
Conclusion
In this article, we have looked at various ways in which we use vector objects to clip other objects like images using the powerclip functionality of CorelDRAW. We have not only seen how to clip images inside of simple shapes like a rectangle but also inside text. Then we have seen how we can reuse the clipped objects into other shapes.
Recommended Articles
This is a guide to CorelDRAW Powerclip. Here we discuss the introduction, some optimization techniques which is increasing the speed of workflow. You may also have a look at the following articles to learn more –
