Woodworking Design Using SketchList 3D
Every woodworker starts with a great idea. You can picture the cabinet, shelf, or desk perfectly in your mind. But turning that idea into real, accurate plans can be tricky. Paper sketches get messy, and CAD software can feel too technical and slow. That is where SketchList 3D comes in. It is design software made specifically for woodworking. Instead of struggling with complicated CAD tools built for metalwork, SketchList lets you design in a way that feels natural. You create with virtual boards, just like the ones in your shop. Whether you are a hobbyist working in your garage or a professional building custom pieces, it helps you visualize your project before cutting a single piece of wood, saving you time, money, and guesswork.
What Makes SketchList 3D Different?
SketchList 3D was built for one purpose: to make woodworking design easier for real woodworkers. For more than 15 years, it has been helping furniture makers and cabinet builders design projects with ease. Instead of trying to fit into general-purpose CAD tools, it focuses entirely on what builders need every day. Here is what makes it stand out:
- Built specifically for woodworking projects, not mechanical parts or engineering models.
- Automated material costing that updates as you design, helping you plan budgets and avoid surprises.
- Supports both metric and imperial measurements, so you can design comfortably in your preferred system.
- Built-in joinery options that save time and reduce setup steps.
- Simple drag-and-drop workflow that mimics how you actually build in your shop.
- 3D modeling that feels intuitive, letting you see exactly how pieces fit before cutting.
Each feature saves time and makes digital design feel as natural as working with real wood.
Getting Started with SketchList 3D
You do not need to be a tech expert to start. Here is how to get up and running in just a few steps.
- Download the free 30-day trial from the official SketchList website.
- When you are ready to subscribe, you can choose from several flexible plans: one month, one year, two years, or a one-time lifetime license, depending on how long you plan to use it.
- Follow the setup instructions. If your antivirus flags the installer, just click “Install Anyway.” It is safe to proceed.
- Open SketchList and take a few minutes to explore the workspace. You will see panels for adding boards, adjusting dimensions, and switching between 2D and 3D views.
Understanding How SketchList 3D Works
Think of SketchList 3D as your digital workshop. You create everything from “boards,” and you can add, resize, and position these boards just like you would in real life. The process follows three simple steps:
- Insert boards into your workspace.
- Cut and size them using dimension tools.
- Position and align each piece with drag-and-snap precision
You can adjust thickness, wood type, and even the direction of the grain. Every time you make a change, your reports and cut lists update automatically. That means no more mistakes or manual recalculations. This board-based system helps you think visually. It is not about mastering a hundred tools, but about designing the way you already build.
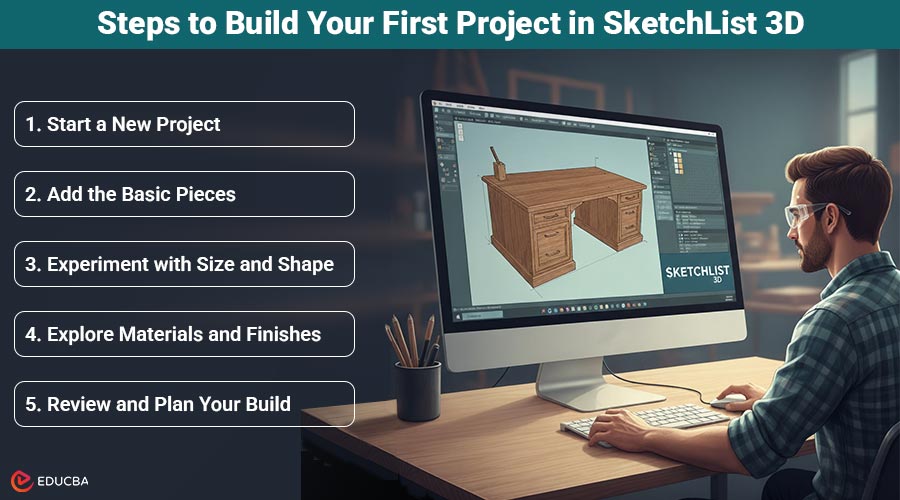
Steps to Build Your First Project in SketchList 3D
Think of this as your first “practice build”, a way to get comfortable with how SketchList 3D thinks about design.
1. Start a New Project
Imagine you are planning a small, easy piece like a bookshelf or storage box. In SketchList, you will begin by setting up a new project and giving it a name. You will see an empty 3D space where your idea will take shape, like a clean workbench waiting for wood.
2. Add the Basic Pieces
Every project starts with a few boards. Add your base, sides, and top, and then move them around until they fit the way you want. You will see them appear in real time, so it feels like assembling a miniature version of your design. This is where you start to visualize how each piece connects, without worrying about mistakes or wasted materials.
3. Experiment with Size and Shape
Once your basic form is ready, play with the dimensions. You can stretch, shrink, or duplicate boards to test different layouts. Want taller shelves or a thicker top? Adjust and instantly see how it changes your project. It lets you refine ideas on the screen, just as you would adjust a real piece in the shop.
4. Explore Materials and Finishes
Open the materials panel to see different wood types and finishes. Switch between oak, birch, or pine to see which looks best. This part is fun; it is like trying out different woods without spending a cent.
5. Review and Plan Your Build
When your design feels right, take a moment to look it over from all angles. Rotate it, zoom in, and check that each part fits together. SketchList automatically keeps track of sizes and materials, so when you are ready, it can prepare a complete list of everything you will need, from board lengths to layout suggestions. It is the digital version of planning your entire build before you head to the saw.
Helpful Tips for Beginners
SketchList is easy to learn, but these tips can make your first projects even smoother:
- Start small: Begin with a box, crate, or bookshelf before moving on to larger cabinets.
- Watch the official tutorials: The company offers short videos that walk you through every feature step by step.
- Join the weekly workshops: Ask questions directly and learn tricks from other users.
- Use the optimizer: It arranges your board layouts to minimize scrap wood and reduce costs.
- Experiment: Try different materials, colors, and grain directions to see how they look before you start cutting in real life.
A few hours of practice will help you move from guessing to designing with confidence.
Common Mistakes to Avoid
When starting, beginners often make small mistakes that can lead to frustration. Here are a few to keep in mind:
- Ignoring grain direction: It affects both the look and stability of your design.
- Skipping the cut list: Always check your material layout before cutting; it helps prevent waste.
- Forgetting to group objects: When moving multiple parts, group them first to keep alignment.
- Trying to do too much at once: Focus on mastering one tool at a time. You will learn faster and enjoy the process more.
Remember, every project teaches you something new.
Final Thoughts
SketchList 3D makes woodworking design faster and more enjoyable. Instead of struggling with drawings or second-guessing your measurements, you can focus on what matters most. With its simple 3D tools, automatic reports, and realistic visualization, it is like having a personal design assistant in your shop. If you are just getting started, download the free 30-day trial and build your first small project. Once you see your design come to life on screen, you will realize how much easier it is to plan your next build. Start simple, explore the features, and soon you will design with the same confidence you bring to your workshop.
Recommended Articles
We hope this guide to SketchList 3D helps you design your woodworking projects with confidence. Explore these recommended articles for more insights and inspiration.
