Updated September 14, 2023
Introduction to Zbrush UV Mapping
Zbrush UV Mapping is a process through which it can wrap any images onto a three-dimensional object. For wrapping images to our object it needs to assign UVs to the model and for doing that we have some ways in Zbrush. Such as we can create clear poly groups and then by going few options of Zplugins we can do it. Here we have a UV master plugin in Zbrush Plugin that generates UV coordinates for our chosen Zbrush model in just a single click if we have created a good arrangement of poly groups for our model. So today we are going to discuss every important aspect of the UV map so that we can easily create it for our model.
What is ZBrush UV Mapping?
Before we start discussing how we can use a UV map for our model I would like to tell you what a UV map is exactly. We can understand it as a step of a process through which we assign exact coordinates to the texture image or images for a model by unwrapping them. When it unwrap poly groups of model it will give us a small island type shape you can call it as UV’s island and the smoothness of these UV’s island totally depend on smoothness of your poly groups or you model.
How to use ZBrush UV Mapping?
Now let us have look on how we can use this UV Mapping process for creating UV maps of our model. If you want to create UV map of your model just make the different poly groups. For explaining this to you I will take a cube sub tool from the light box of this software. You can take any other sub tool for this purpose.
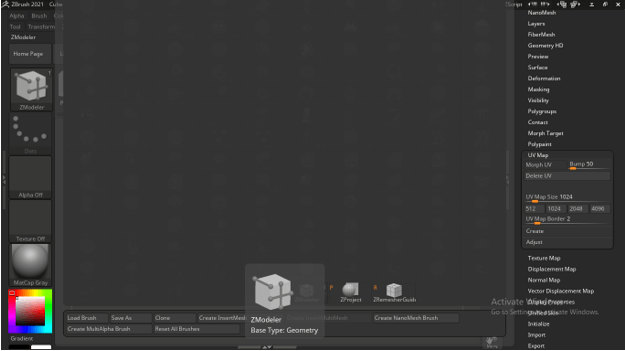
You can use the Zmodeler brush from the brushes panel for making different poly groups on this cube subtool.
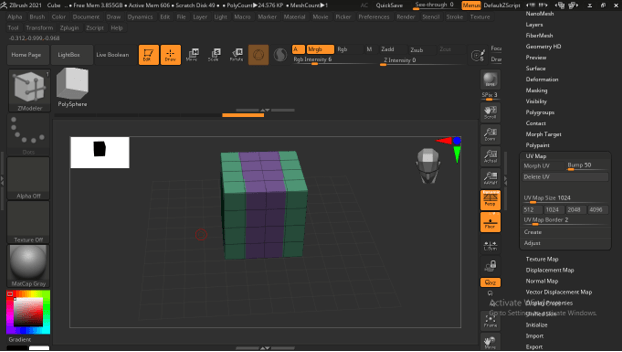
But I will simply use the masking process for creating poly groups of this cube. So for turning mouse cursor into Mask brush hold Ctrl button of the keyboard then drag on the area of sub tool which you want to select or mask.

My symmetry mode was on so it masked both sides of the cube. Now press the Ctrl + W button on the keyboard for assigning a poly group to the selected area.
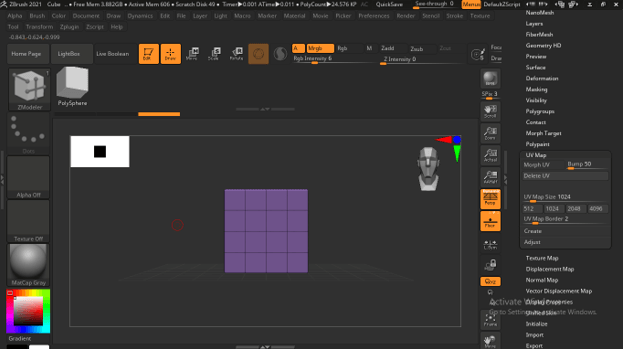
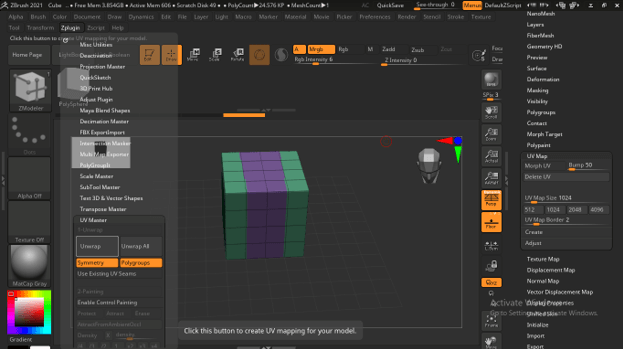
Now go to Zplugin menu of the menu bar which is top of the working screen and click on it. Here in the dropdown list of it, we have UV Master Plugin. Click on it to open its parameters panel. We have Symmetry and Polygroups tab here. If your model is symmetrical then make sure enable this button during unwarping the UV map for your model and also enable Polygroups tab of this panel so that I can understand that unwrapping should work on separated poly groups.
Now you can click on Unwarp button of this panel for creating a UV map of the selected model.
Go to Tool panel which is at the right side of working screen and click on UV Map option. Here you can click on Morph UV button of this option for seeing the unwrapped view of your selected model.

Character Zbrush UV Mapping
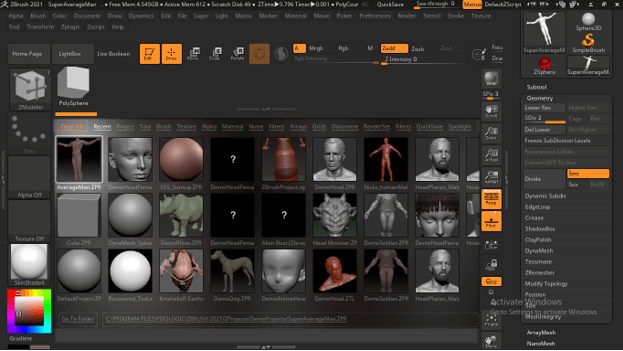
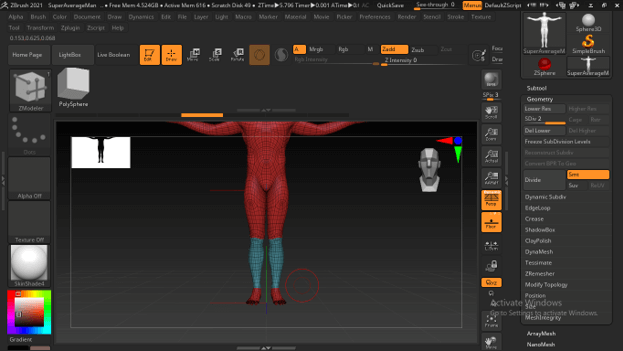
Now let me tell you how you can work with a UV map for any character. For explaining this I will take a character model from Lightbox of Zbrush. You can do it with your own model.
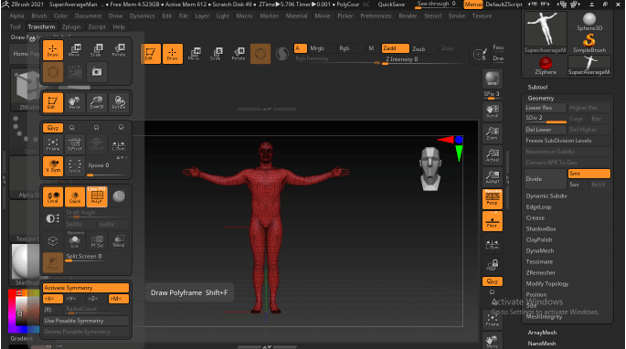
This is our model and I will enable the polyframe option of it so that we can see polygroups on it. You can do it by pressing the Shift + F button on the keyboard or you can find this option in the scroll-down list of Transform menu of the menu bar.
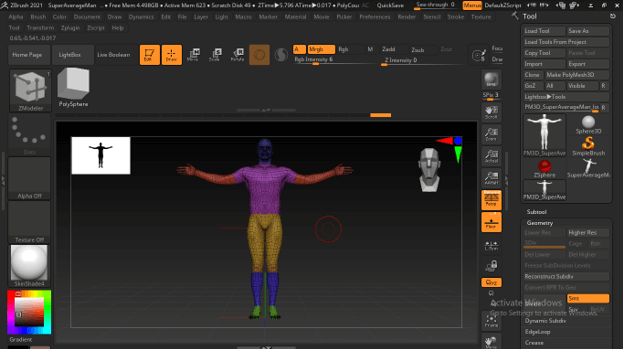
Now the next step is to create separate poly groups and for that, I will hold the ctrl button of the keyboard and select this leg area to create mask around it.
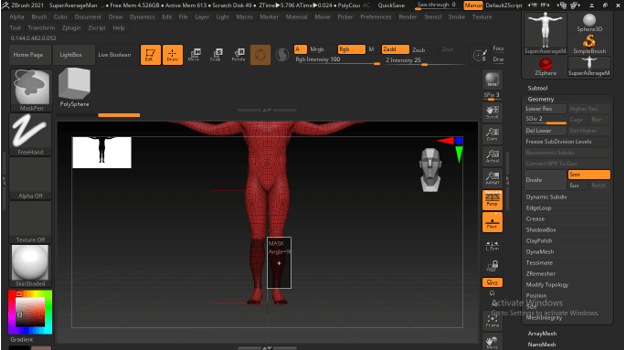
Now by pressing Ctrl + W we can convert our selected area into separate poly group.
Do this with the entire parts of your model one by one. I did this for my model.
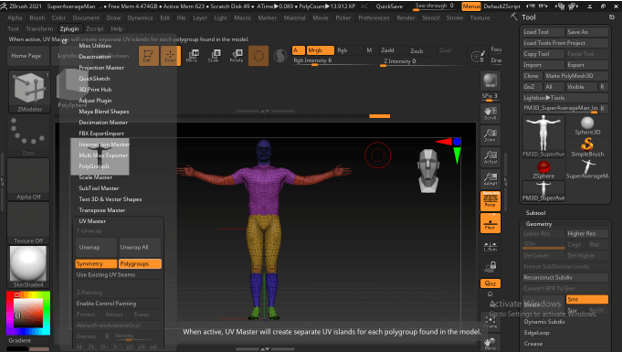
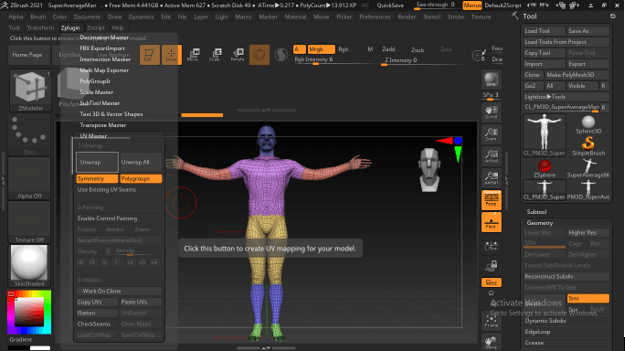
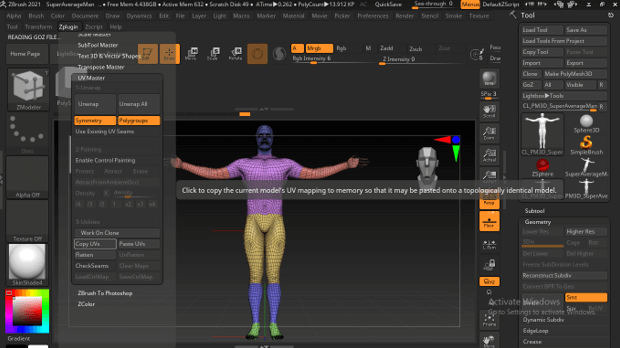
Now go to the Zplugin menu and open the UV master tab here. Enable Symmetry and Poly Groups button of UV Master option.
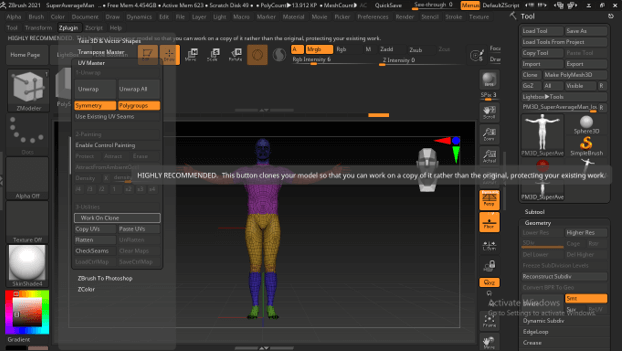
Before we click on Unwrap button for making UV map scroll down to this panel and click on ‘Work on Clone’ button so that we have a clone of our model and UV map wrapping works on non-destructive mode of our model.
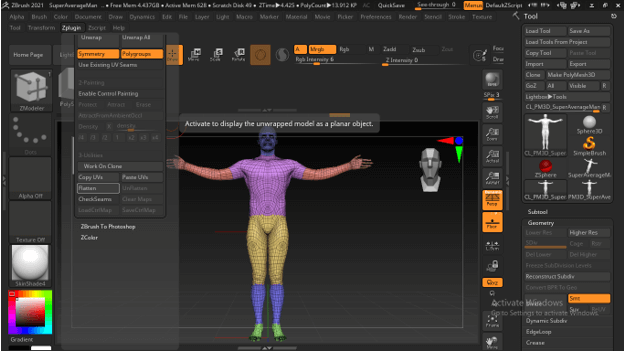
Now click on Unwarp button of this panel.
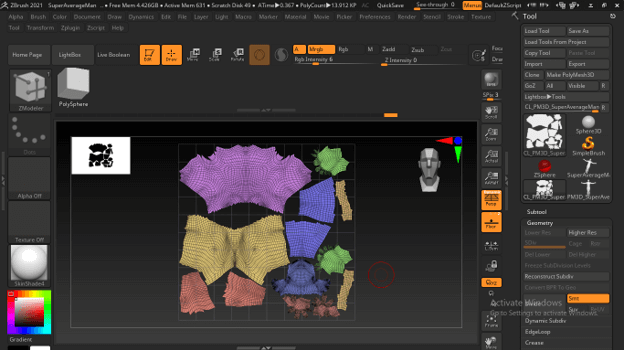
Then click on Flatten button of the same panel.
And you can see the UV map island of each poly group of your model.
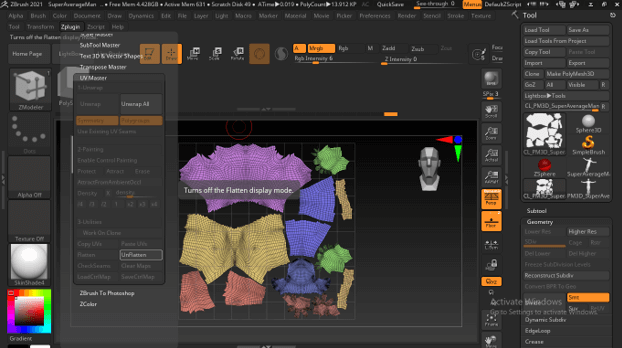
By clicking on UnFlatten button of the same panel, you can get back to a normal mode of your model.
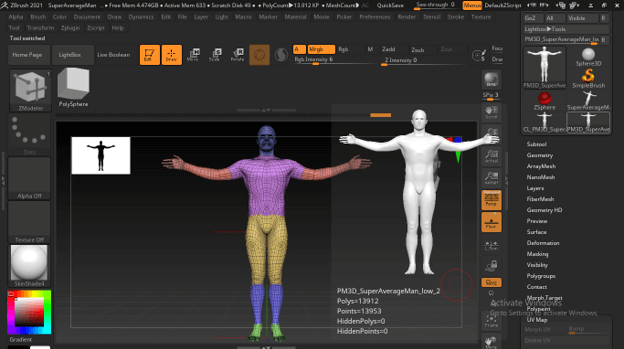
Once we click on unwrap button we have the Copy UV’s option enable so click on it.
Now let us select our original sub tool from the tool bar section.
And open the UV Map panel by clicking on this option. Here you can see we have no option enabled in UV Map panel section.

So for enabling this again go to Zplugin and click on Paste UVs button of UV master panel.
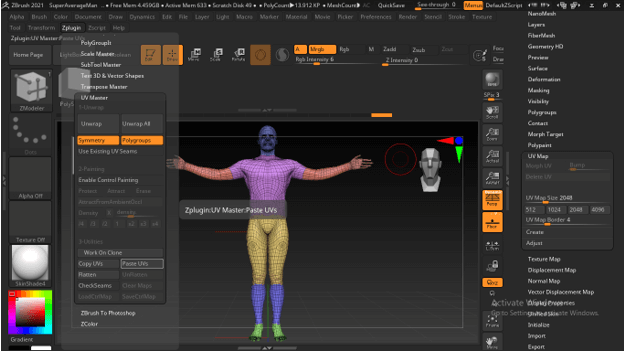
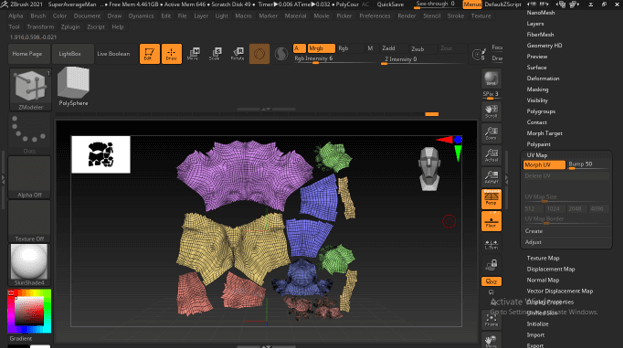
Now you can see options of UV Map enabled. Click on Morph UV button of it for creating a UV map of this model.
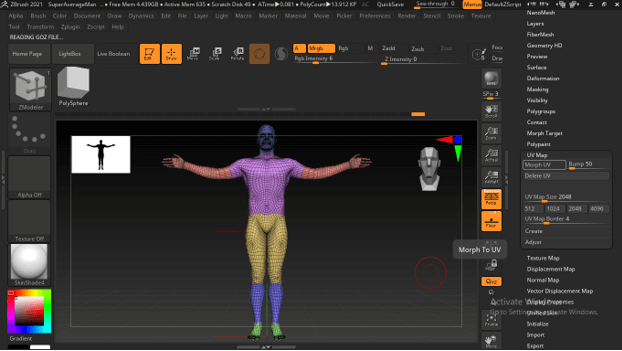
You can see our UV map of different poly groups of this model is ready.
Again click on the Morph UV button to get back to the normal mode of the model.

This way you can create a UV map and work with it for any type of character as well as a model that you have sculpted for your project work.
Conclusion
I think you find this article very useful because I have been explained to you all the important aspects related to UV’s mapping of your desired model. You just have to create proper poly groups of your desired model for getting the best result of UV’s mapping of your model. You can save your UV map for further use.
Recommended Articles
This is a guide to ZBrush UV Mapping. Here we discuss the Introduction, What is ZBrush UV mapping, How to use ZBrush UV mapping, Examples with code implementation. You may also have a look at the following articles to learn more –
