
What is Zbrush Polypaint?
Zbrush Polypaint can understand as applying paint on the surface of the model before applying texture map to it and you can later on assing the polypaint to the texture map. You would find a number of advantage of polypaint for you model and you can do it by following few simple steps such as, make sure you have sufficient polygons on polymers of your model for smoothly applying polypaint and then you need to fill your model with base color and after that, we can go through some parametrical adjustment for having our desired result with polypaint. So let me tell you how you can do this in Zbrush.
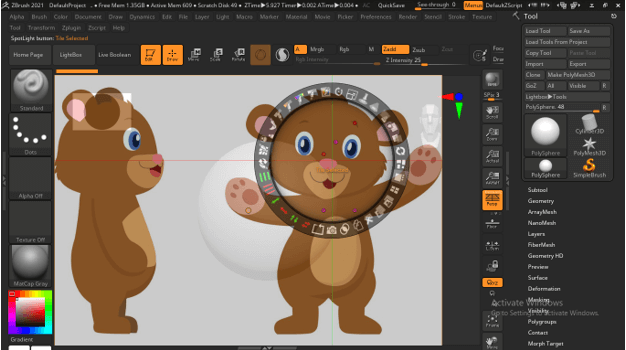
Model Zbrush Polypaint
For doing paint on the surface of your desired model you can apply color to its surface after making some parametrical settings and this is called Polypaint in Zbrush. Polypaint stands for painting all the polygons for smooth coloring of surface. So now I am going to tell you what are the steps we needed for doing this.
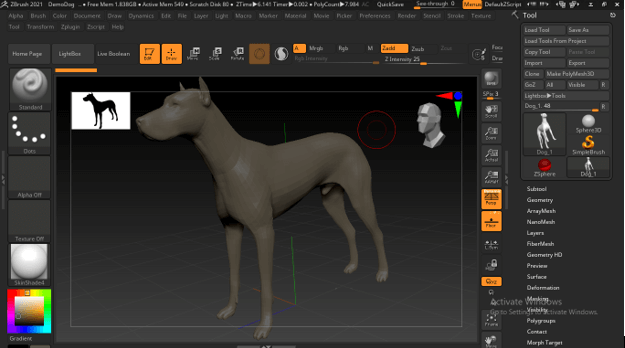
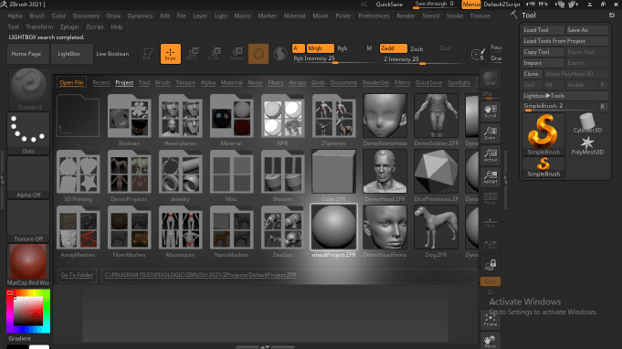
For explaining you this topic I will take a model from the presets of this software. You can find model in LightBox panel of this software or can go with your own model.
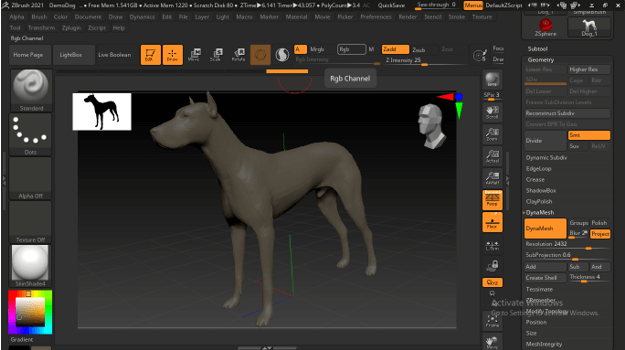
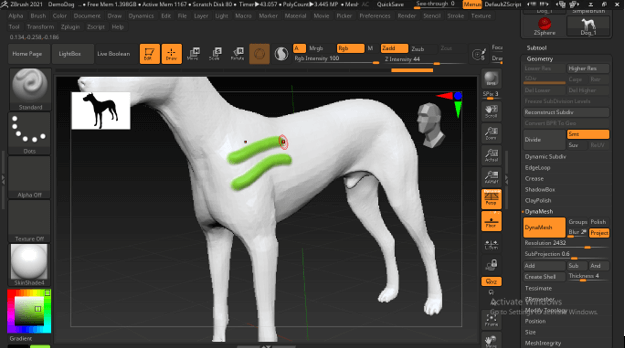
For having smooth polypaint on surface of your model you have enough polygons on polymers of your model.
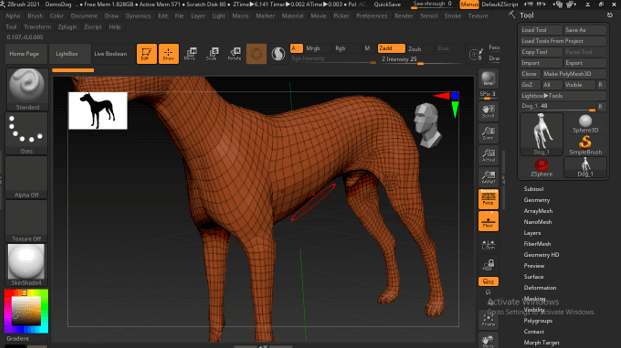
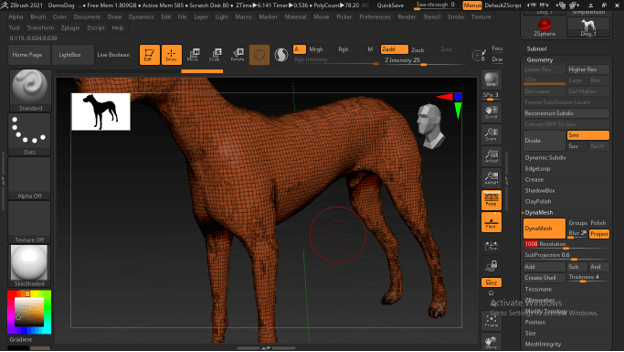
If you have not enough polygons then you can modify it and for that go to Geometry panel of Tool bar which is at the right side of working screen and then go to DynaMesh option and increase Resolution value from here. After setting value click on Dynamesh button of it.
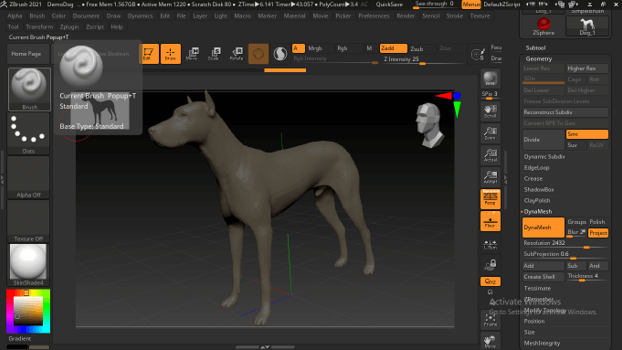
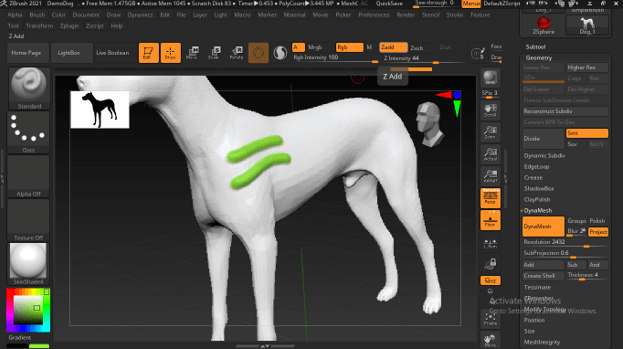
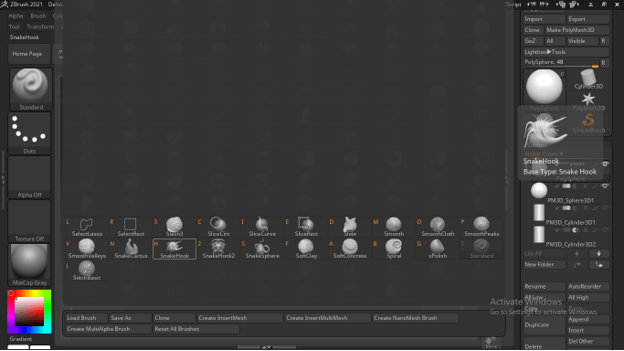
For polypainting we will use Standard brush from Brushes preset which we use generally for sculpting purpose.
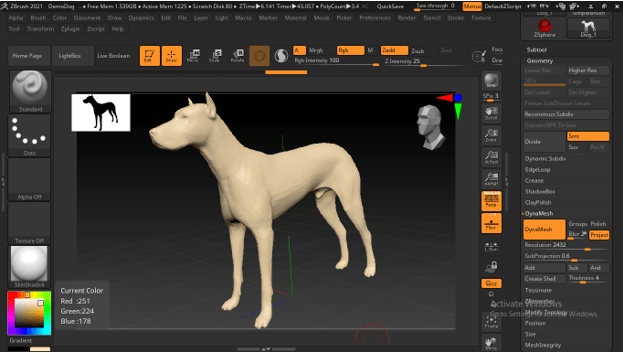
The most important thing which you have to do for start paint is enable RGB Channel button which is at the top bar of user screen.
Now go to color panel and choose any color. You can see when we choose color it will apply on the whole model.
Let us now change to white color from same color pallet and for apply your chosen color you have to go Color menu of menu bar. Click on this menu and here click on FillObject button. It will fill our model with the chosen color.
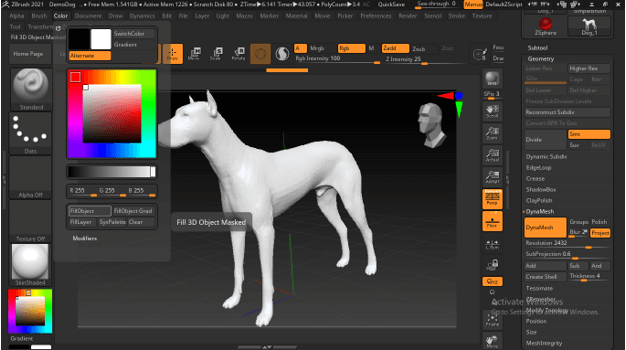
And now when we change color on color pallet it will now affect our whole model and it works as blank canvas on which we can do painting.
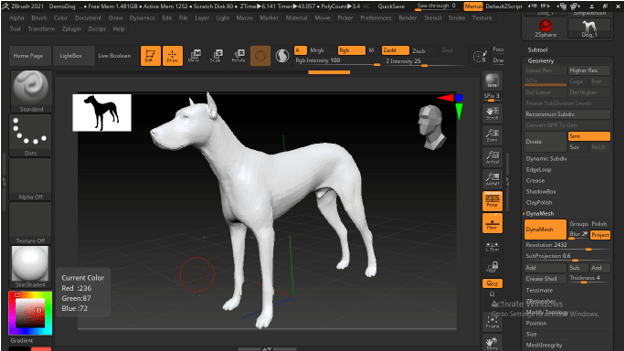
Now start painting on the surface of the model but you can see it will sculpting on the model surface also while painting with your chosen color which is very good feature for some cases.
If you don’t want to sculpt during painting then go to top bar of the surface screen and you will find Zadd button here which you can make disable by clicking on it.
And after this, it will only apply paint on the surface. So as per you requirement you can switch between both methods.
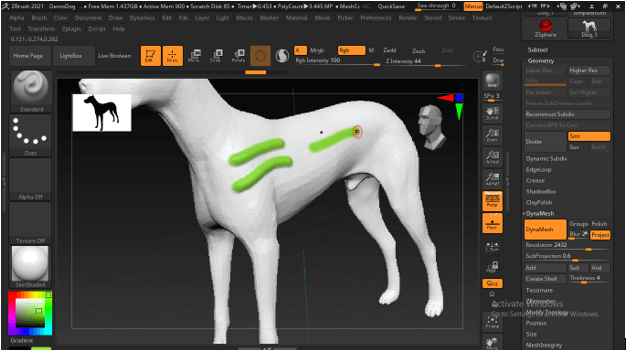
You can adjust the RGB intensity for changing the intensity of color. You can press and hold I button of keyboard as shortcut key of RGB Intensity slider bar.
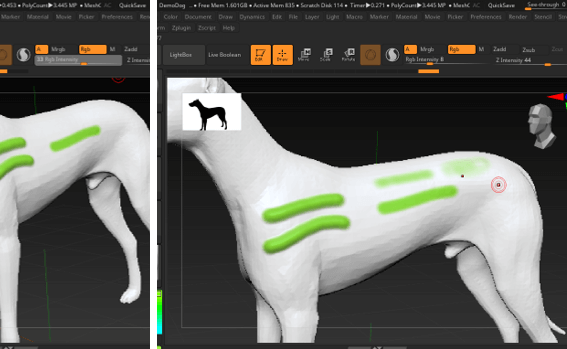
This way you can apply polypaint to your model. If there are a number of separated parts in your model then you can do the same for each.
Zbrush Character Creation
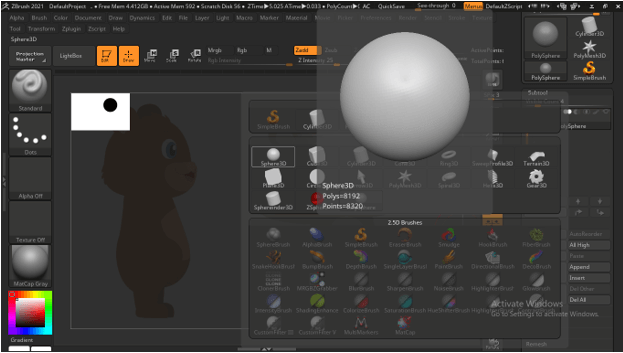
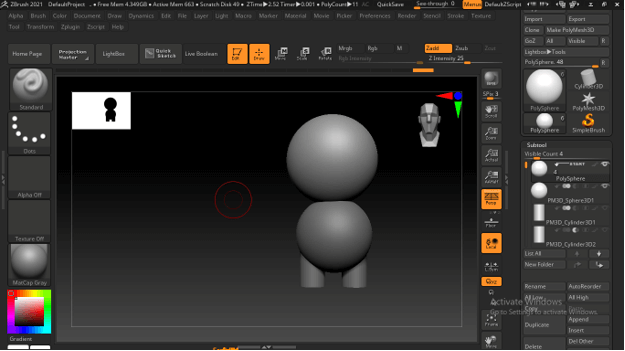
Now after having knowledge about polypaint let us we have discussion about what are the basic steps through which we have to go for character creation in this software. For start creating any character we take a Sphere model. So you can find it in Lightbox panel of this software.
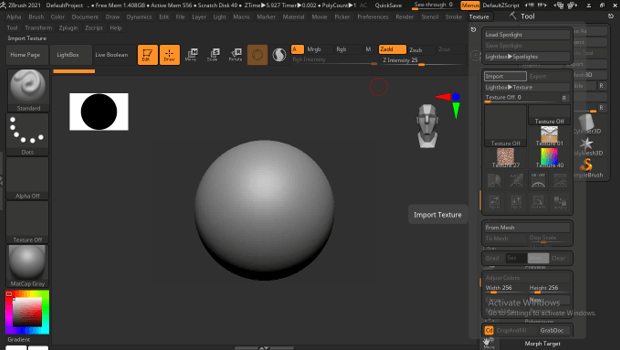
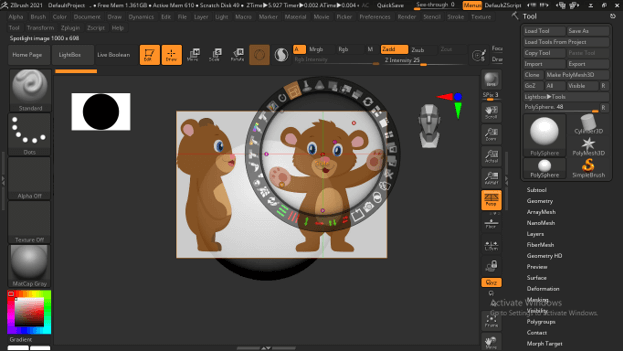
Now take a base image of for the reference of character which you want to create. For importing an image go to Texture menu of menu bar and click on it. Here you will find the Import button to so click on it.
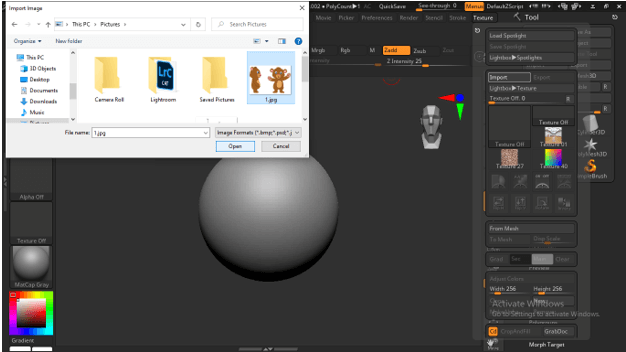
You can choose jpge or png file format of image from its saved location and click on Open button.
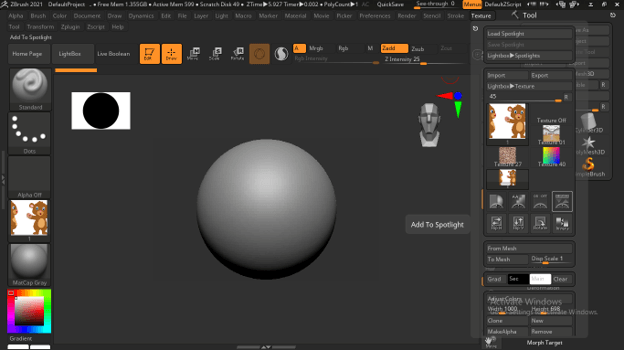
And you will have this image into texture panel so select it and click on ‘Add To Spotlight’ button.
And you will have an image like this with a navigation circle.
Click outside the while to move image or click and hold inside wheel to move this wheel. Press Z button to hide or unhide the wheel.
There are scale and opacity button on this wheel. So hold Scale button and rotate wheel to scale this image.
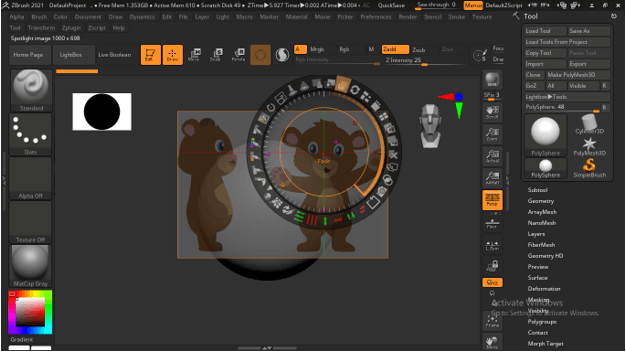
Same as decrease opacity by opacity button so that we can see model.
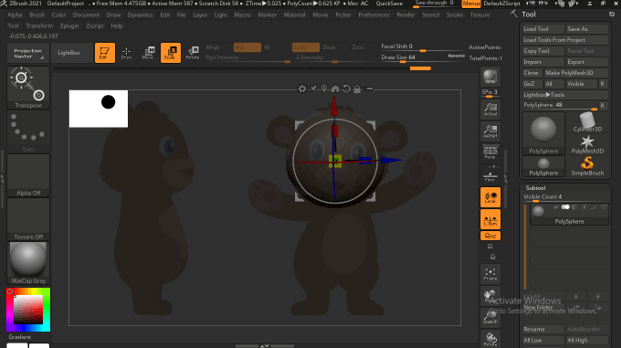
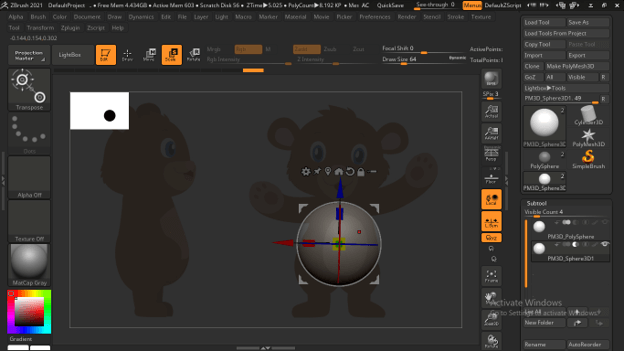
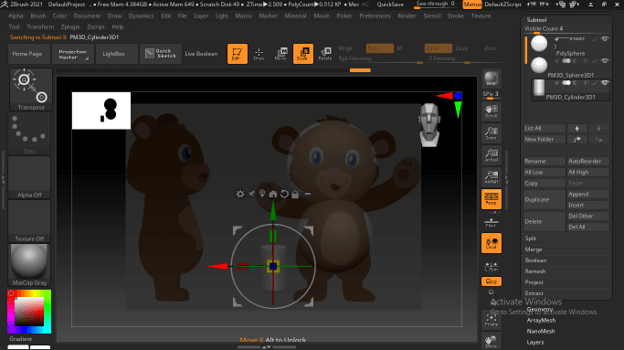
Now I will scale this sphere and move it to the head of this cartoon character.
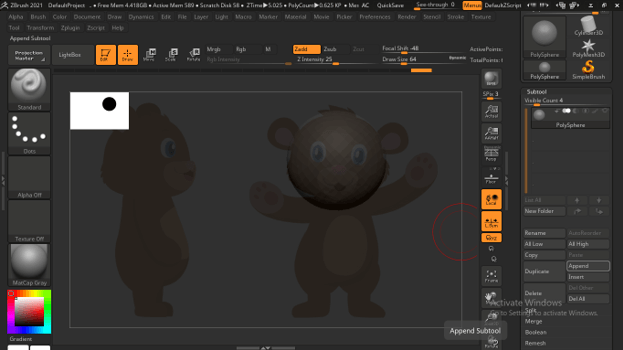
I will add one more sphere here and for that go to Append button of subtool panel.
I will scale it and move it to the position of stomach area of this model.
Now I will take cylinder from the same Append button.
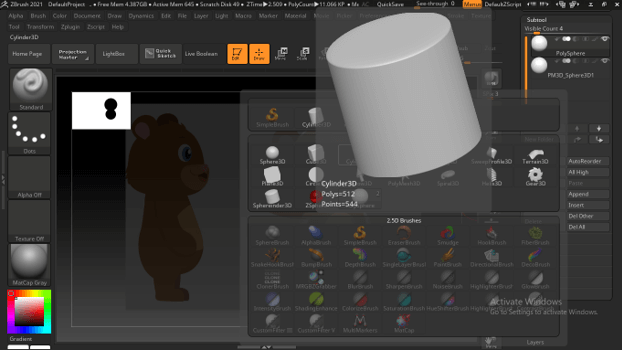
And I will use it for making legs of this model.
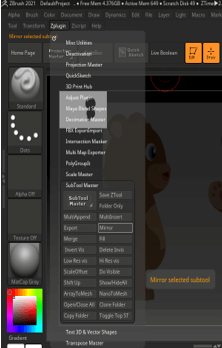
You can go to Zplugin menu of menu bar for having Mirror option and with the help of this option you can mirror this cylindrical shape for other leg.
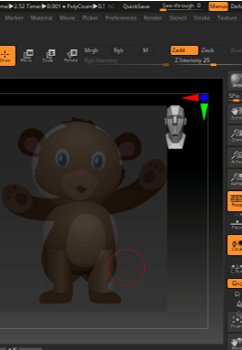
In the same way, you can make other body parts of this model. By pressing Shift + Z button of keyboard you can hide the image.
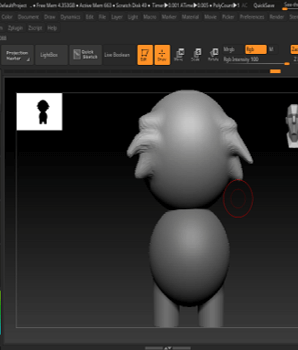
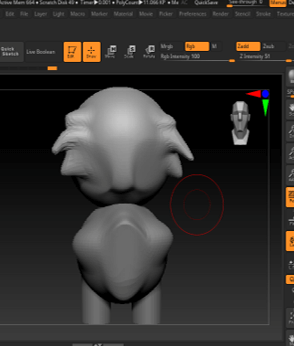
After having base model of your desired model you can start sculpting for your desired model structure. I will go to brushes preset and take Snakhook brush for showing you how you can start sculpting.
And you can sculpt any surface of your model like this. You will find number of brushes for different purpose of sculpting.
Conclusion
In this article, you have got knowledge about two main topics of Zbrush software and after this, you can easy use poly painting feature of this software with good command on its parameters. You can also create model according to your own idea. I will suggest you just start practicing on both features for having more and more knowledge about them.
Recommended Articles
This is a guide to Zbrush Polypaint. Here we discuss the Introduction, Model Zbrush Polypaint, Zbrush Character Creation respectively. You may also have a look at the following articles to learn more –
