Updated April 17, 2023
Introduction to ZBrush Retopology
ZBrush Retopology can understand as creating poly mesh that create smaller file of model that means when we sculpt models in Zbrush or any other sculpting software there are many unnecessary polygons on mesh that make file size high so for controlling this we need to minimize polygons in poly mesh of any model. Here in Zbrush we can do it by some ways and for doing this we will take you through some steps in which we will take Topology brush and also tell you how you can handle parameters of this brush. We also have a look on ZRemesher process that minimize polygons on the masked area.
How to Use Retopology in ZBrush?
We can do retopology in this software by going through some parametrical settings of some essential features of this software.
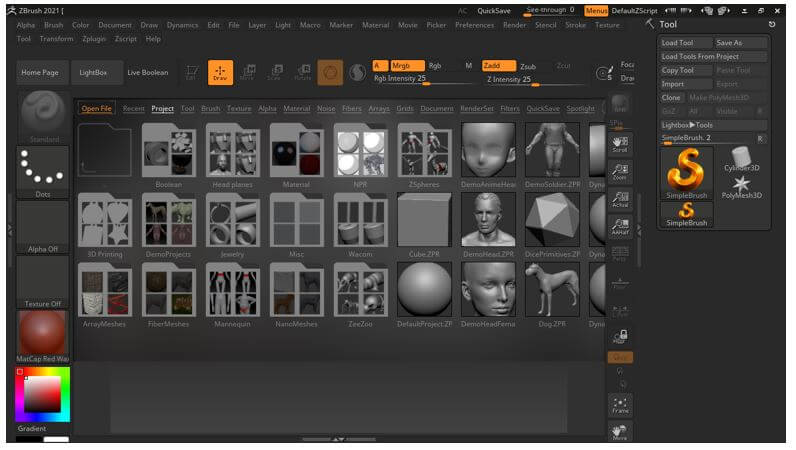
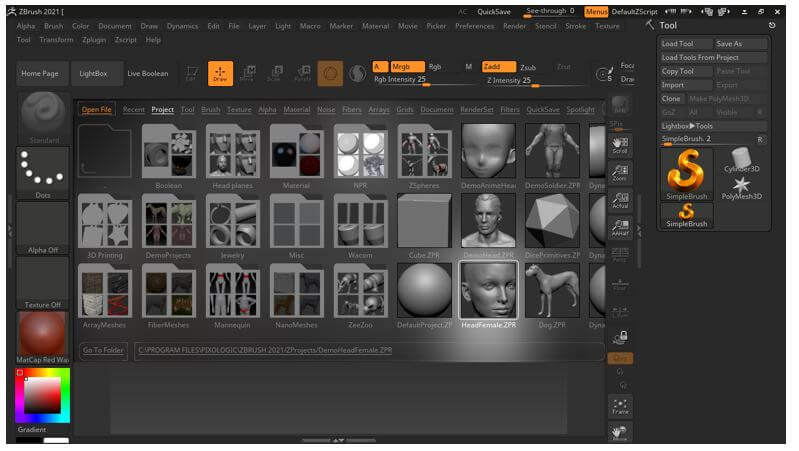
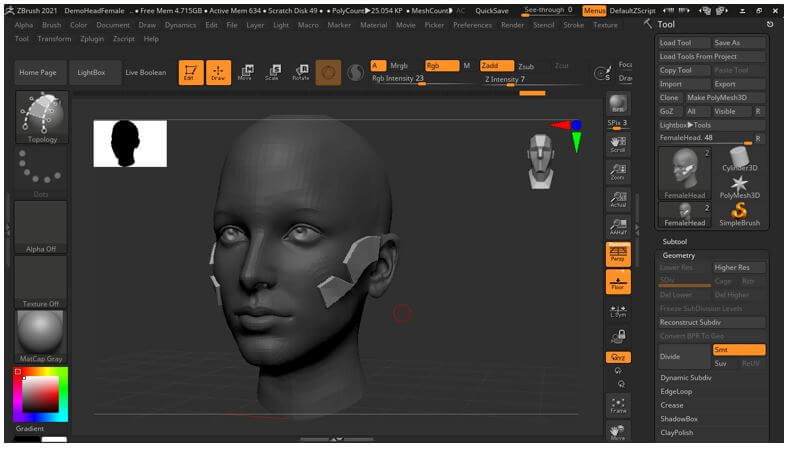
First we will take a demo model from the LightBox panel of this software.
We will select this female model by making double click on it.
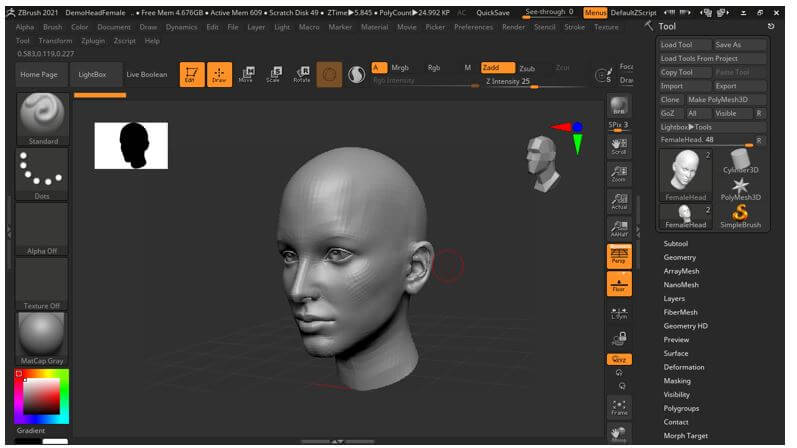
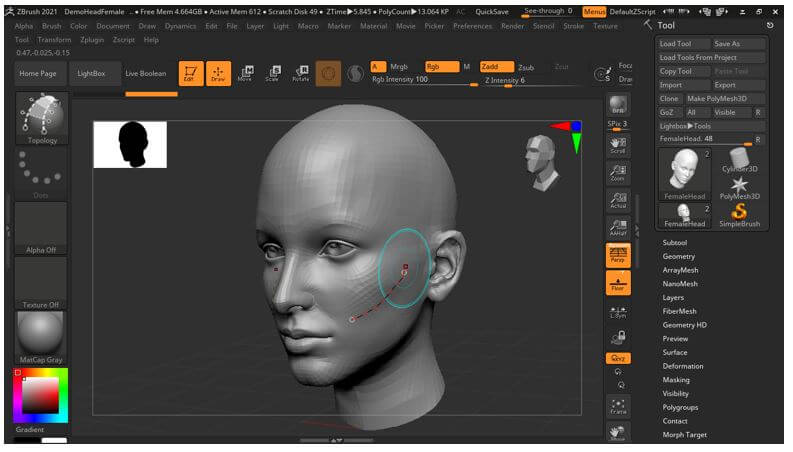
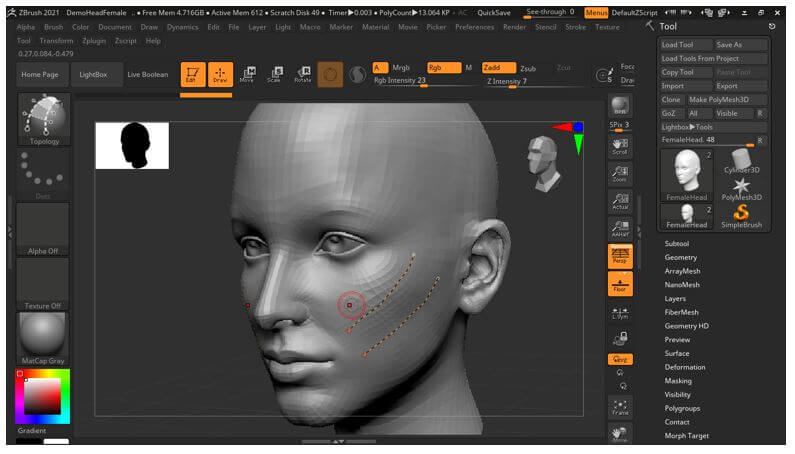
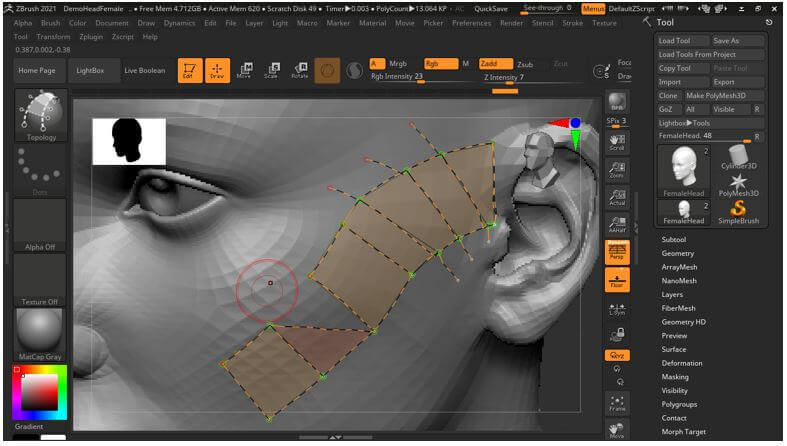
Once we will make double click we will have this on my working floor area. We will create poly mesh on the jaw area of the face of this model.
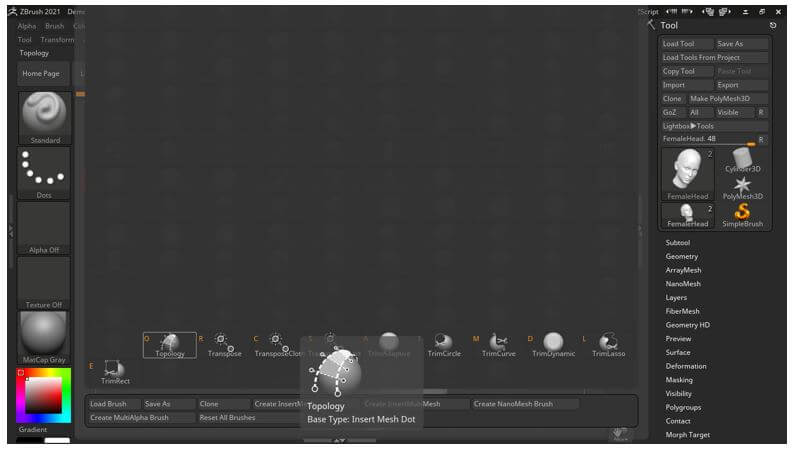
For creating poly mesh We will choose topology brush from the list of brushes preset here.
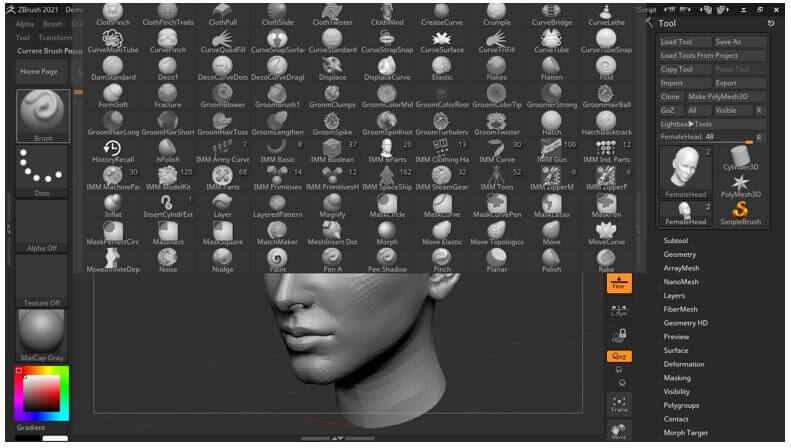
You can press T letter of keyboard for having only brushes of this list those name start with T letter.
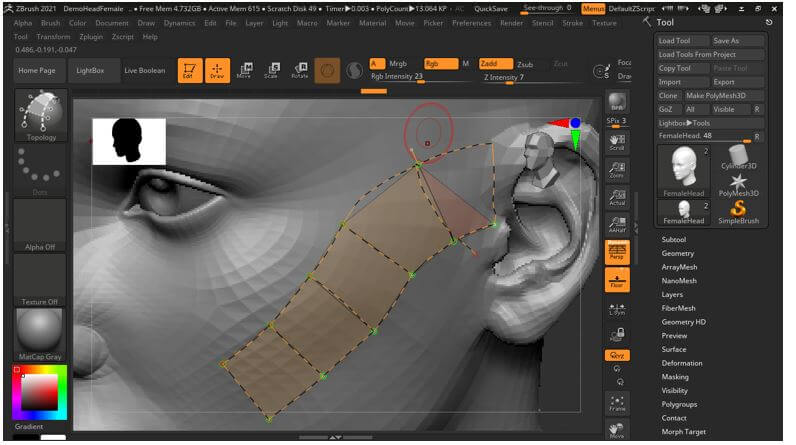
Now we will draw a curve line on the jaw area of this model. Simply drag mouse cursor of this brush tool to draw a line or curve.
You can see if we decrease brush size after drawing it, it will decrease size of the drawn line also.
So make sure first set the brush size then start drawing with this brush.

We will draw these two lines parallel for making polygon between them.
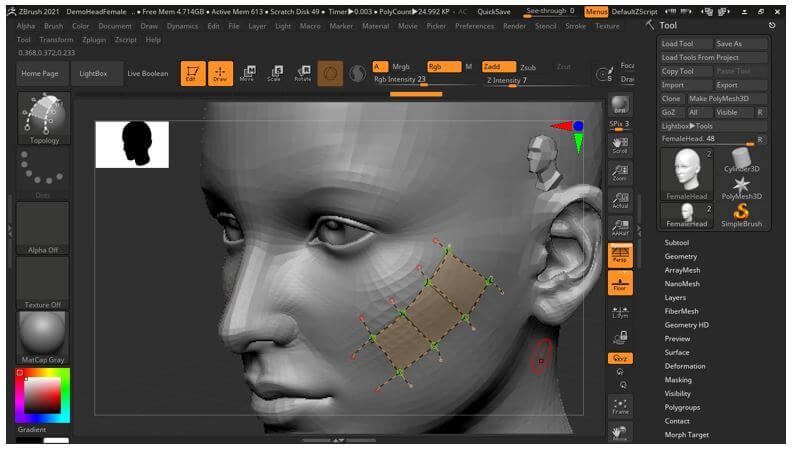
Now we will draw cross lines like this.

Once we close any quadrilateral shape it will convert that area into mesh.

For making mesh draw lines like this across the two parallel lines.
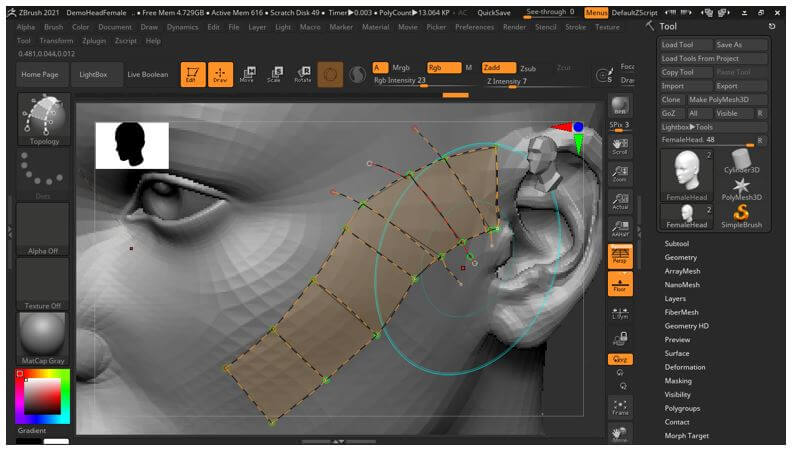
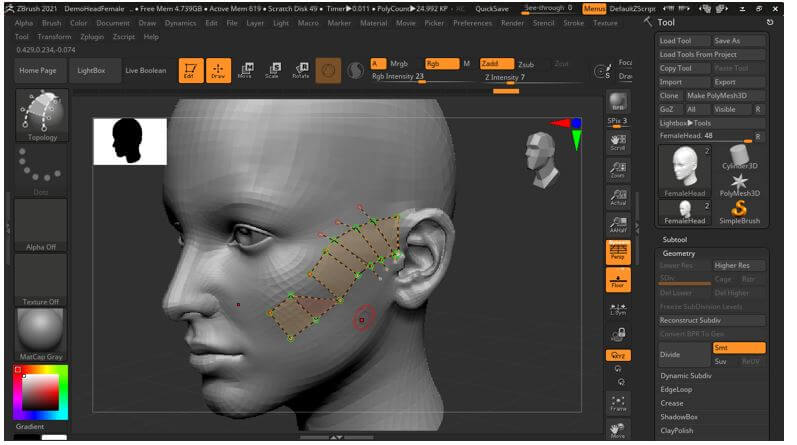
You can see there is extra lines that are going beyond this mesh and we need to remove it. For removing extra lines hold Alt button of keyboard and draw a line anywhere out of this mesh on the model.
And once you draw a line and release mouse button it will delete all the extra lines automatically.
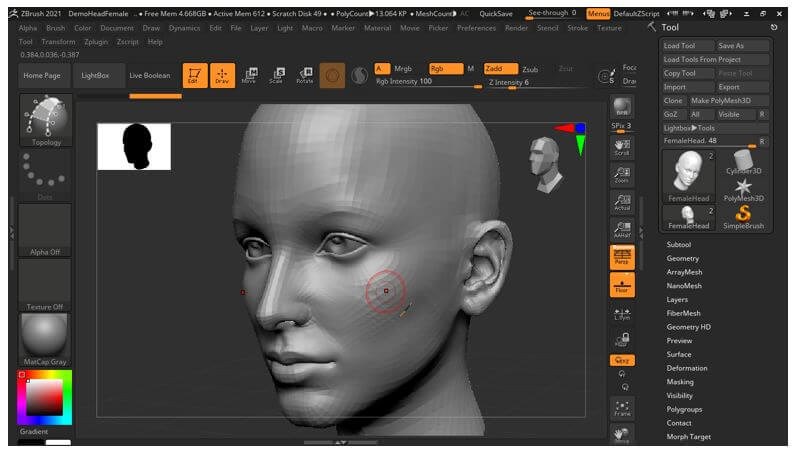
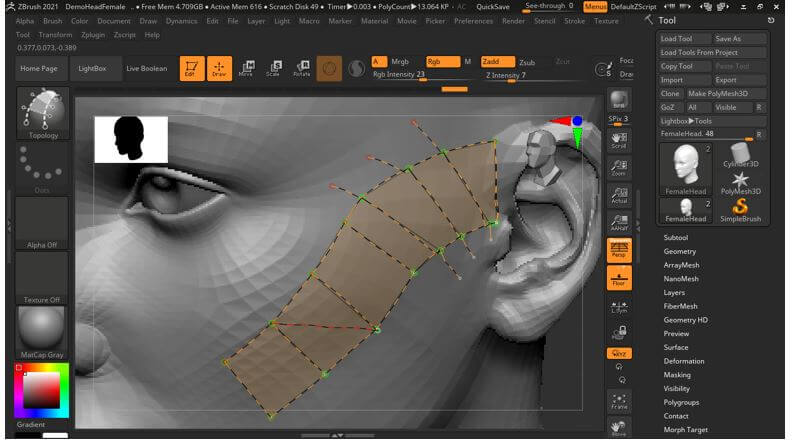
Now let us make curve lines on the upper jaw area and join them from the end by a cross line. You can see the area inside these lines are not fully covered with the mesh the reason is that this brush only connect the greed points for creating mesh so we have only triangular mesh here.
For having mesh on entire area of this curved path just add more across lines like this.
You can add as much as lines for having fully covered area like this.
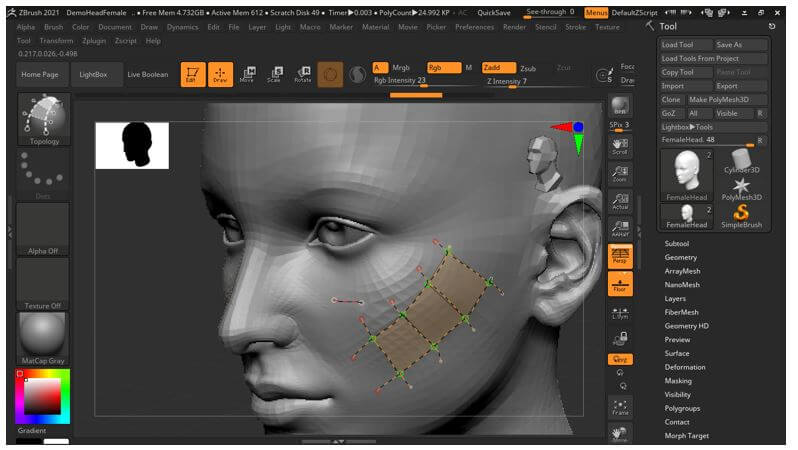
You can also convert a quadrilateral into triangle by adding one diagonal line inside the quadrilateral mesh like we have added here.
And you can see it divided the quadrilateral into two triangle.
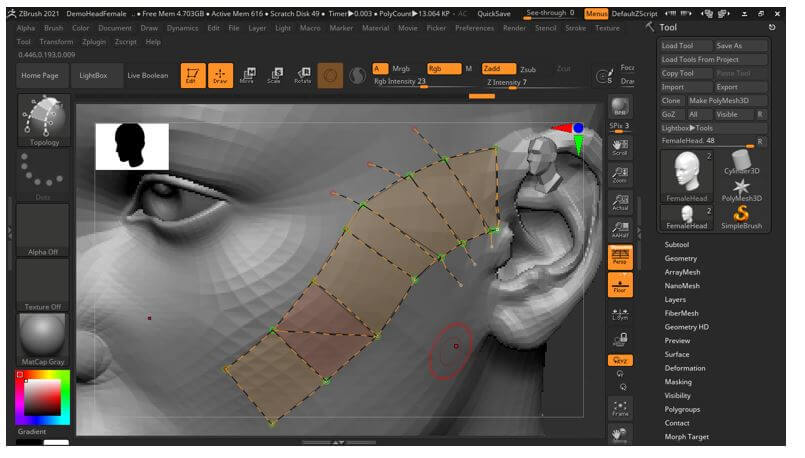
If we can delete any one line from the mesh by holding Alt button of keyboard and then drag moue cursor on that line. Once we delete any line of any mesh the area covered by that mesh also get deleted.
You can see we were in symmetry mode during drawing poly mesh so we have same poly mesh on the right jaw of this model also.
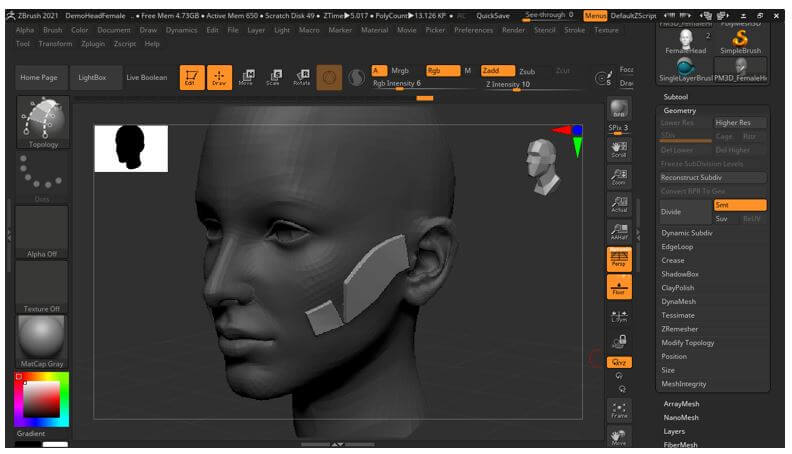
Now for converting this poly mesh into model surface make click anywhere out of this mesh on the model area.
And you can see we have this surface on the jaw area of this model with minimum polygons mesh.
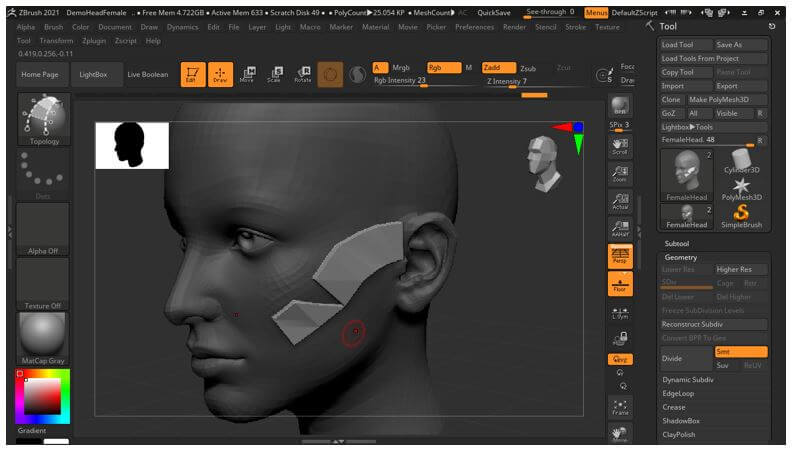
It is on both side of this model.
If you are not satisfy with the thickness of the drawn poly mesh then undo the surface mesh and press S button of keyboard for having Draw size slider bar at the top panel bar of this software. Let us decrease the draw size value up to 1.

And again make click out of the mesh like and you can see the drawn mesh surface has less surface area.
So according to your requirement you can increase or decrease the draw size of drawn poly mesh.
Now let us do some parametrical adjustment for having more precise poly mesh here. For that let us turn this into lines structure so go to Transform menu and click on Line Fill button of this panel.
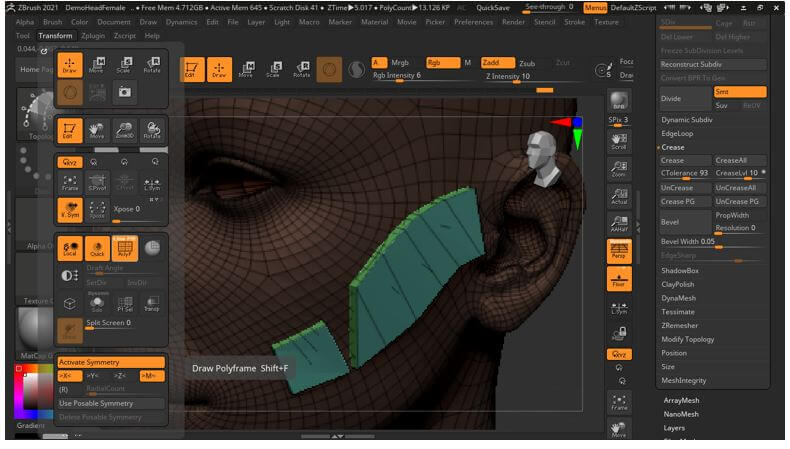
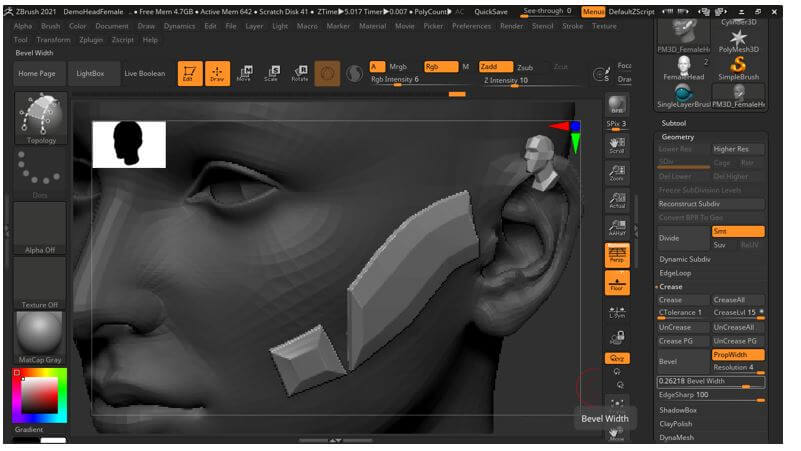
You can go to the tool bar section which is at the right side of the working window and we will click on the Geometry bar of this tool bar section. Although there are number of parameters which we can adjust for having different variation with this mesh but we will show you one of them. Here we can adjust the bevel width for having beveled area on this drawn poly mesh.
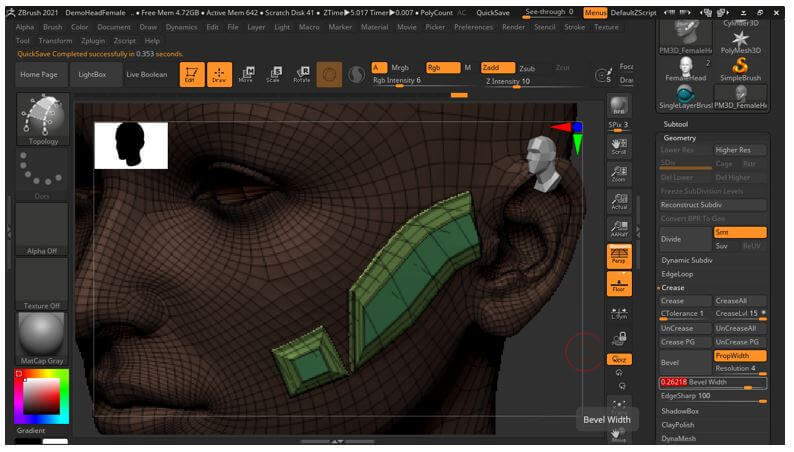
And it will look like this.
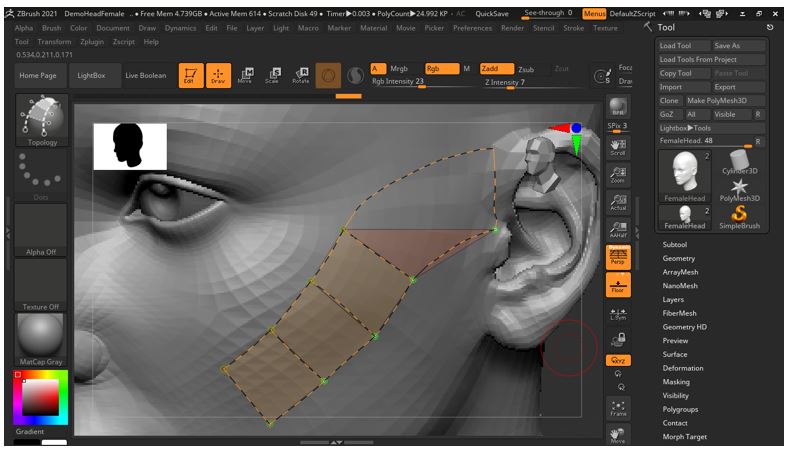
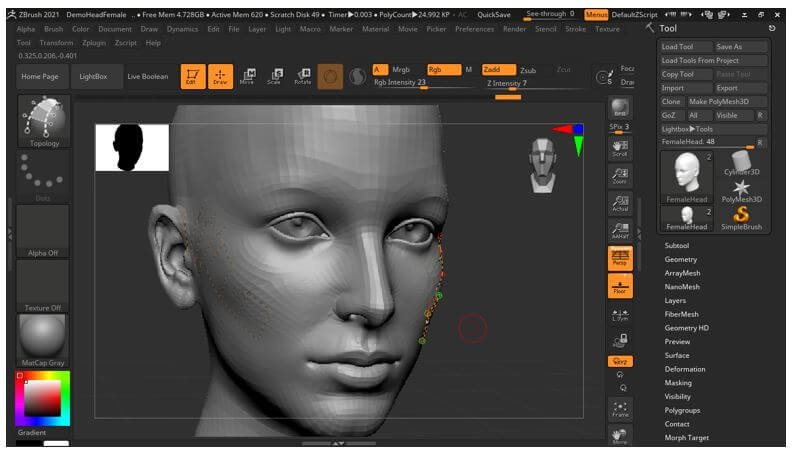
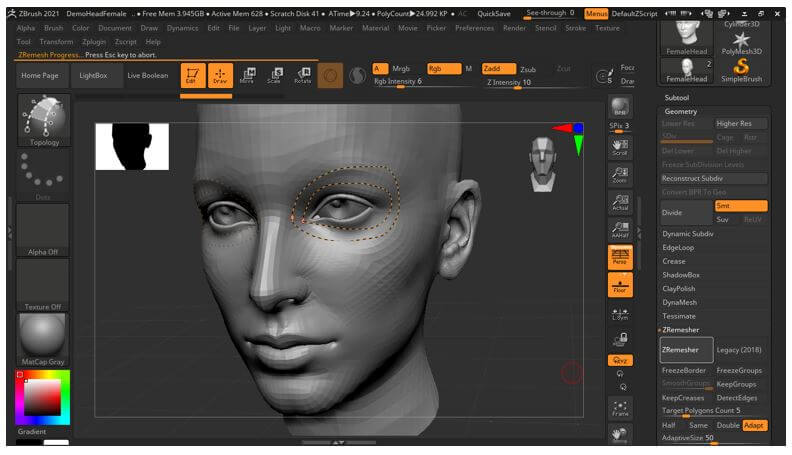
There is one more thing which we can do for having minimum polygons on our poly mesh and for that we will draw these two lines around the eye area with same brush. It will work as mask around this eye area.
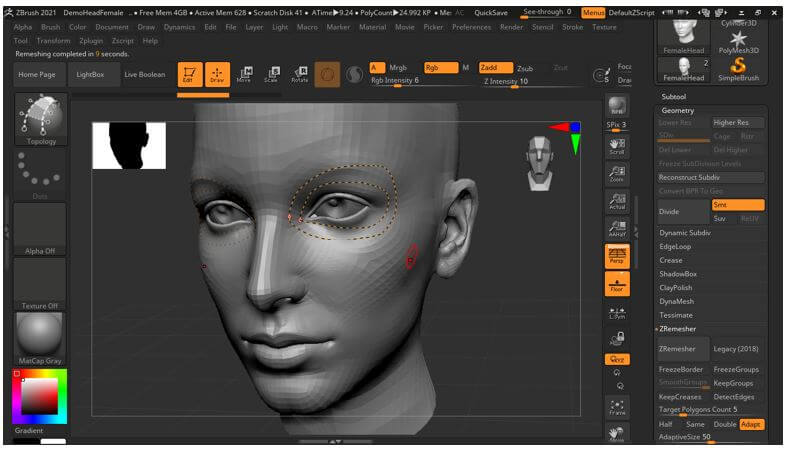
Now go to tool bar section again and this time we will click on ZRemesher option of Geometry tab.
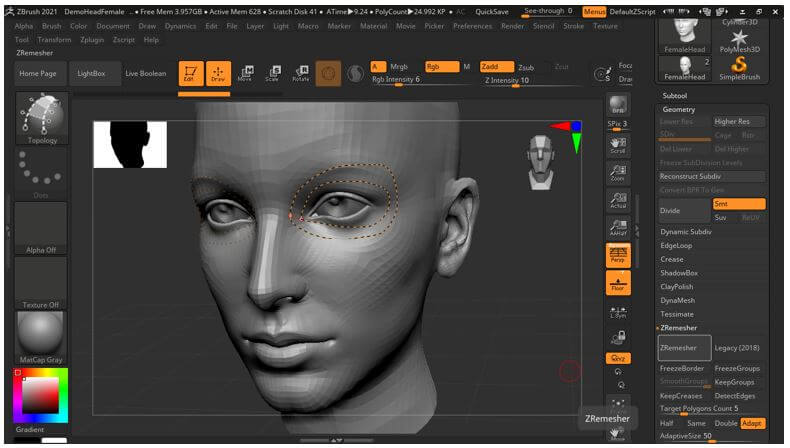
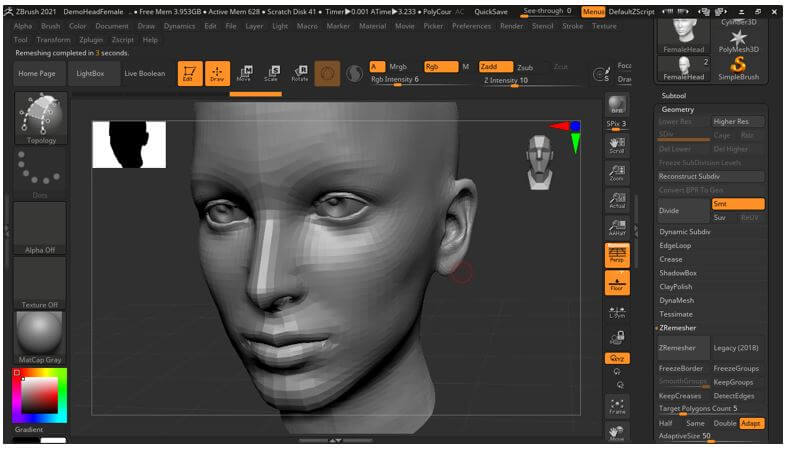
It will take some time to minimize polygons on the selected area of poly mesh of this model.
After completion of process you can see there is some less polygons on this area of eye.
Conclusion
So these are some ways through which we can to retopology for having minimum file size of our model so that it is easy to work with them during animation process. You can do retopology on newly drawn surface or on already draw surface of model. Just start practicing on this features for having more and more knowledge about it.
Recommended Articles
This is a guide to ZBrush Retopology. Here we discuss the introduction and how to use retopology in ZBrush? respectively. You may also have a look at the following articles to learn more –
