
Introduction to ZBrush Render
ZBrush Render can understand as going through the process of rendering (its settings) of our 2D as well as a 3D model that are created in this software so that we can understand how our model will look like when we use it for its end purpose. We can save the rendered object as an image and take it into other compositing software for future processes. Here in this article, I will tell you the settings we need to do during the rendering process, and light plays a major role in it. We play with light and shadow to show more details of our model and create illustions.
How to use Zbrush Render?
To start using the Render feature of Zbrush, we have to understand some important settings to get the best result for the rendering of our model.
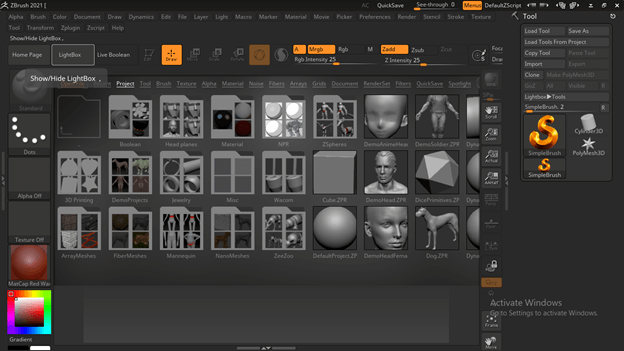
For explaining you about this topic, I will first take a model from the preset list of this software. So go to the LightBox tab at the top of the working screen and click on it.
Here we have a list of models and other 3D objects, so I will choose this DemoHead model preset from this list by double-clicking it.
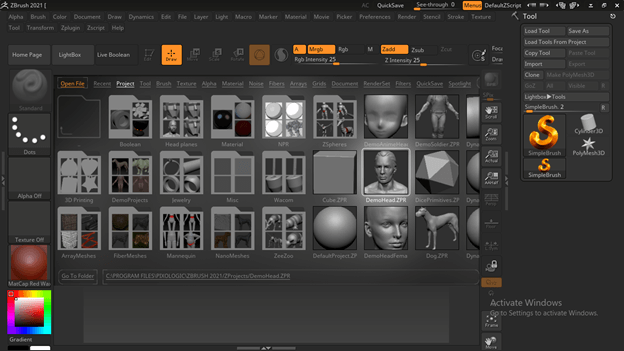
Once I will make double-click on it model will come on my working area of this software.
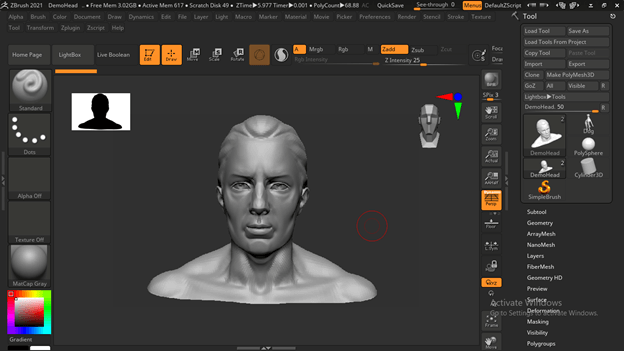
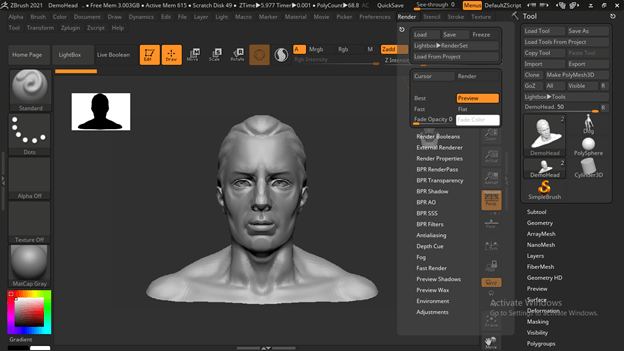
First, we will set light for having to render effect so you can find the light panel in the menu bar.
In the same menu bar, we have a Render panel also.
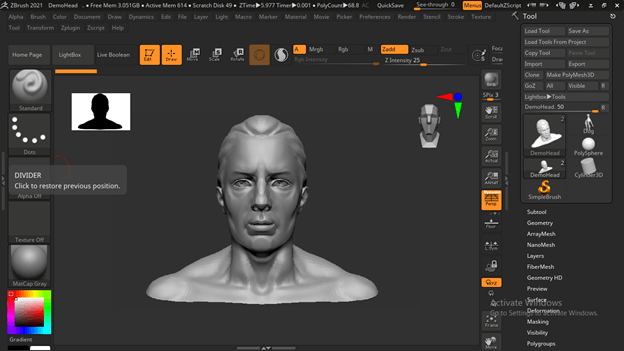
Now I will open the left side section by making a double click at the double-sided arrow button of this software to place my desired panels here.
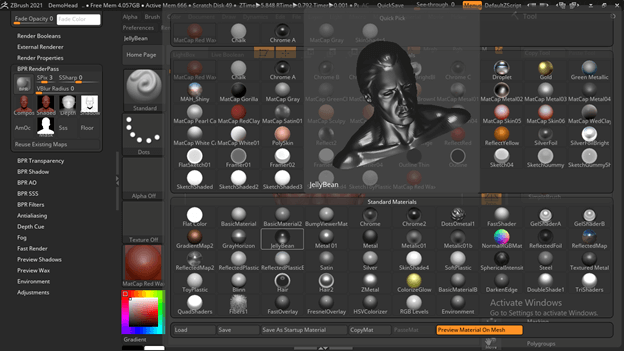
And I will pick the material panel from the menu bar.
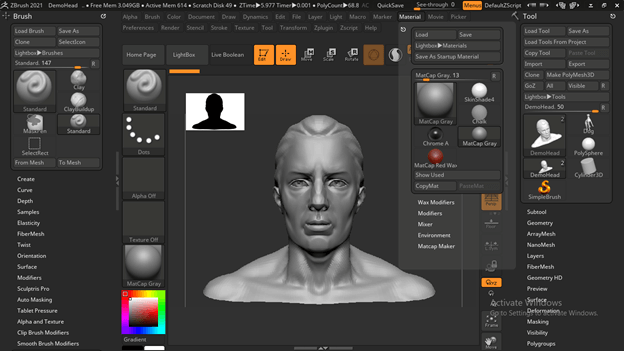
And dock it here in this section.
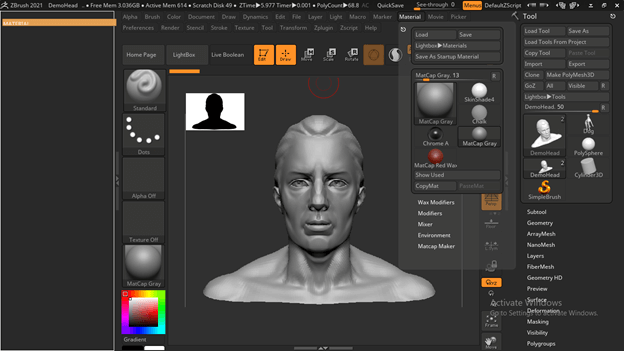
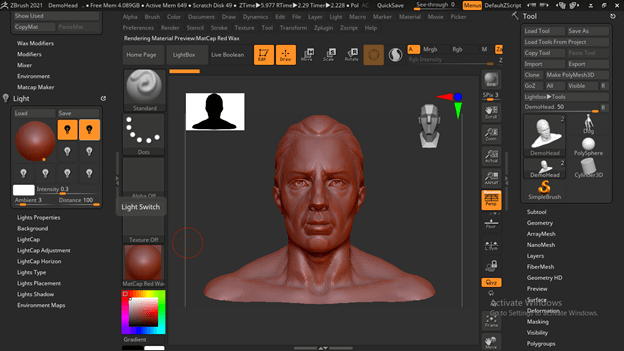
Now i will apply this MatCap red wax material on my model. You can use material according to your model; I am just taking it as an example.
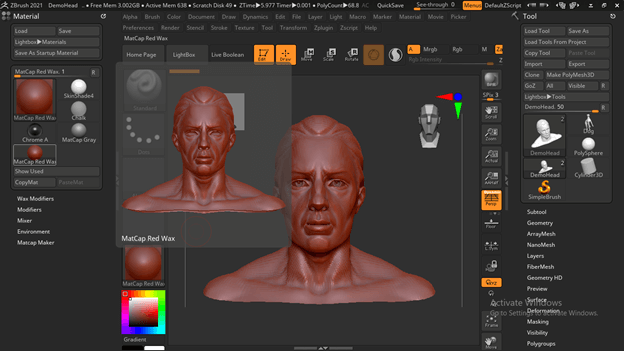
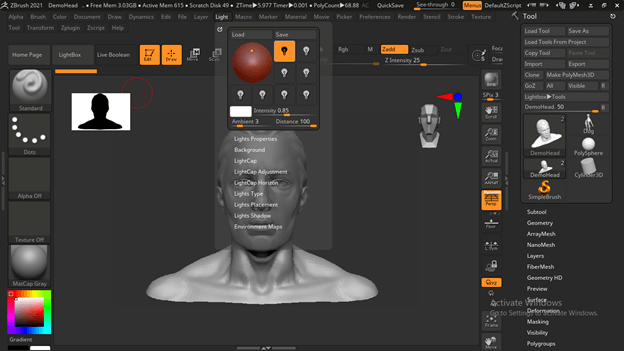
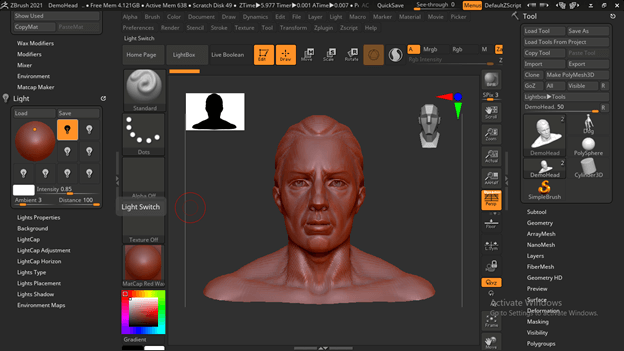
Now let us have a Light panel also in this section.

We have one light by default in a light panel on our model, which is at the top of the model.
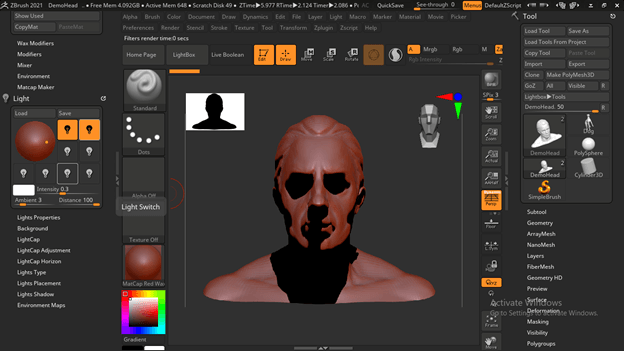
We can move it as per our requirement, which means we want to drop shadow and light effect from which side. After placing the light on your desired place, you can check its effect by rendering, and for rendering, click on BPR render button, which you can find at the right side of this working window, or you can simply press the Shift + R button of the keyboard as its shortcut key.
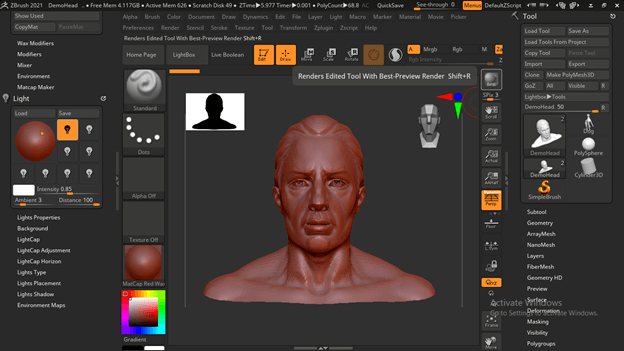
You can see how it looks with light and where the shadow will drop.
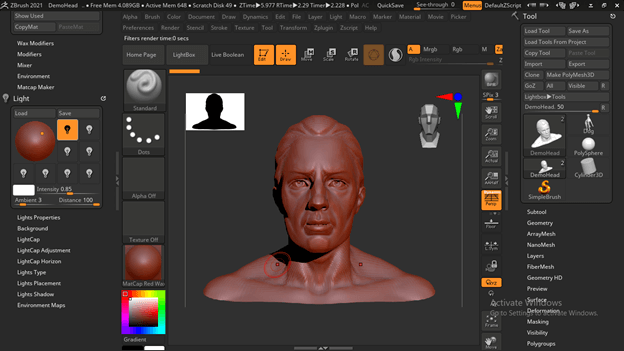
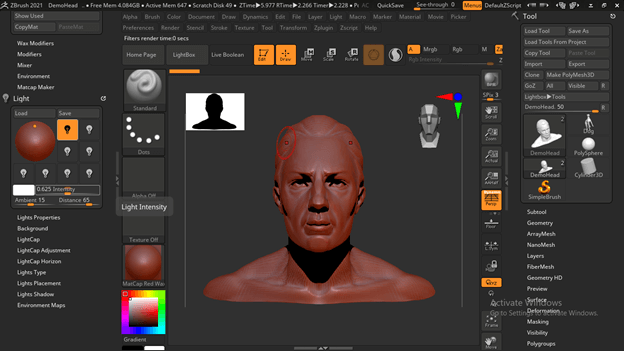
You can add more than one light according to your requirement. For adding more light, just make double-click on the light icon.
And you can adjust it at your desired place.

And can see its effect.
We have some parameters in this Light panel also which we can manipulate for the best render effect.
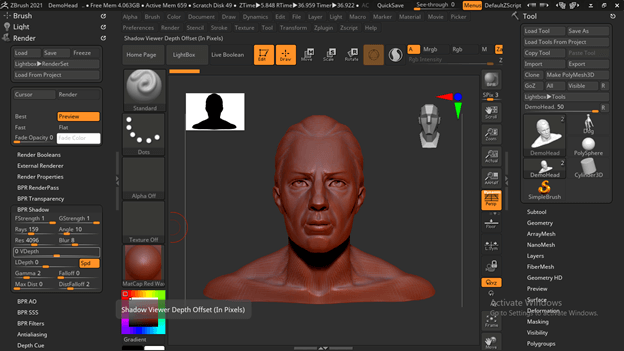
Now let us open the render panel in this section.

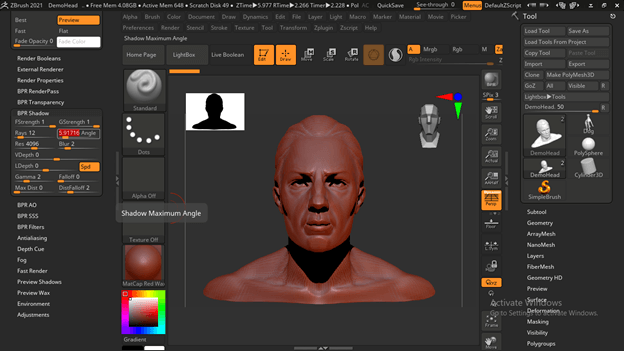
There are a number of parameters and settings in this panel, but I will tell you about some of them. For adjusting shadow go to the BPR Shadow tab of the Render panel.
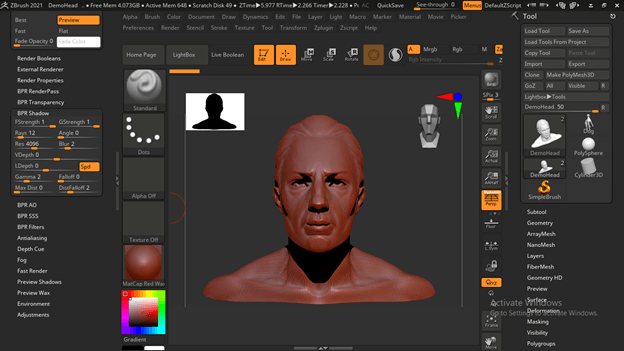
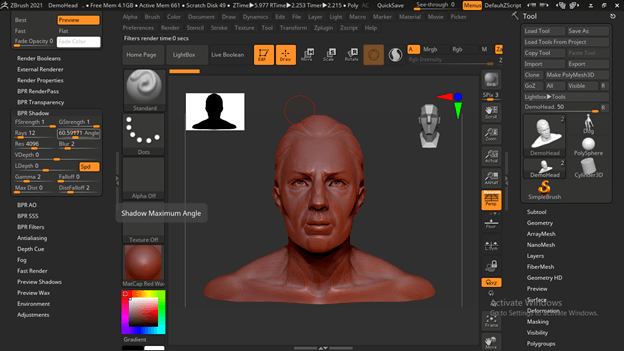
Here we have a number of parameters such we can change the angle of dropping light by changing the value of the Angle option of this tab.
You can see the effect each time by rendering it in the same way by pressing BPR to render button.
You can also adjust the blur effect of shadow that means if the shadow is very intense or not as per your choice; then you can increase or decrease the blur value.
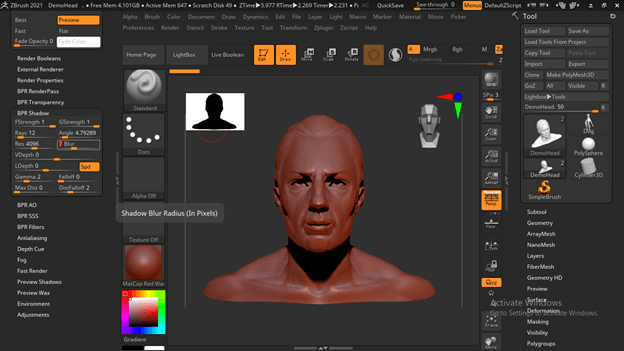
And check it by rendering. Same as this, you can make other parameters settings for having different variations.
There is one more tab in the Render panel, which is BPR Render Pass.
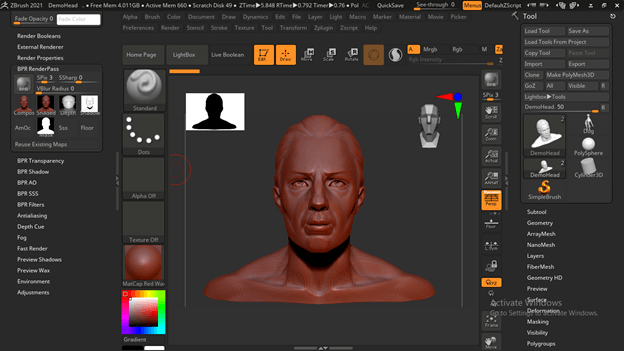
In it, we have different maps of our selected model, such as Depth Map, Shadow, and so on.
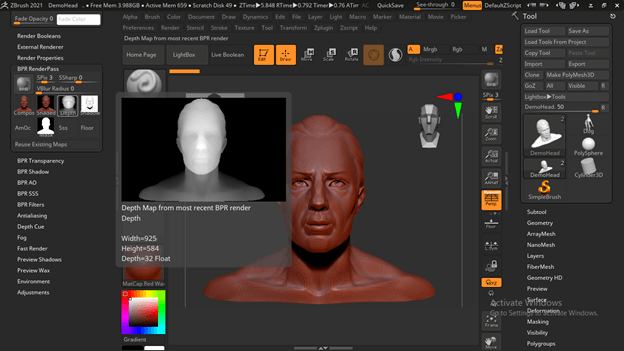
It also offers us a mask of our model, which we can use in other compositing software for different purposes and settings.

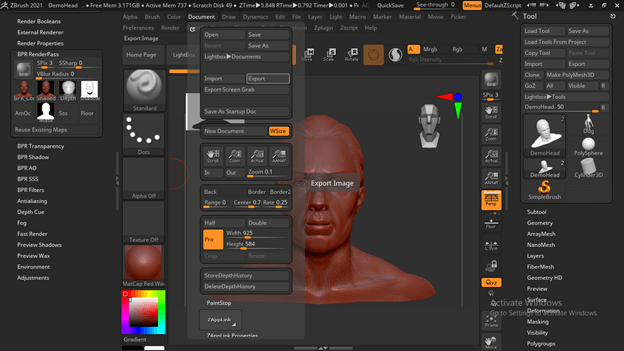
Now I will export this model with this MapCap Red wax material in .psd file format, which is the native file format of Adobe Photoshop. For exporting it go to the Document menu of the menu bar and click on it. You will find the Export button here, so click on it.
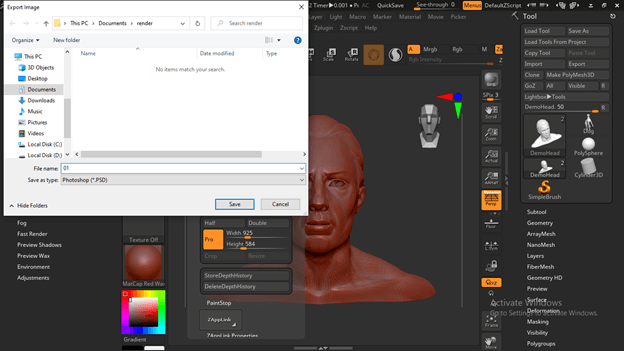
And I will save it at my desired location in my computer with my desired name.
Now let us apply other material to our model. So for applying, I will click on the Material button, and we will have all materials list here. So I will first choose JellyBean material and save it again by the same way at the same location.
I have saved my model with three different materials.
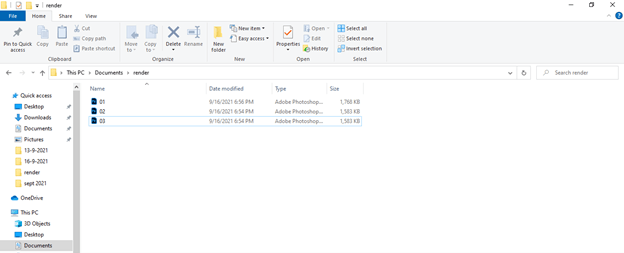
Now let us jump into Photoshop for compositing purposes and get the best render output. Here I have open these three files of my model with each different material.
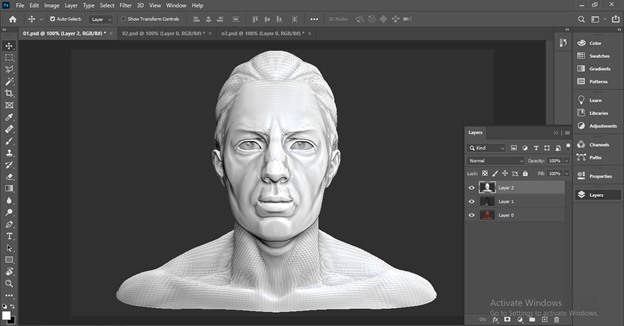
I have removed the background of the upper two layers. I have to hide the upper layer because first, we blend two lower layers.
After selecting the second layer, l will go to the Mode option of the layers panel of Photoshop, and here you can change the blend mode to get the best effect with your model. I will choose Soft Light mode from this list.
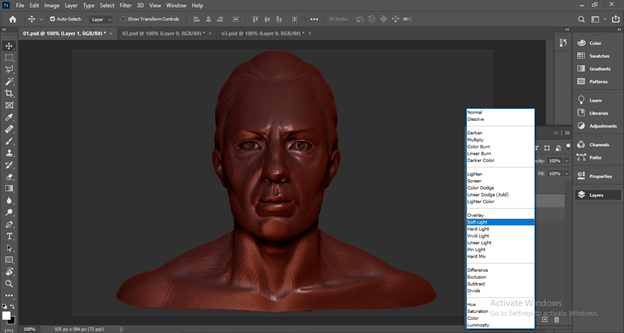
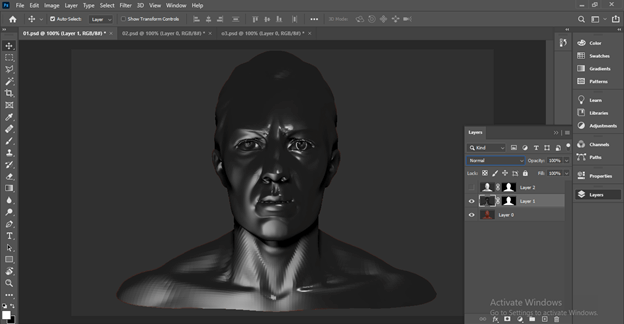
Now I will select the first layer and then change its mode too. Here I will go with Overlay blend mode because I want to give good copper metallic effect to this model.

These are some basic information about which you must have knowledge for going through the rendering process of your model in ZBrush.
Conclusion
I am sure Render in Zbrush will have no more unknown features for you, and you can make adjustments in the different parameters for a good rendering effect. We have also discussed here that how you can go through compositing of a rendered model in other compositing software. So you can start your practice on this feature for having more knowledge about it.
Recommended Articles
This is a guide to Zbrush Render. Here we discuss how you can go through compositing of rendered model in other compositing software. You may also have a look at the following articles to learn more –
