Introduction to Masking in Photoshop
Masking is a technique or feature of this software through which you can merge two or more images in one image, cut any object from an image, remove the background of any image, and many more things you can do with this feature of Photoshop. In Photoshop we have some different types of masking that are Layer mask, Clipping Mask, Vector mask, Channel mask, Gradient mask, and Quick mask. With these types of mask, you can do a different type of masking for editing your image in Photoshop. We will discuss some type of mask in this software for understanding about features of this software. So let us start our discussion.
How to do Masking in Photoshop?
We can do this by using some tools and features of this software and also by handling some important parameters which we will discuss one by one. First of all, we will discuss the Layer mask.
1. Layer Mask
By Layer Mask, you can merge two or more images in one image for blending them. So let us have a look at how we can do with this type of mask.
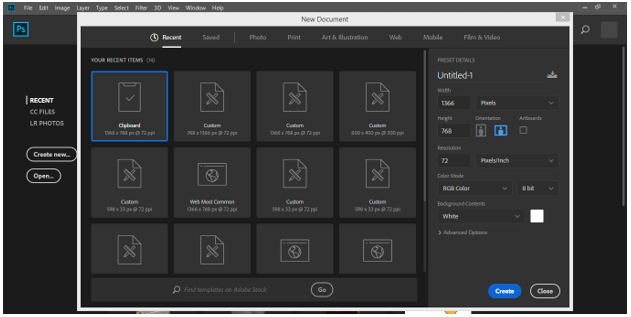
So for our learning let us create a document. For new documents click on the ‘Create button’ of this window screen of Photoshop software.
Now choose your desired size of the document according to end-use for your project work then after setting the parameters of your chosen document click on Create button of this dialog box.
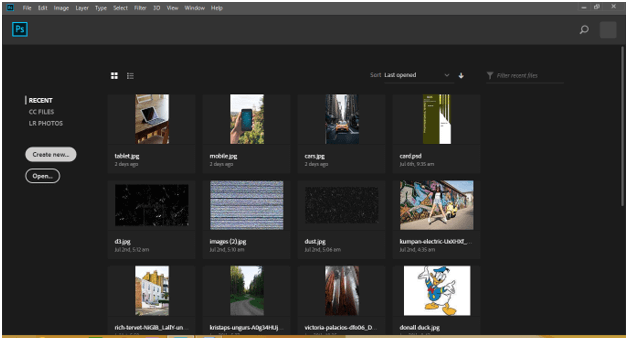
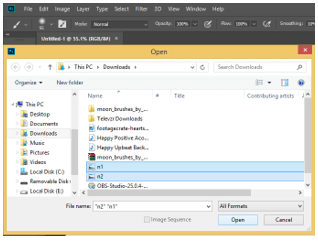
Now let us have some images for our learning. For placing image go to File menu of the Menu bar and click on it, choose Open option from the list.
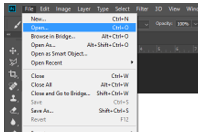
A dialog box will be open. Choose your desired images from the folder where you have saved them and after a chosen click on the Open button of this dialog box.
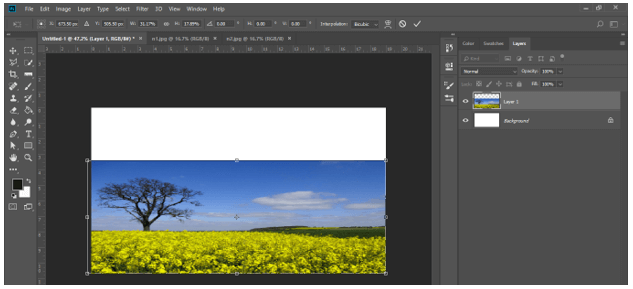
I have placed two images in this software. Now drag this image into our document tab with the help of the mouse button.
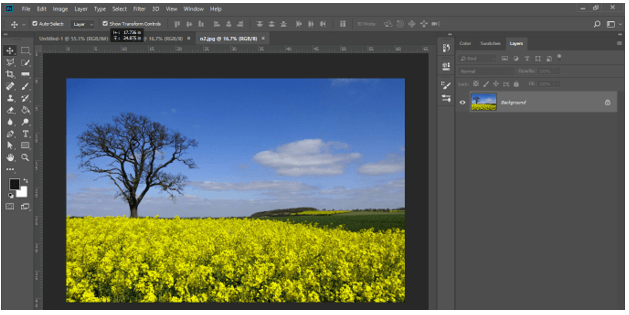
If image size is very large in comparison to your document then set its size by transform box of it.
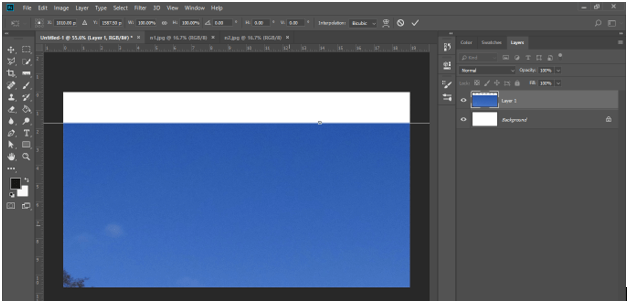
For zoom out press Ctrl + 0 buttons from the keyboard and set the size of your image.
Now set this image like this.
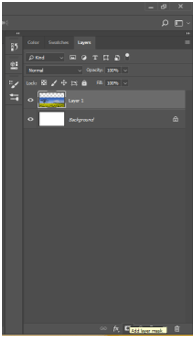
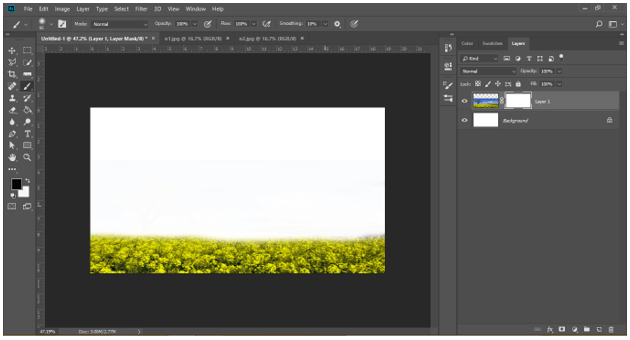
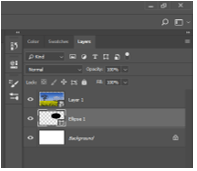
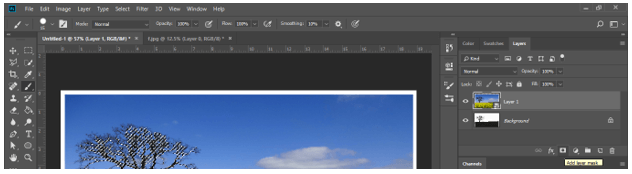
Now go to the bottom of the layer panel and click on Add mask layer button for adding a layer mask in this layer.
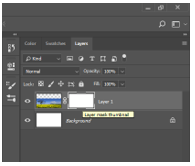
Now, this type of thumbnail will add with your selected layer which we called Layer mask of that layer. Select this mask by click on it.
Set back color as foreground color and white as the background color in the color box of the tool panel.
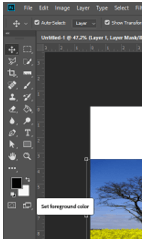
Take a brush tool from the tool panel.
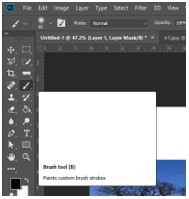
Now paint with the brush tool on the mask of this layer and you will find the area on which you are painting with brush tool is becoming white. In this way, you can remove the undesired area from your image by using a layer mask.
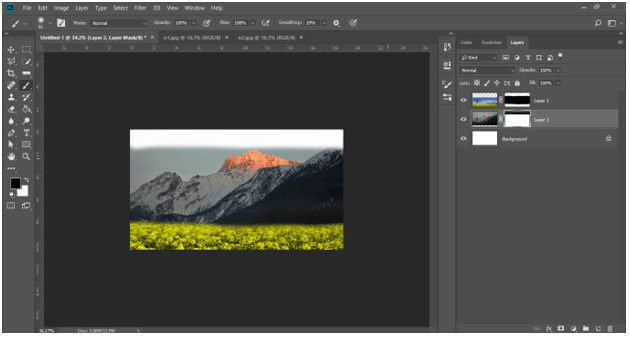
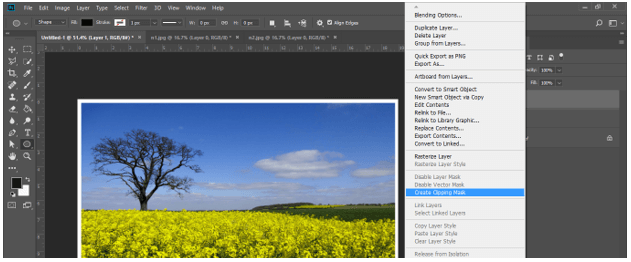
And you can place another image at that erased area for merging two images like this and you can add a mask in the next added layer as per your requirement. This type of mask is widely used in making movie posters.
Now let us discuss the next type of mask and learn about this type. The next type is the Clipping Mask.
2. Clipping Mask
Through clipping, you can insert any image in any particular shape. Here we have an elliptical shape and an image on our document area.
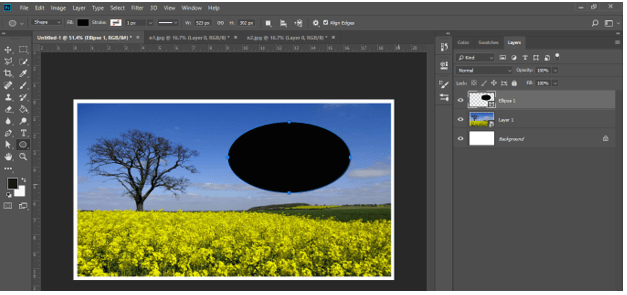
Go to layer panel and place the shape layer below to your image layer in which you want to insert your image.
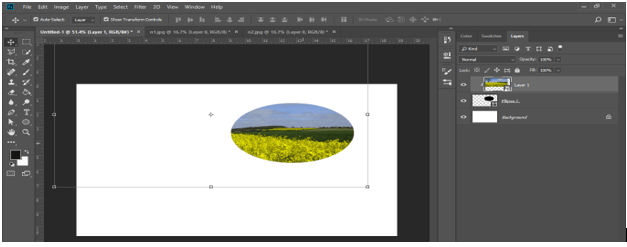
Now select the image layer and make right click on it. Choose to Create Clipping Mask option from the list or you can press Ctrl + Alt + G button as the short cut key of clipping after selecting your image. Make sure the shape layer is below your image layer.
And your image will clip with this shape like this. You can move your image to see your desired area of the image in this shape with the move tool of this software.
The next type is a Channel mask.
3. Channel Mask
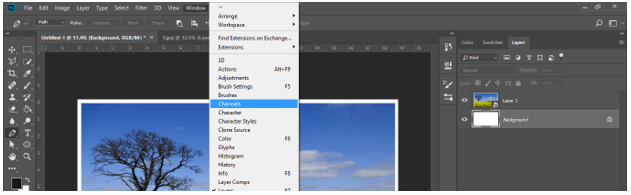
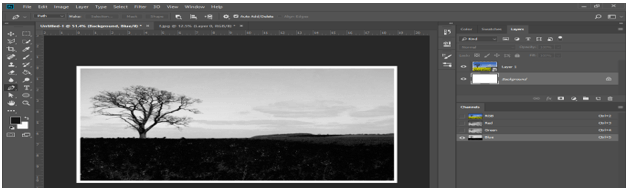
Through a channel, you can remove the background of any image very smoothly. So let us have a look at this type. Go to Window menu and click on Channels option of the drop-down list if you have not channeled tab at the right side of the working screen.
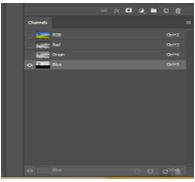
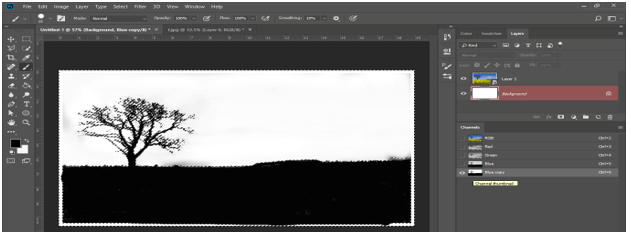
Now in channels tab choose the combination of that color range which makes the best difference between our object and its background in black and white color. I will choose the Blue color because it has the best difference. You can analyze other color’s effects by click on them one by one.
Now make a copy of this blue channel layer by dragging this layer to a new channel layer which is at the bottom of this channel tab.
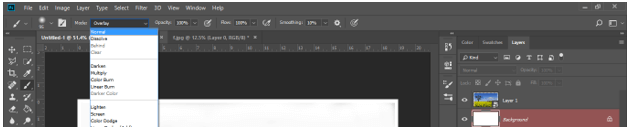
Again take brush tool and set black color as foreground color and white as the background color in a color box of the tool panel. Set mode as Overlay from this option.
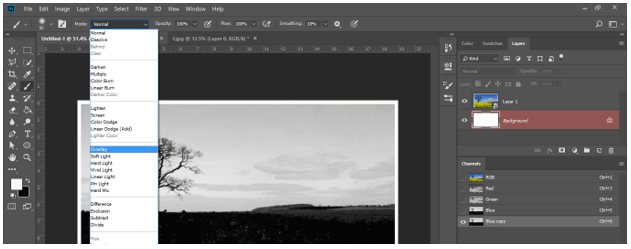
Now paint the background of this image with a brush tool like this. Make sure white color is selected as a foreground color.

Now switch to a black color and paint the black area of image with it.
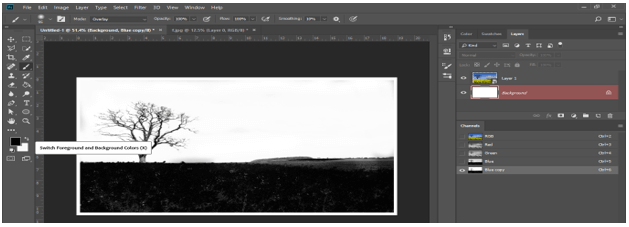
Once you have done change to Normal mode.
Now hold the Ctrl button of keyboard and click on the thumbnail of the Blue copy layer then your selection will be active in the image like this.
Now choose Inverse option from Select menu.

Now click on the original image then click on Add mask button of the layer panel.
And the background of the image will remove. You can increase accuracy by managing parameters again and again.
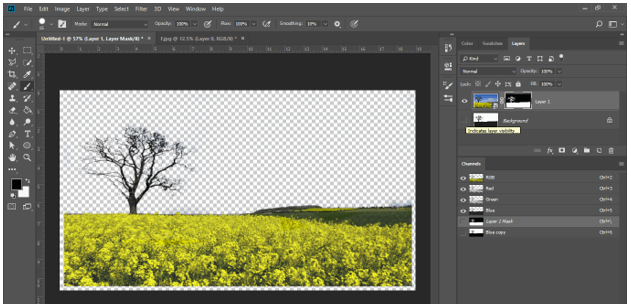
In this way, you can use this feature of this software for doing a different type of editing in your image.
Conclusion
Now after this article you can understand what Masking is in Photoshop and how you can use it for editing your image. You can also analyze other types of masks for getting more ideas about the feature of Photoshop. Increase your skill in this feature by practicing on it.
Recommended Articles
This is a guide to what is masking. Here we discuss What Masking is in Photoshop and how to do masking with respective types. You may also have a look at the following articles to learn more –
