Updated June 17, 2023
What is Autodesk BIM
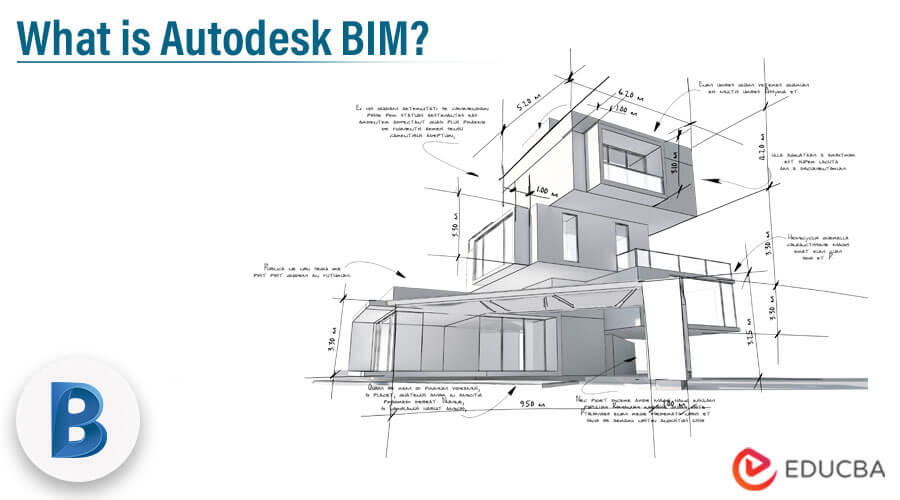
Autodesk BIM stands for Building Information Modeling, which means information details of components and elements of a 3D model. Therefore, we can understand it as the base of digital transformation, which incorporates architecture, engineering, and the construction industry (AEC).
Autodesk designed it to get better business outcomes that play a significant role in creating the world. With BIM, we can create and manage information that belongs to the built asset in a holistic way of working. It has an intelligent model enabled by a cloud server platform. With the help of these features, it can integrate multi-disciplinary data and structure them that can produce a representation (digitally) of a particular asset throughout its lifecycle. After getting introduced to BIM, you must want to know why we go with BIM concerning architecture and the construction sector.
Why Autodesk BIM?
It is building information modeling software that can transform information digitally of built assets and analyzes 3d modeling through an effective process.
So there are several reasons to start working with BIM:
- First, the BIM process helps capture and communicate details of the construction and design of the drawing representation of the AEC project.
- It explains to stakeholders to understand different expectations of the component of the 3d model that needs to be built and how one can build that component accurately and quickly.
- With BIM, construction and design teams can benefit from their technology investment and have précised output in their modeling work by analyzing every detail of specific elements.
- It creates and manages information about AEC projects throughout their lifecycle with the help of its standard features. The management process collects all the construction information, documentation, and multi-disciplinary design in a set of standard data.
- One of the most helpful features of it is that data can extract in the multiple representation form by using details of 2D and 3D tables.
These facts make it worthwhile for the users who want the best result in the building information modeling process.
How to Use Autodesk BIM?
Here you will get details about how to start using Autodesk BIM for your project.
Once you start using it, you have to go through three significant steps that are as follows:
- Account Administration
- Creation of Project
- Activation of Service
To get started, go through the purchasing process. After your subscription is activated, the account administrator will automatically receive a welcome email on the registered email address. Open the welcome email and select the ‘Activate your account button in the email. Once you select it, the email will launch the Account Administration portal. On the Account Administration portal, you must log in with your Autodesk ID and sign in to Account Administration. If you have no Autodesk Id or have not created one, you can create a new account by clicking on the ‘Create Account button on the page. You can contact its official website if you receive no email and your account is inactive.
Let’s see about the account administration steps:
1. Account Administration
- This is a part of the portal through which we can manage our BIM account concerning projects, members, and companies. So as per your requirement, you can manage details in it.
- It has a security and control feature for your projects that works in two levels of administrational control.
- Account Admins have full control to activate BIM 360 (only account admins can activate the services) to create new projects and assign project administrators.
- While using BIM, you need to manage your account details so that you can do this through the account settings option.
2. Account Settings
You can customize your account by going through the Account Settings tab. This includes uploading your company’s logo for proper identification, editing the name of your account, inviting account admins, and defining business units for reporting.
Here you can add additional account administrators if you want, so for adding that:
- Go to Account Settings, and select the + icon.
- Please enter the name or email address to add the account admin and save it.
- After completing these steps, BIM will send an email invitation for an additional account admin.
The next important step of using BIM is the Activation of the Project.
Activation of Project:
To activate the project, go to the Project menu and create a project.
After creating a project, you can activate the BIM service in two steps.
1. Create a Project
- Go to the toolbar and select the Projects tab.
- Click on the Add button to start a project.
- Now enter details of the project on which you want to work.
2. Activate Service
- There is Activate button, so click on it to have your desired service of BIM.
- Now assign a project administrator. You not only give one project but can also add multiple projects.
- After completing these steps, the project admin will receive an invitation email and must click on the email link to join the desired project.
Your project setup is ready, and you can start your work on it.
Conclusion
Here we saw the BIM process to understand what this exactly is. Using the above-discussed information about BIM, you can start working with it and enhance your working output concerning assets of 3D modeling in the construction and architectural sectors.
Recommended Articles
This is a guide to What is Autodesk BIM? Here we discuss the introduction and how to use Autodesk BIM? for better understanding. You may also have a look at the following articles to learn more –
