Updated June 9, 2023

Introduction to Affinity Photo
Affinity Photo was developed for iOS, Mac OS, and Microsoft Windows as a raster graphics software alongside Affinity Publisher and Affinity Designer. It was developed in 2009 for Mac OS as a raster graphics editor, and the first version was released for public use in 2015. Later on, Serif launched this version for Windows. This software mainly focused on color correction, raw processing, image stitching, black point compensation, alpha compositing, and optical aberration corrections.
How to Use Affinity Photo?
As we know, this software is used for raster graphics editing purposes, so let us look at the user interface and some features of this software to understand how we can start working with this software. When you start this software, you will have this welcome screen; from this welcome screen, you can create a new document.
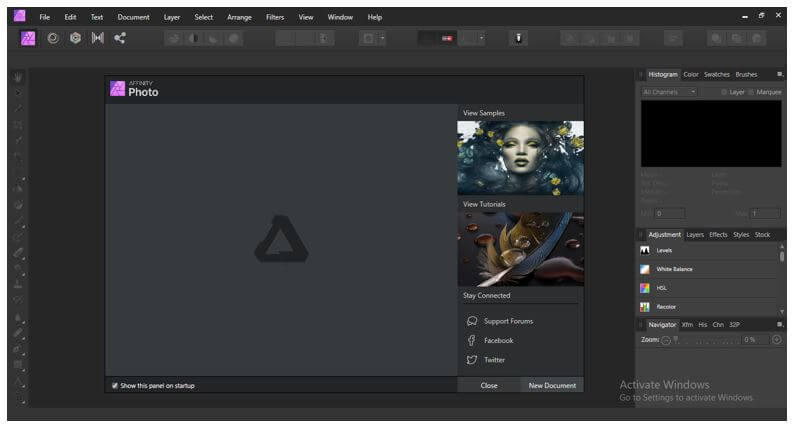
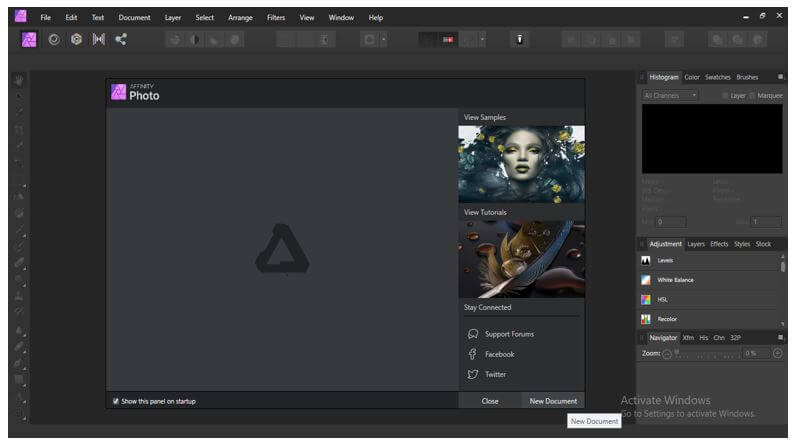
Click on this ‘New Document’ button to create a new document.
Once you click on this button, a New Document dialog box will open like this. Here in this dialog box, you will have different presets for different purposes.
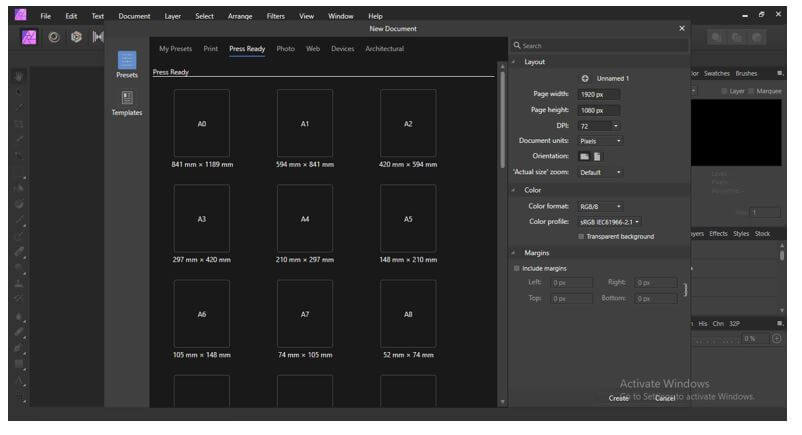
If you want, you can create your own preset with your settings, and for that, click on the plus button of the document settings box. Once you click on it, you will have a new preset document in the My Presets section of this dialog box.
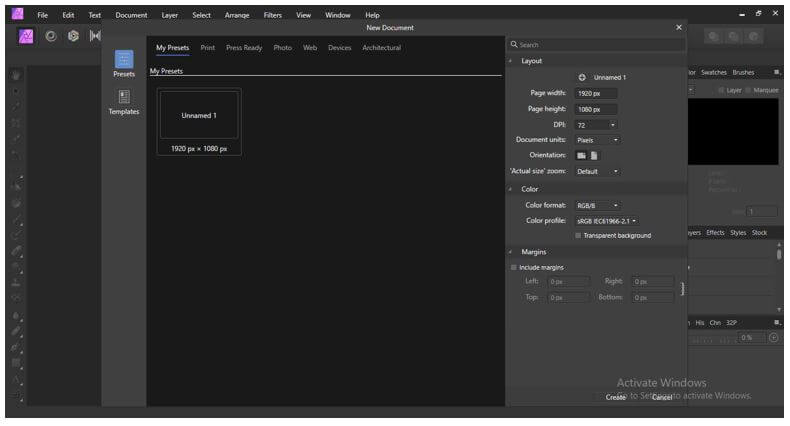
Once you click on your created preset, you will have a document opened like this.
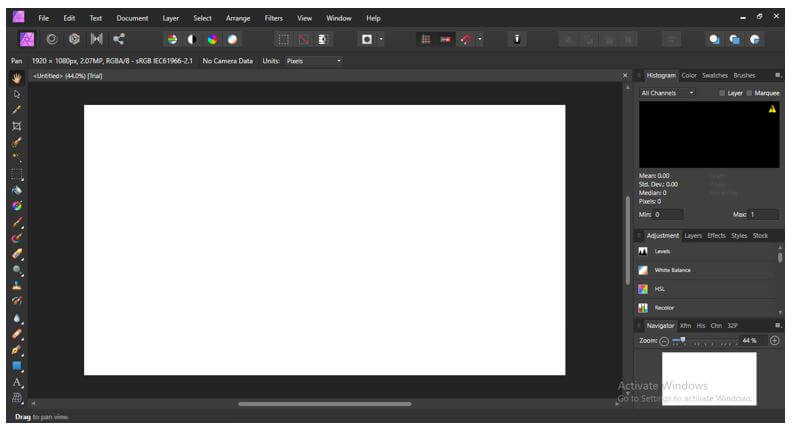
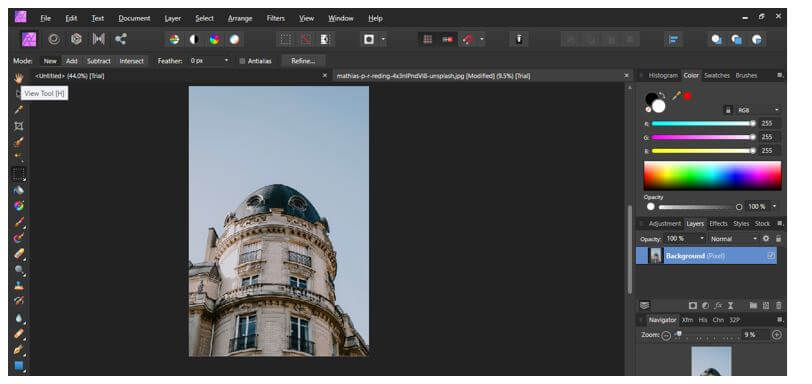
On the left side of the working screen, we have a toolbar section from which we can access different tools for image manipulation and editing work.
At the top, we have a Menu bar, and below this menu bar, we have some parameters settings tabs for making several adjustments to our images.

Below the parameter settings bar, we have the selected tool’s properties bar and edited images.

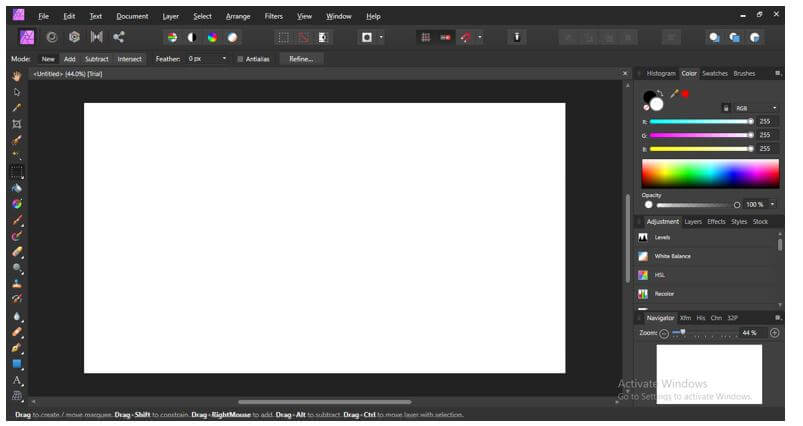
On the right side of the working window, you will find different parameters’ settings such as Histogram, Color, Swatches, etc. With the help of these panels, we can do several types of manipulation settings in our images.
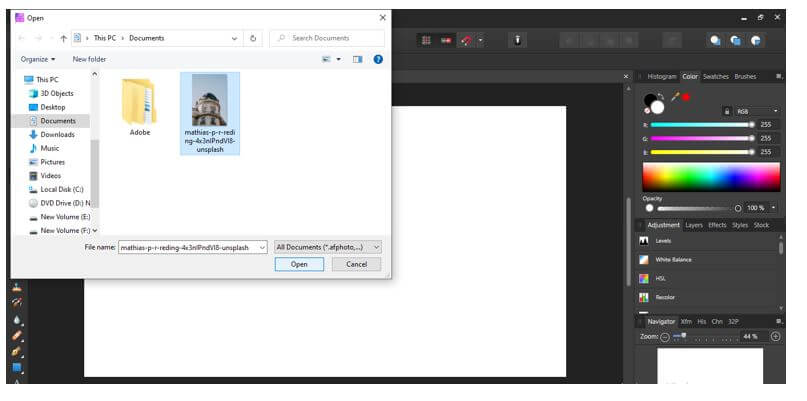
Now for importing any image in this software, we can open it, and for that, press the File menu of the menu bar and click on it. Here in the drop-down list of it, click on the Open option.
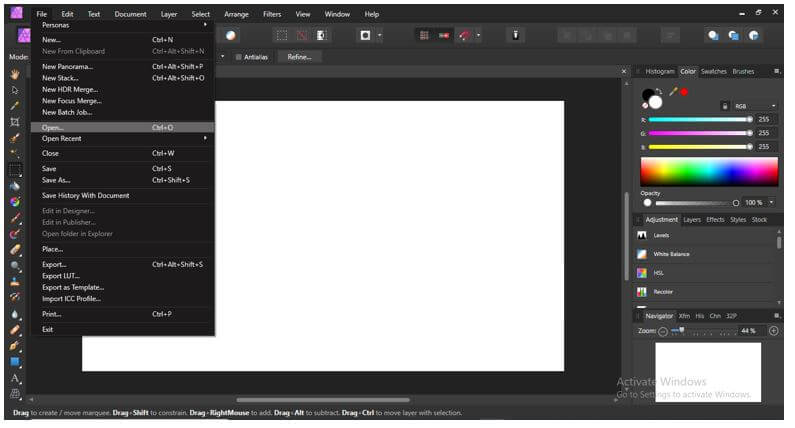
Once you click on the Open option, a dialog box will be open here; you can choose your desired image for manipulation work.
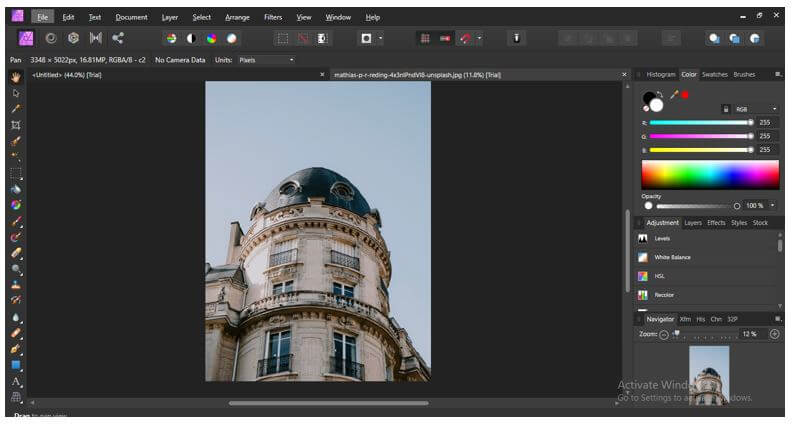
It will open in a canvas area like this. So now you can make changes to it as per your choice with the help of different tools and features of this software.
Affinity Photo Cost
- After getting through how you can use Affinity photo, you have curiosity about how you can have it on your system to start working with it, so the answer is that you can have it just by paying $49.99 as a one-time payment of it. It is available on Microsoft, Mac App, and its official website.
- Not only this, but if you want it on iPad, then you can also go with its simplified version, which costs @19.99.
Keyboard Shortcuts
There are many shortcuts available that make Affinity Photo work easy and save our time working on it. Some of the important shortcuts of it about which you must know.
1. Menu Bar Short Cuts
- New Document (Ctrl + N): Press Ctrl + N to have a new document in your canvas area.
- Open Document (Ctrl + O): Press Ctrl + O to open your saved document.
- Save Document (Ctrl + S): Press Ctrl + S to save any document at your desired place.
- Cut (Ctrl + X): Press Ctrl + X to save your selected object in the clipboard; later, you can paste it to your desired place.
- Copy (Ctrl + C): Press Ctrl + C to copy any object or element.
- Paste (Ctrl + V): Ctrl + V will paste your copied or cut object per your choice.
2. Tools Bar Shortcuts
Now let us look at some of the shortcuts in the toolbar of this software.
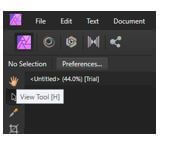
a. View Tool (H): Press the H button on a keyboard to make the View tool active.
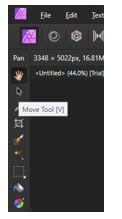
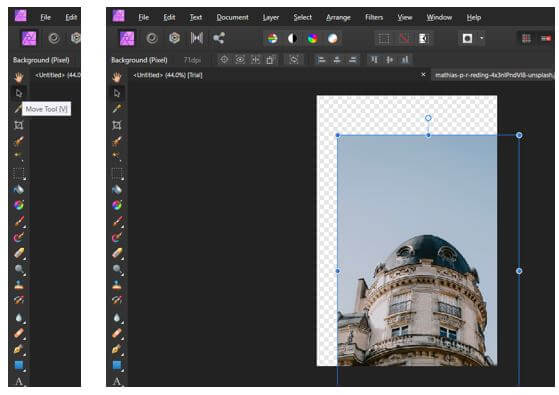
b. Move Tool (V): Press the V button on the keyboard to activate the View tool.
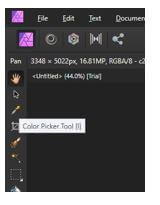
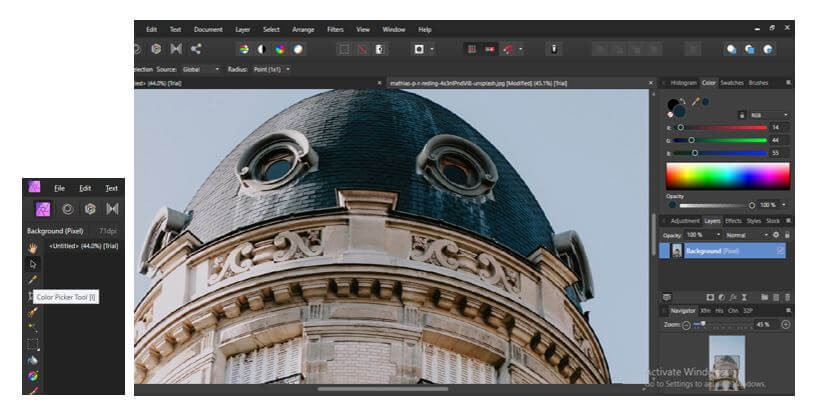
c. Color Picker Tool (I): I is the shortcut key of the Color Picker Tool.
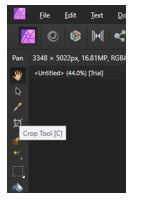
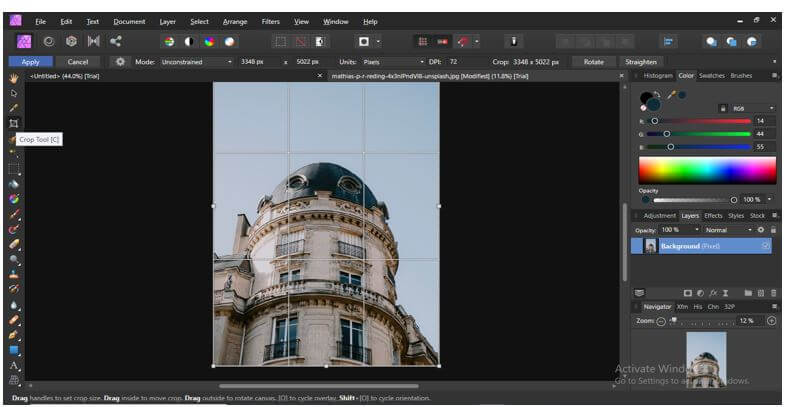
d. Crop Tool (C): Press the C button on the keyboard to have the Crop tool active.
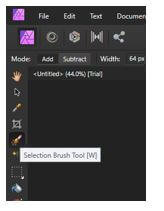
e. Selection Brush Tool (W): You can activate the Selection Brush tool by pressing the W button on the keyboard.
Affinity Photo Tools
There are several tools in this software that makes our work easy.
1. View Tool: The view tool will help you to move any image in the working area.
2. Move Tool (V): The move tool will help you move objects or images on the canvas area.
3. Color Picker Tool: Color Picker tool will help you to pick your desired color from the image of the canvas area, and the picked color will save in the color panel.
4. Crop Tool (C): The crop tool will help crop images according to your requirements.
These were some tools of this software; apart from these tools, there are many more tools you will know by and by.
Conclusion
Now you know about Affinity Photo and will use this software for raster image editing. We saw some of the shortcut keys and some tools of this software, but there are many more things about which you must know to use this software properly.
Recommended Articles
This is a guide to What is Affinity Photo? Here we discuss the introduction and how to use affinity photos. Cost, keyboard shortcuts, and photo tools. You may also have a look at the following articles to learn more –
