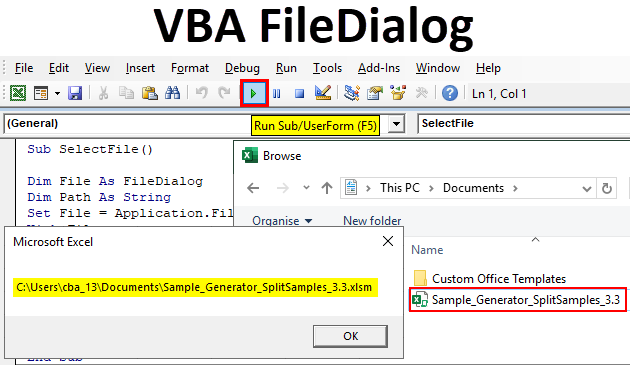
Excel VBA FileDialog
While working there may be some scenarios where we need to open some other workbooks or any other files either to import data or to take a reference. There is one method to provide a path of the file in our code in VBA which will open the file or the folder for us. But what if we don’t remember the path how can we open the file. We might have to search the path first and then again provide the path. VBA comes with a solution which is known as FileDialog.
FileDialog is a property in VBA which allows us to open a file or a folder from a path. Using this property a user doesn’t have to specify the path of the folder instead the user can select the path. Not only this, FileDialog has a total of four properties. They are also known as constants for this property. They are as follows:
- msoFileDialogFilePicker: This allows the user to select a file.
- msoFileDialogFolderPicker: This allows the user to select a folder.
- msoFileDialogOpen: This allows the user to open a file.
- msoFileDialogSaveAs: This allows the user to save a file.
The method of using this object in VBA is as follows.
Application.FIledialog (Filedialog Type)
FileDialog type can be any one of the above four types. Now let us use this object in examples to learn about this object property more clearly.
How to Use Excel VBA FileDialog?
Below are the different examples to use FileDialog in Excel using VBA code.
Excel VBA FileDialog – Example #1
First, let us help the user to select a file from a destination. In this example, the user will select a file from the folder and we will display the path for the file selected.
Follow the below steps to use excel VBA FileDialog:
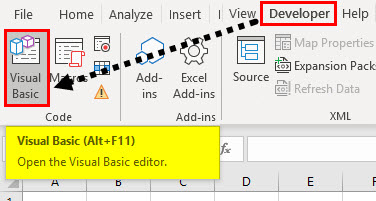
Step 1: Go to the Developers tab and click on Visual Basic.
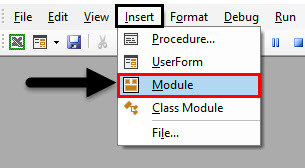
Step 2: Open a Module from the Insert menu option as shown below.
Step 3: Start the subprocedure to start working on example.
Code:
Sub SelectFile()

End Sub

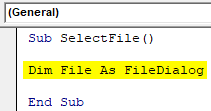
Step 4: Declare a variable as Filedialog as shown below.
Code:
Sub SelectFile()

Dim File As FileDialog

End Sub
Step 5: Now let us use this object from the Application.Filedialog method as follows.
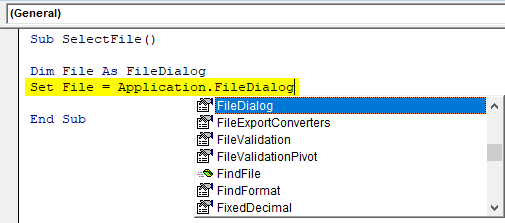
Step 6: Once we open the parenthesis we can see the option for four FileDialog types as shown in the image below.

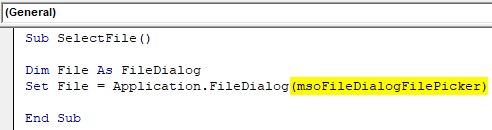
Step 7: Select the option of Filedialog type as msoFileDialogFilePicker
Code:
Sub SelectFile()

Dim File As FileDialog
Set File = Application.FileDialog(msoFileDialogFilePicker)

End Sub
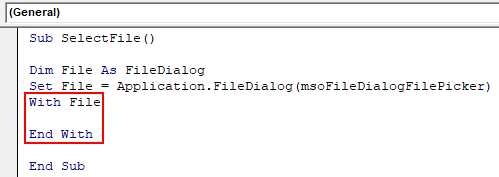
Step 8: Now we need to make the dialog box for this example, let us use With Statement as follows.
Code:
Sub SelectFile()

Dim File As FileDialog
Set File = Application.FileDialog(msoFileDialogFilePicker)
With File

End With

End Sub
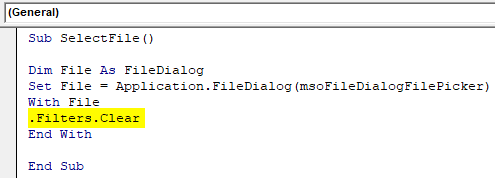
Step 9: If there are any filters we need to clear the filters, put a dot statement and write the statement as shown below.
Code:
Sub SelectFile()

Dim File As FileDialog
Set File = Application.FileDialog(msoFileDialogFilePicker)
With File
.Filters.Clear
End With

End Sub
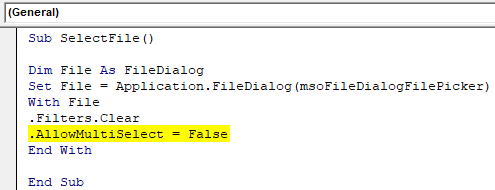
Step 10: Now do we want the user to select multiple files at once or a single file? For this example let us stick with the single file at a time, so use .Allowmultiselect as false.
Code:
Sub SelectFile()

Dim File As FileDialog
Set File = Application.FileDialog(msoFileDialogFilePicker)
With File
.Filters.Clear
.AllowMultiSelect = False
End With

End Sub
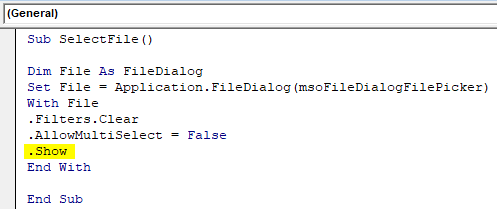
Step 11: Now in order to show the dialog box we can write .show to show the dialog box as follows.
Code:
Sub SelectFile()

Dim File As FileDialog
Set File = Application.FileDialog(msoFileDialogFilePicker)
With File
.Filters.Clear
.AllowMultiSelect = False
.Show
End With

End Sub
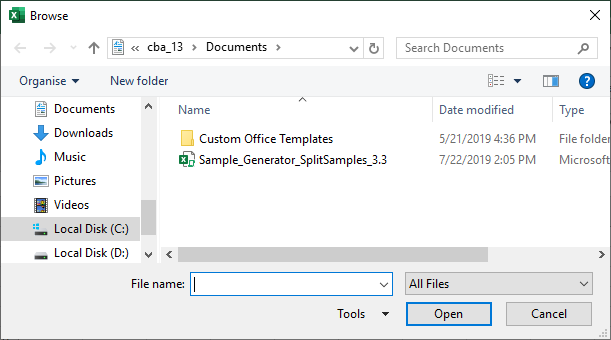
Step 12: Once we execute the above code we can see the dialog box as follows.
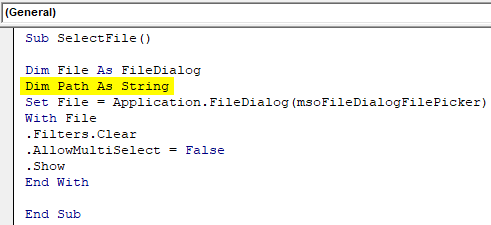
Step 13: Since we need to display the user path selected, declare another variable as a string in the code.
Code:
Sub SelectFile()

Dim File As FileDialog
Dim Path As String
Set File = Application.FileDialog(msoFileDialogFilePicker)
With File
.Filters.Clear
.AllowMultiSelect = False
.Show
End With

End Sub
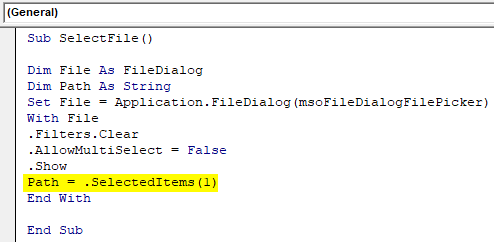
Step 14: We will use a selecteditems statement to find the path for the of the file user selected and store it in our variable as follows.
Code:
Sub SelectFile()

Dim File As FileDialog
Dim Path As String
Set File = Application.FileDialog(msoFileDialogFilePicker)
With File
.Filters.Clear
.AllowMultiSelect = False
.Show
Path = .SelectedItems(1)
End With

End Sub
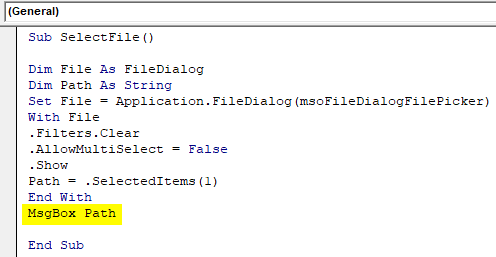
Step 15: After the With Statement use the msgbox function to display the address of the file selected.
Code:
Sub SelectFile()

Dim File As FileDialog
Dim Path As String
Set File = Application.FileDialog(msoFileDialogFilePicker)
With File
.Filters.Clear
.AllowMultiSelect = False
.Show
Path = .SelectedItems(1)
End With
MsgBox Path

End Sub
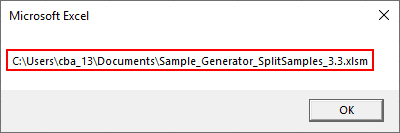
Step 16: Let us execute the above code and select a file and press ok to see the path as follows.
Excel VBA FileDialog – Example #2
Now let us see another option of the VBA FileDialog object which is msoFileDialogSaveAs. This property is used to save a file on any path. Follow the below steps to use excel VBA FileDialog.
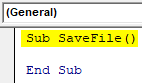
Step 1: In the same module let us write another sub procedure to save the file as follows.
Code:
Sub SaveFile()

End Sub
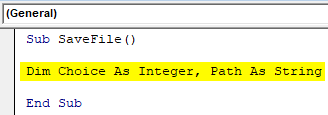
Step 2: Now declare two variables one as string while another as an integer.
Code:
Sub SaveFile()

Dim Choice As Integer, Path As String

End Sub
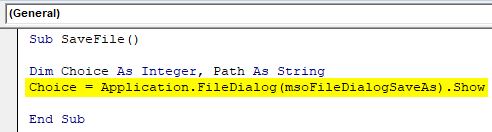
Step 3: Now let us make the dialog box visible to the user using the show property as follows.
Code:
Sub SaveFile()

Dim Choice As Integer, Path As String
Choice = Application.FileDialog(msoFileDialogSaveAs).Show

End Sub
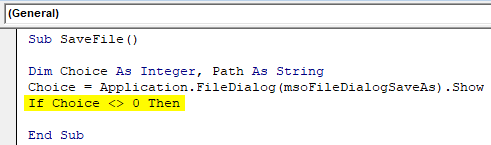
Step 4: Now use IF statement to determine the choice of the user as follows.
Code:
Sub SaveFile()

Dim Choice As Integer, Path As String
Choice = Application.FileDialog(msoFileDialogSaveAs).Show
If Choice <> 0 Then

End Sub
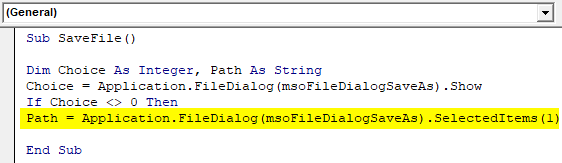
Step 5: Now let us get the path selected by the user in our path variable as follows.
Code:
Sub SaveFile()

Dim Choice As Integer, Path As String
Choice = Application.FileDialog(msoFileDialogSaveAs).Show
If Choice <> 0 Then
Path = Application.FileDialog(msoFileDialogSaveAs).SelectedItems(1)

End Sub
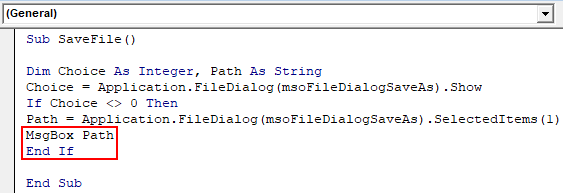
Step 6: Now let us display the result using the msgbox function and end the IF Loop.
Code:
Sub SaveFile()

Dim Choice As Integer, Path As String
Choice = Application.FileDialog(msoFileDialogSaveAs).Show
If Choice <> 0 Then
Path = Application.FileDialog(msoFileDialogSaveAs).SelectedItems(1)
MsgBox Path
End If

End Sub
Step 7: Now execute the above code and see the result, it opens a dialog box to save the file.
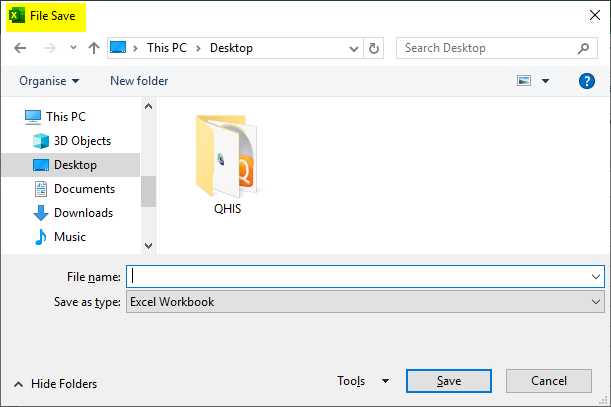
Step 8: Give a file name and press Save it will give us the Path for the file as follows.

Things to Remember
- FileDialog is an object property of VBA.
- We do not need to specify the path to code using this object.
- Using the dot operator we can see and use the IntelliSense properties of the object.
Recommended Articles
This is a guide to VBA FileDialog. Here we discuss how to use FileDialog object in Excel using VBA code along with some practical examples and downloadable excel template. You can also go through our other suggested articles –
