Updated June 8, 2023
Introduction to VBA Delete File
Sometimes when we work in VBA, we create some unwanted files, or we have some unwanted files on our computer. How do we get rid of them? We can simply go and delete each file manually by locating the file and right-click on it; then, we click on the delete button to delete the file. Or we can press the delete button from the keyboard to delete the file. But how do we do this in VBA is what we will learn in this article.
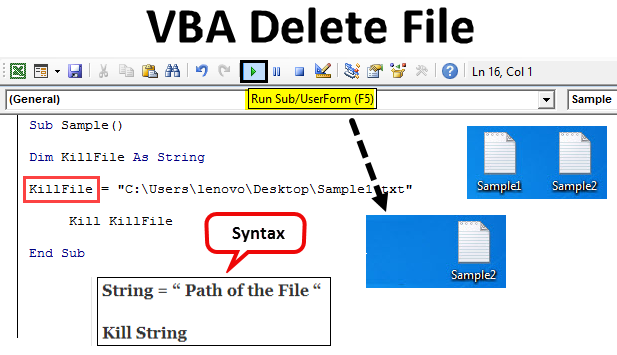
So now we understand the concept of this topic that we need to delete a file using VBA macros. In VBA, a kill command is used to delete a file from its location. When we simply delete the file by going through the process of locating the file and right-clicking on it to delete or press the delete button even, the file goes to the recycle bin. But when we use the Kill command in VBA to delete a file, the file is permanently deleted from the computer. It doesn’t go to the recycle bin. Now let us look at the syntax we will use to delete a file using VBA. It is as follows:
Syntax of Delete File in Excel VBA
String = “ Path of the File “
Kill String
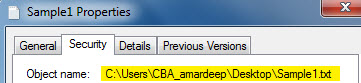
Always remember that the path of the file should be in the inverted commas. Now to delete a file in VBA, we must have its path. How do we get a path of the file? We need to right-click on the file and click on properties which give us different options for the properties of the file once we click on the security tab, which is the second number in the tabs, we can find the path location under the object name. Have a look at the screenshot below for reference.
The path written after the object name is the argument we need to feed for the killfile function to delete any file. Now let us start deleting files by looking at a few examples below.
Before we move to examples, always ensure that the developer’s tab is enabled to use macros. It is done by moving to the files section and then to the options section. We will find a checkbox that should be checked to enable the developer’s tab. Now let us move ahead to examples. For example, I have two files named sample 1 and sample 2. Both are text files and are on a desktop. Have a look at them below.

How to Delete a File Using VBA?
Let’s see the examples of Delete File in Excel VBA.
Example #1 – VBA Delete File
Let us first delete the sample 1 file in this example. Both the examples will have one minute difference which I will explain at the end of the topic. First, we need to get a path for the sample 1 file. In order to do that right, click on the file, and from the properties option, go to security, and we will find the path beside the object name as follows.
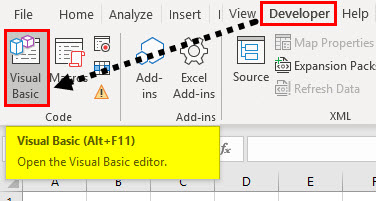
Step 1: Now, let us enter VBA from the visual basic option. It can be found under the developer’s tab.

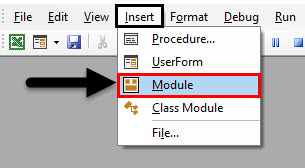
Step 2: Once in VBA, we need to insert a module. To enter the code window, double-click on the module, which will take us to the code window.

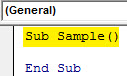
Step 3: The first step for writing a VBA code is to name the macro as follows.
Code:
Sub Sample()

End Sub
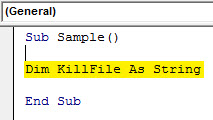
Step 4: Declare a variable as a string that will store the path for the file.
Code:
Sub Sample()

Dim KillFile As String

End Sub
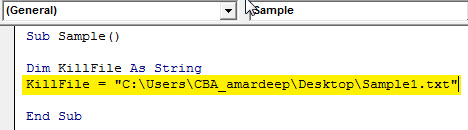
Step 5: Now, let us assign the path to this string of the file we want to delete, which is sample1.
Code:
Sub Sample()

Dim KillFile As String
KillFile = "C:\Users\CBA_amardeep\Desktop\Sample1.txt"

End Sub
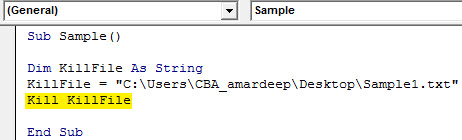
Step 6: Now let us delete the file using the Kill Function as follows.
Code:
Sub Sample()

Dim KillFile As String
KillFile = "C:\Users\CBA_amardeep\Desktop\Sample1.txt"
Kill KillFile

End Sub
Step 7: When we run the above code and look at the desktop, we can no longer find the first text file we created.

Only the second file is present, and the first file is moved. What happens if the file path is wrong or the file doesn’t even exist? We deleted the first file, which didn’t exist, so we could run the code again to check the result we would get. Run the above code again.
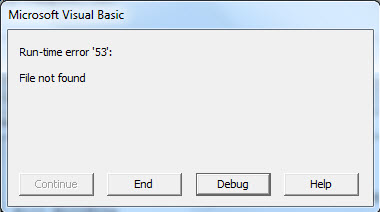
VBA gives us a runtime error that the file is not found. This is important, and we need to keep it in mind.
Example #2 – VBA Delete File
Now let us delete the second file using the kill function. Again we need to have the path for the second file for which we need to right-click on the file and, from the properties option, go to security, and we will find the path beside the object name as follows.
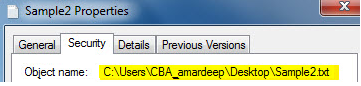
Now we have the path for the second file, so let us delete this file.
Step 1: Enter into VBA through the developer’s tab.
Step 2: Once in VBA, we need to insert a module. To enter the code window, double-click on the module, which will take us to the code window.
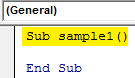
Step 3: Name the macro first to proceed further as follows.
Code:
Sub sample1()

End Sub
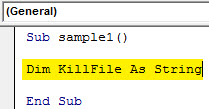
Step 4: Similar to above, declare a variable as a string to store the file’s path.
Code:
Sub sample1()

Dim KillFile As String

End Sub
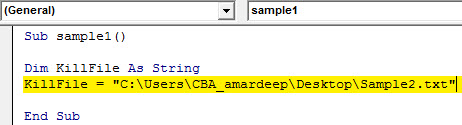
Step 5: In the string, store the path of the file as follows.
Code:
Sub sample1()

Dim KillFile As String
KillFile = "C:\Users\CBA_amardeep\Desktop\Sample2.txt"

End Sub
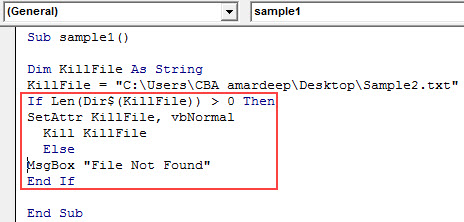
Step 6: Now, we will check that the file even exists using the If function as follows.
Code:
Sub sample1()

Dim KillFile As String
KillFile = "C:\Users\CBA_amardeep\Desktop\Sample2.txt"
If Len(Dir$(KillFile)) > 0 Then
SetAttr KillFile, vbNormal
  Kill KillFile
  Else
MsgBox "File Not Found"
End If

End Sub
Step 7: If we run the above code, we can see that the file has been deleted and is no longer on the desktop.

Step 8: In the above example, we have seen that if the file doesn’t exist, VBA gives us an error also; in this case, as the file has been deleted, we can run the code again, and we can see that instead of the error we get a personalized message as follows.
Things to Remember
There are a few things that we need to remember about deleting a file in VBA:
- We use the Kill function to delete a file.
- To delete a specific file, we require the path of that file.
- If we cannot find the file, an error occurs.
- The files deleted by the Kill function do not go into the recycle bin.
Recommended Articles
This is a guide to VBA Delete File. Here we discuss how to use Excel VBA Delete File, a few practical examples, and a downloadable Excel template. You can also go through our other suggested articles –
