Introduction to Twitch in After Effects
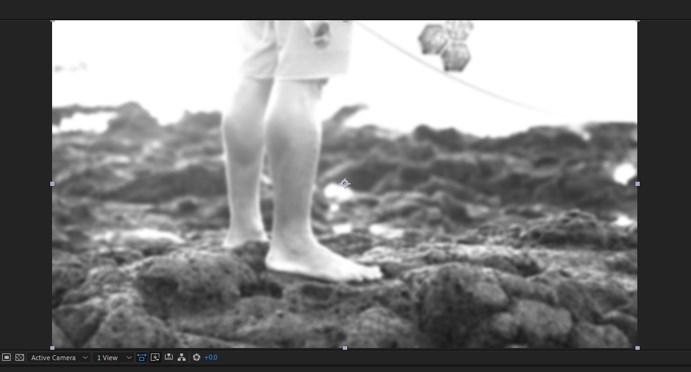
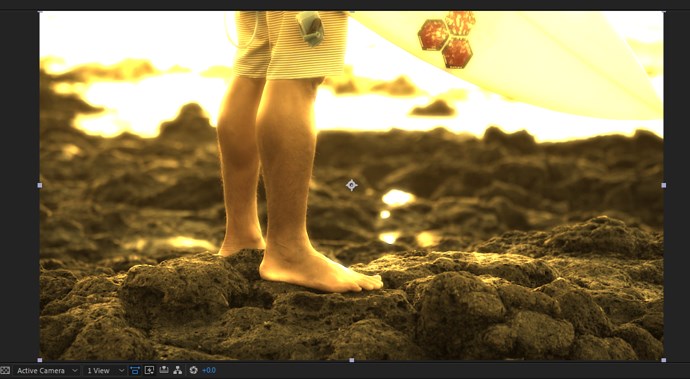
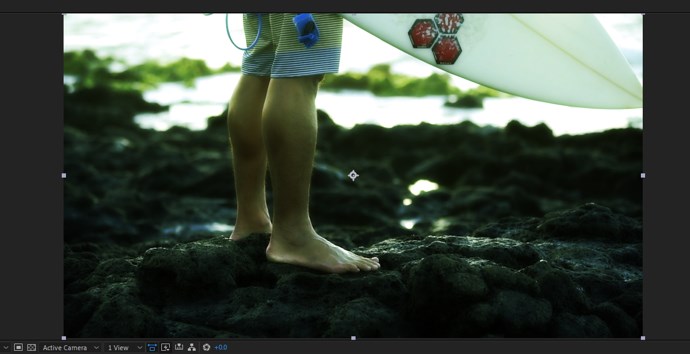
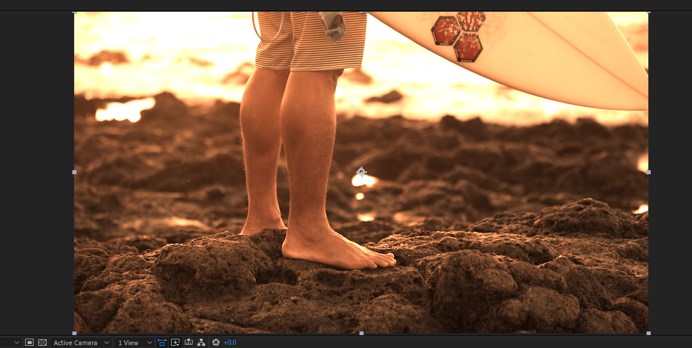
Twitch is an After Effects plugin which creates stylistic video effects using random operators to synchronize with motion graphics to create a visual effect.
There are 6 Operators:
- Blur Operator: This operator function controls the blur using aspect control, threshold slider, and transfer modes.
- Color Operator: The twitches can be colorized using this operator to create random color, which is fun as well as useful according to the need.
- Light Operator: Using this operator, you can add brightness or darkness or both, which basically controls the exposure of the scene.
- Scale Operator: This operator uses random anchor selection and motion blur to achieve scale effect.
- Slide Operator: It has control over motion blur, slide, and advanced RGB Split.
- Time Operator: The timing of the footage can be changed to offset to achieve a playback and fourth effect.
Installing Twitch Plugin for Windows
After downloading the plugin from the website of the video copilot, the first step is to close After Effects. Then go to the “C:\Program Files\Adobe\Adobe After Effects 2020\Support Files\Presets” folder and copy the “__-Twitch-__” folder. Then go to the Plug-ins folder and create a folder named “Twitch” and copy “twitch.aex” and “twitch_ae.key” depending on 32 or 64-bit os of windows. Now open After Effects, and in the Effects and Preset section, there will be a subfolder of Video Copilot, and in it, there will be a Twitch effect. Also, in the Animation Preset section, there will be a twitch folder with prebuilt custom effects.
1. Using Twitch
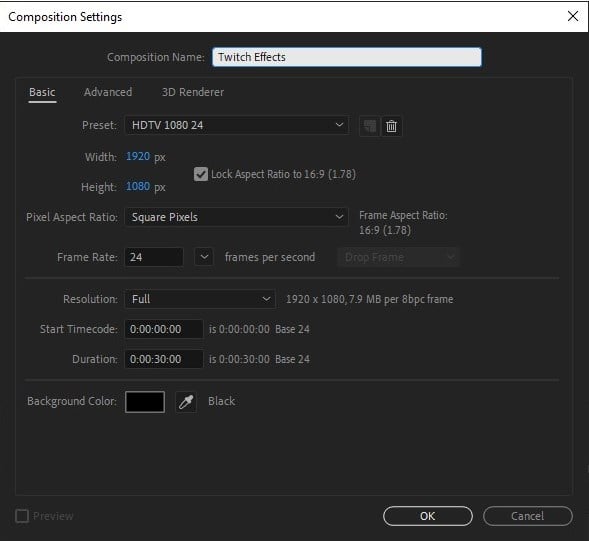
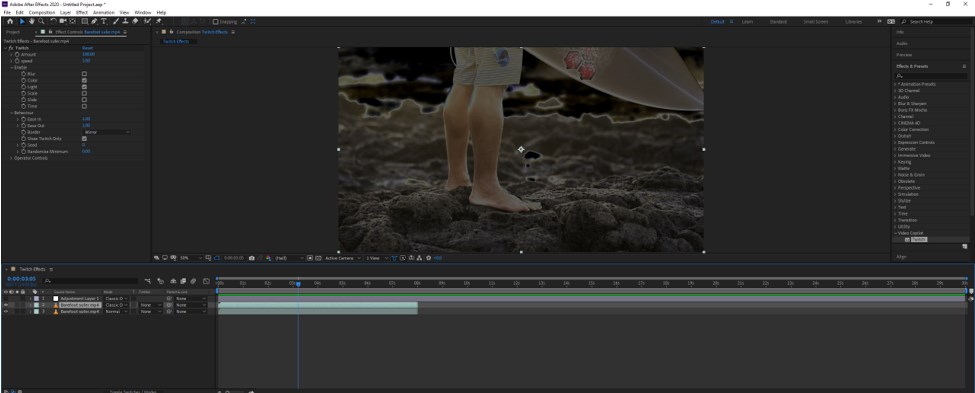
Step 1: Start with a new project in After Effects and create a new composition with default settings.
Step 2: Double click on the project window to import a video. You can download any free stock video from sites like pixels.
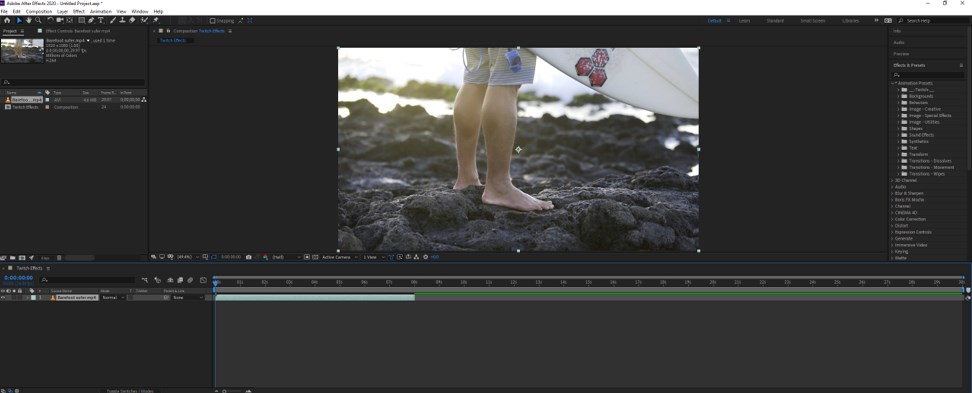
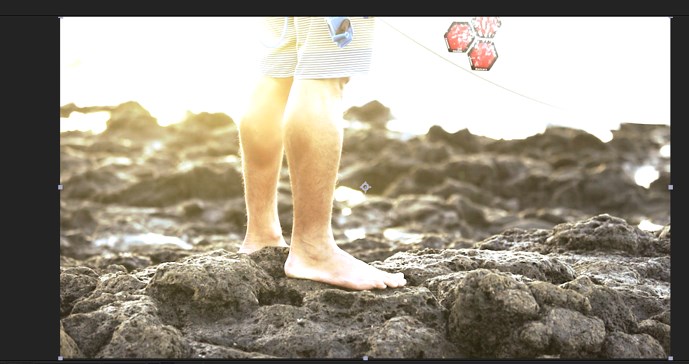
Step 3: Now drag the video on the layer panel as shown below.
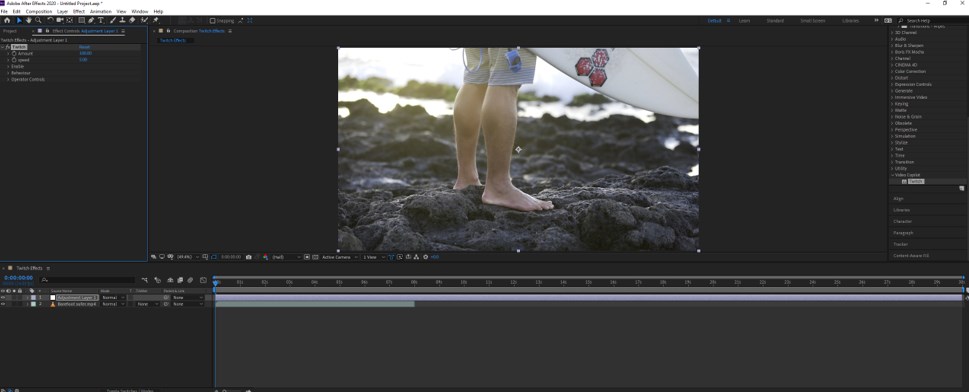
Step 4: Next, create an adjustment layer by right-clicking in the layer panel or going in Layer > New > Adjustment Layer. This is because we will apply our effects to this layer and not on the actual video.
Step 5: Go to the Effects and Presets panel; in the Video Copilot folder, you will find the Twitch effect. Drag it in the Effects control panel with the adjustment layer selected, and now if you drag the timeline, you will not get the effect as the operator is currently not enabled.
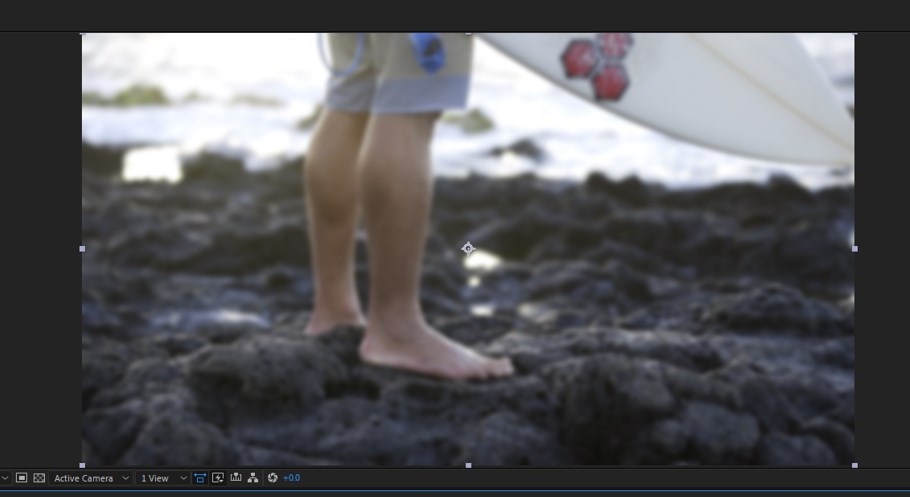
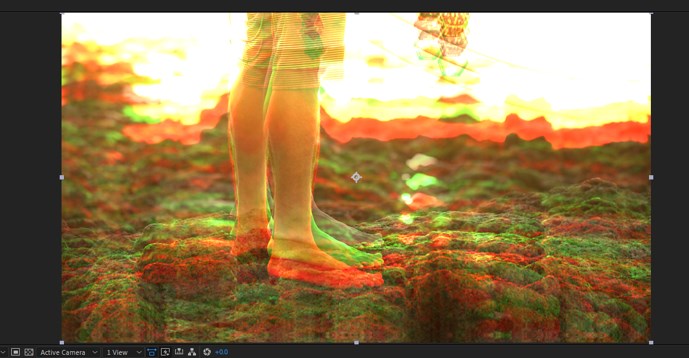
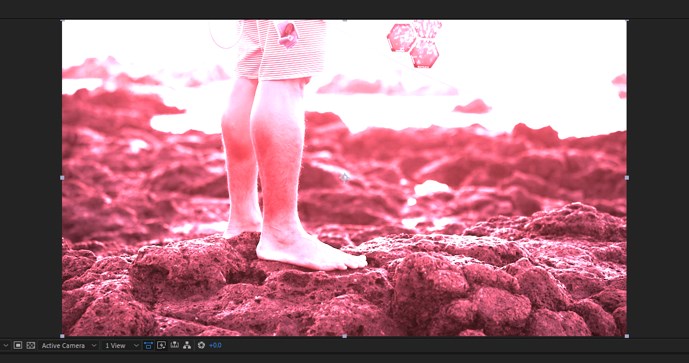
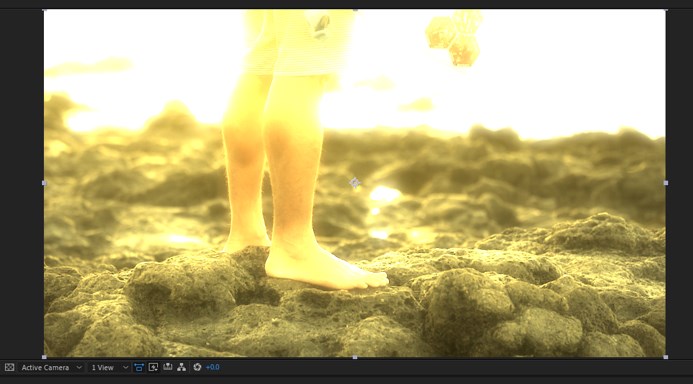
Step 6: To enable the effects, go to Enable > Blur, and now if you play, you will get the following effects.
Step 7: Similarly, we can play with other operators individually or in combination with multiple operators. When you enable a certain operator, then in the Operator Controls section, the corresponding controls will be enabled for that selected operator.
Step 8: Amount, speed, and Behaviour are the global adjustments that will be applied to all the operators which are enabled.
2. Global Adjustments
- Amount: This value governs the intensity of input from the twitch; the more the amount, the more intense will be the effect
- Speed: This value governs the interval of the twitch to happen. The less the value, the twitch will happen intermittently and the lesser in a set time, while the more value will make the twitch happen more regularly, and the interval between twitch will be reduced.
- Behavior: Ease in and ease out governs the start and the end of the twitch and the smoothness.
- Border: It adjusts how the border will be displayed when using the slide operator.
- Show Twitch only: Using this option will show the twitch only and blank screen otherwise. To see this in action, duplicate the video layer, set the mode to classic difference, and hide the adjustment layer for now and remove the twitch effect from the bottom layer.
- The seed value is used to randomize the effect, which means if you apply the same effect in another scene, then the behavior will be randomized depending on the seed.
3. Individual Controls
These are the controls specific to the operator you have selected, like a blur, which will have its own set of controls and Color with its own set of operator control and so on. This can be tweaked individually and are pretty intuitive.
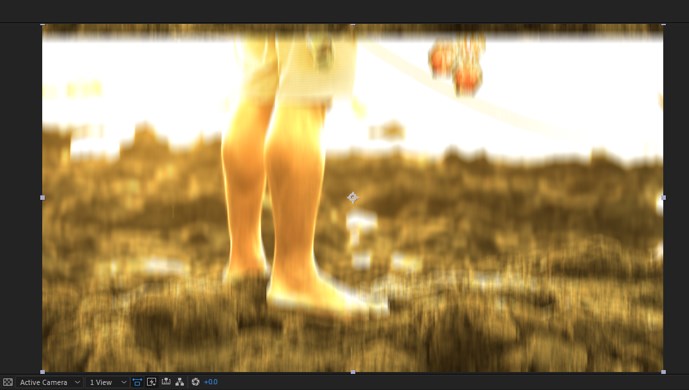
- Blur: The amount of blur and the tint can be controlled. The transfer mode can be changed to achieve different effects along with a blur boost. Blur opacity can also be set along with a unique blur seed. There is also an option to enable the lens blur effect. Blur twitches can set the Interval of twitches.
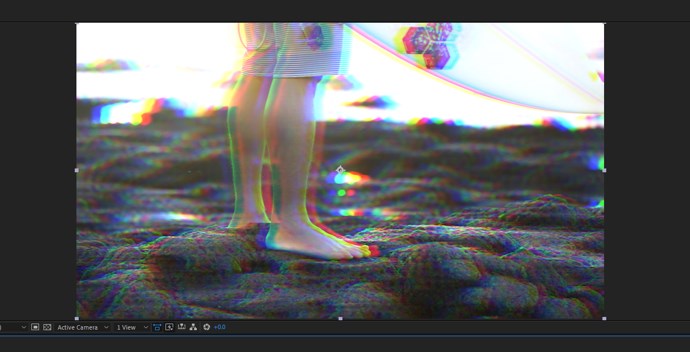
- Color: The color glitch effect can be produced with randomize color, and the amount of color and randomization can be set. Color twitches can set the Interval of twitches.
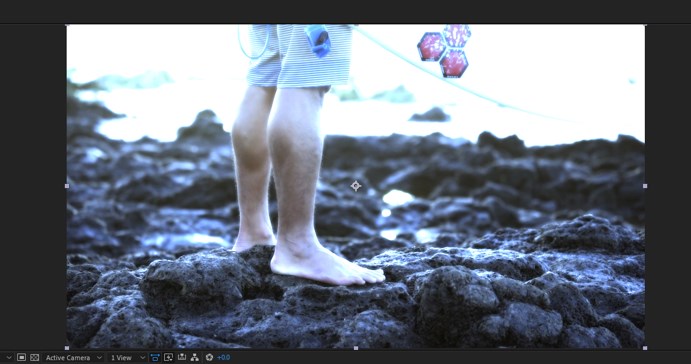
- Light: The amount of light can be set along with the behavior of how light affects brighter, darker or both areas. Light twitches can set the Interval of twitches.
- Scale: This operator scales the video with the amount and scale originator, and the origin can even be randomized. Scale twitches can set the Interval of twitches.
- Slide: Slide direction, spread, motion blur, and amount along with tendency can be controlled. Also, RGB split allow to create of a color glitch slide effect. Slide twitches can set the Interval of twitches.
- Time: This controls the timing of the clip by moving it forward and backward depending on the amount. Time twitches can set the Interval of twitches.
4. Animation Presets
There are some ready-made preset available in the Animation Preset section. You can directly drag it on the adjustment layer a single preset or a combination of multiple presets.
Following are some preset examples:
1. Bad Distortion Effect
2. Bad Film Gate Effect
3. Blue Glow Effect
4. Colorless Flash Effect
5. Fashion Show Effect
6. Green Street Effect
7. Night Club Effect
8. Orange Color Shift Effect
9. Random Color Flash Effect
10. Sharp Flashing Effect
11. Transition Bloom Effect
Conclusion – Twitch in After Effects
We have looked at how the Twitch plugin can be used in After Effects to achieve the desired effects using the operators efficiently in conjunction with the available presets to create a master class effect.
Recommended Articles
This is a guide to Twitch in After Effects. Here we discuss the introduction and how to use the twitch effects with the following examples. You can also go through our other related articles to learn more –
