Updated August 21, 2023
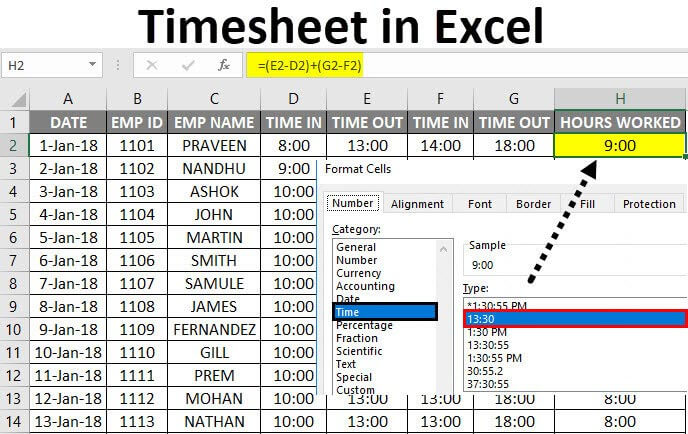
Timesheet in Excel
A timesheet is a system for recording the employee’s time spent on each job. In Excel, we normally use a timesheet to calculate the employee’s timings like IN and OUT timings, how many hours an employee worked for a day, and the exact “BREAK” time he has taken. In Excel, this timesheet will summarize the number of hours worked by each employee; to calculate these timings, we can use the timesheet to elaborate on it.
How to Create Timesheet Template in Excel?
Creating a timesheet template in Excel is very simple and easy. Let’s understand how to create a timesheet template in Excel with some examples.
Excel Timesheet – Example #1
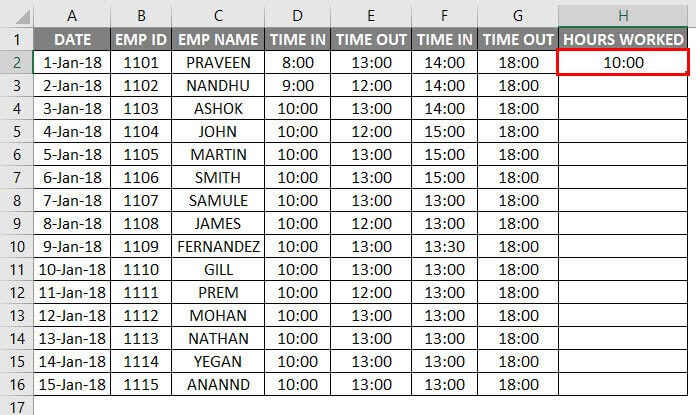
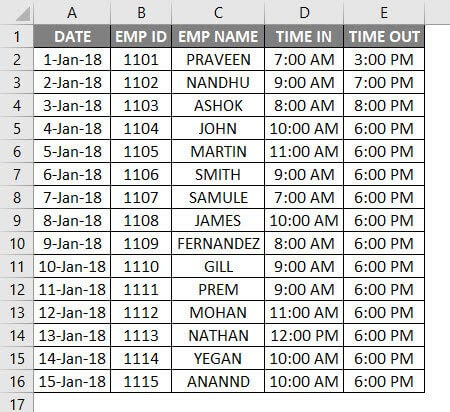
In this example, we are going to create a timesheet of employees by calculating how many hours an employee worked. First, consider the employee database below with IN and OUT Timings.
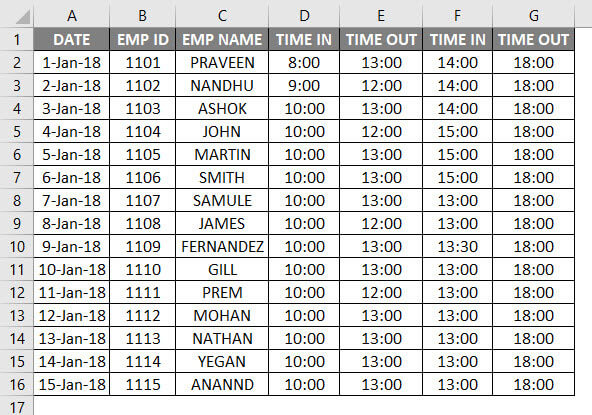
The above employee database has a date, employee name, TIME IN, and TIME OUT. Now we need to find out how many hours an employee worked by following the below steps:
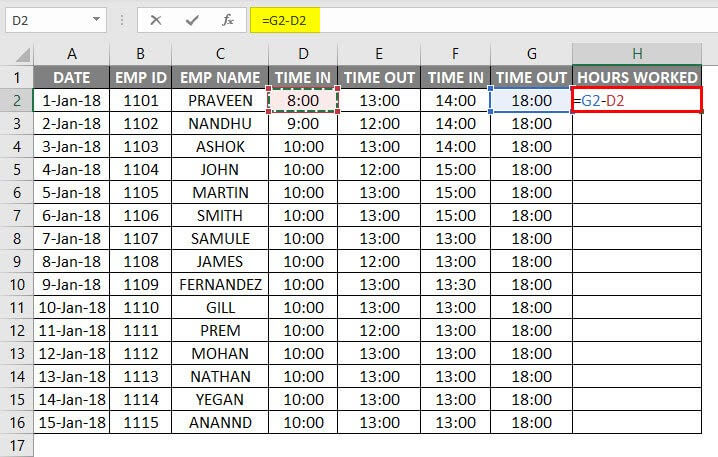
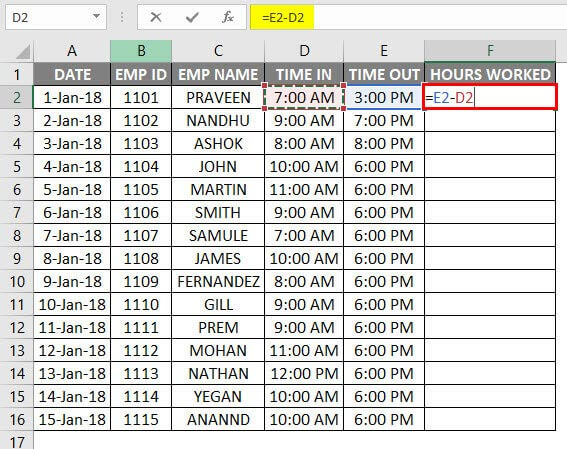
- First, create a new column named Number of Hours Worked.
- Make sure that the cell is in the proper time format.
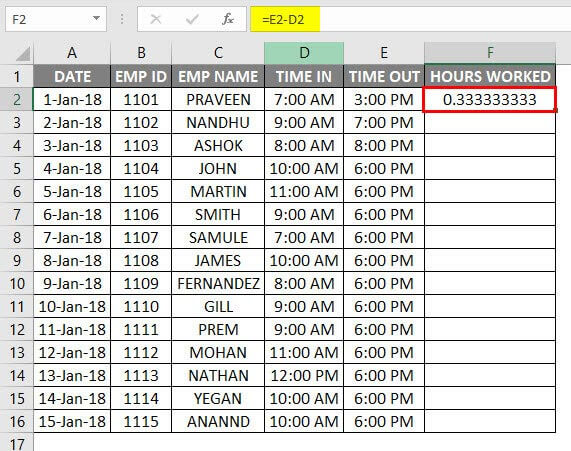
- To calculate an employee’s no of hours, we will calculate the formula as OUT TIMINGS – IN TIMINGS.
- By default, Excel will return the result in decimal numbers, as shown below, where it’s not an exact number of hours.
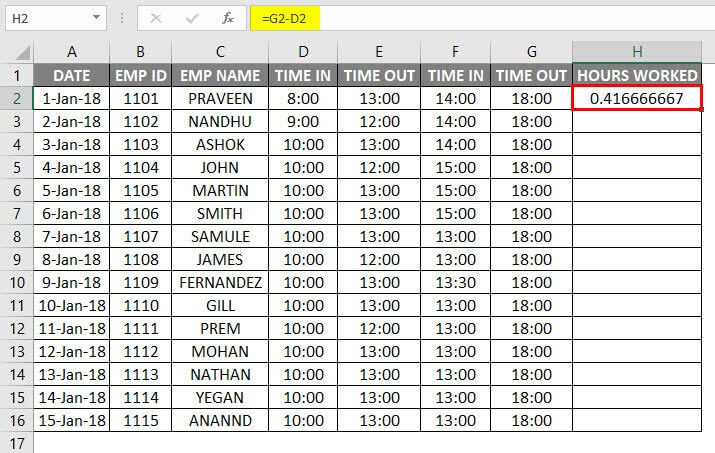
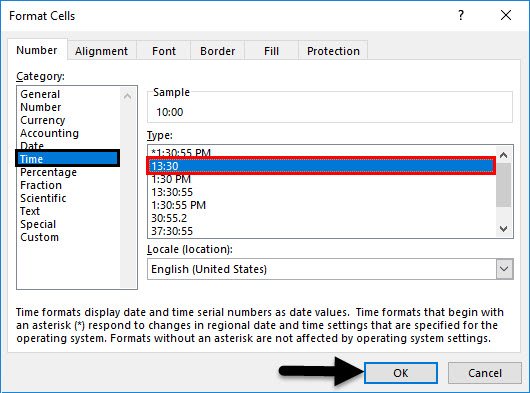
- We need to change this general format to time by formatting the cell, as shown below.
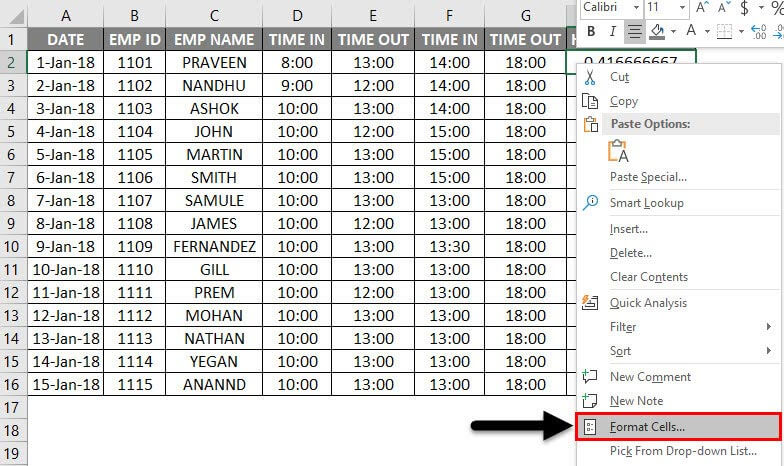
- Once we click on the format cell, we will get the dialog box below, choose the exact time format, and click ok.
- After applying the format, we will get the output result as follows.
- If we have IN and OUT Timings, we can use the formula as shown above, but we have BREAK TIME IN and TIME OUT in this example. Hence we can use the simple Excel timesheet formula as =(E2-D2)+(G2-F2).
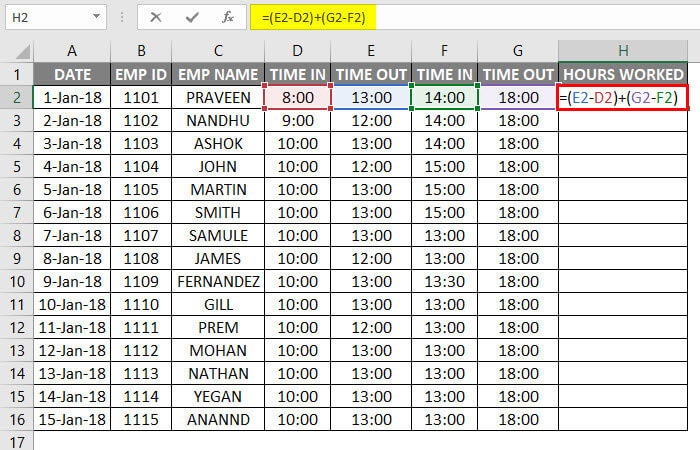
- By applying this formula, we will know how many hours an employee worked for a day, and the output will be displayed as follows.
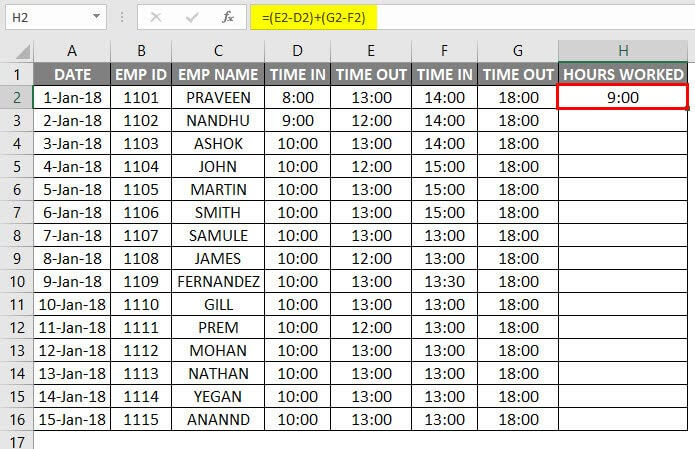
- We just need to drag the cell H2 downwards, and the formula will be applied to all the cells.
In the above example, we can see the time difference in how many hours an employee has worked and the breakup timings given for each employee as time OUT.
Excel Timesheet – Example #2
In the previous example, we have seen how many hours an employee has worked using the normal arithmetic formula; now, in this example, we will use the time function in 24 hours format.
Suppose assume that management wants to pay the employees on an hourly basis based on their work timings.
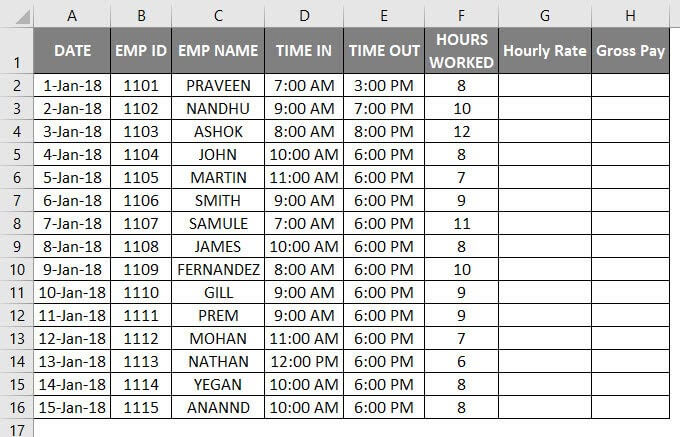
As shown below, let’s consider the employee database with appropriate timings records.
Here we can see the employee IN and OUT timings for various employees. Now we need to calculate the number of hours the employee has worked by following the below steps:
- Insert a new column named Hours Worked.
- Apply the normal Excel timesheet formula as =E2-D2, as shown below.
- Now we can see that decimal values have appeared for Hours Worked.
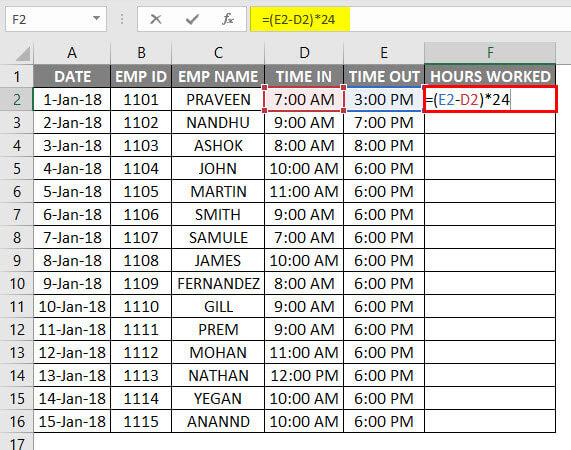
- This error normally occurs because the time is not in 24-hour format.
- To apply the Excel timesheet formula by, multiplying by 24 as =(E2-D2)*24.
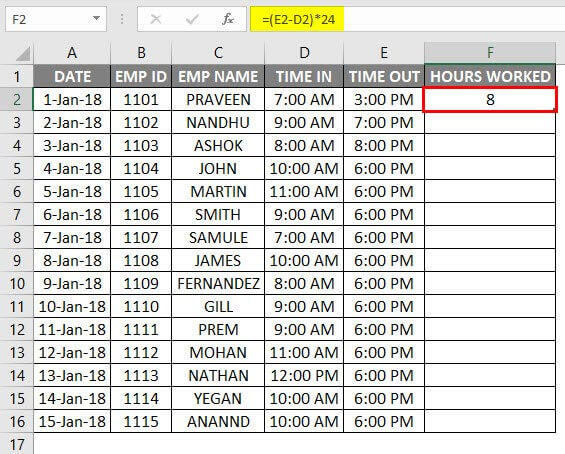
- After applying the above formula, we will get the following output result.
- Drag the cell F2 downwards, and the formula will be applied for all the cells, as shown below.
Now we will calculate how many employees are going to get paid on an hourly basis. Let’s assume an employee will be paid Rs.20/- per hour and follow the steps below.
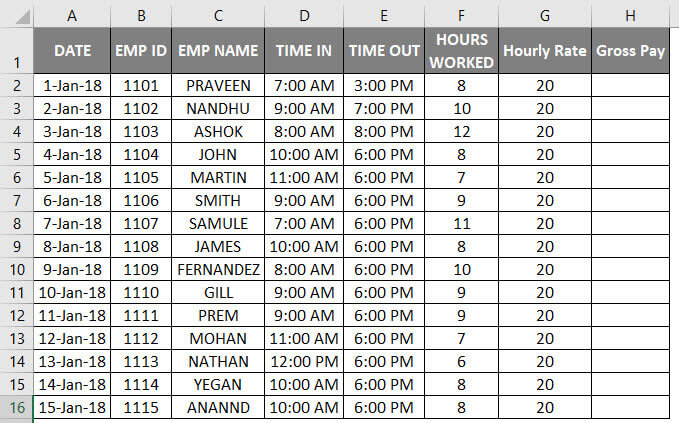
- Insert two new columns as Hourly Rate and Gross Pay as given below.
- In the hourly Rate Column, enter Rs.20/-.
- To apply the Excel timesheet formula as Gross Pay = Hourly Rate * Hours Worked.
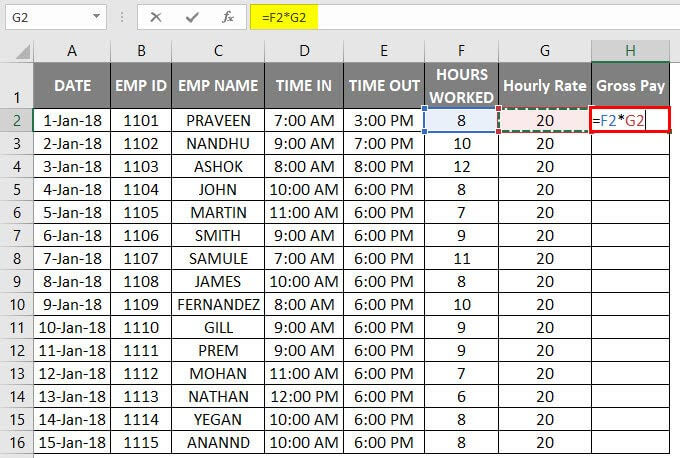
- We will get the below result as follows.
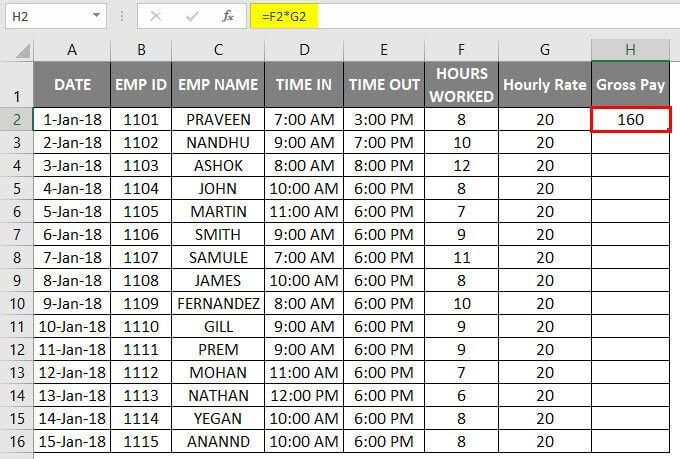
- Drag the cell H2 downwards, and the formula will be applied for all the cells, as shown below.
Here we calculated the Gross Pay of an employee based on the Number of Hours Worked.
Either way, we can create a new column, Hourly Rate, as Rs.20/- in a fixed column and multiply it by the Number of Hours Worked. Let’s see with an example as follows.
Excel Timesheet – Example #3
Consider the same employee data record with TIME IN and TIME OUT records.
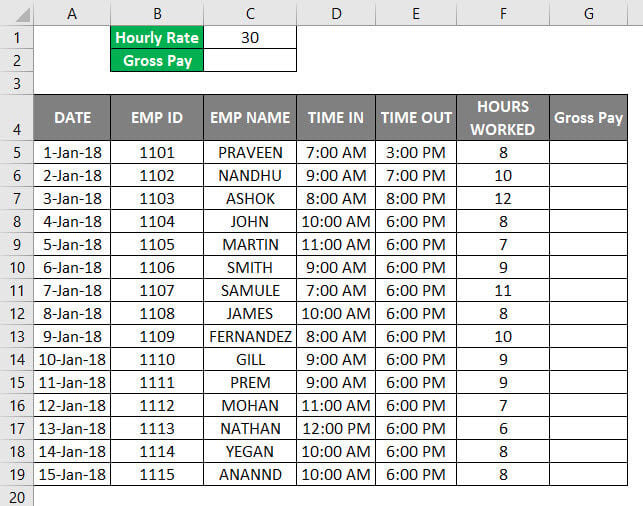
We have created a new fixed column named Hourly Rate as Rs.30/-. So the employee will get paid Rs.30/- Per Hour.
Now Hourly Rate has a fixed column, so whenever the Rate changes, it will get populated and reflected in the Gross Pay column, as shown in the below steps.
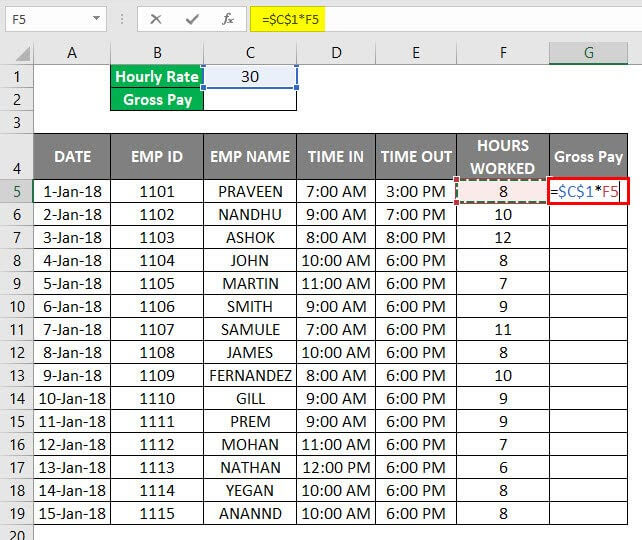
- Insert the Excel timesheet formula in Gross Pay Column as =$c$1*F5 shown below, i.e., Gross Pay = Hourly Rate * Hours Worked.
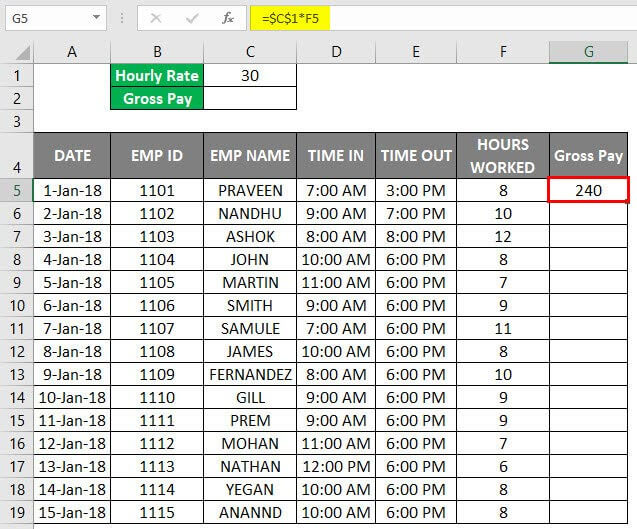
- We can see that Gross Pay has been calculated on the Hourly Rate Basis.
- Drag the cell G2 downwards, and the formula will be applied for all the cells, as shown below.
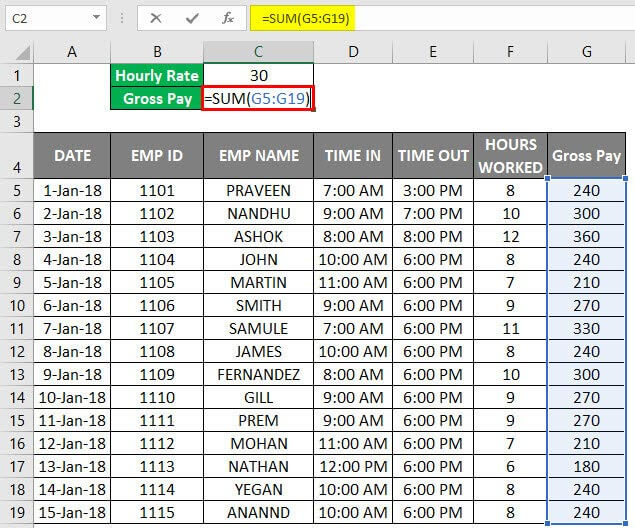
- Next, we will calculate the Total Gross Pay by adding the employees’ Gross Pay.
- Use the formula =SUM(G5:G19).
- We will get the below output as follows.
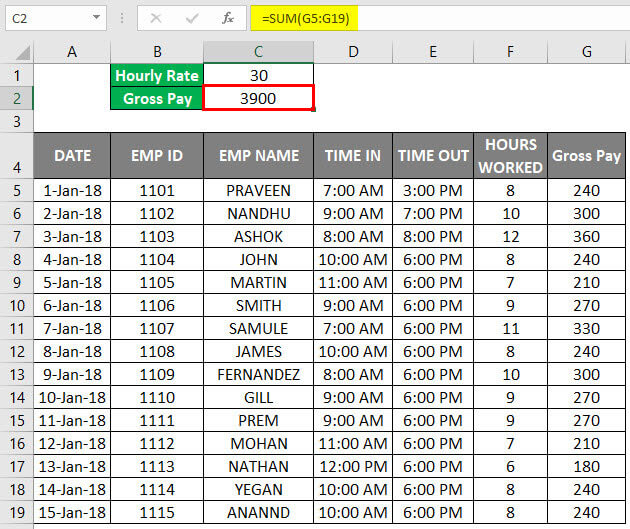
Hence we have calculated Total Gross Pay as Rs.3900/- and Hourly Rate as Rs.30/- If the Hours Rate changes, the values will be automatically changed, and the same Gross Total will also be changed.
Let’s see what happens if the Hourly Rate is changed to Rs.10/- and we will get the below result.
Now we can see the difference in each employee that Gross Pay has been getting decreased because of Changes in Hourly Rate and at the same time we got Total Gross Pay as Rs.1300/- and Hourly Rate as Rs.10/.
Things to Remember
- Maintain proper timing format while creating a timesheet for employees.
- Ensure all cells are formatted in 24-hour format, or Excel will throw a decimal value.
- Ensure that AM and PM are mentioned in the timings because if the OUT TIME is Greater than IN TIME, excel cannot calculate the number of hours worked.
Recommended Articles
This has been a guide to Timesheet in Excel. Here we discuss how to create a Timesheet Template in Excel, practical examples, and a downloadable Excel template. You may also look at the following articles to learn more –
