Updated July 5, 2023
Introduction to Text Effects in Photoshop
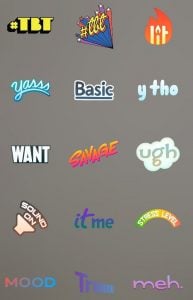
I am going to introduce you today to the various cool text effects using the Type Tool, Layer Style, Blending Options, Warping, and Gradient tool of Photoshop. In today’s social media frenzy world, making the words look more attractive in online ads or various forms of marketing gimmicks is very important as it would make a selfie or an Instagram story look eye-catchy and trendy!!.. E.g., what would you respond to better “mood” or So that’s the theme for today…” INSTAGRAM STICKERS”….In recent years the Instagram App has become one of the most used social media platforms. Texts are designed in two forms: GIFs stickers and still stickers.
Either way, they are fun to create. Let us try to create some cool text effects that we use in our day-to-day Instagram lives.
Adding Mood Sticker in Photoshop
This sticker is one of my favorites and is super easy to create. All you have to do is apply a good gradient in layer style and apply the Arial font. So without further adieu, lest see a step-by-step process.
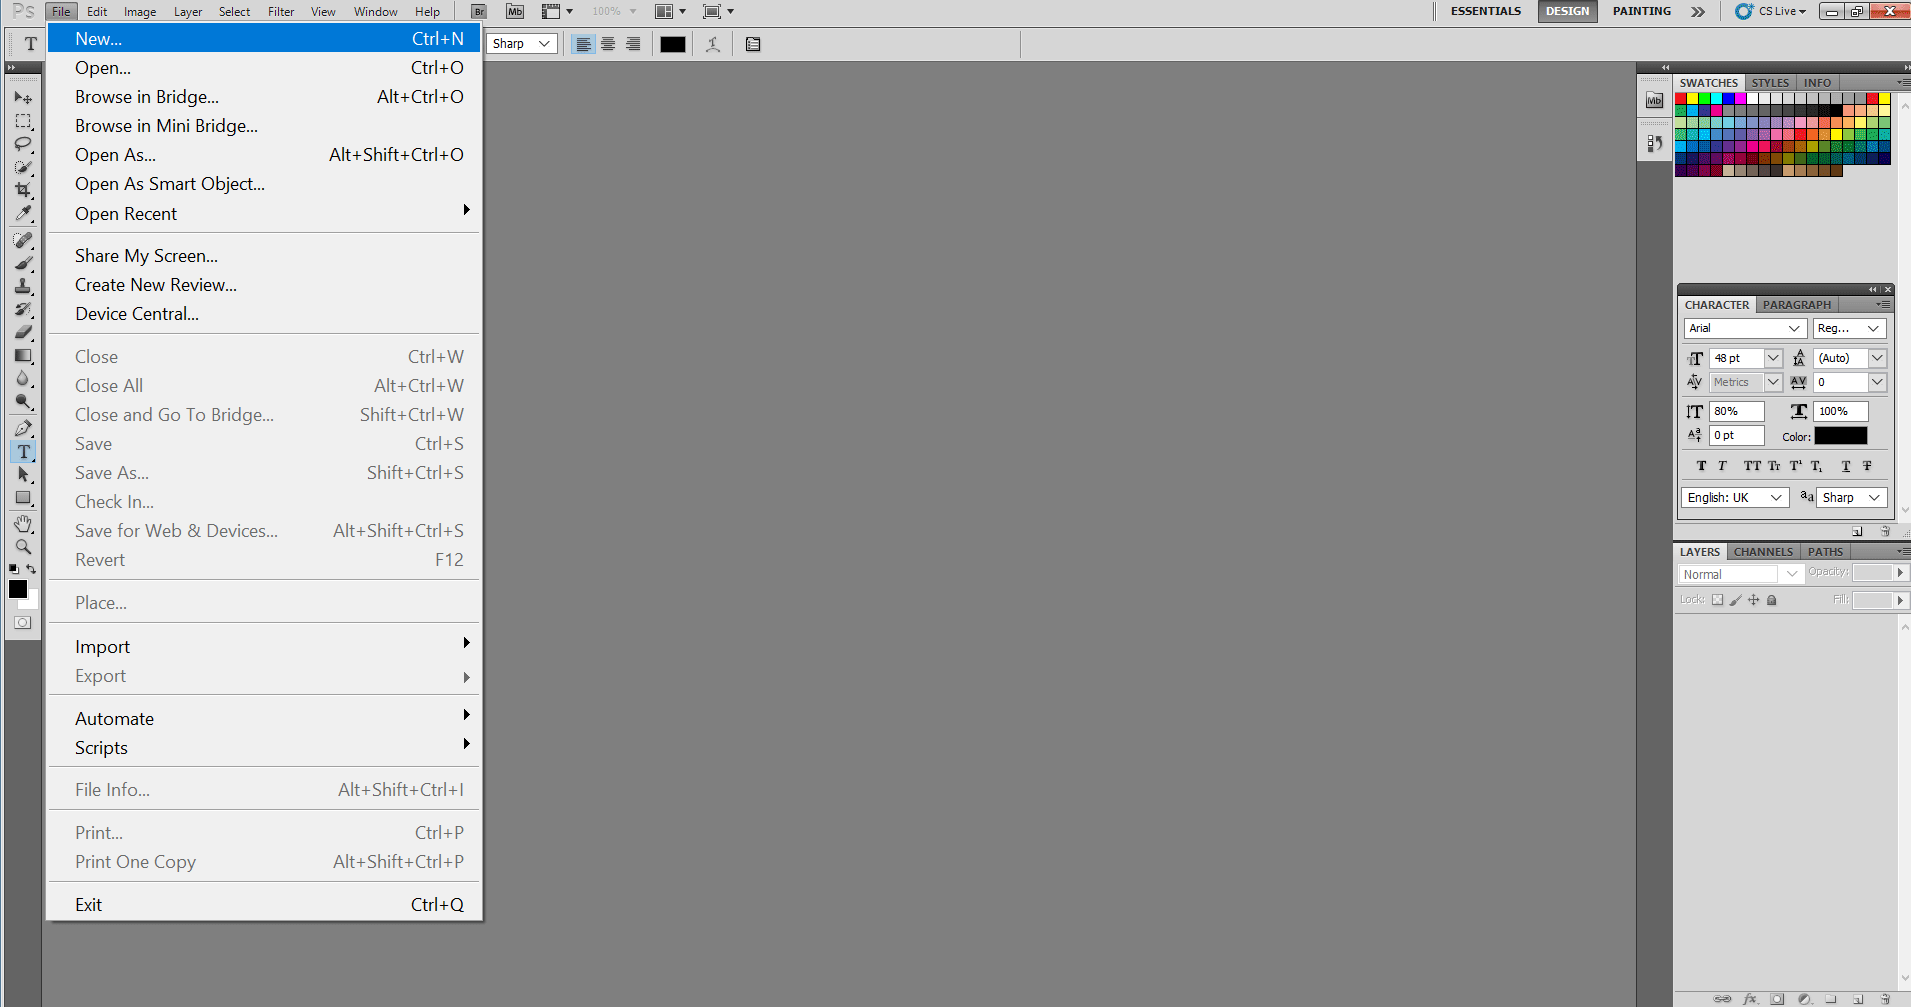
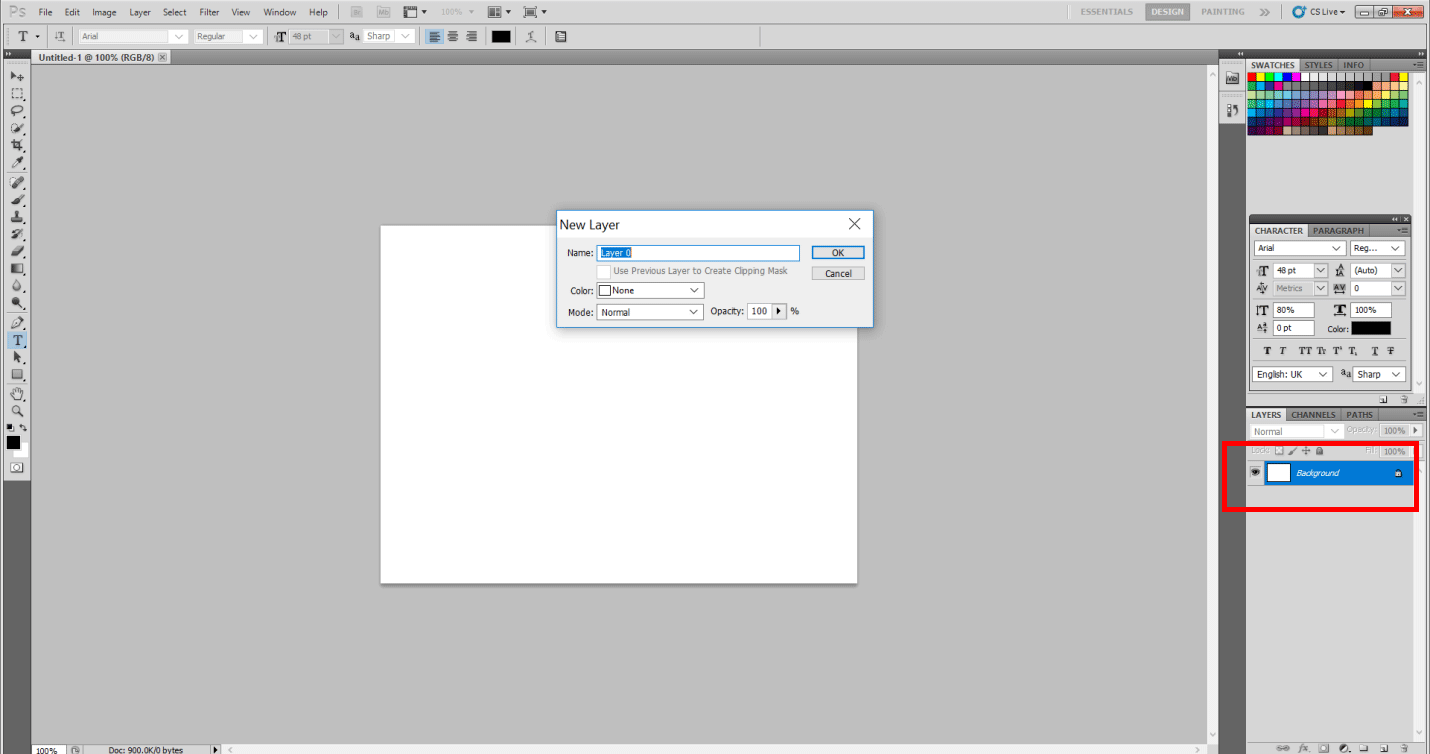
Step 1: First, create a new working window and a layer.
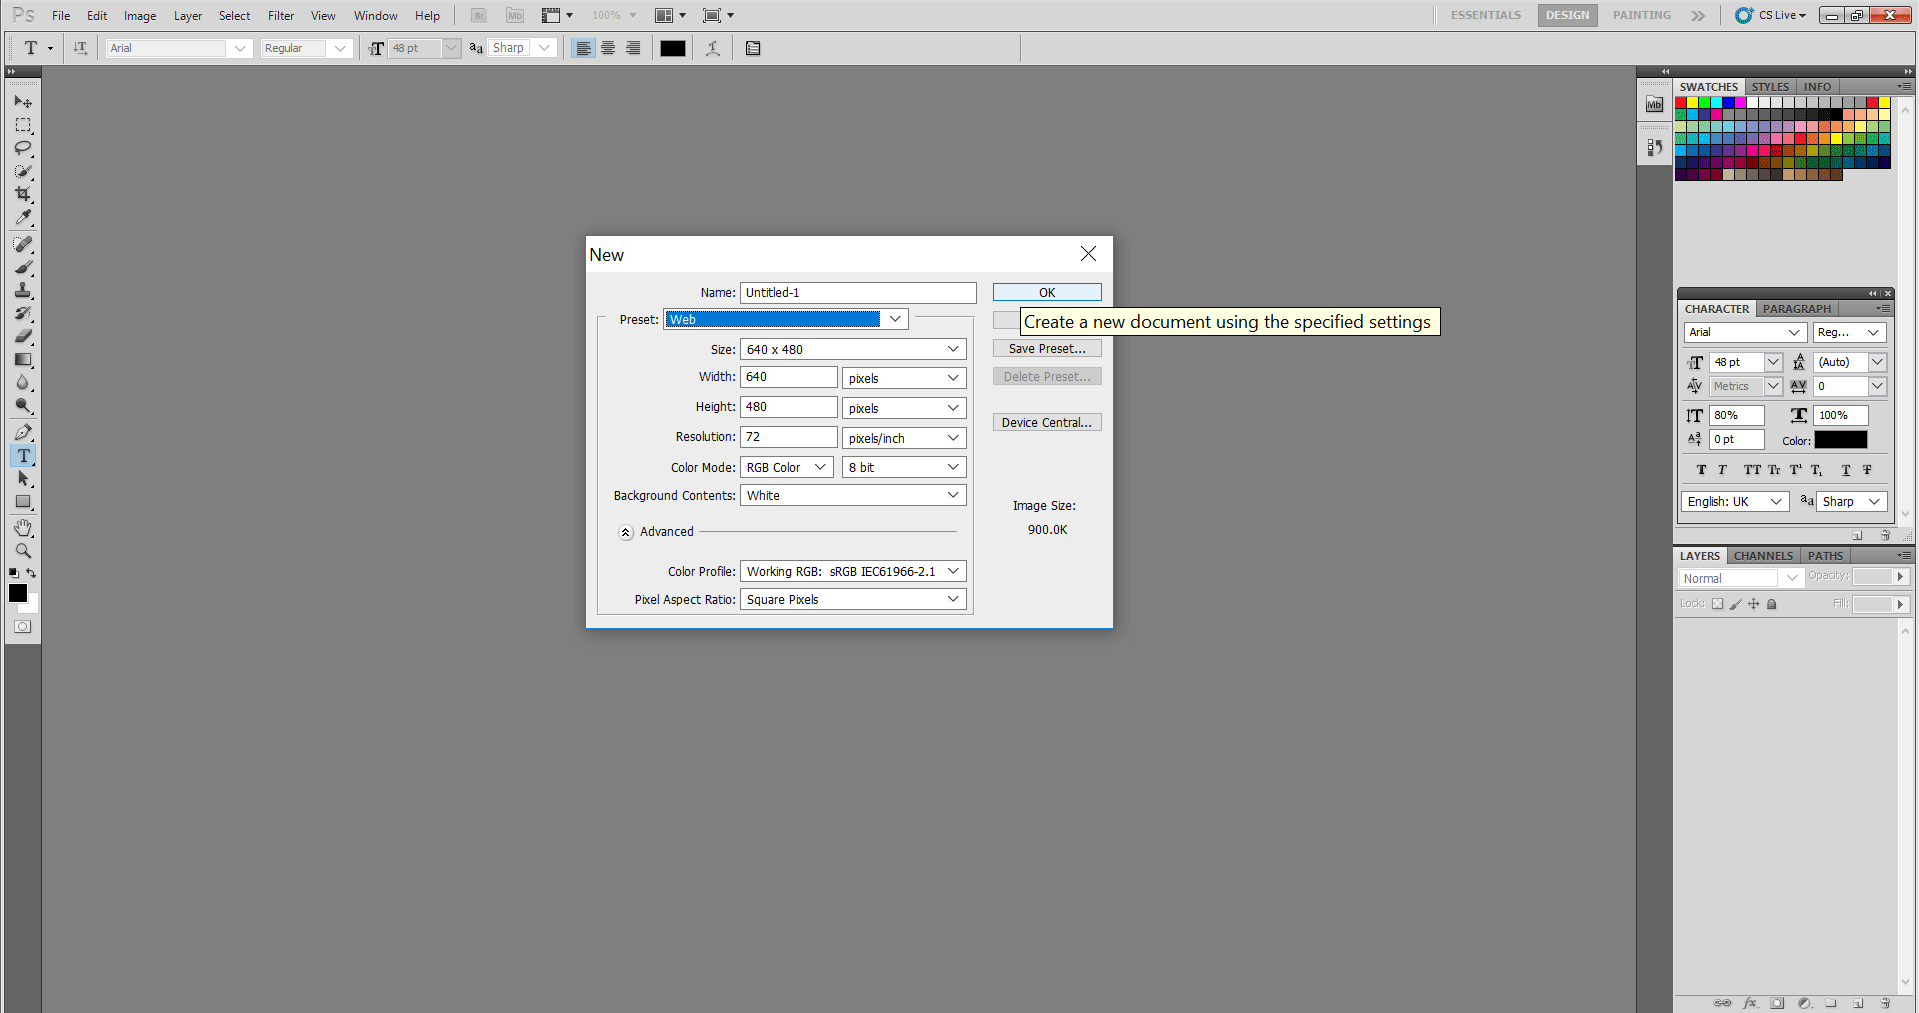
Step 2: You may want to select the “Web” option from the drop-down menu in the “Preset” dialog box. That adjusts the image’s resolution and makes it suitable to be passed online.
Step 3: Now we all know that the Background layer is locked in the workspace, meaning no changes or effects can be added to it. Normally I unlock it, make all sorts of effects in my layers, and then lock it later.
Step 4: To unlock the Background layer, double-click on the tiny lock along with the Background layer heading. It will ask if you wish to create a normal layer. Press OK.
Step 5: Next, select the type tool from the Tool list on the left side of the screen and type MOOD in Caps like this.
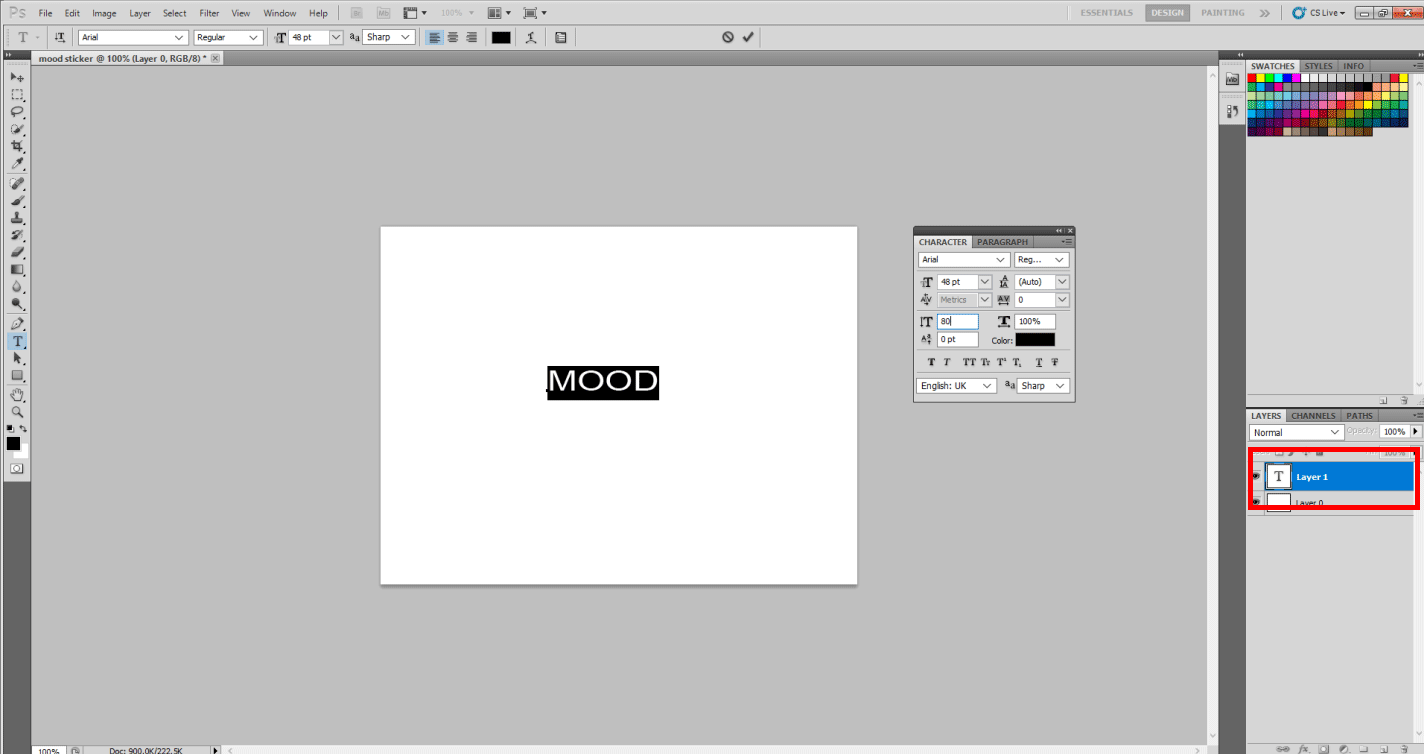
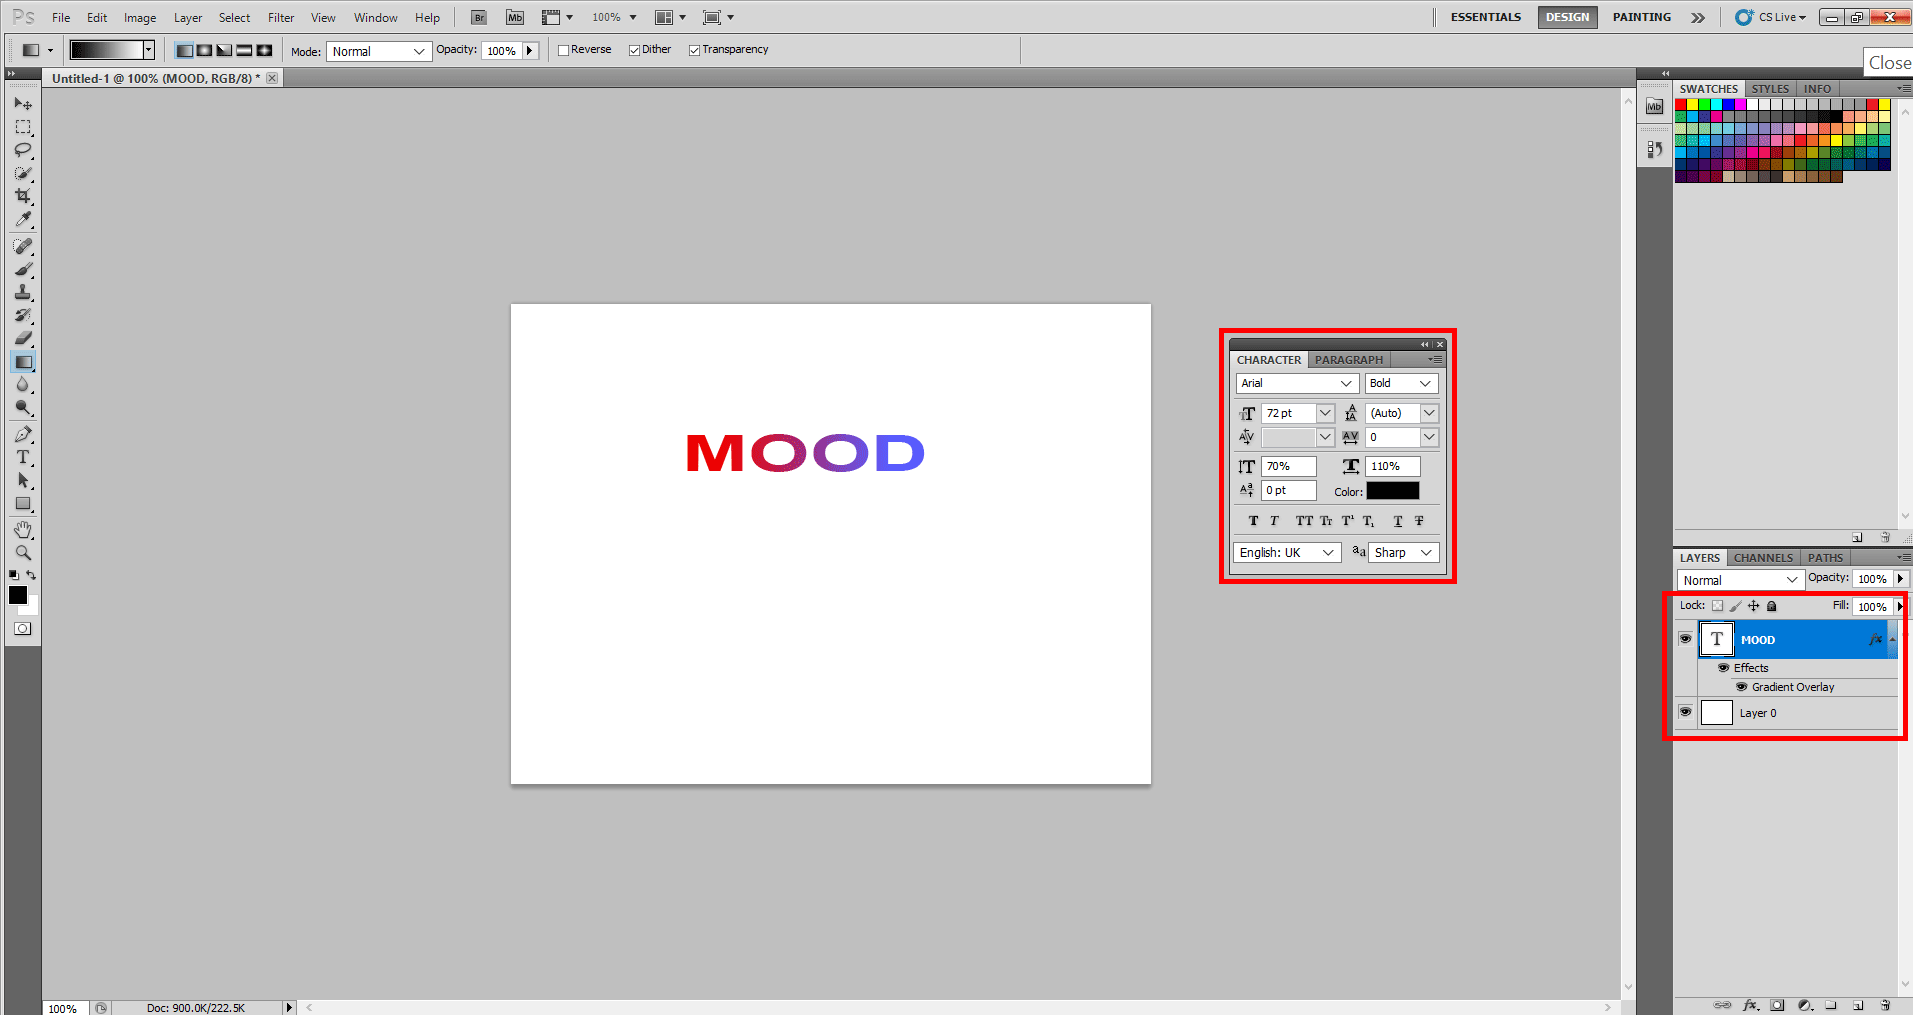
Step 6: Once done, please select the word MOOD and adjust the following in the character/paragraph window on the right as shown. i.e., Font size to 72 pt, Font style Bold, Vertical stretch to 70%, and horizontal stretch to 110%.
Step 7: Further, please right-click on the MOOD layer and select Blending Options.
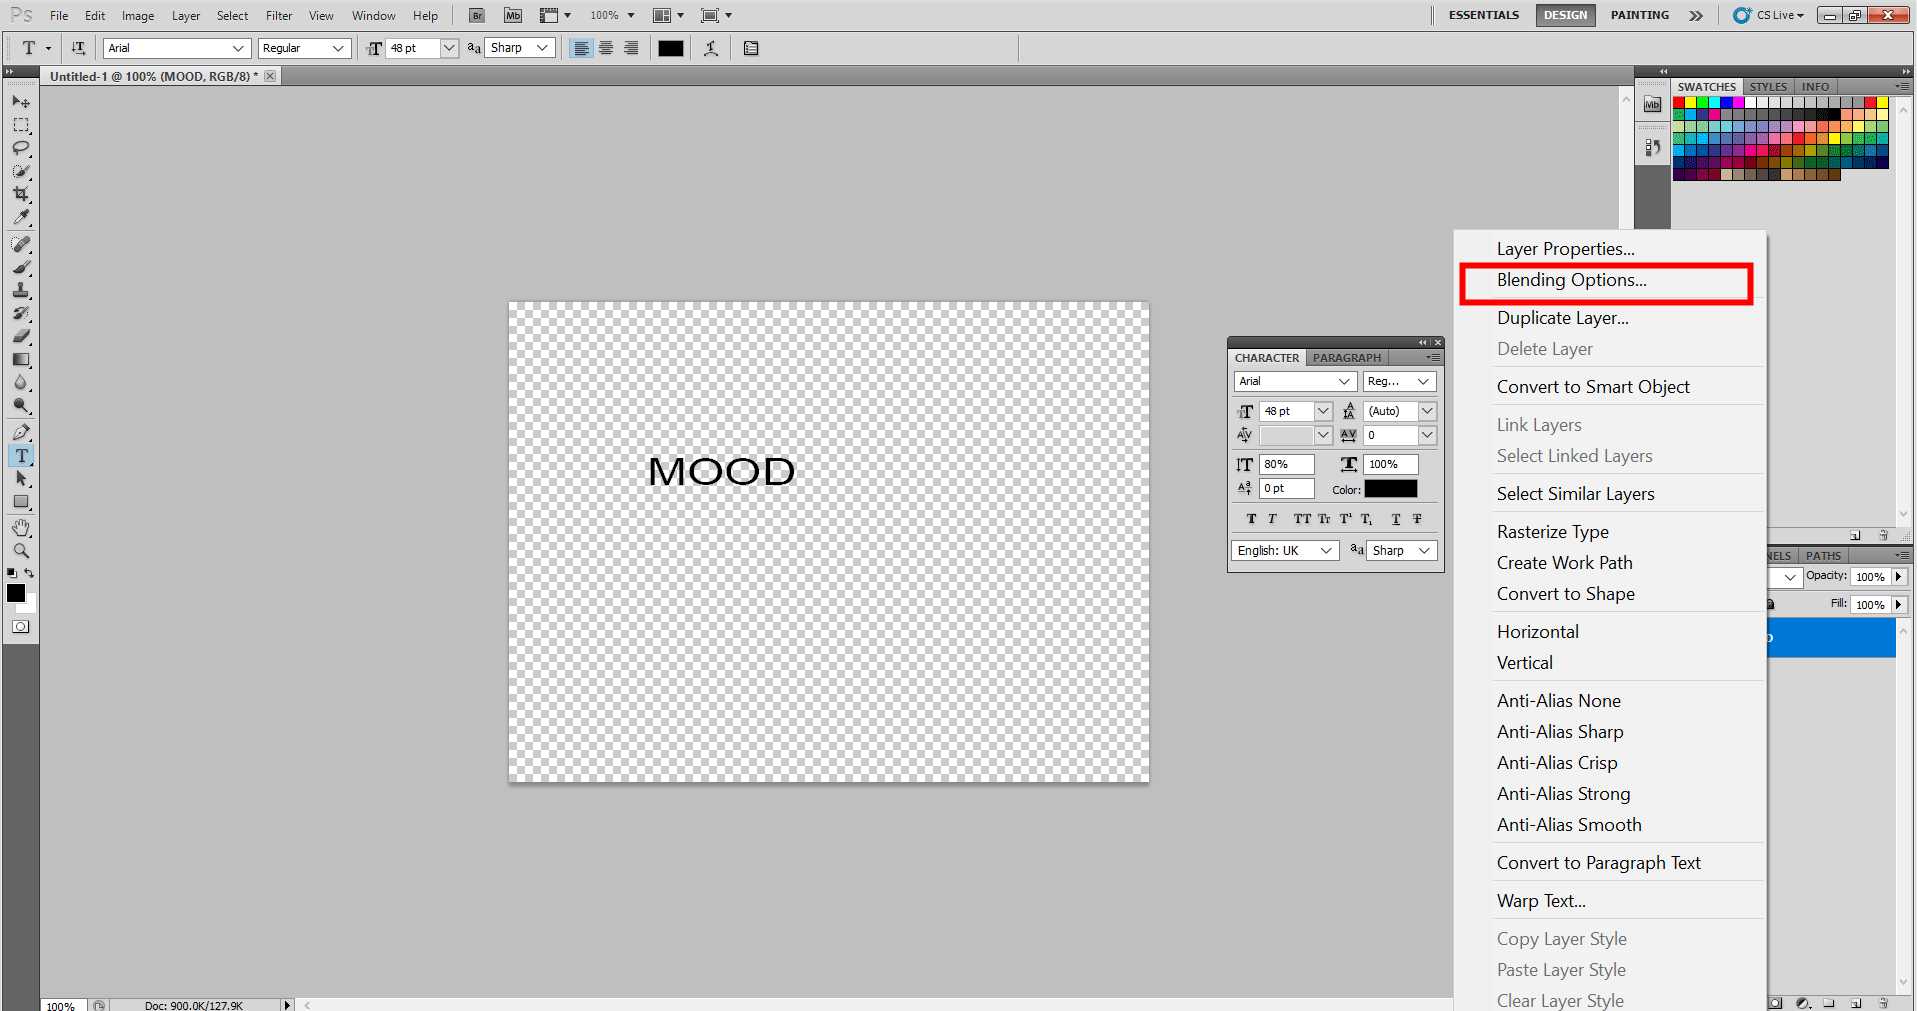
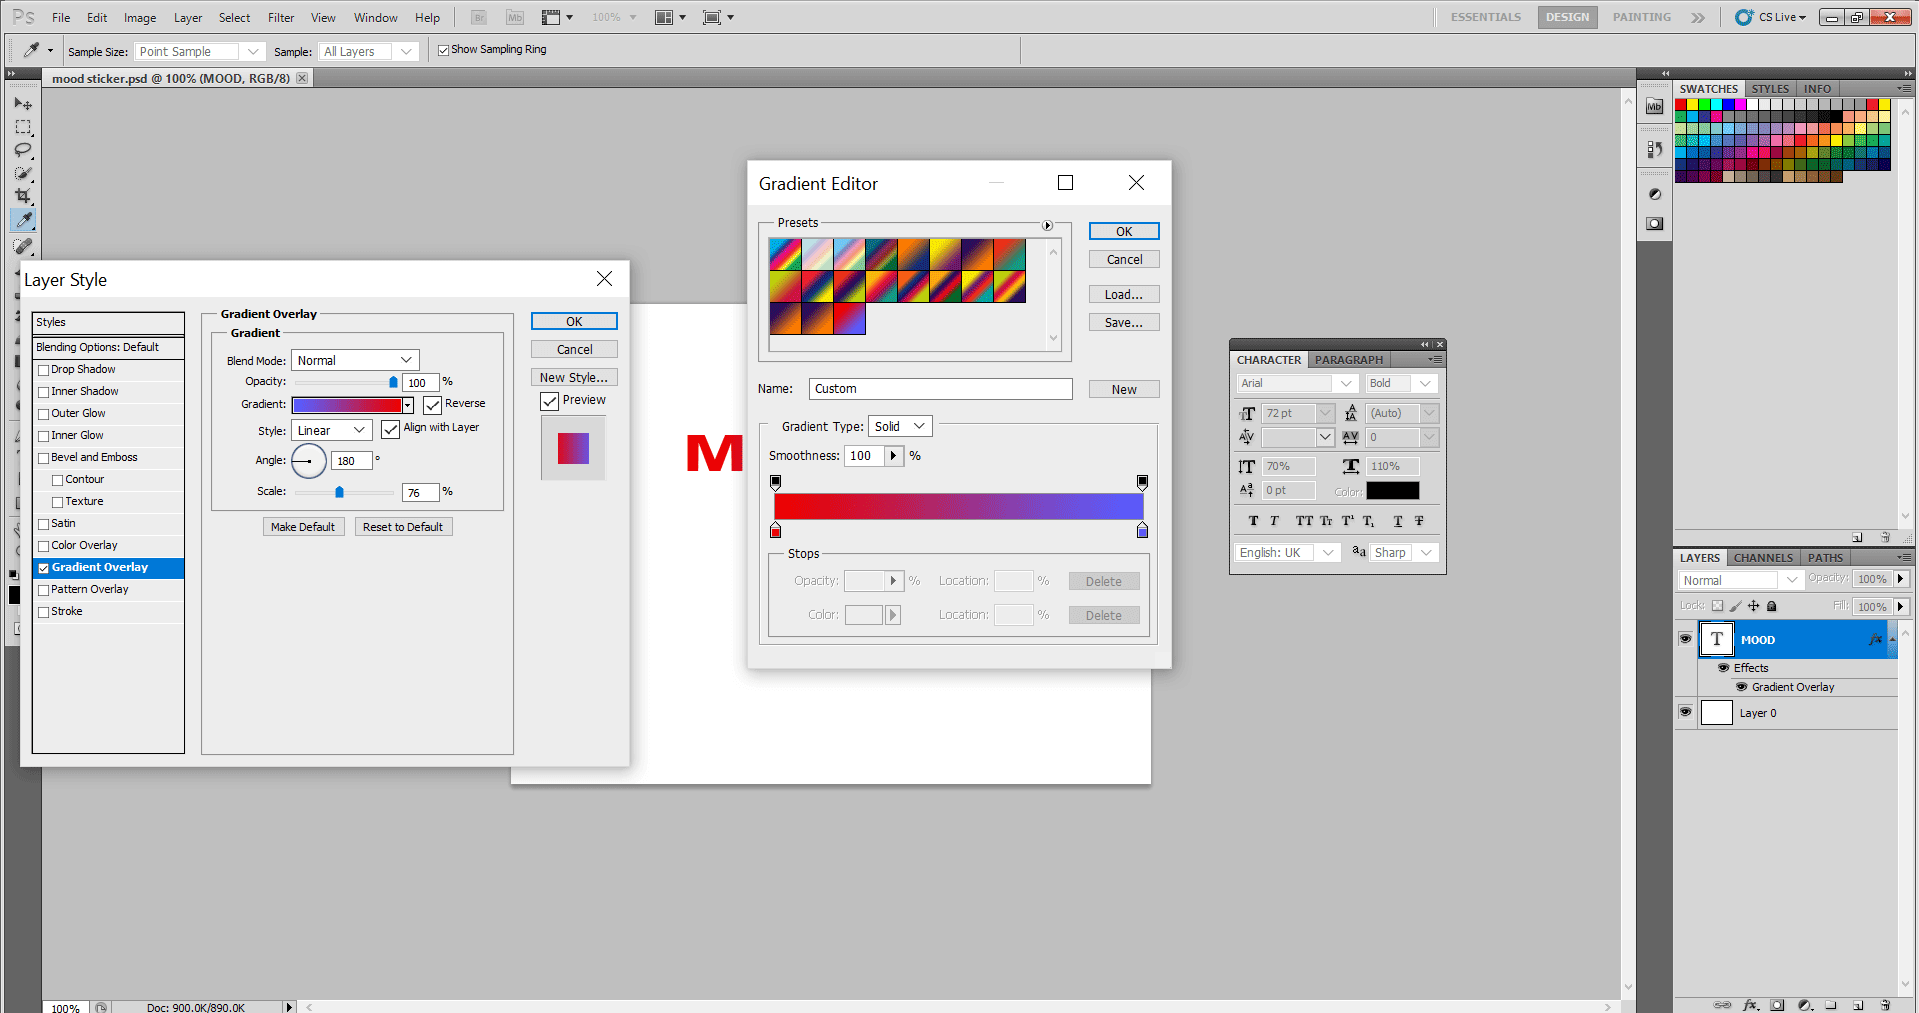
Step 8: You will see the Layer Style dialog box once that opens. Kindly select Gradient Overlay in the box.

Step 9: A black-and-white default gradient is applied to the text in the file. Please click on the black and white color to open the Gradient Editor, as shown below.
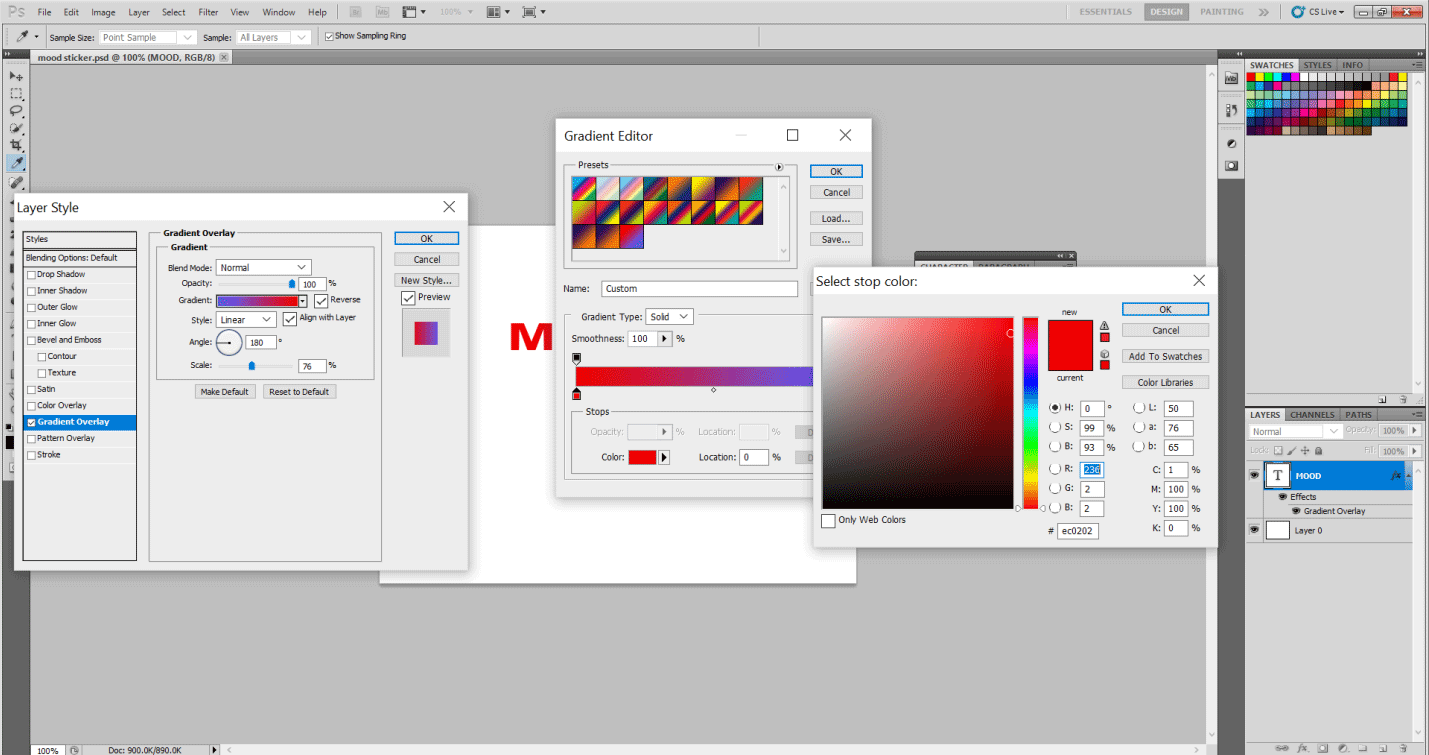
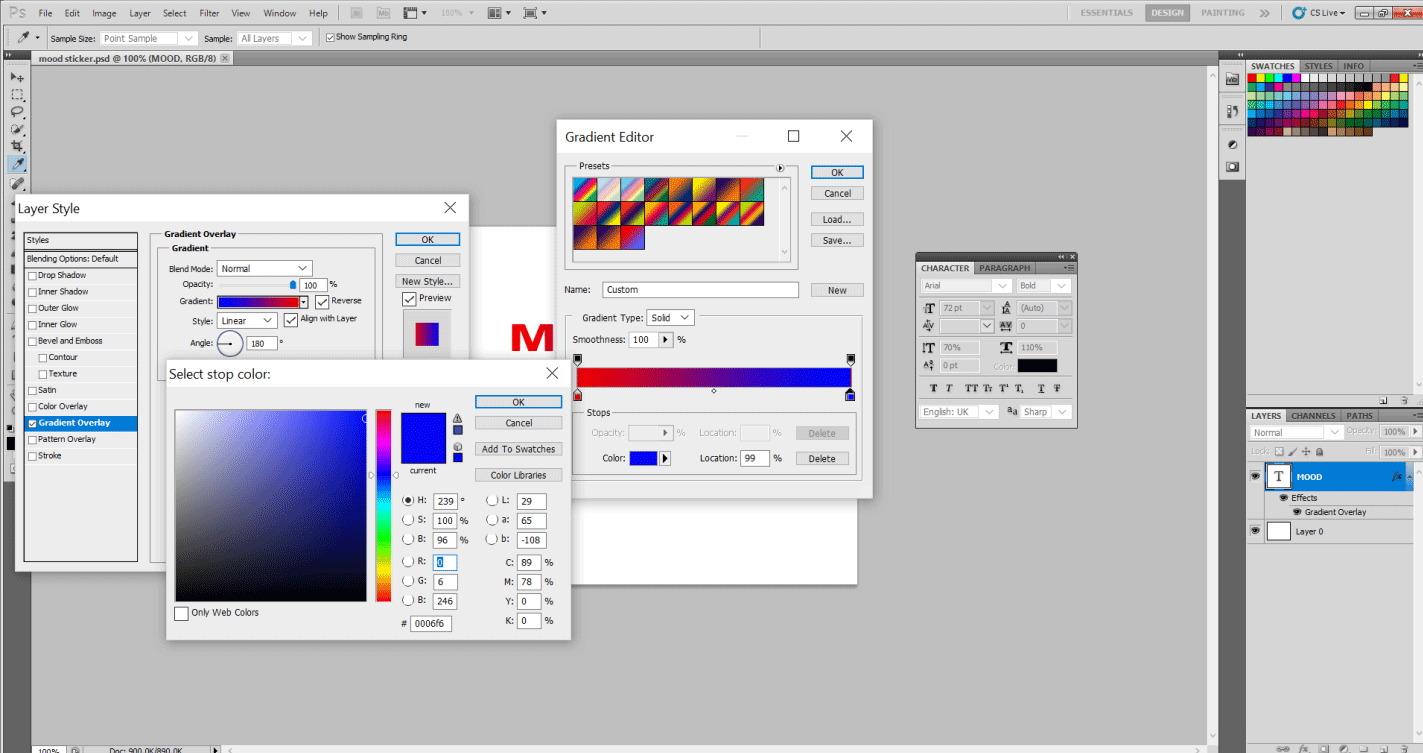
Step 10: As I could not see my red and blue gradient, I created a customed gradient as follows: I selected the bottom controls of the gradient as they denote the colors and change them per my preference, as shown.
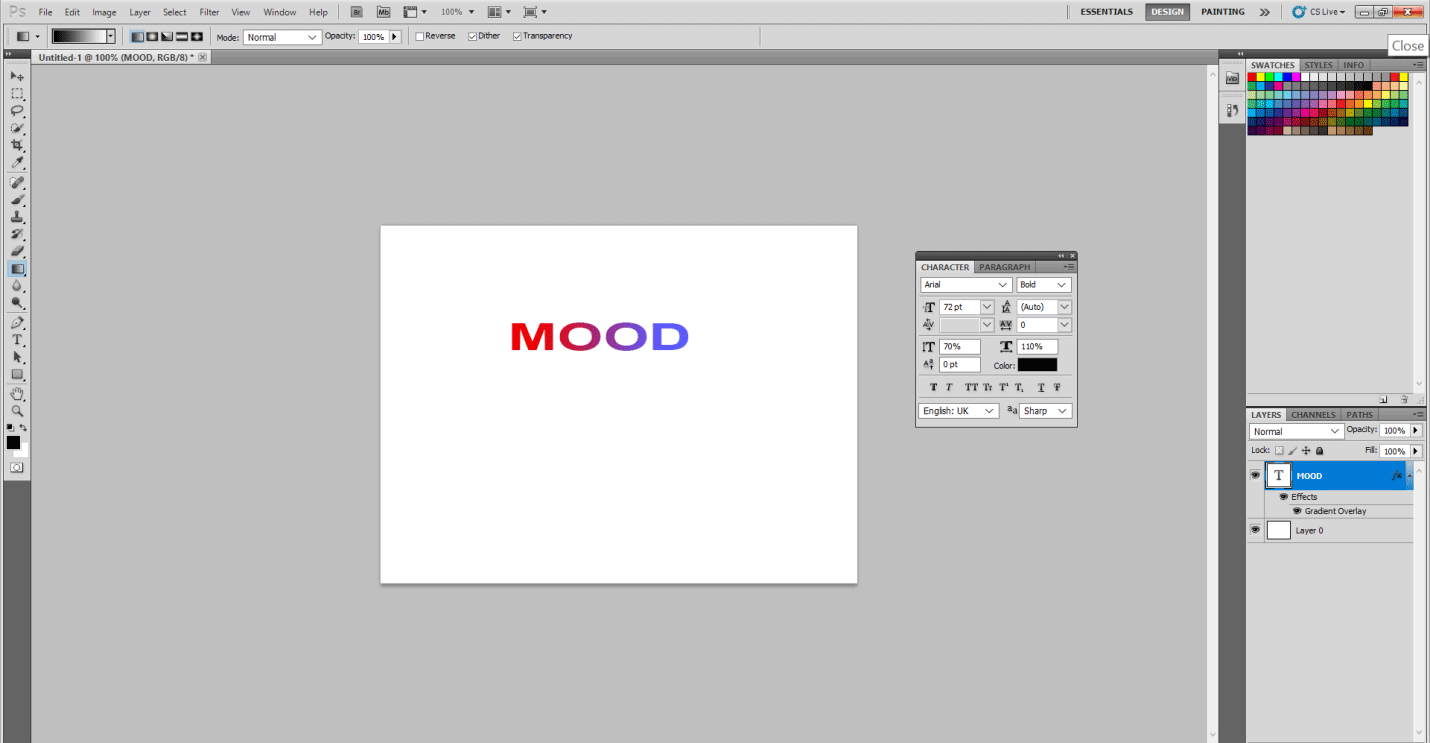
Step 11: Now hit Ok in Gradient Editor. Also, I have adjusted the options in Gradient Overlay as follows: Style: Linear, Angle: 180 degrees, Scale 76 %. Please Check Reverse Layer and Align it with layer options as needed in my case.
Step 12: Just Hit Ok everywhere, and Viola… That’s my MOOD Sticker.
Creating #TBT Sticker in Text Effects in Photoshop
Well, well!! This is trending for sure. #TBT stands for #ThrowBackThursday. We all love to fondly remember all the good memories we have had in the recent or a way back past and share them with people we love. So, if I want to post probably what I did last week or month, I would want to tag the pic as #TBT, and believe me, this theme is a hot cake online, which compelled Instagram to come up with one of its most attractive stickers. So let us just get started, shall we!!..
If you see in the sticker, flying stars are in the background. Many designs are available online, or you can create yours using Corel Draw or Photoshop. I found it here.

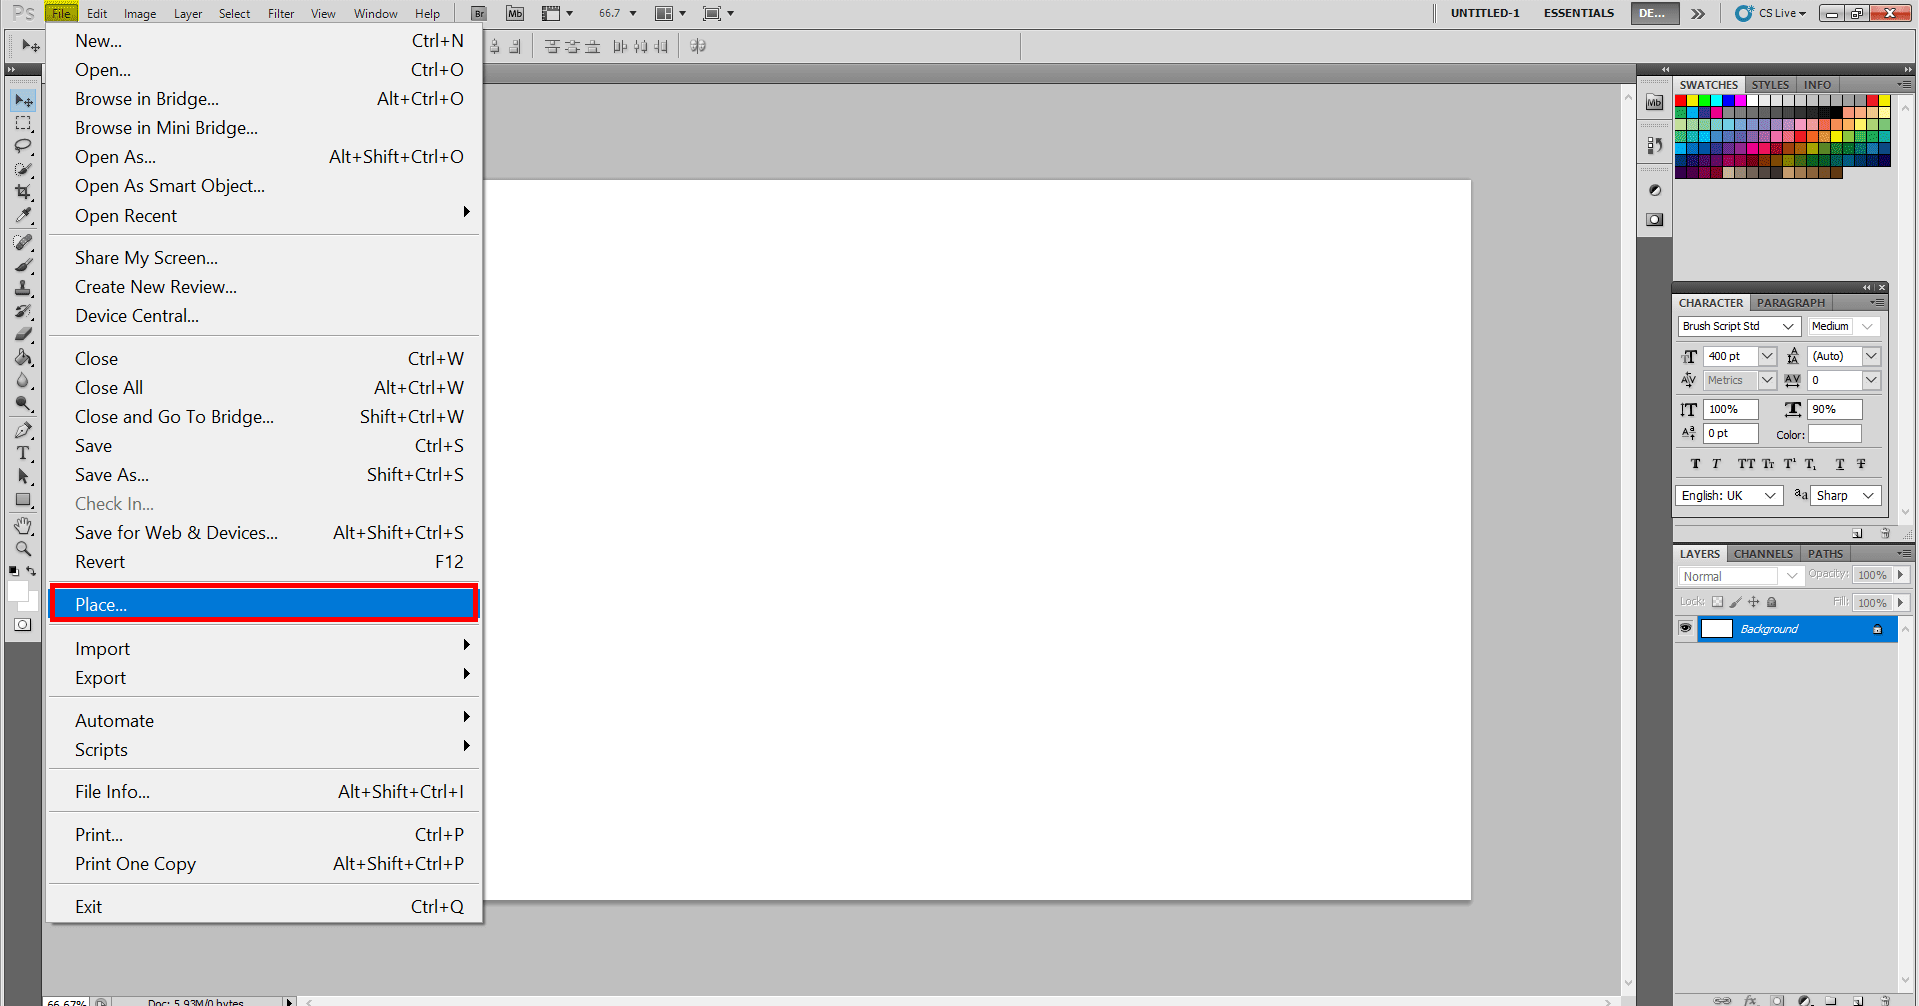
Step 1: Go to File and click on Place.
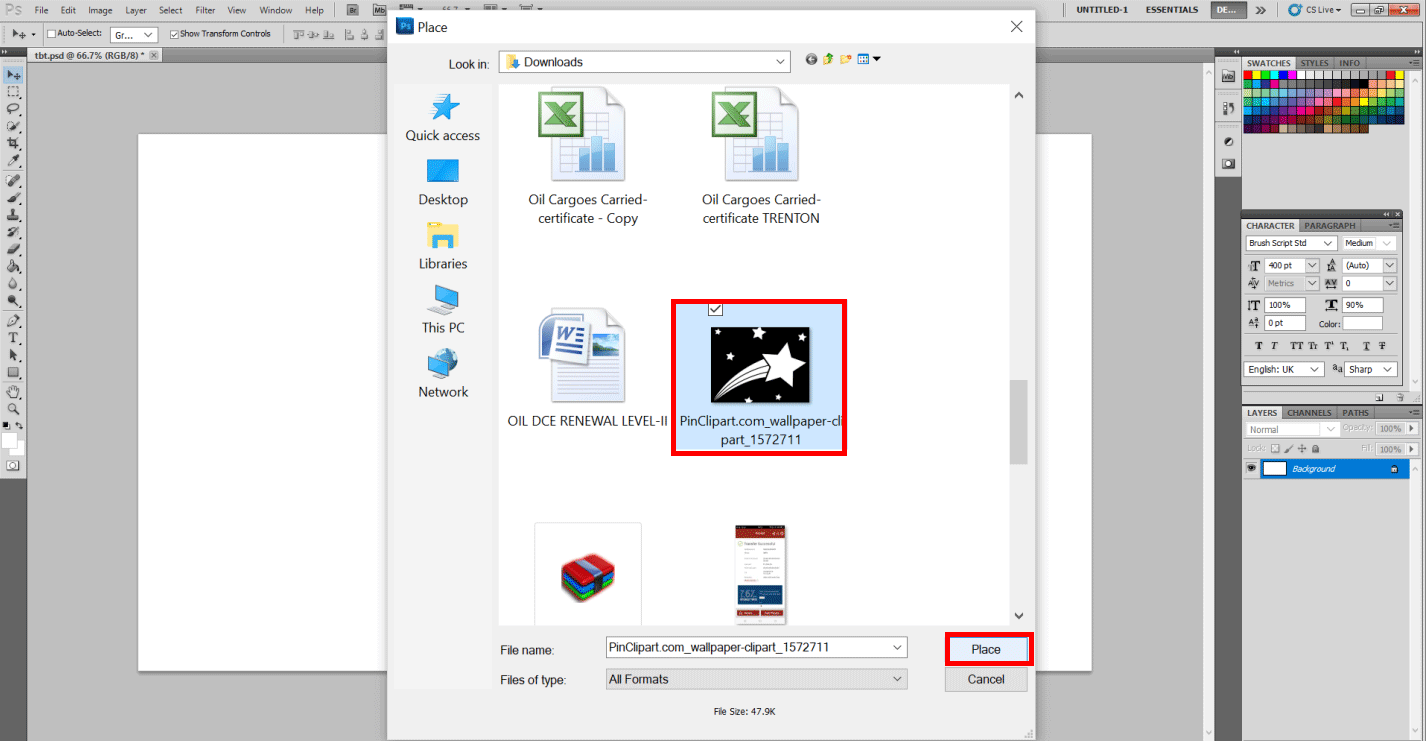
Step 2: In my case, I have my clipart in the Downloads folder; you will find your reference. Please select it and click Place.
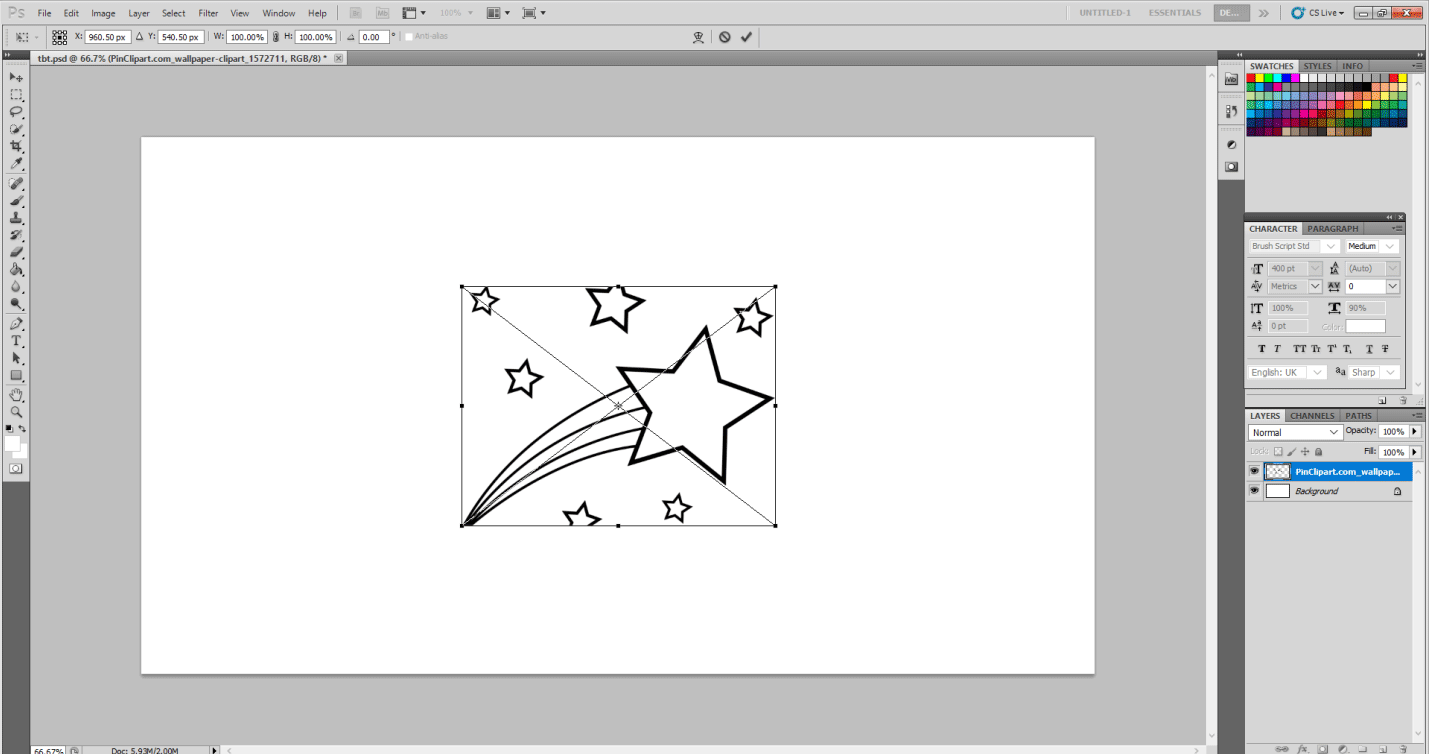
Step 3: It will look like this.
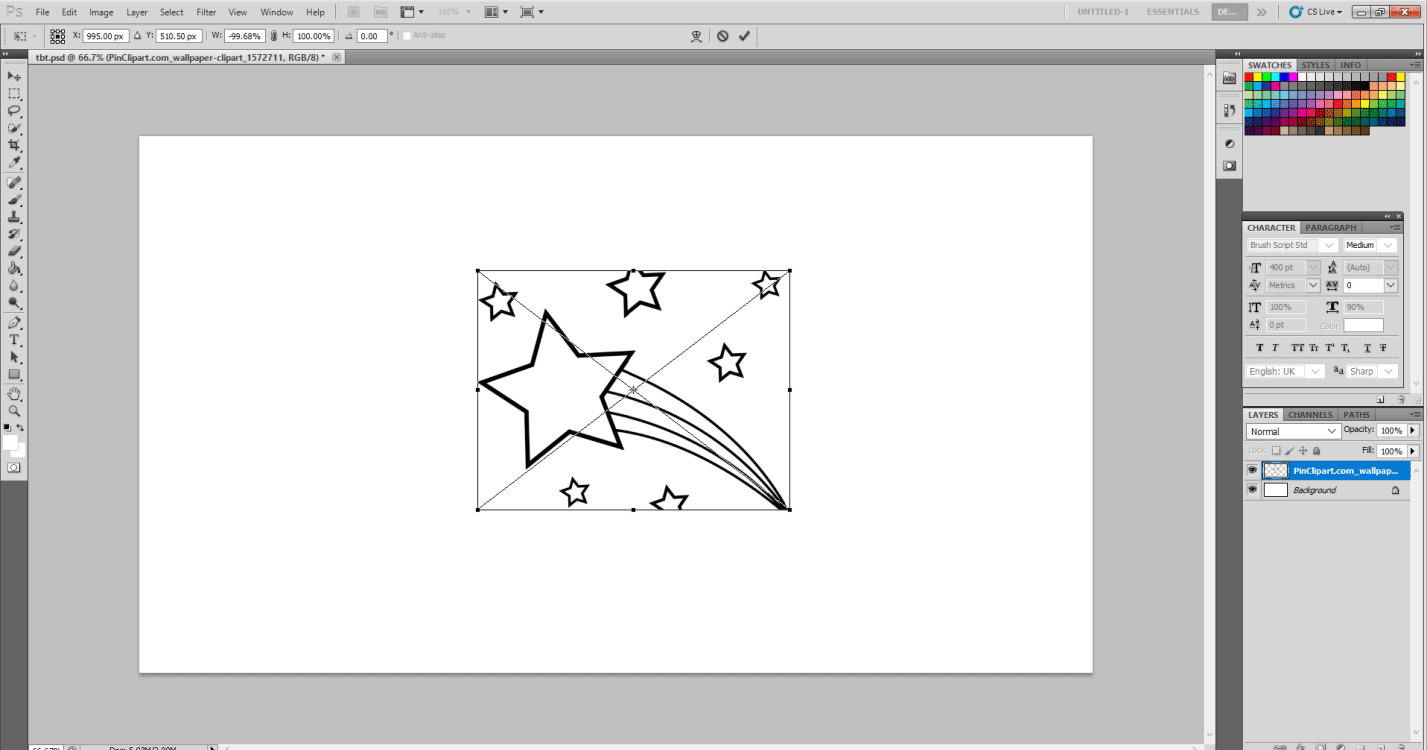
Step 4: Press Enter from the keyboard to move and change from here. Once you have pressed Enter, drag arrows to create a mirror image of stars.
Step 5: To delete the excessive drawing, you must Rasterize the Layer like this.

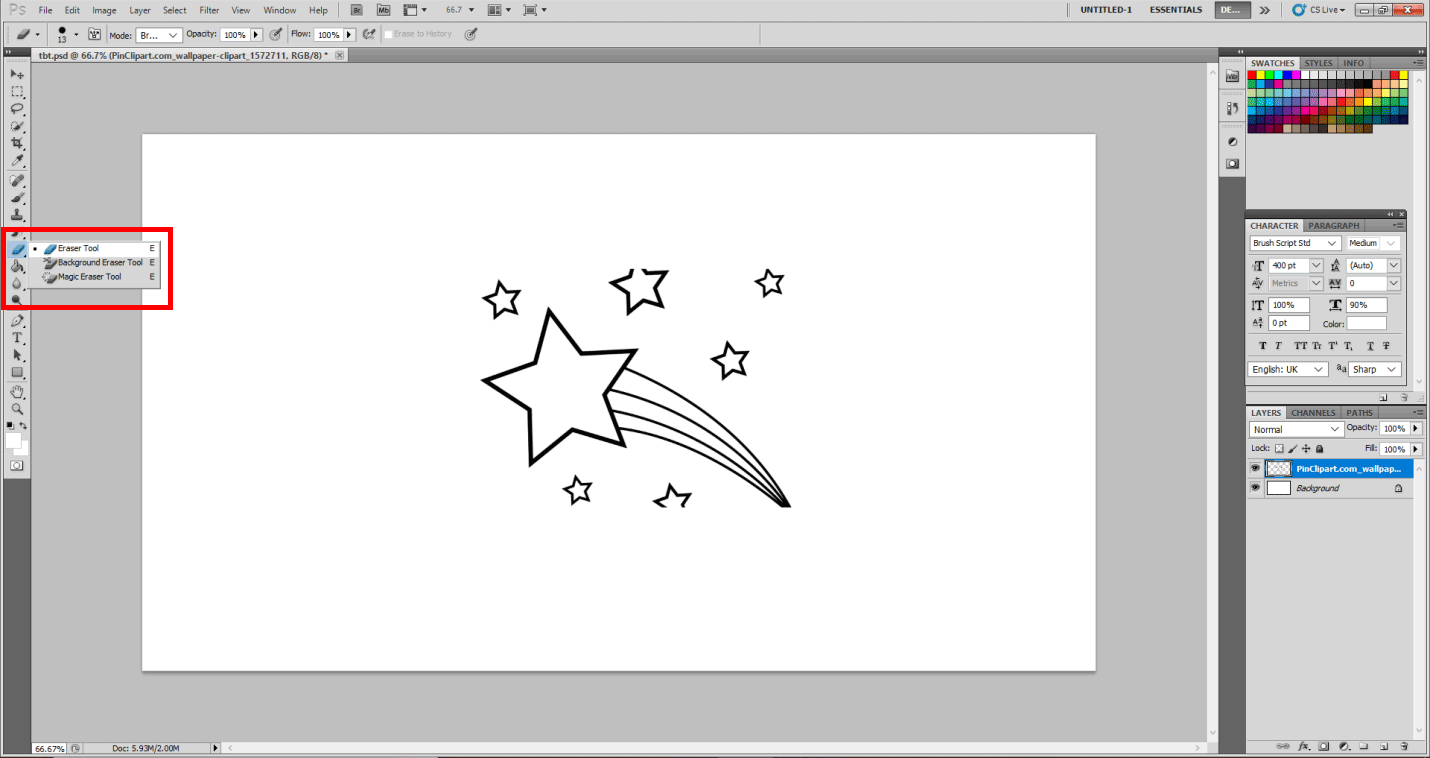
Step 6: Please use the Eraser Tool to erase the unwanted part.
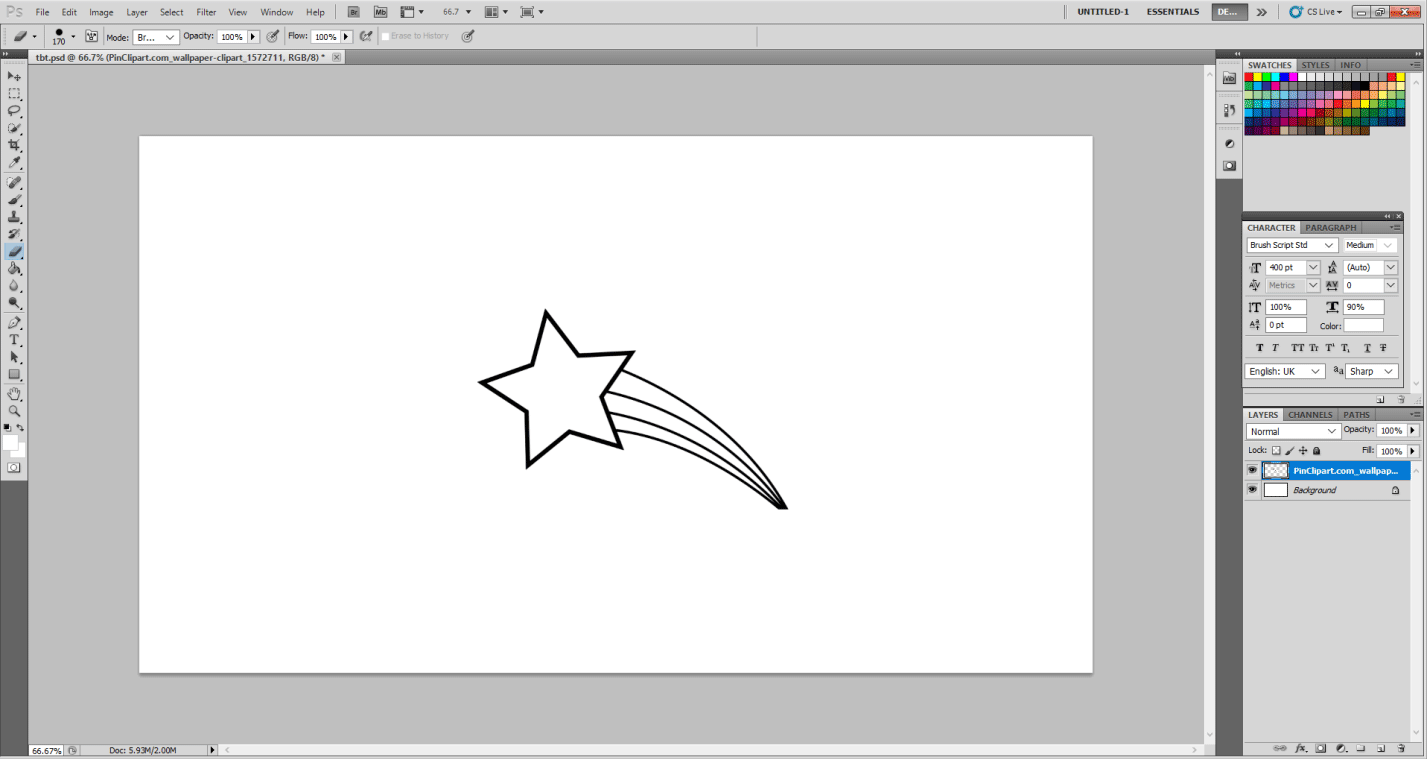
Step 7: Finally, it will look like this.
Step 8: Start duplicating the Layer by Right-clicking on the layer and selecting Duplicate Layer. Make at least 3 copies.
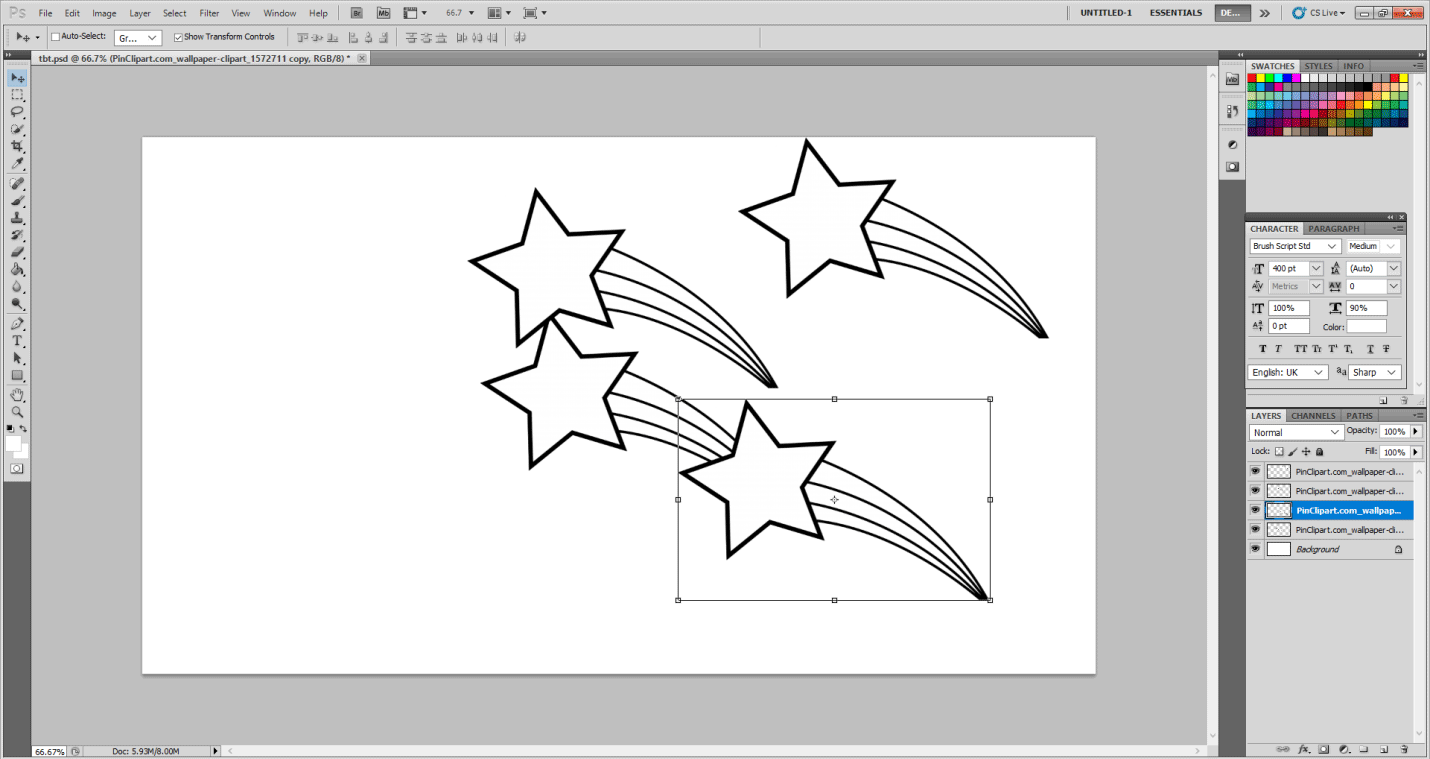
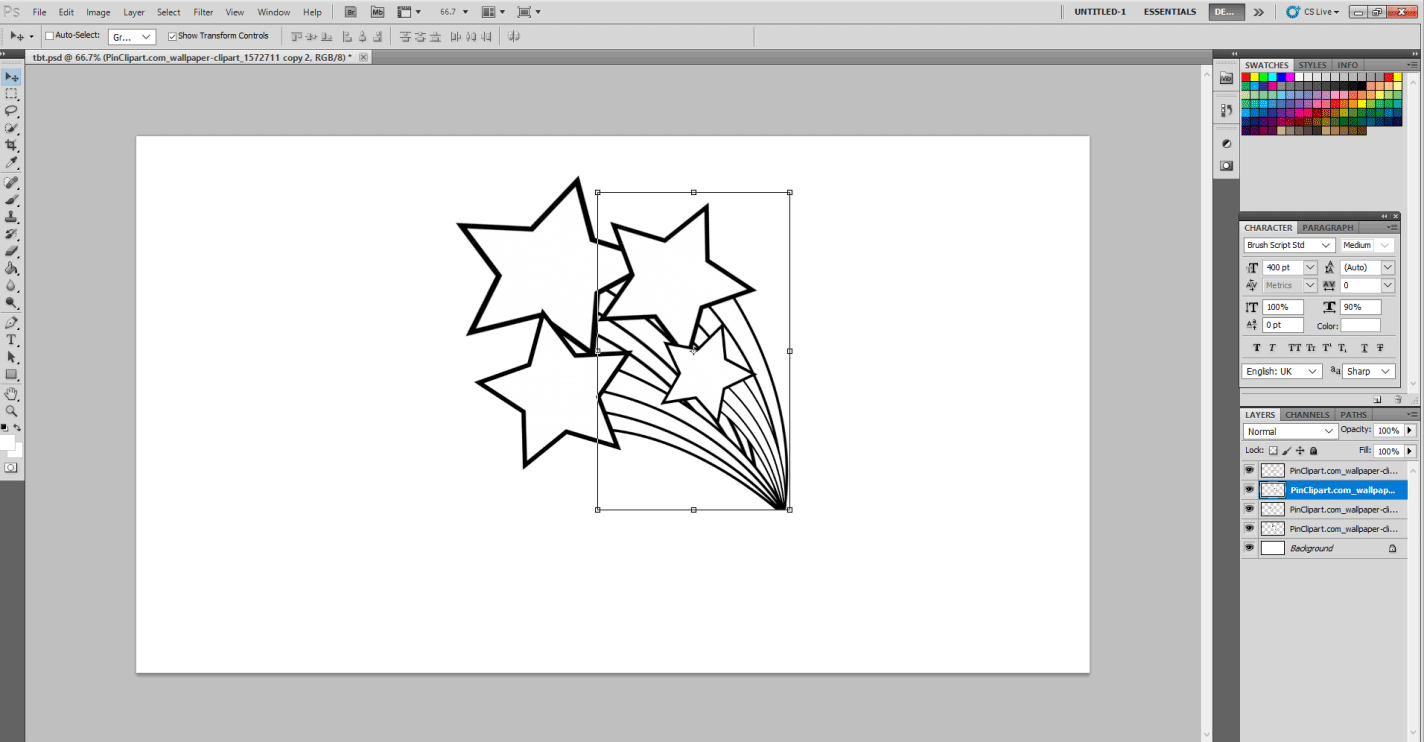
Step 9: Now align each of them and resize them to form a design.
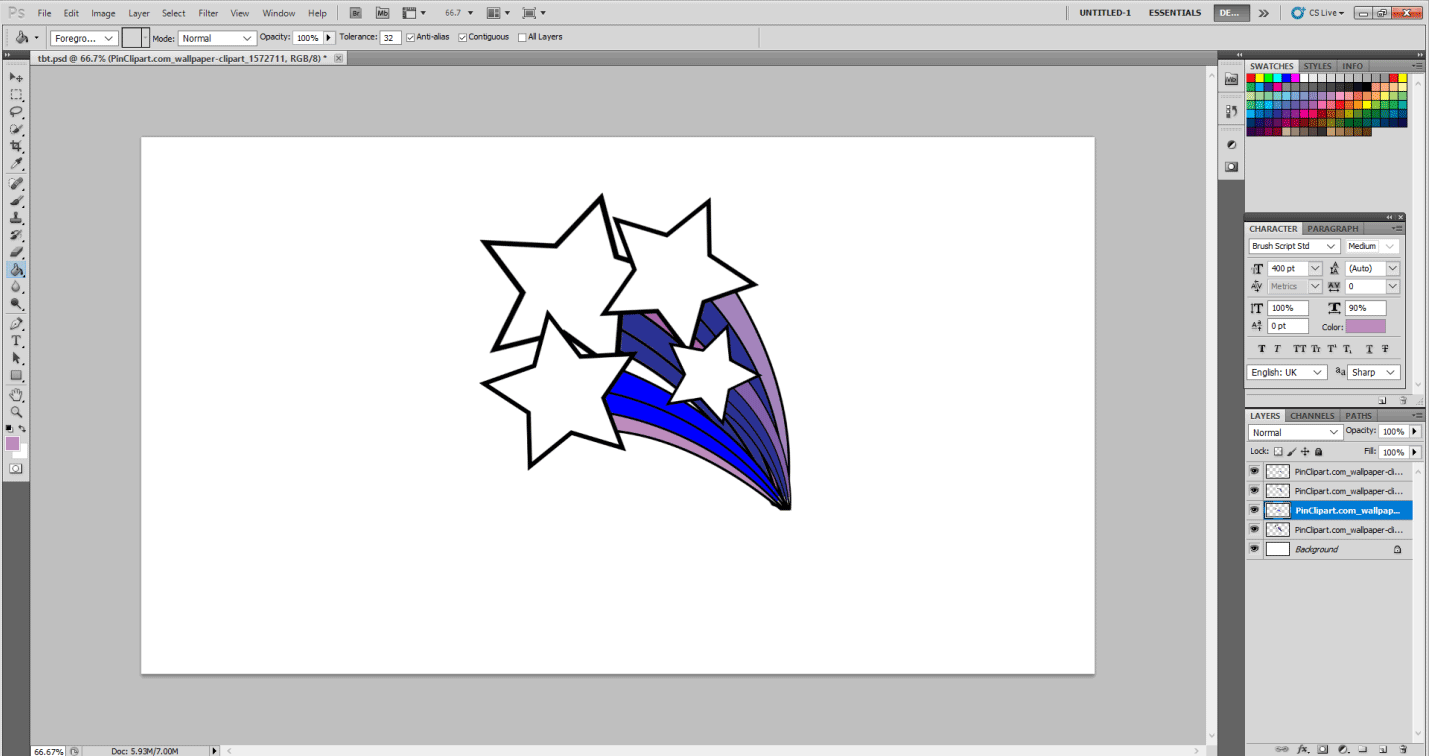
Step 10: Now, I suggest selecting each layer and then clicking on Paint Bucket Tool and filling in desired colors from Swatches on the top right corner like this.
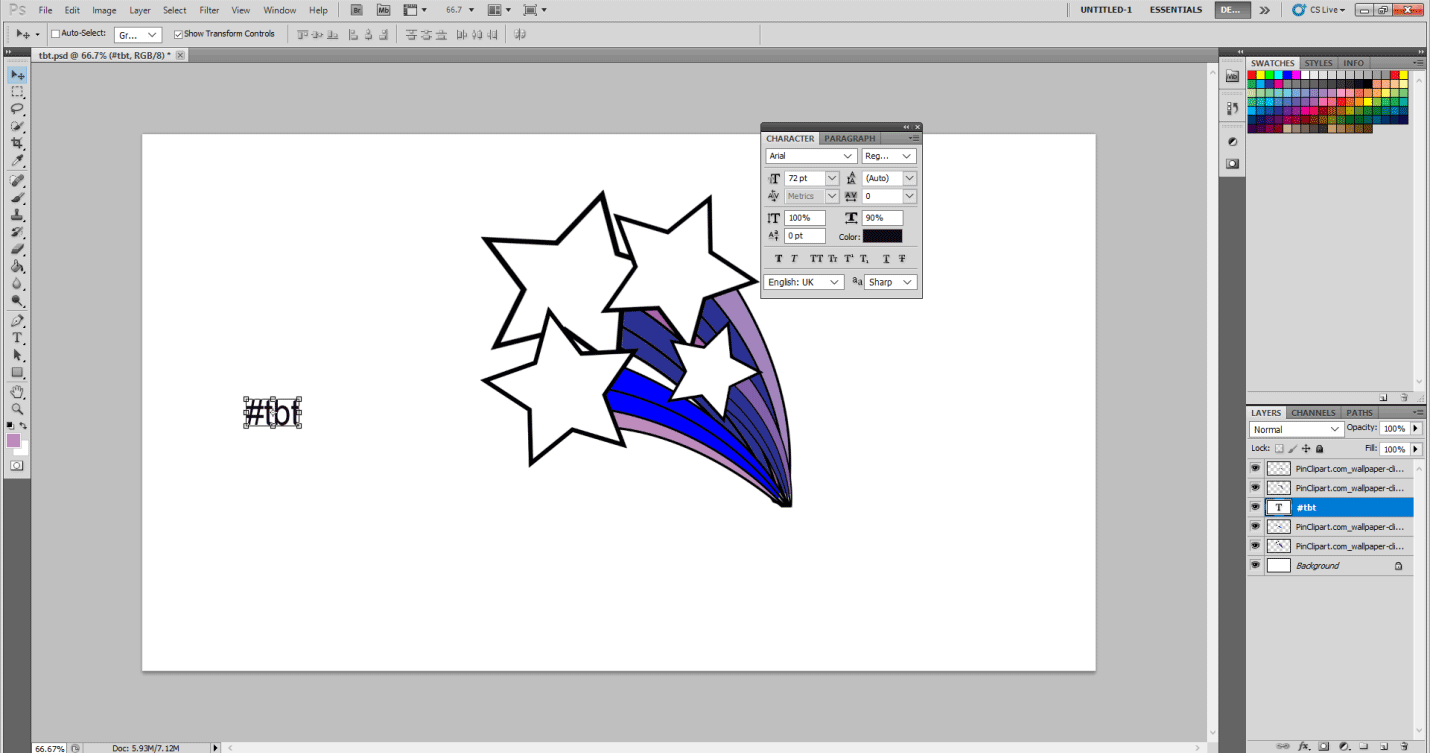
Step 11: Now select the Type tool and write #tbt.
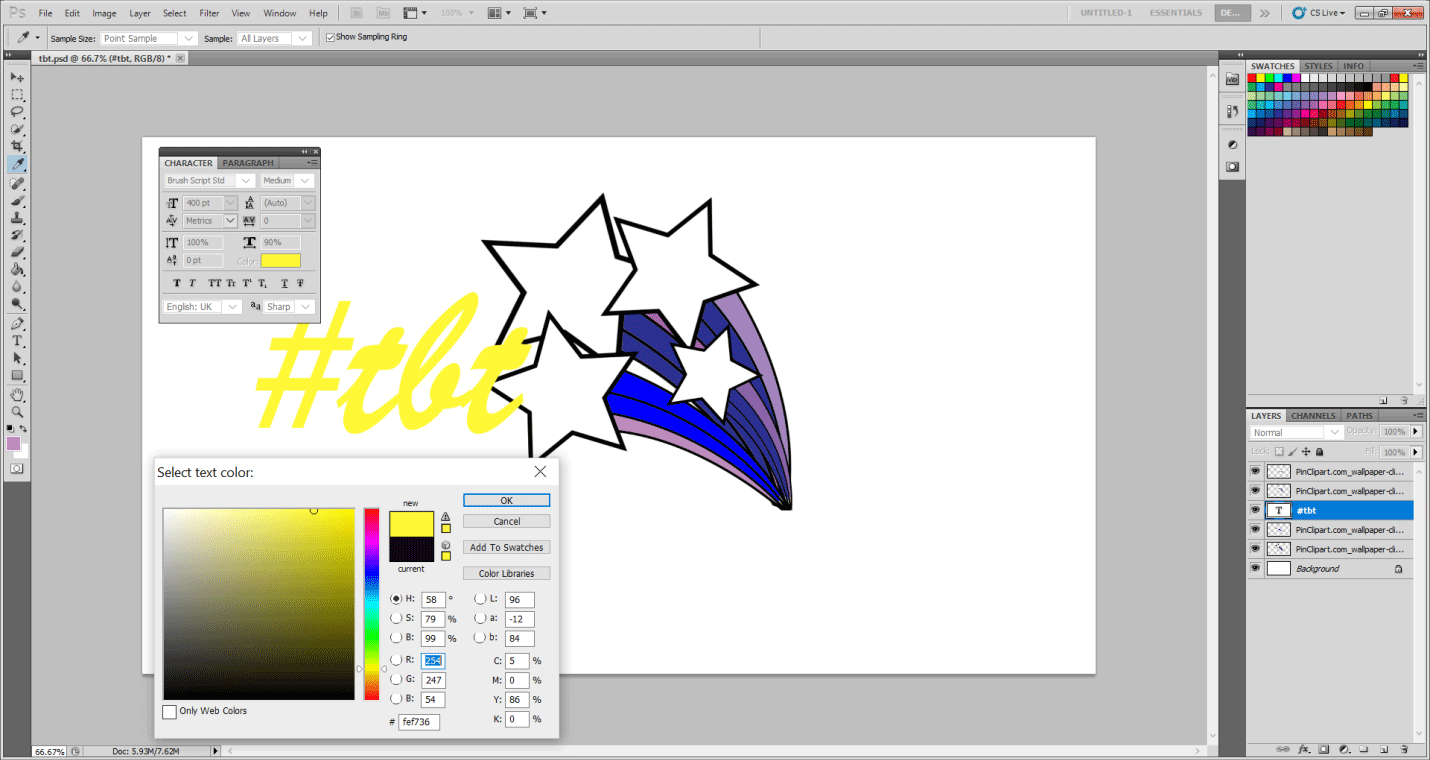
Step 12: Now select the following options from the Character/Paragraph as shown below: Font Type Brush Script Std. Font Size 500 pt, Horizontal stretch 90 %, Vertical Stretch 110 %, and finally color yellow. It should look like this.
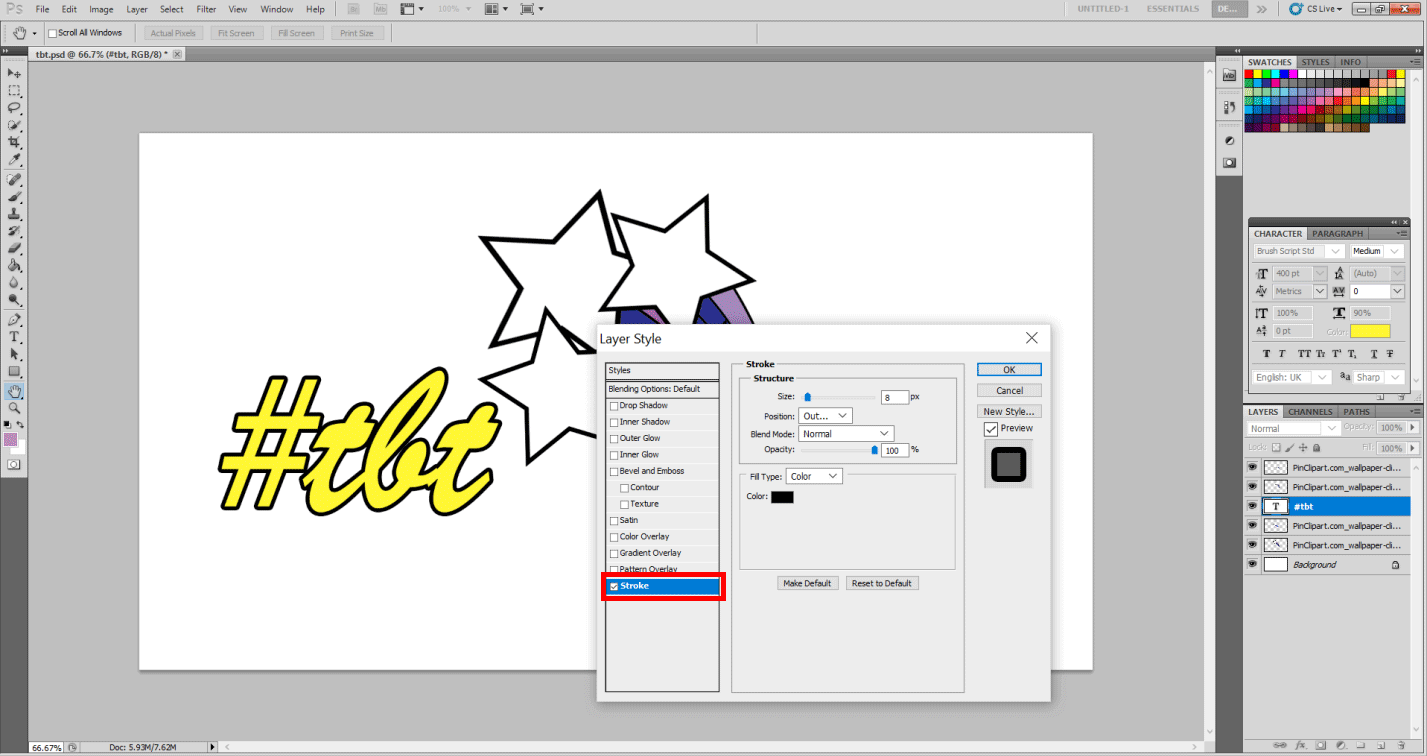
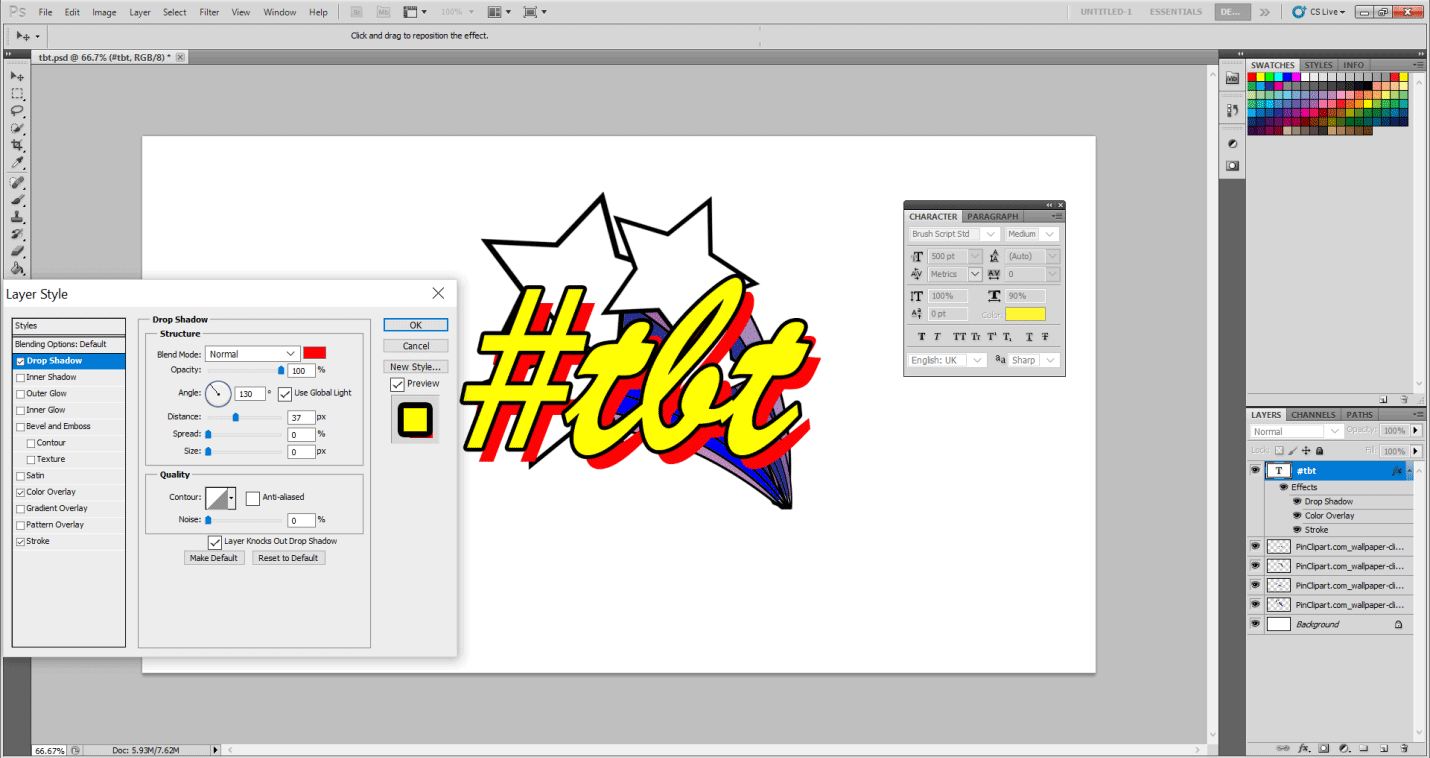
Step 13: Right-click on the TBT layer, go into Blending Options, and select Stroke. Adjust the stroke width to 8 px.
Step 14: Select Drop Shadow in the Blending options and assign the following values. The color red and Align angle to 130 degrees, Distance to 35 px, Opacity to 100 %, and Blending Mode to Normal.
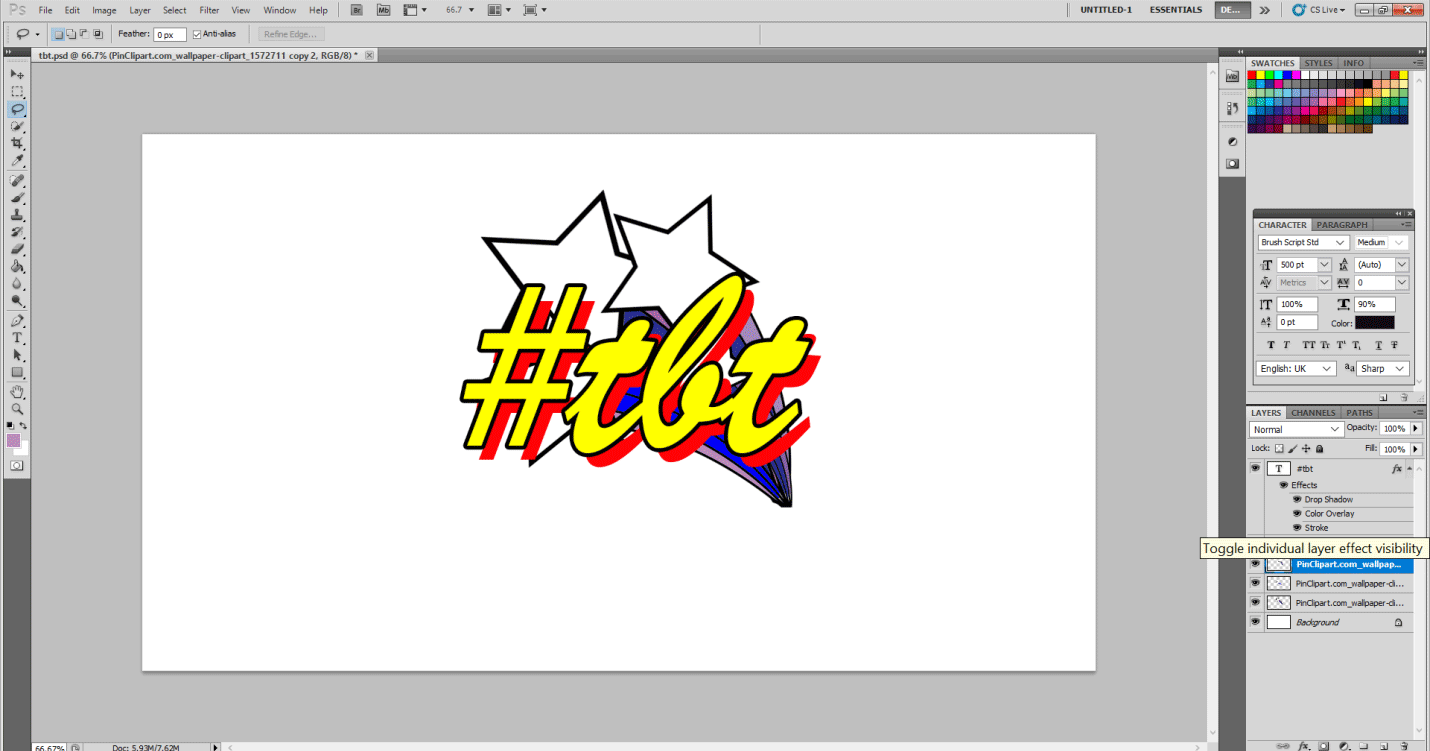
Step 15: Now align the #tbt layer on top of other layers and align the text like this on top, and we have the #tbt sticker ready. So go nuts and make these already!!!!
Recommended Articles
This is a guide to Text Effects in Photoshop. Here we discuss how to create TBT stickers and step by step to add them in Photoshop. You can also go through our other related articles to learn more –
