Introduction to Text Effects in Illustrator
Adobe Illustrator is an executive sketching and design software that is vector-based. Considered to be the part of a larger plan workflow, Illustrator permits creating everything from mono design pieces to complete structures. Designers utilize Illustrator to produce symbols, posters, patterns, icons, logos, etc. It is the software utilized by both graphic designers and artists to produce vector-based pictures. These pictures will then be utilized for the organization logos, personal work or promotional uses, both in digital and print form.
Illustrator comes with a range of tools to work with. The text tool is one of them, and we can apply numerous effects to the text by using some of the effects provided by the illustrator.
How to Create Text Effects in Illustrator?
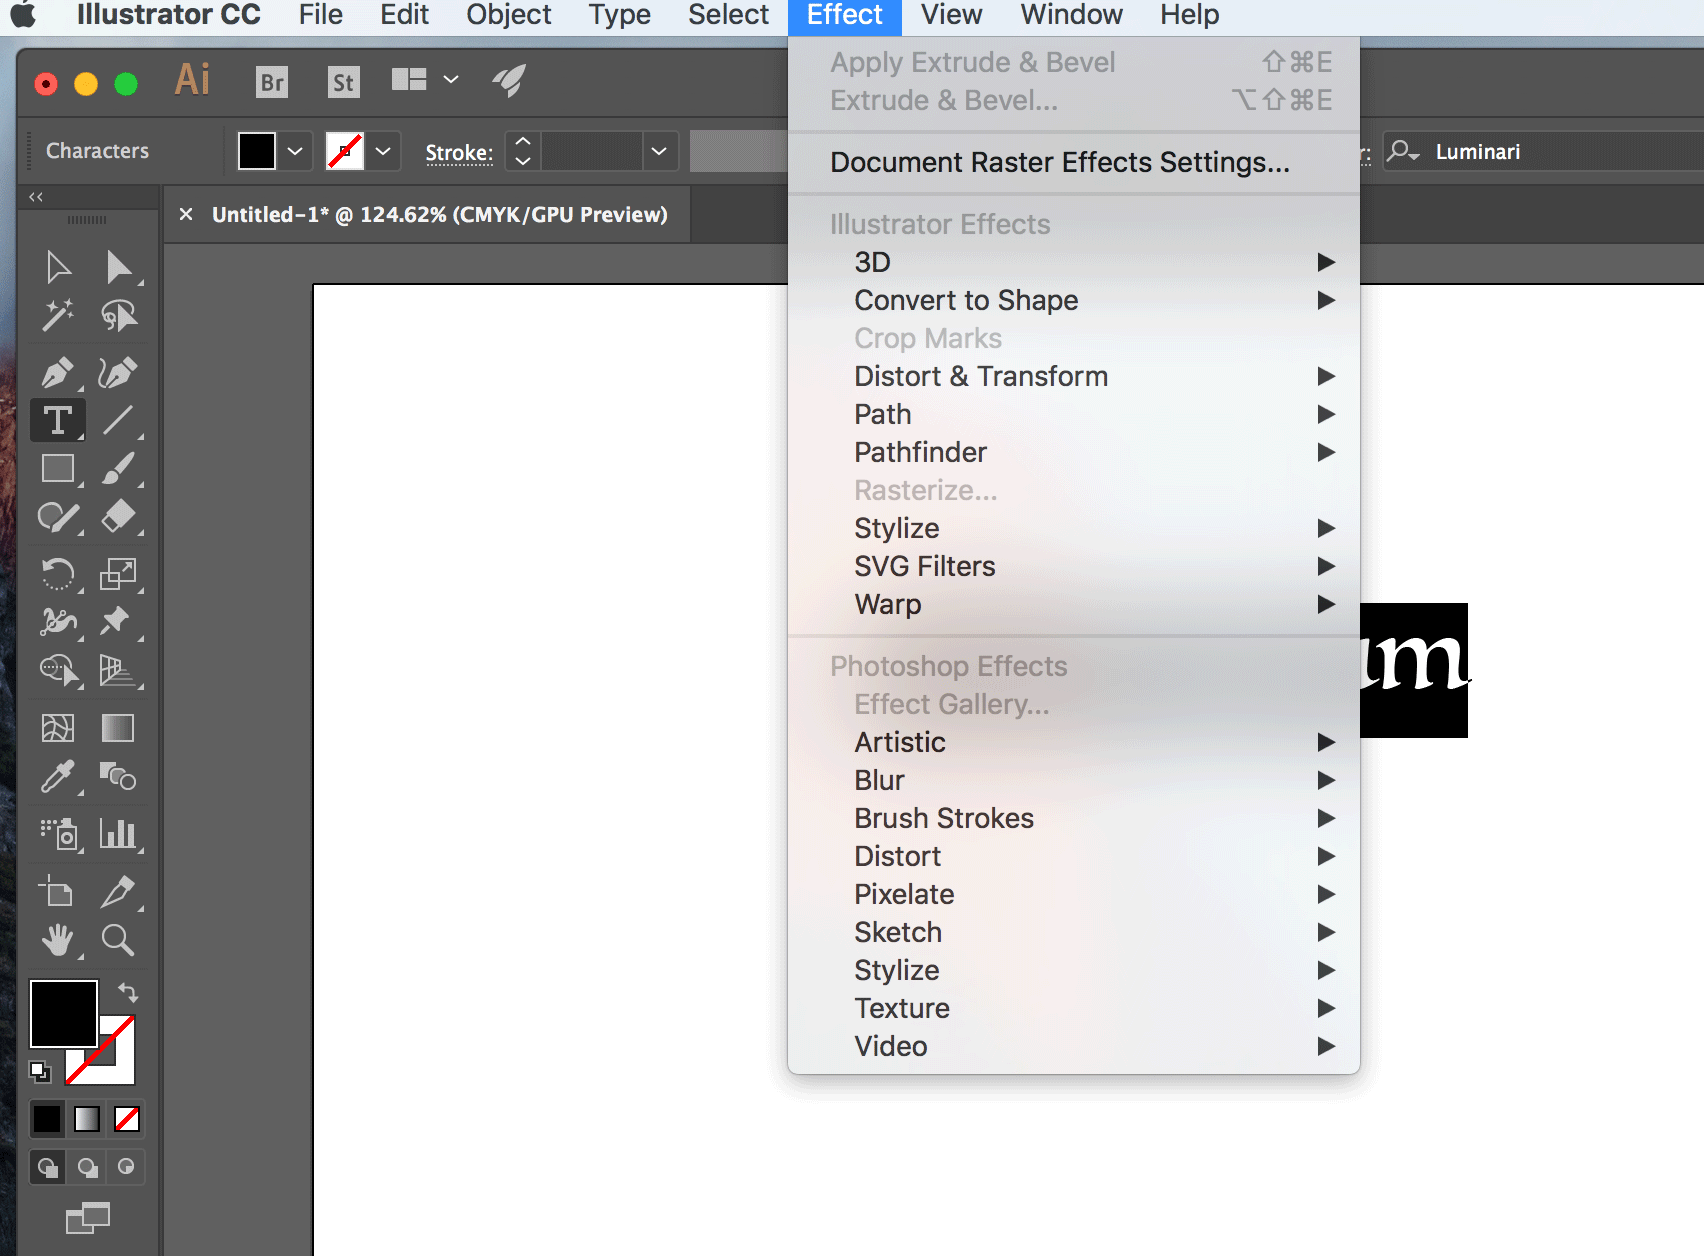
You can apply some good effects to your text. With Illustrator, you can apply effects such as 3D, warp, convert to shape, distort & transform, stylize, etc., as shown below.
3D Text Effects
The following tutorials will explain the various attributes for creating a 3D text.
1. Extrude & Bevel
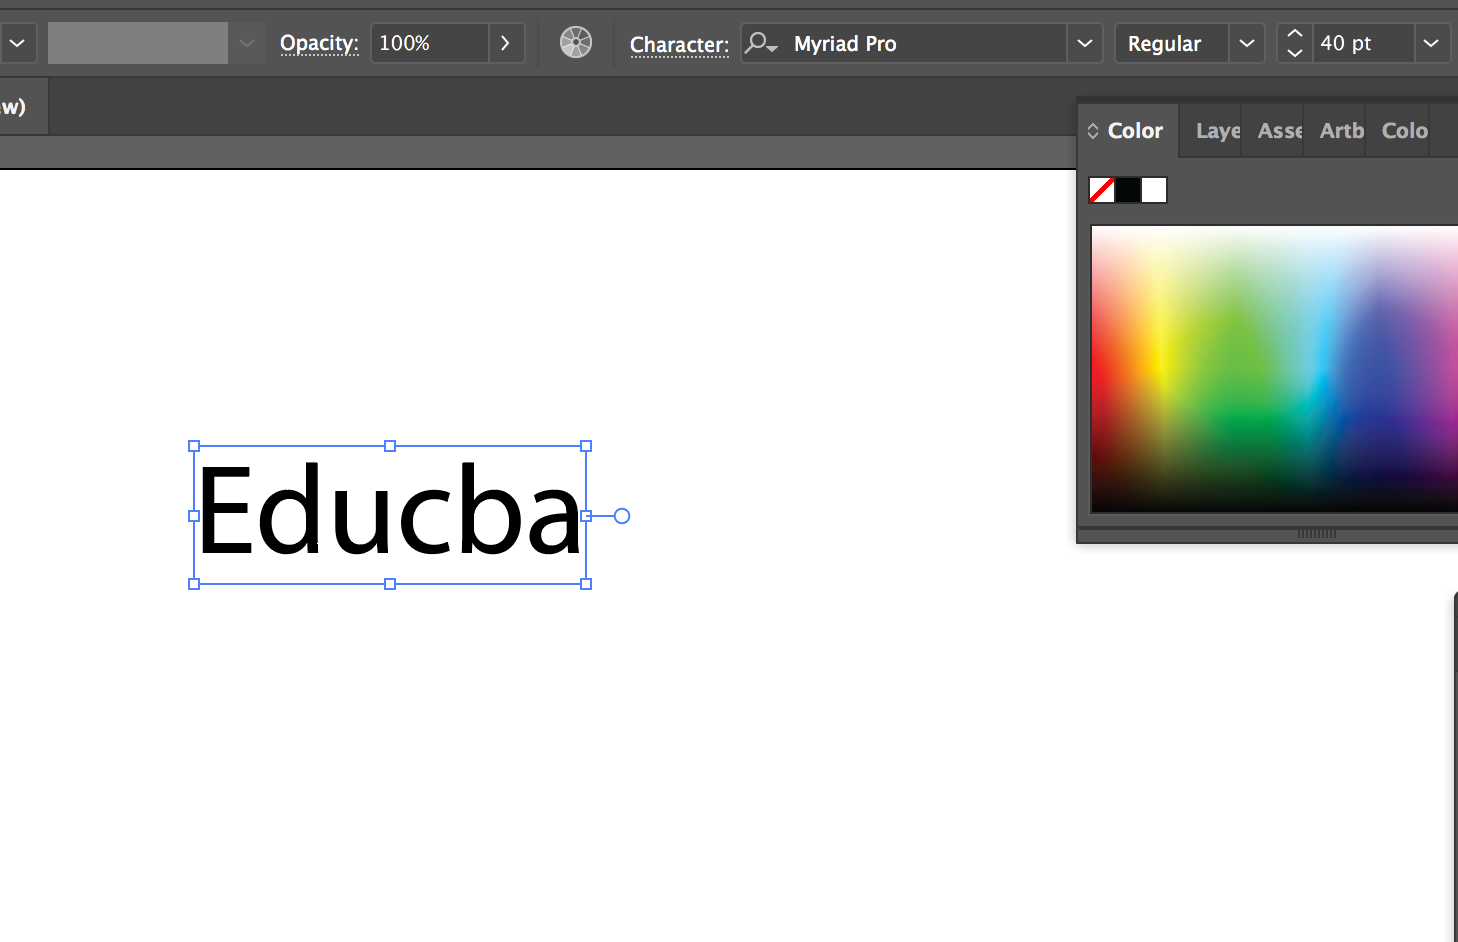
Step 1: Select the Text Tool (type tool) from the left-hand side toolbar.

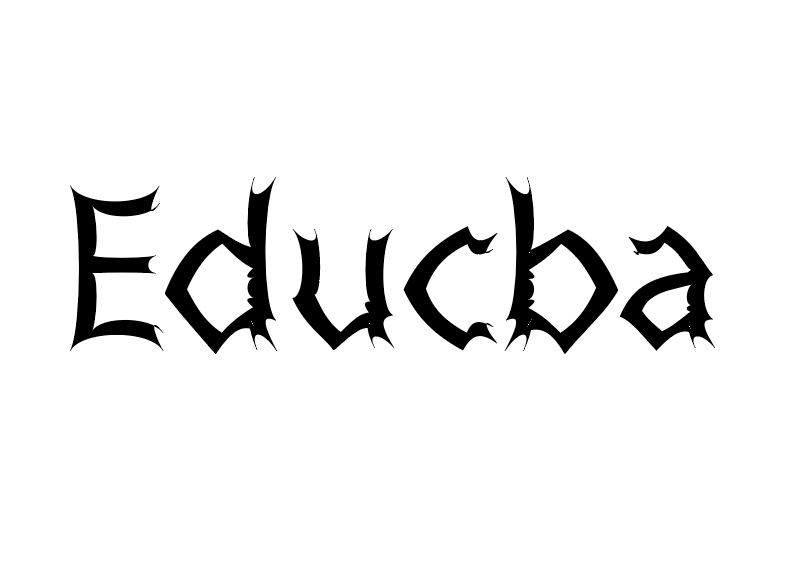
Step 2: Type the text that you want. Here we select Educba as our text. Select the font size to be 40pt and font type as “myriad pro.”
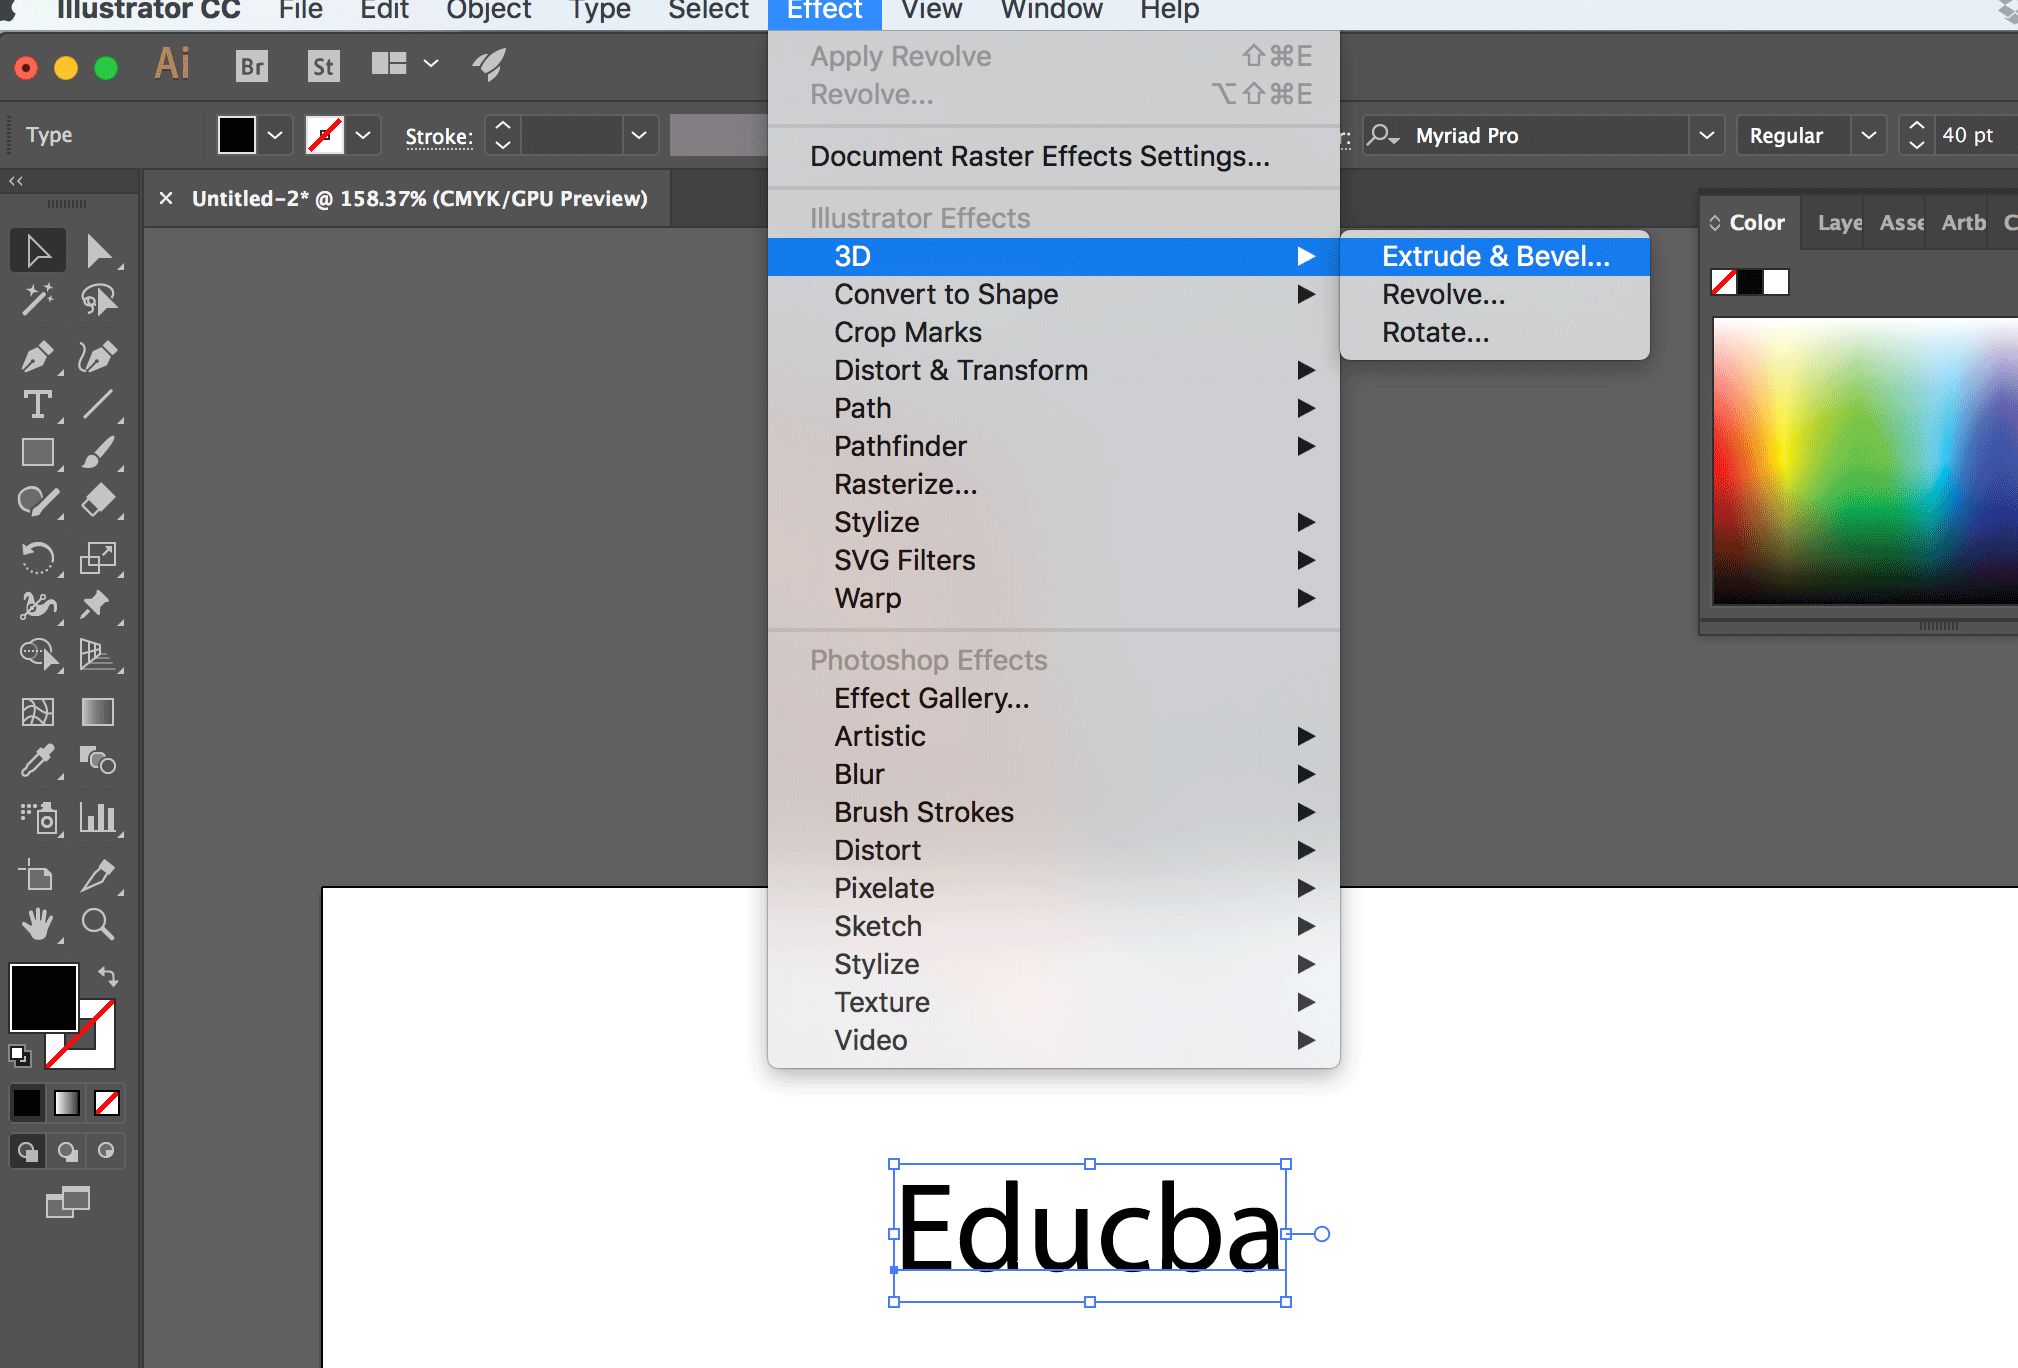
Step 3: Select the text with the Selection tool and then select the effect from the menu bar at the top of the screen.
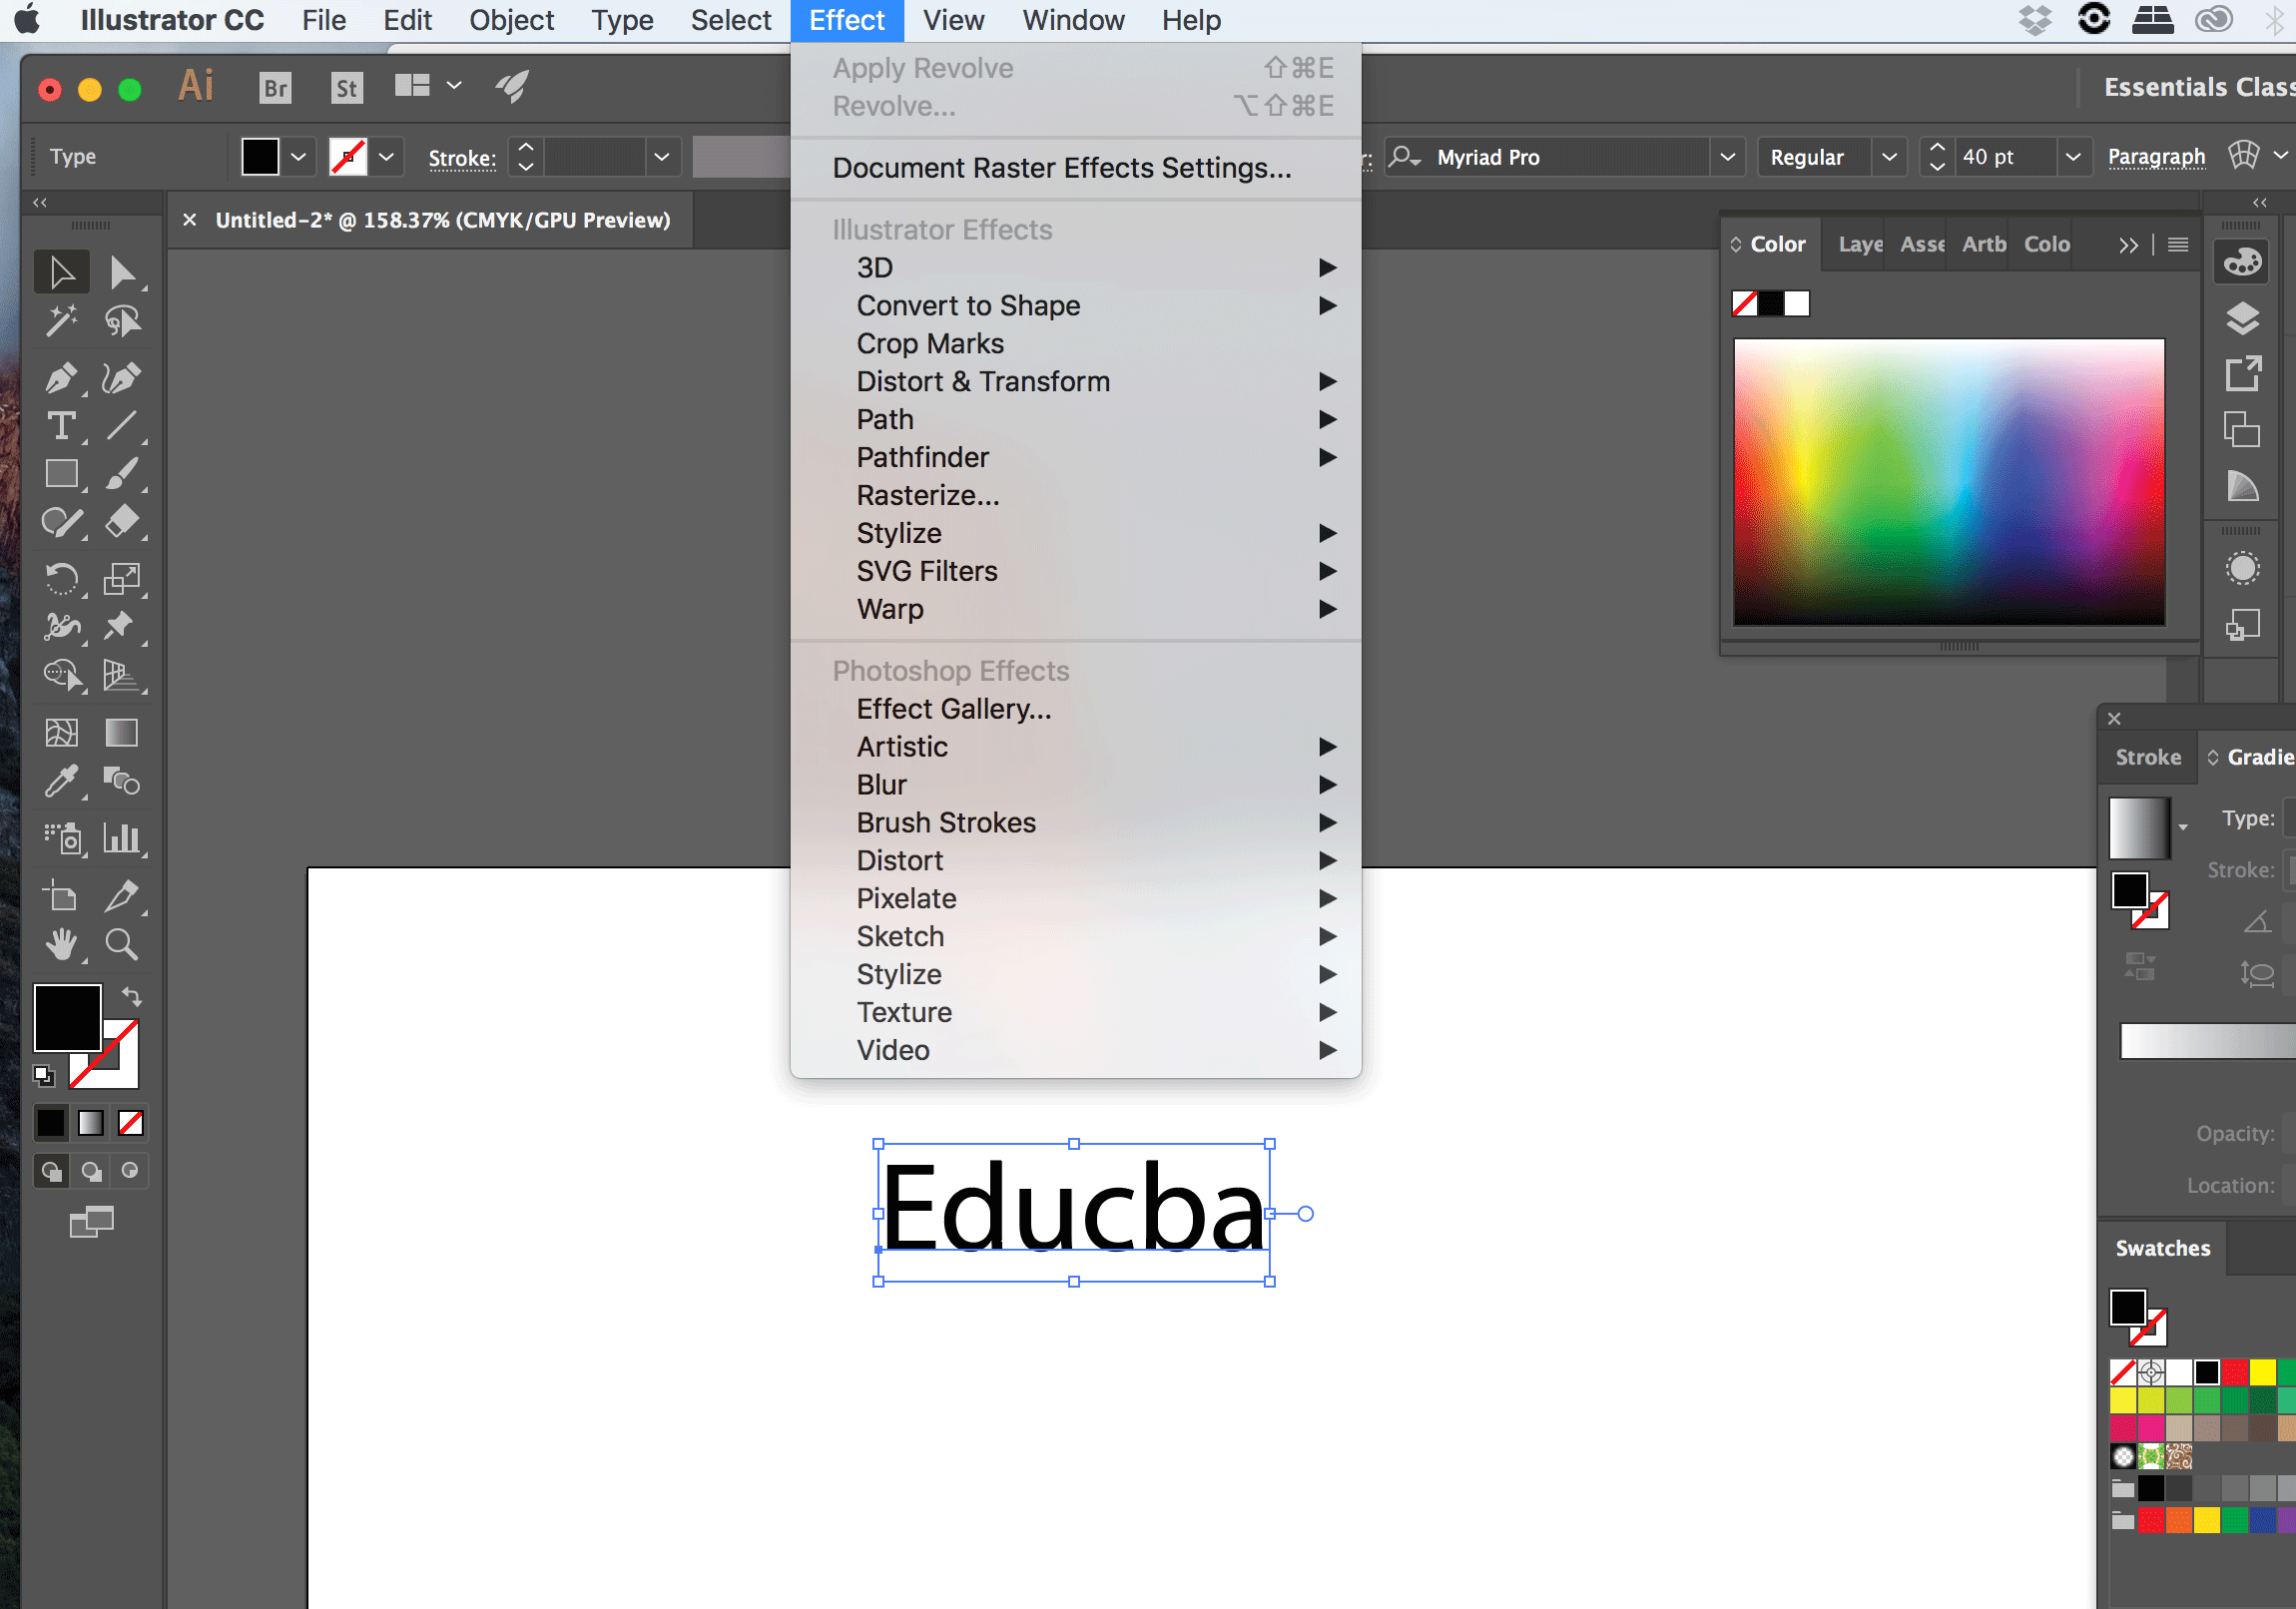
Step 4: Click on 3D and select Extrude & Bevel effect.
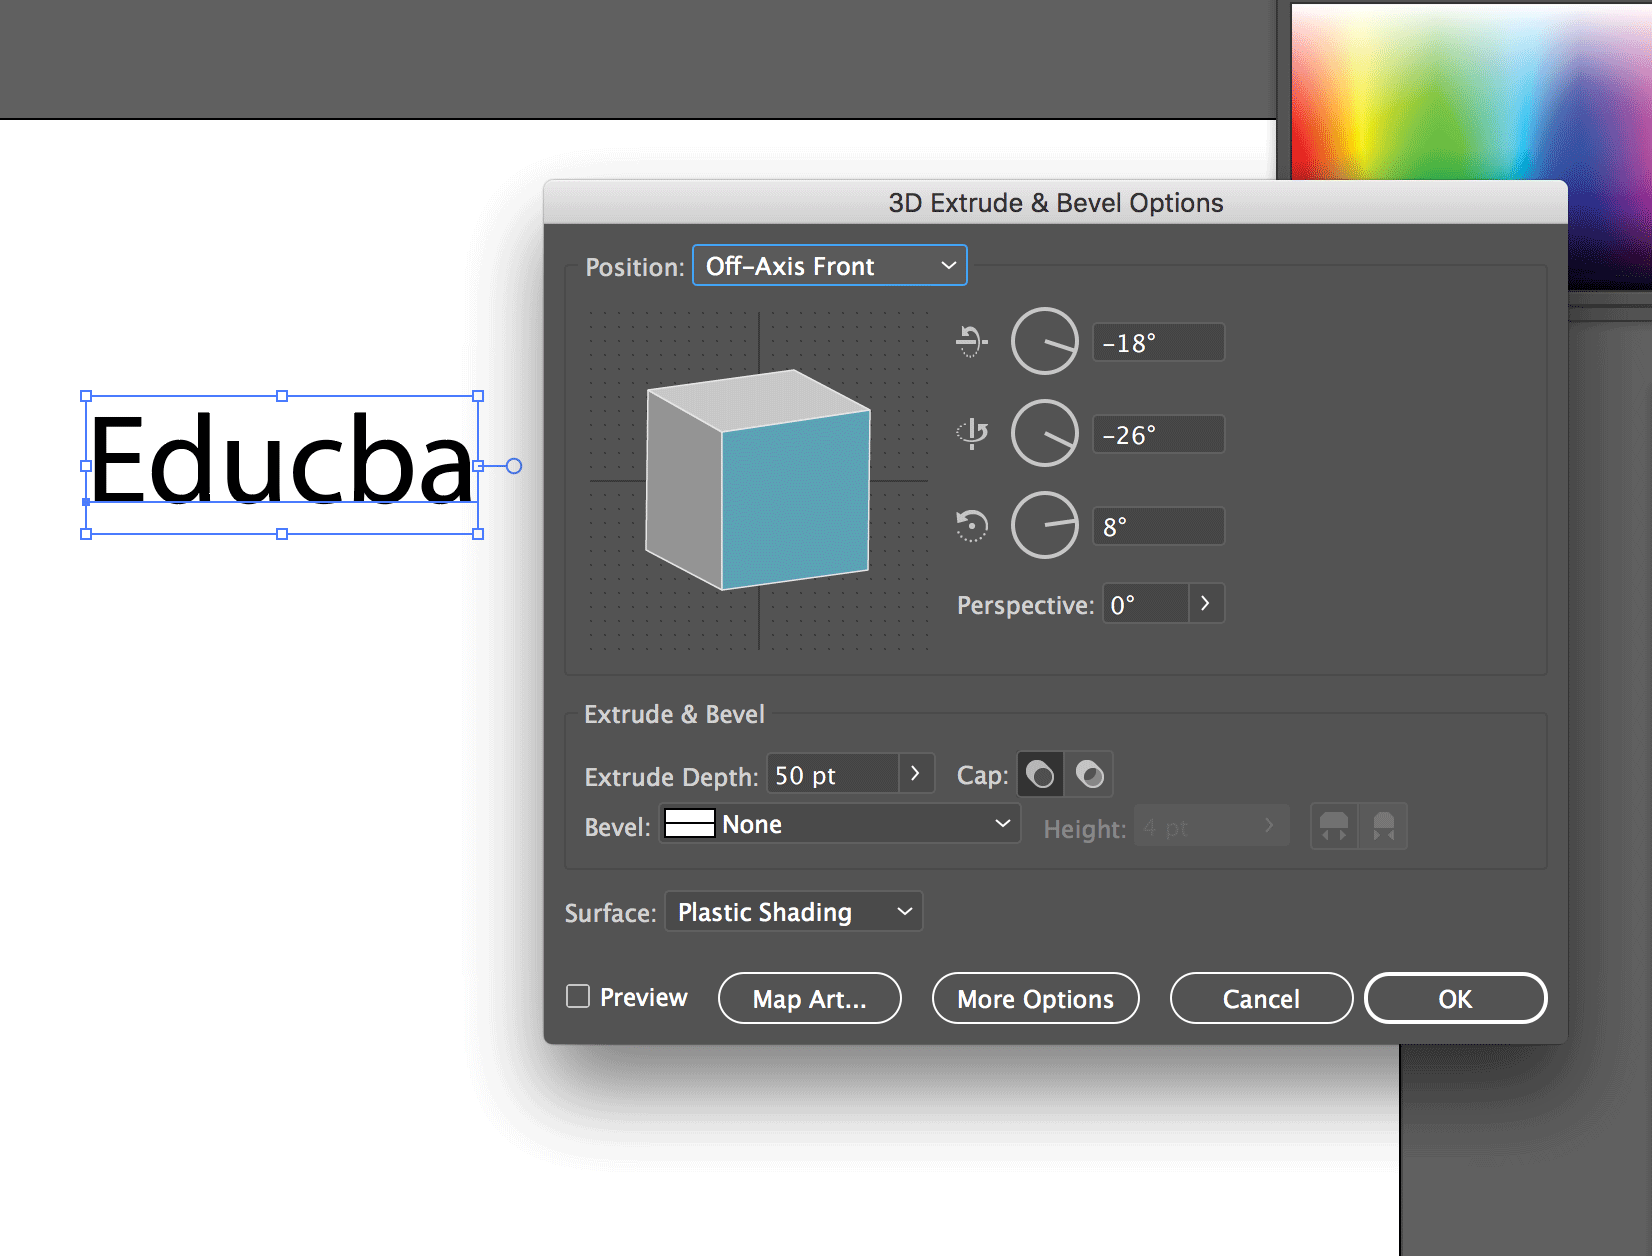
Step 5: You will get a dialog box once you click on extrude & bevel. In the dialog box, choose the position as Off-Axis Front, Extrude Depth as 50 pt.
Step 6: You will see the Final text with the effect as follows.

You can try other positions with a different axis, different depths, and angles.
2. Pucker & Bloat Effect
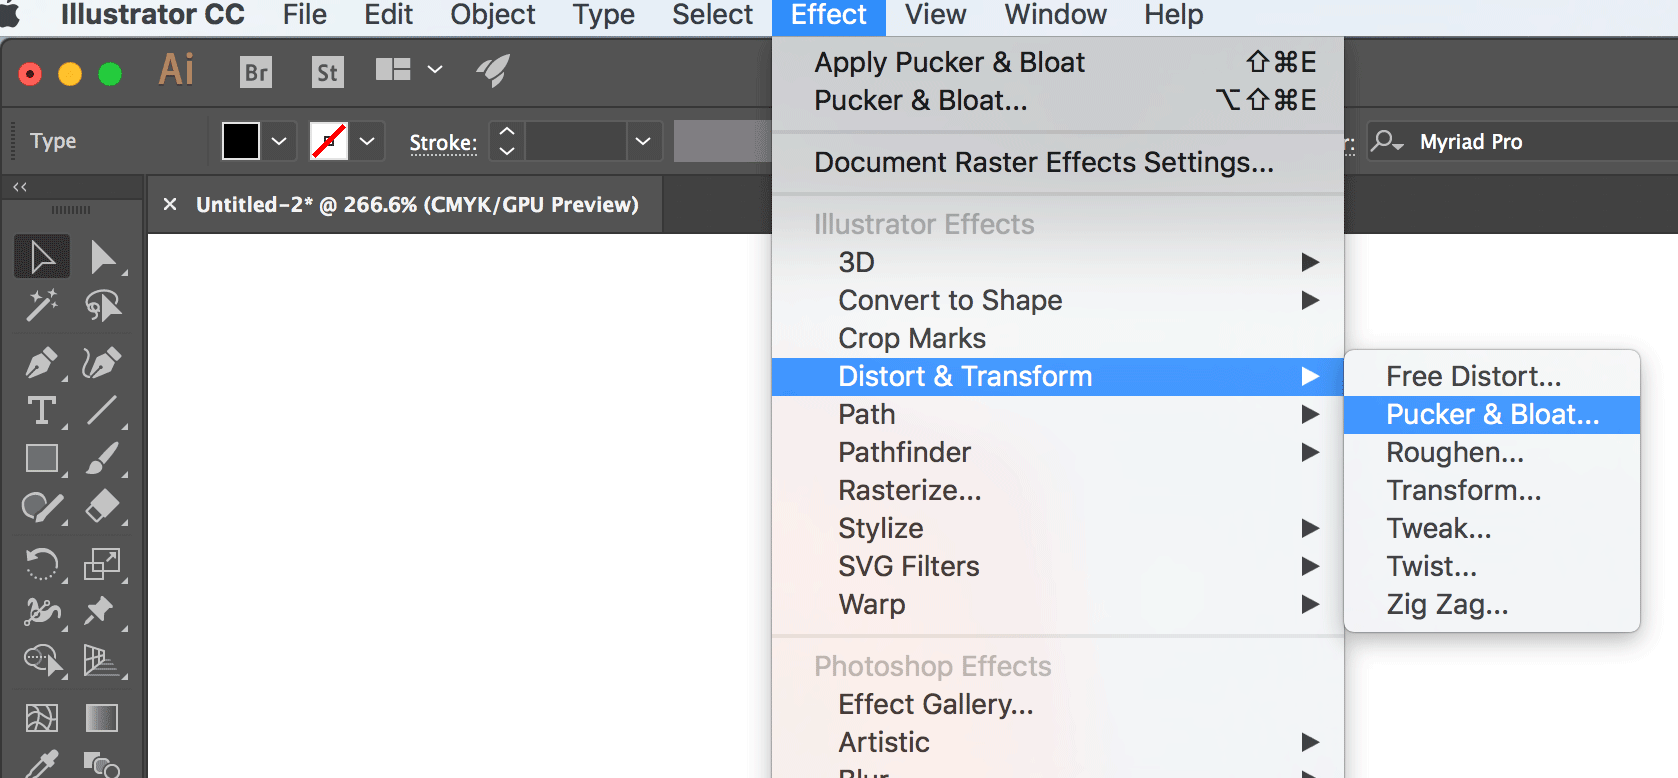
Repeat steps 1 to 3 from the previous effect (3D).
Step 4: Click on distort & transform and select pucker & bloat.
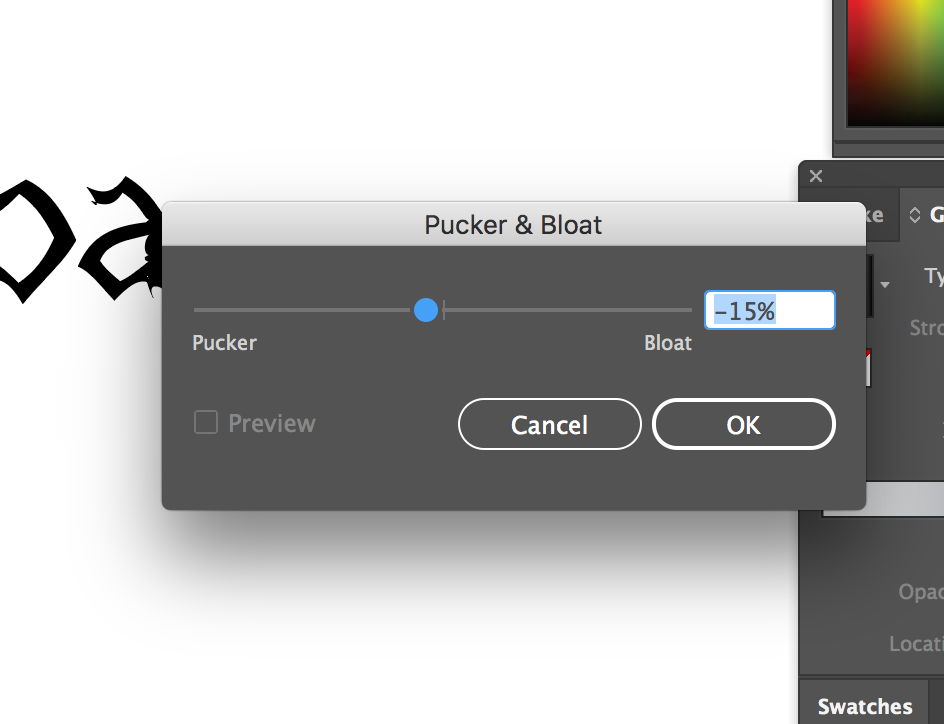
Step 5: Upon clicking pucker & bloat, you will get a dialog box. Select the value as 15% and click on OK.

Step 6: The final text will look like this:

You can change the value more towards pucker or more towards bloat, depending on how you want to style the text.
Pucker(15%)
Final Result of Pucker
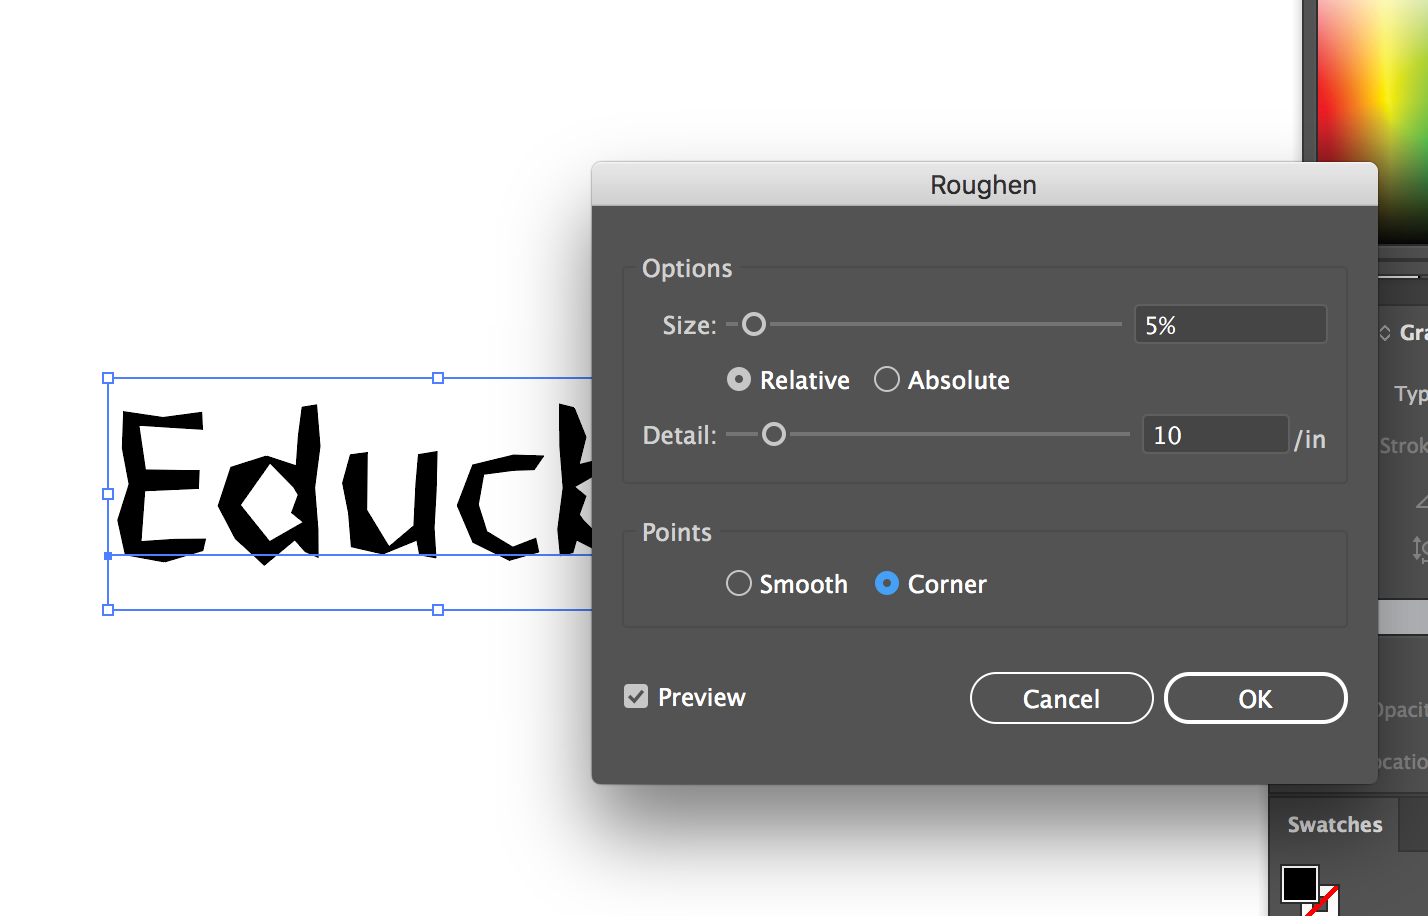
3. Roughen Effect
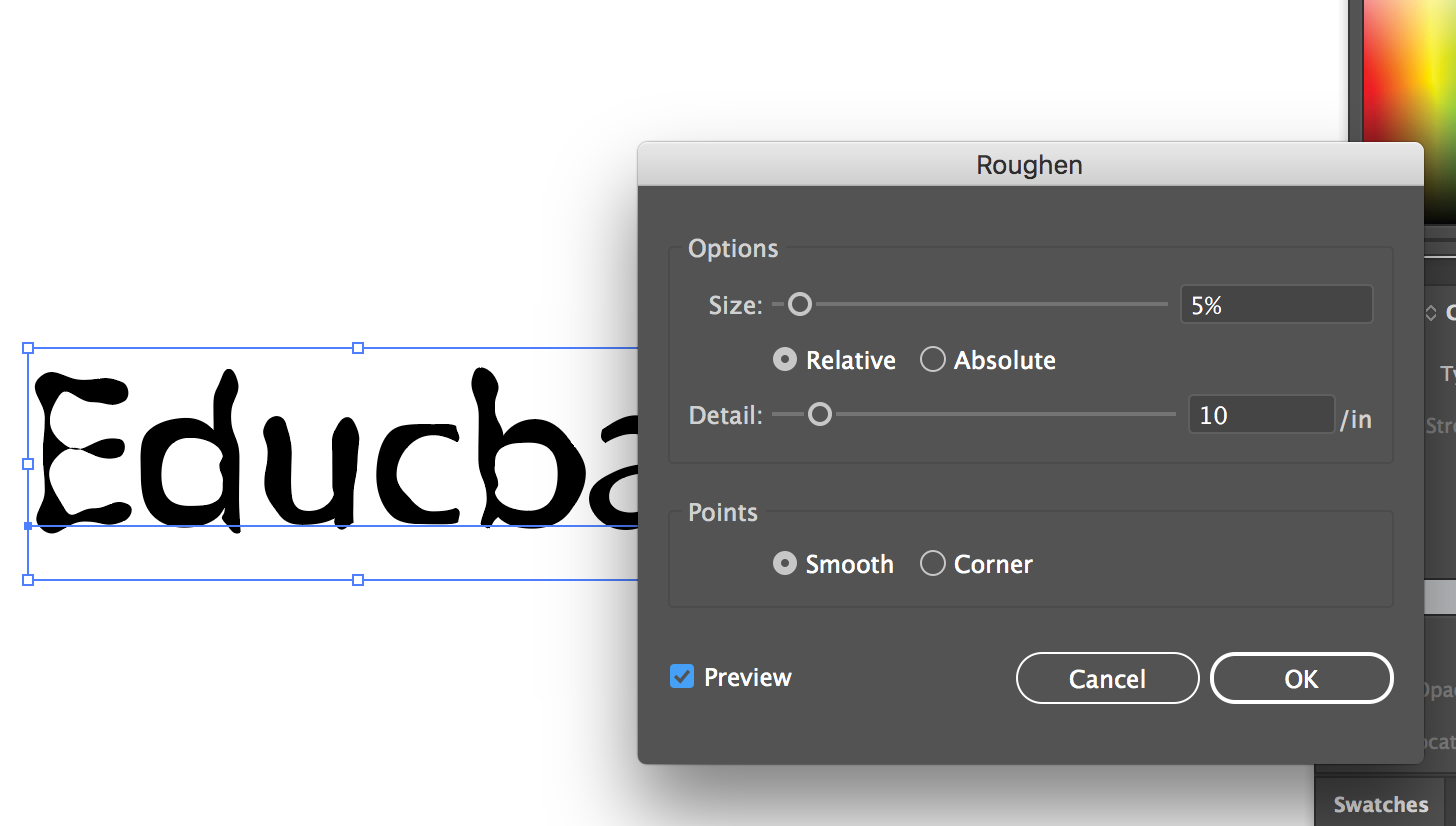
With this effect, you can give a rough look to your text. Select Roughen under distorting & transform, and you will get a dialog box. Depending on your choice, you can select the smooth points or the corner points to work with. You can increase or decrease the size too.
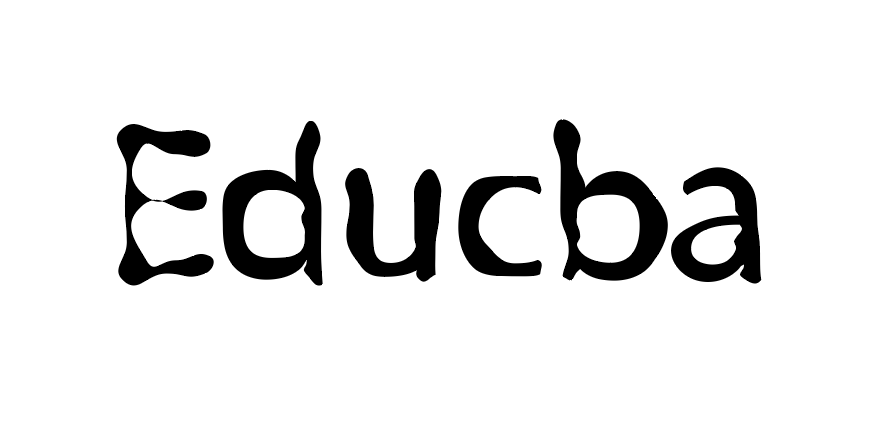
Final Result of Roughen

Roughen(Smooth Points)
Final Result
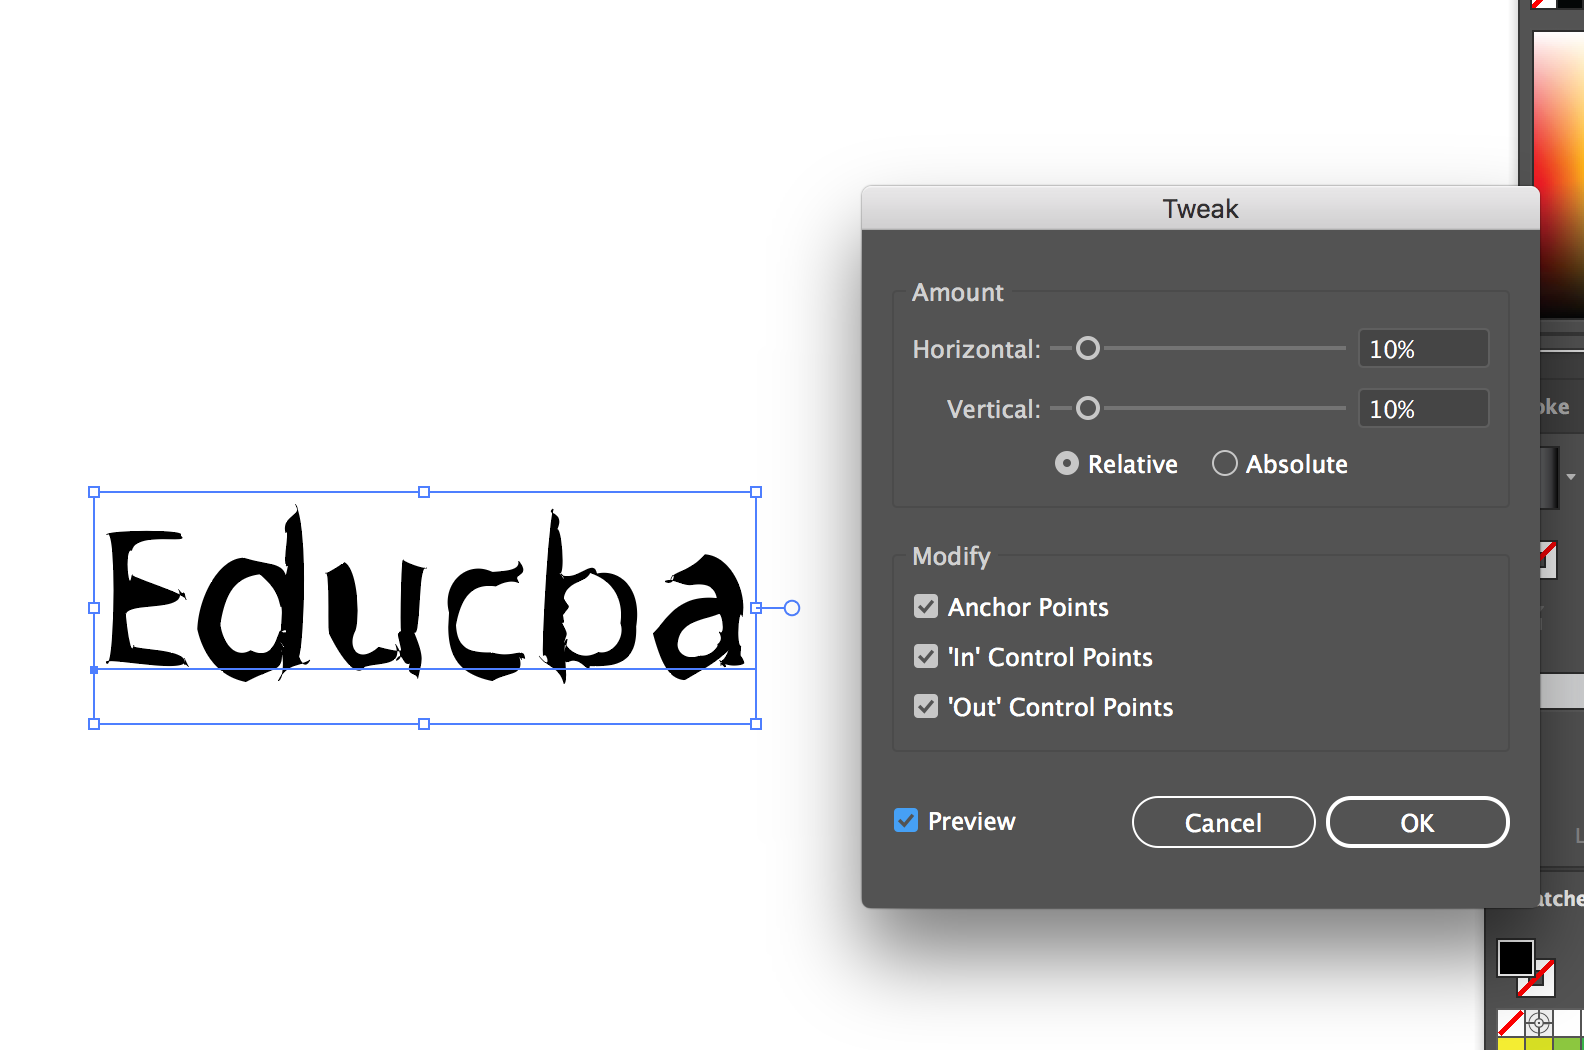
4. Tweak Effect
Select Tweak under distorts & transform, and you will get a dialog box. You can adjust the values as per your need in order to tweak the text.
Select Twist under distorts & transform, and you will get a dialog box. Adjust the angle as per your wish as to how much you want to angle the text.
Twist Effect Dialog Box
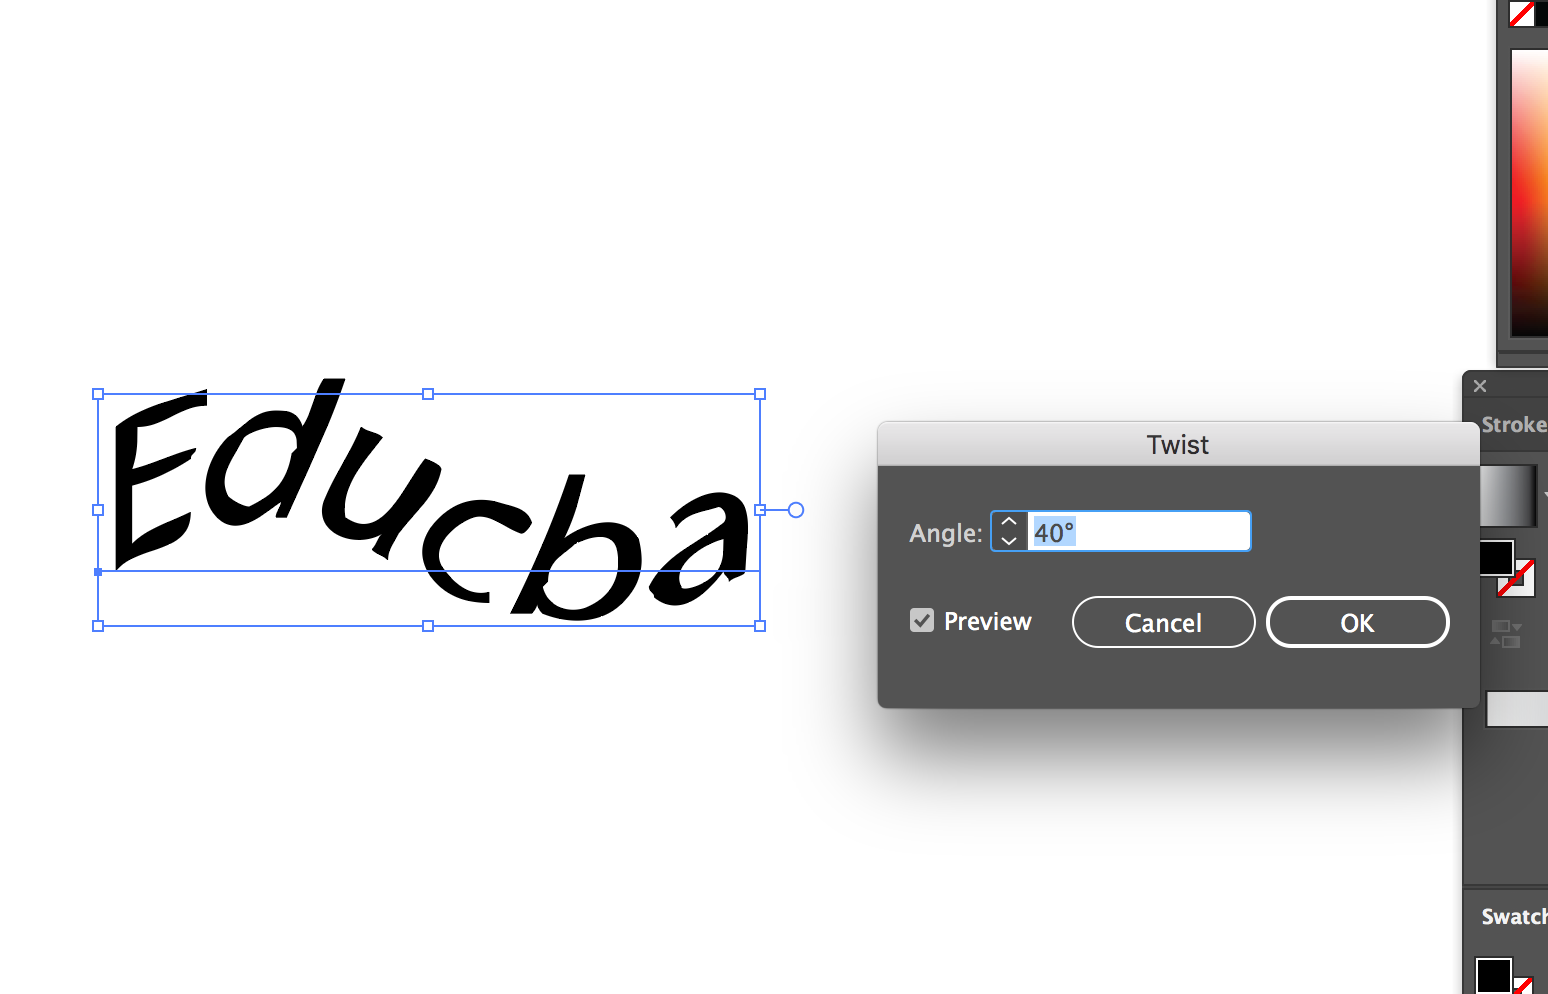
Final Result of Twist Effect

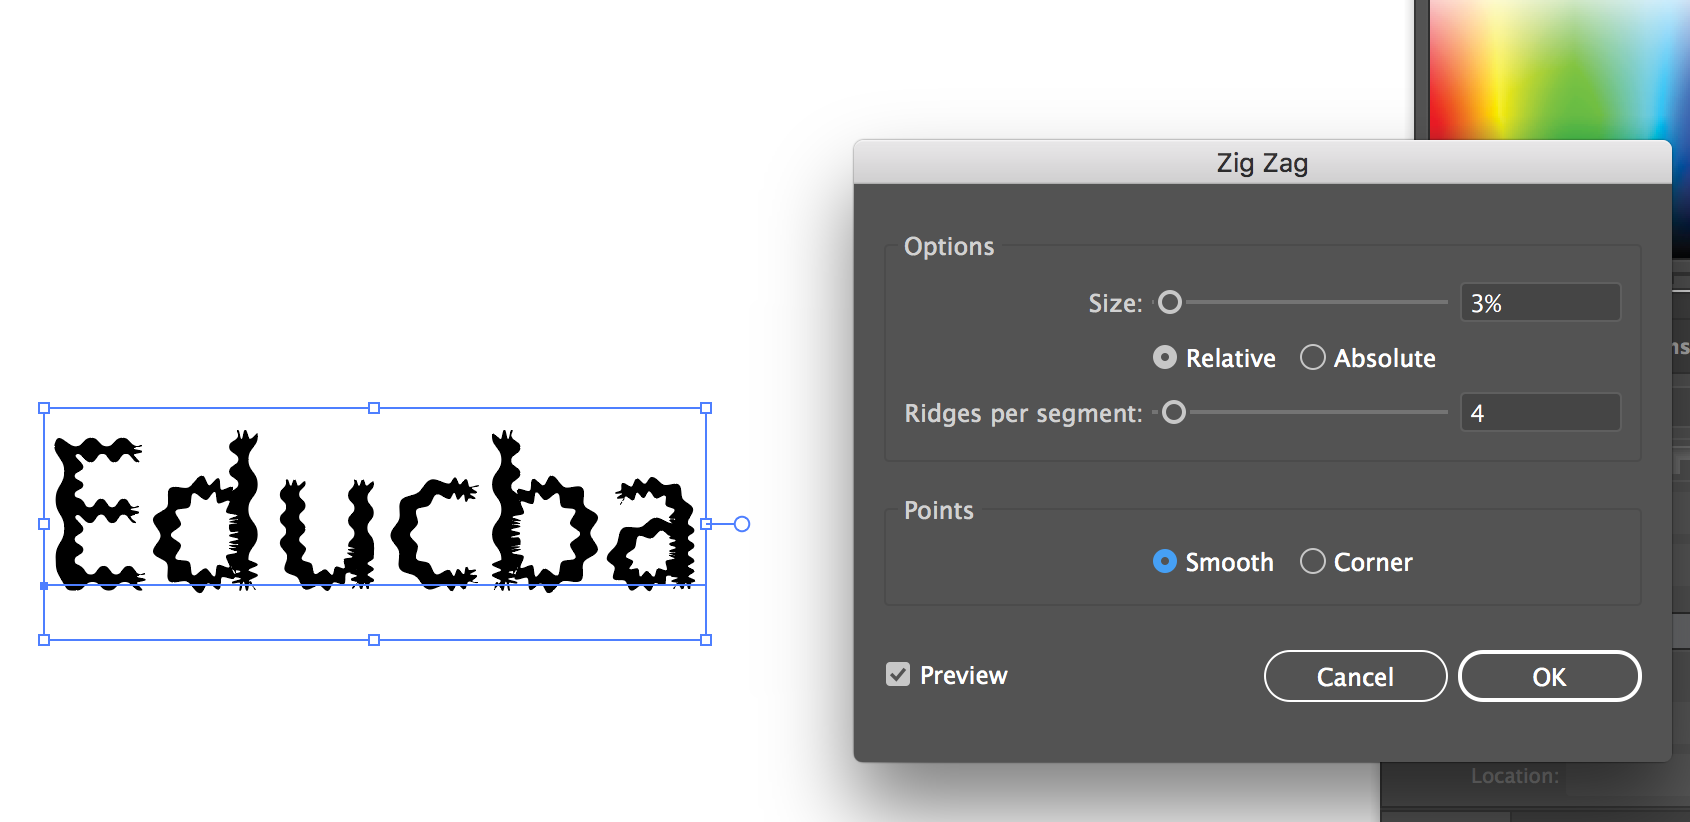
5. Zig-Zag Effect
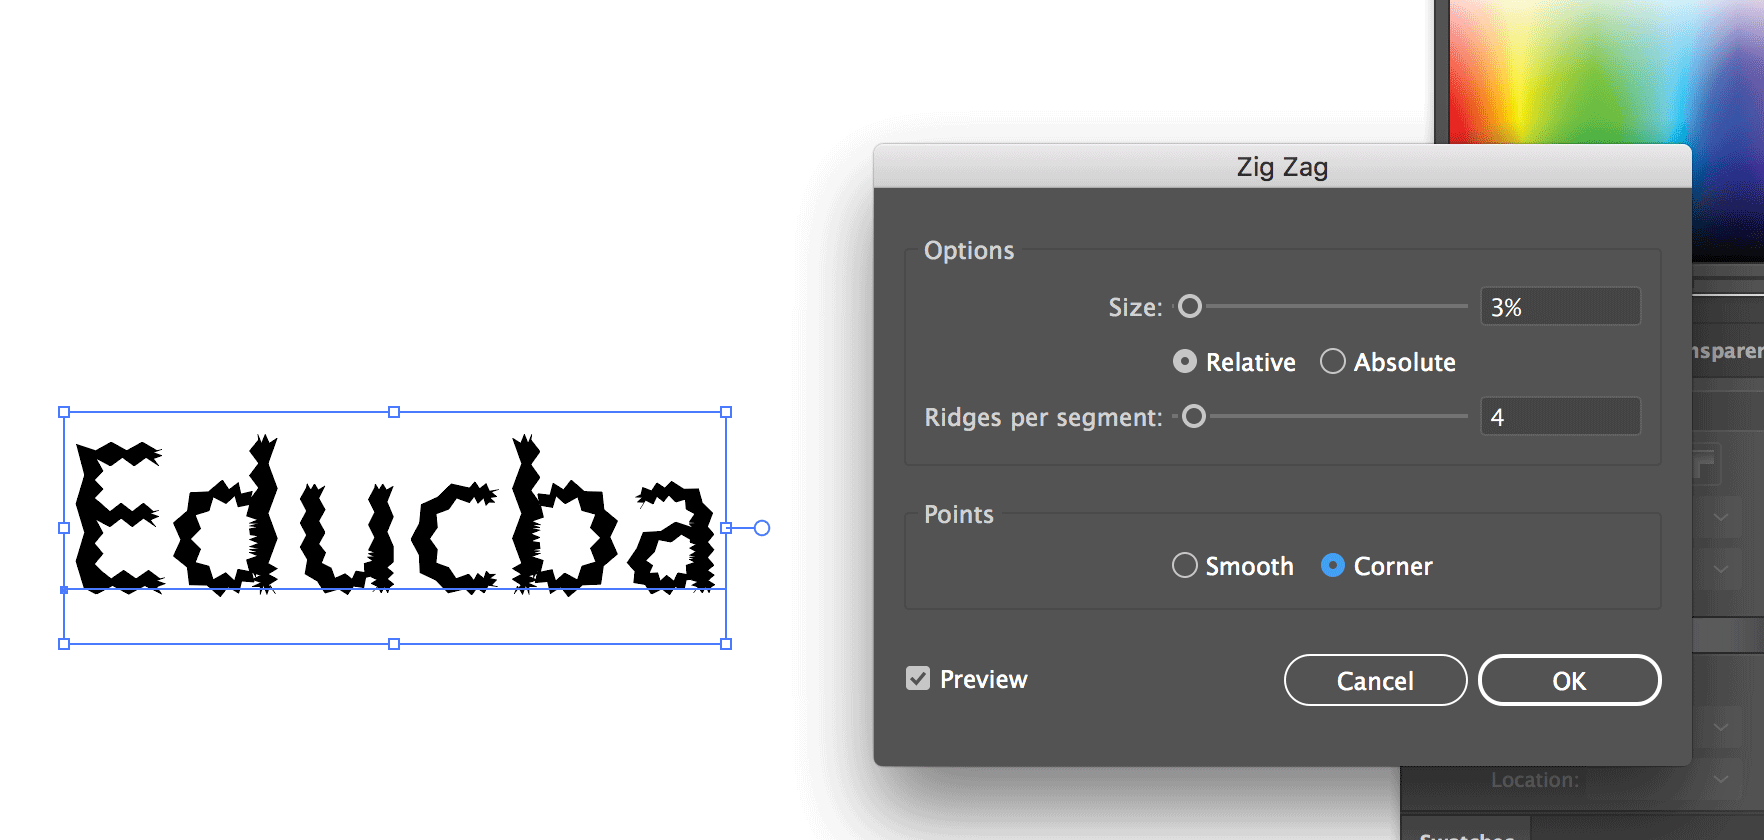
Select Zig-Zag under distort & transform and you will get a dialog box. In the dialog box, make sure the size is small and check relative since a bigger size and absolute would make the word unrecognizable. You can choose to style the smoother points or the corner points as per your needs. In this way, you can give a zig-zag effect to your text.
Zig-Zag Effect (Smooth Points)
Zig-Zag Effect (Corner Points)
6. Stylize
Select stylize from the menu bar at the top of the screen.
- Drop Shadow Effect
Select drop shadow under stylize, and you will get a dialog box. In the dialog box, select the values as shown in the below image.
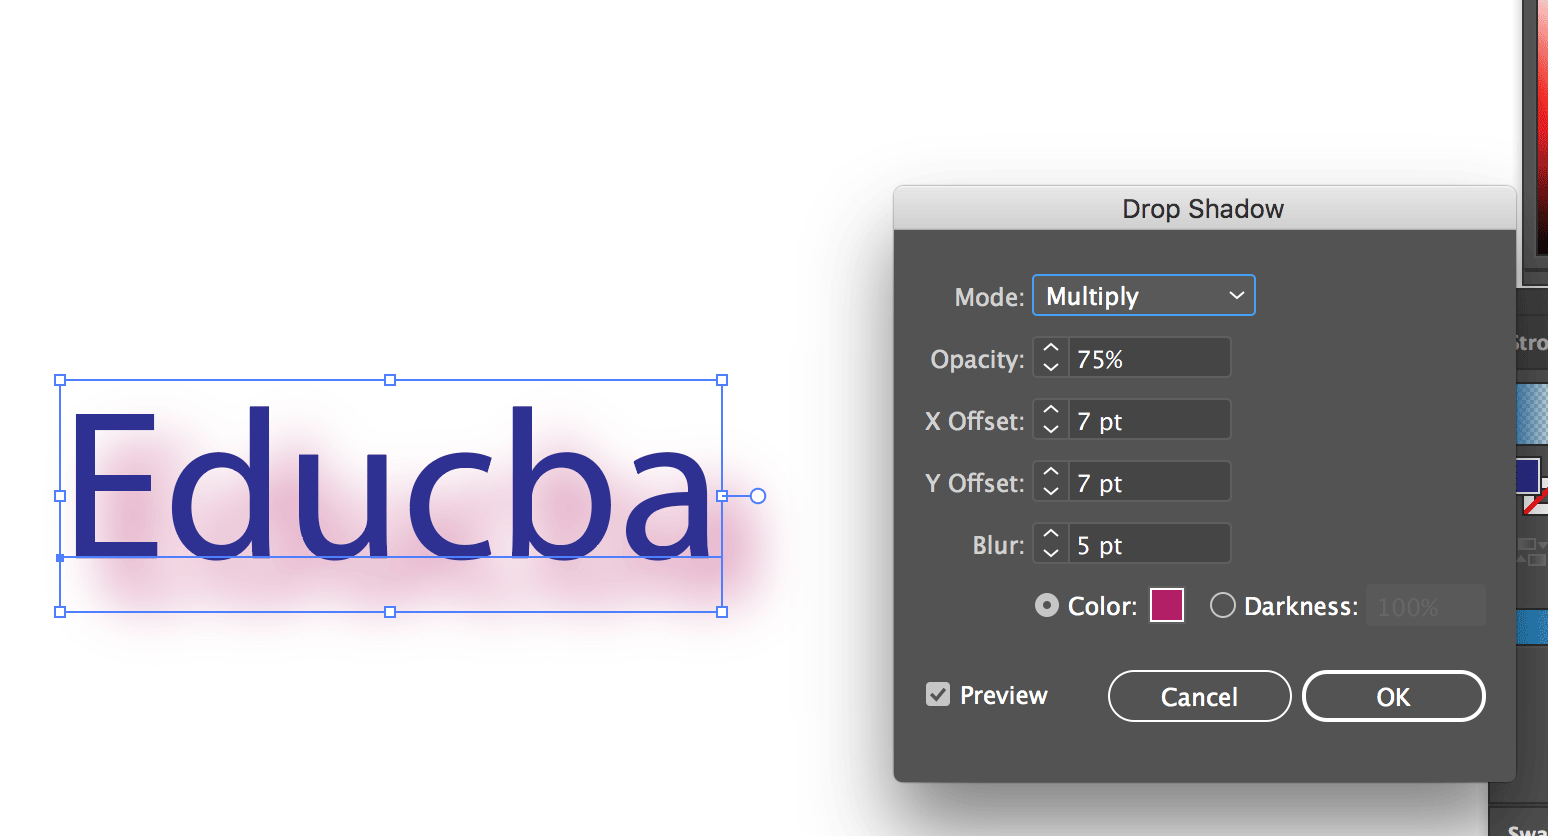
You can alter the values as per your needs.
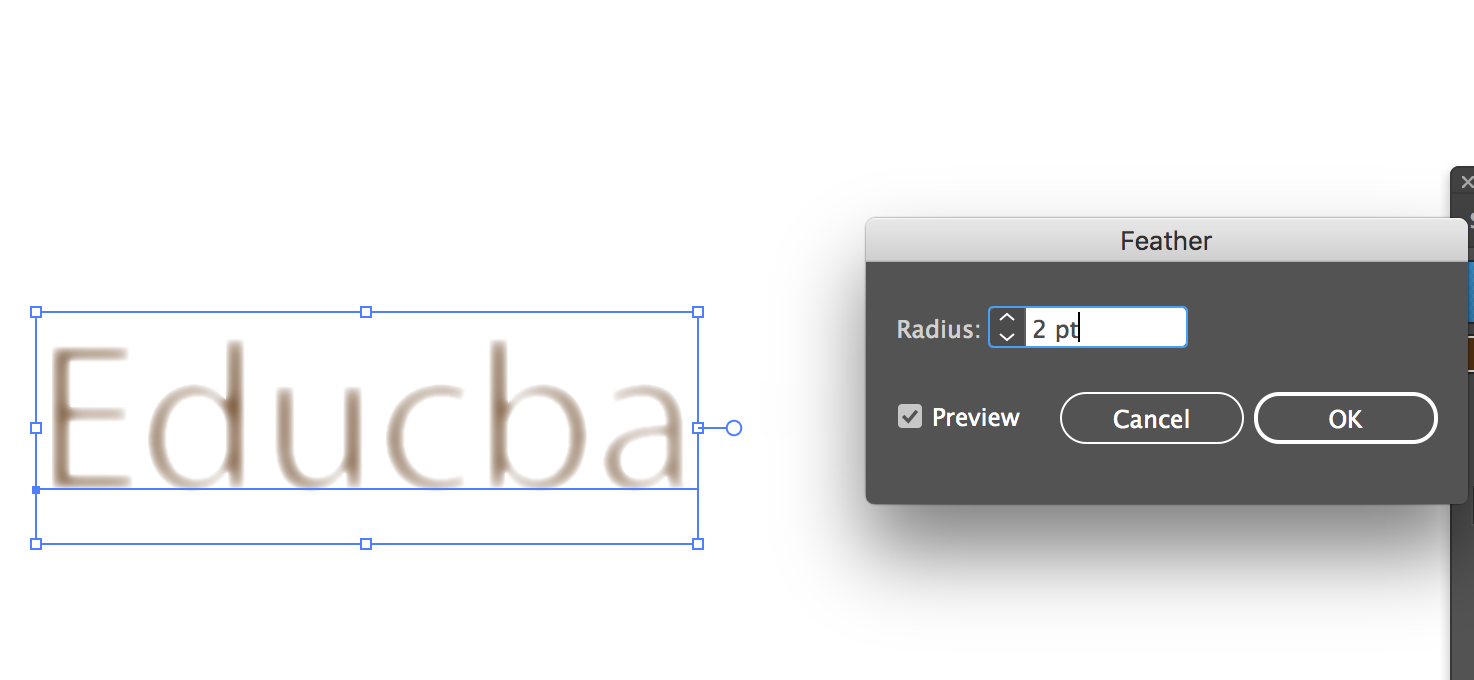
- Feather Effect
Select feather under stylize, and you will get a dialog box. You can adjust the radius in the dialog box.
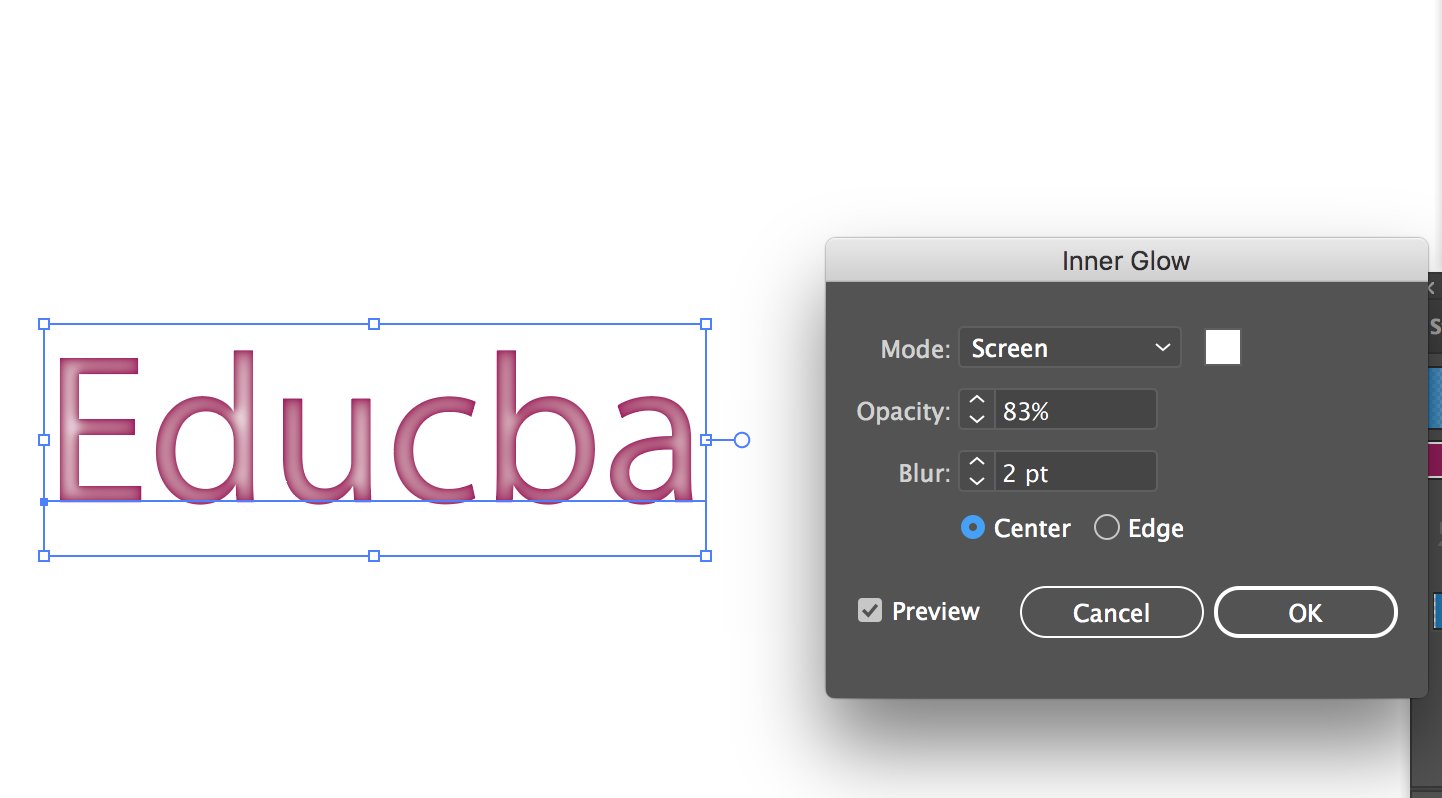
- Inner Glow Effect
Select inner glow under stylize, and you will get a dialog box. You can apply this effect either to the center of the text or the edges. You can increase or decrease the values of opacity and blur as per your requirement.
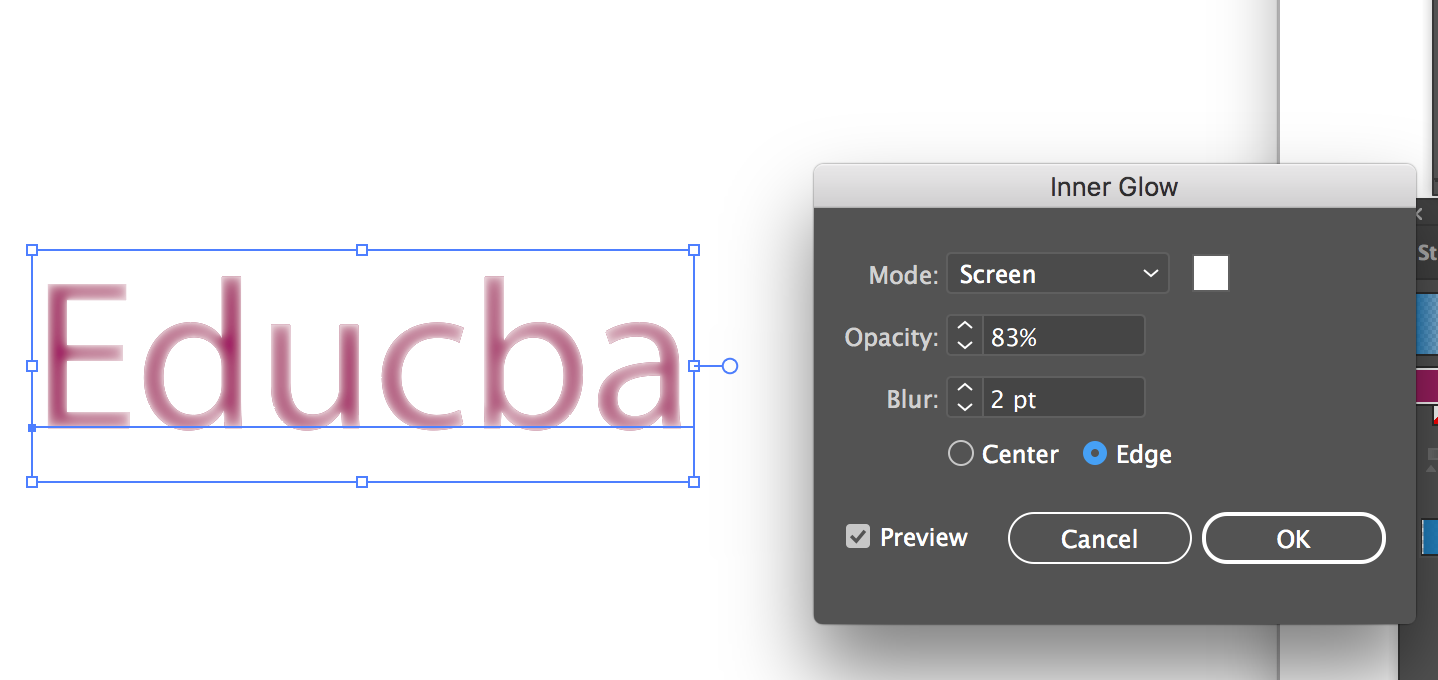
- Inner Glow Effect( Edge)
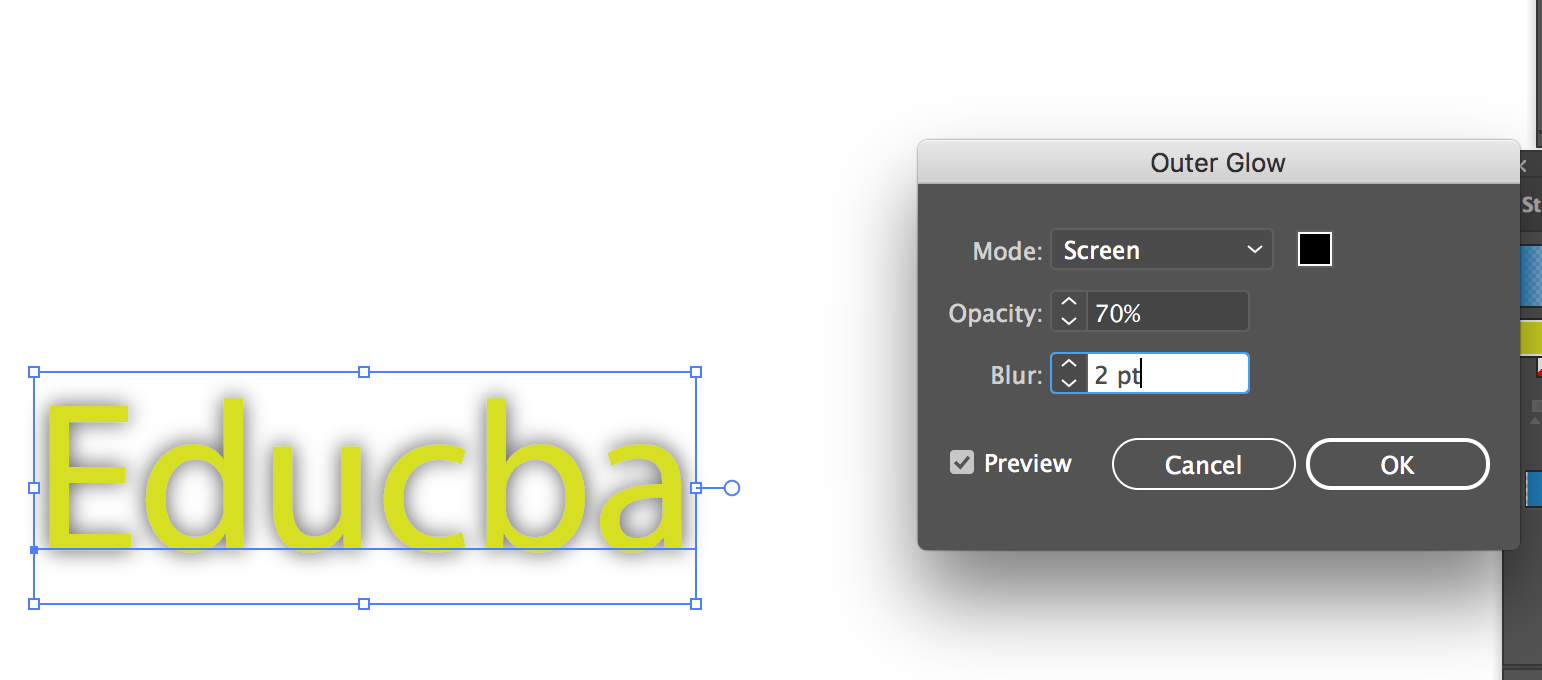
- Outer Glow Effect
Select inner glow under stylize, and you will get a dialog box. Adjust the values as per your wish.
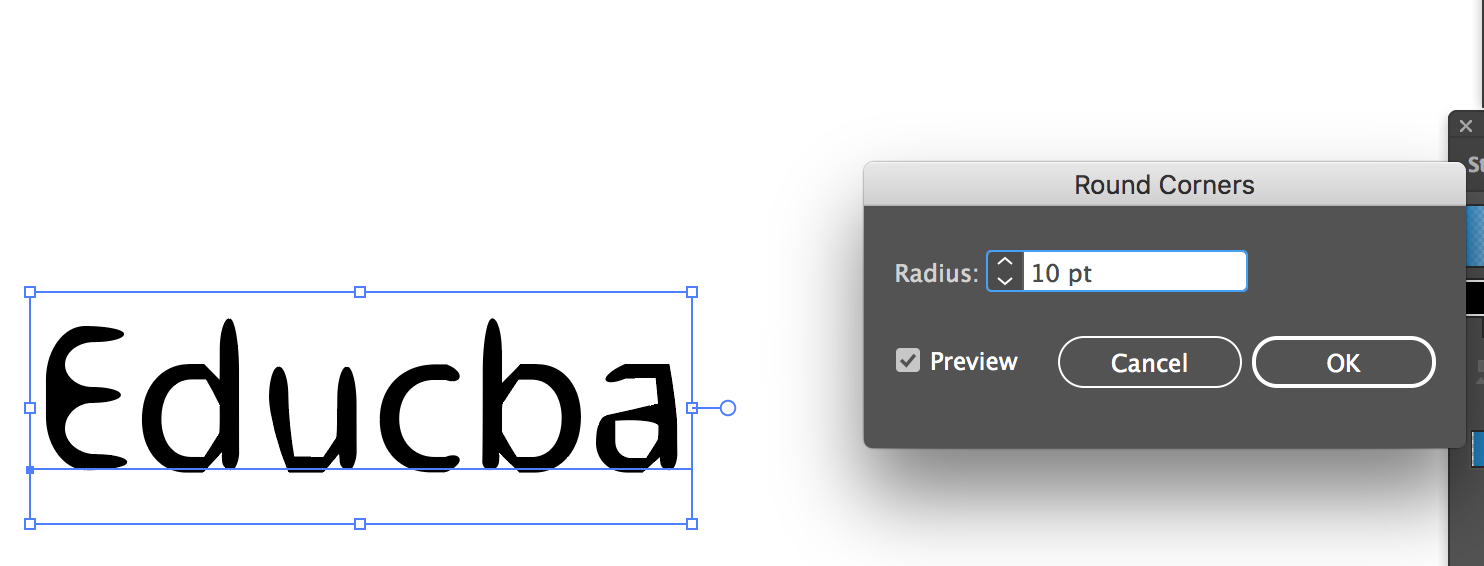
- Round Corner Effect
Select inner glow under stylize, and you will get a dialog box. With this tool, you can give a nice round shape to the corners of your text.
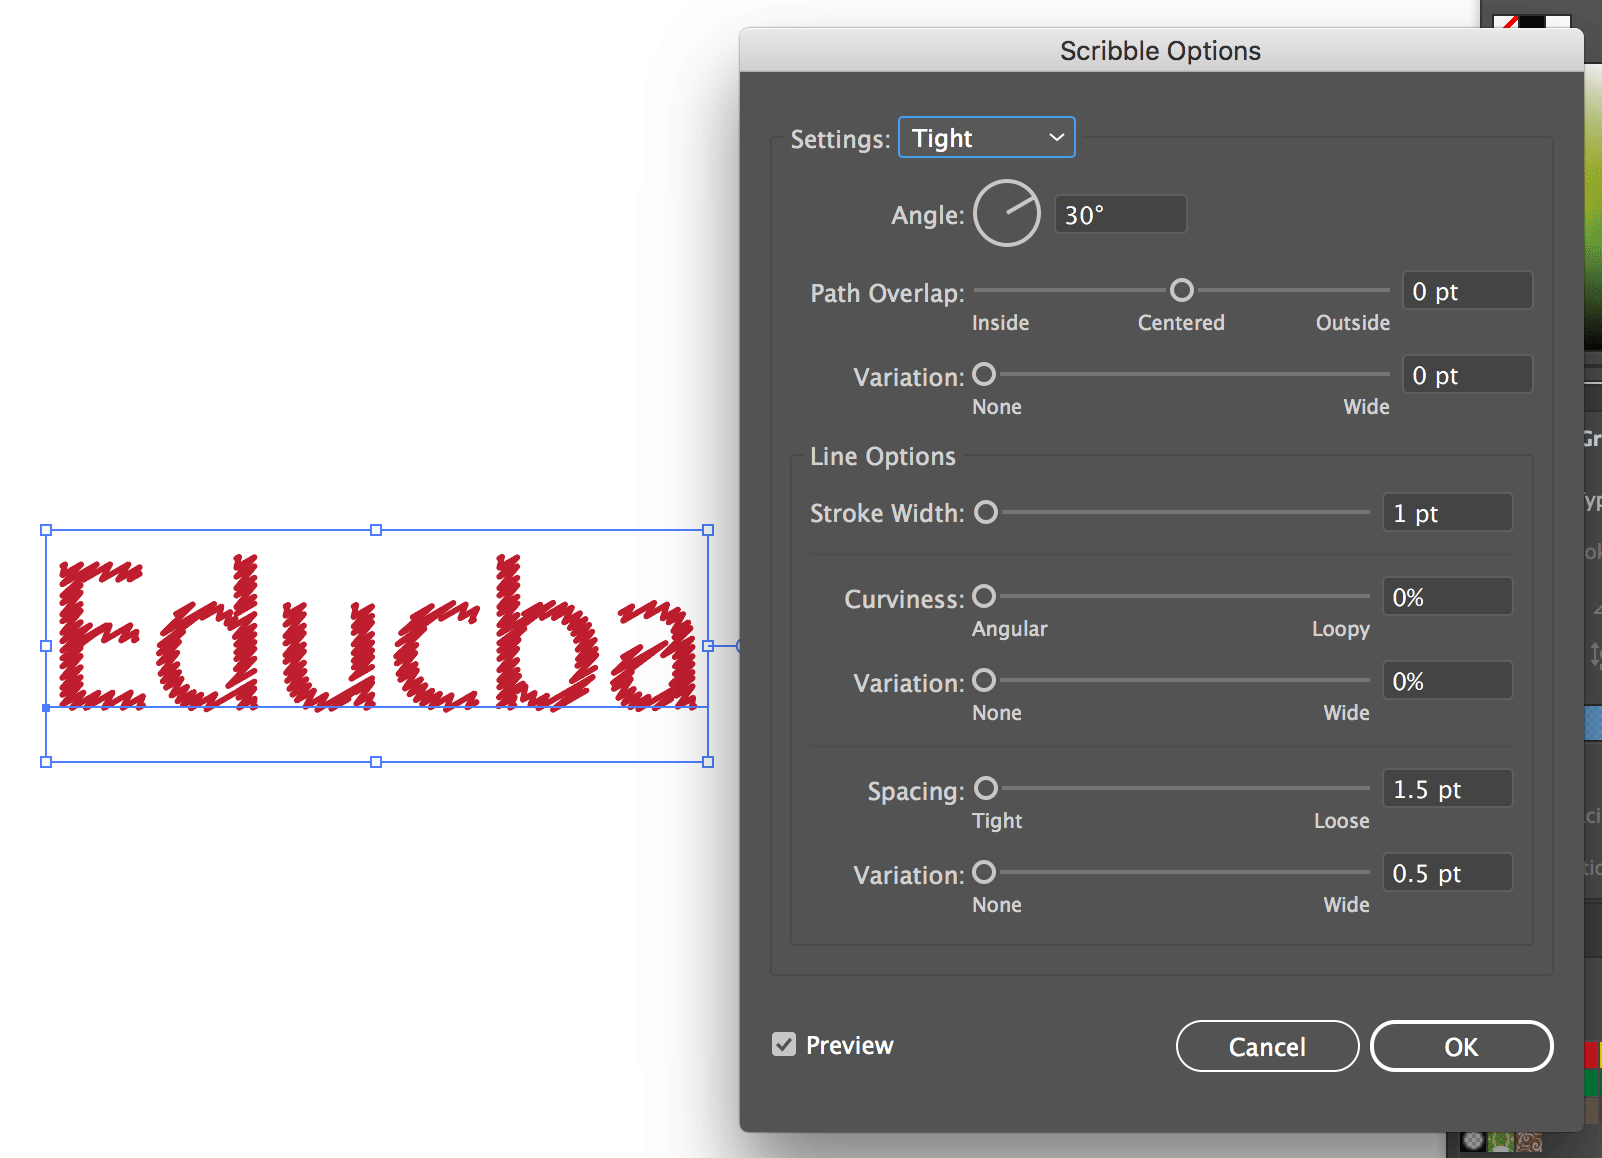
- Scribble Effect
Select scribble under stylize, and you will get a dialog box. You can give a scribbling kind of feel to the text with this effect.
7. Warp
Select warp from the menu bar at the top of the screen.
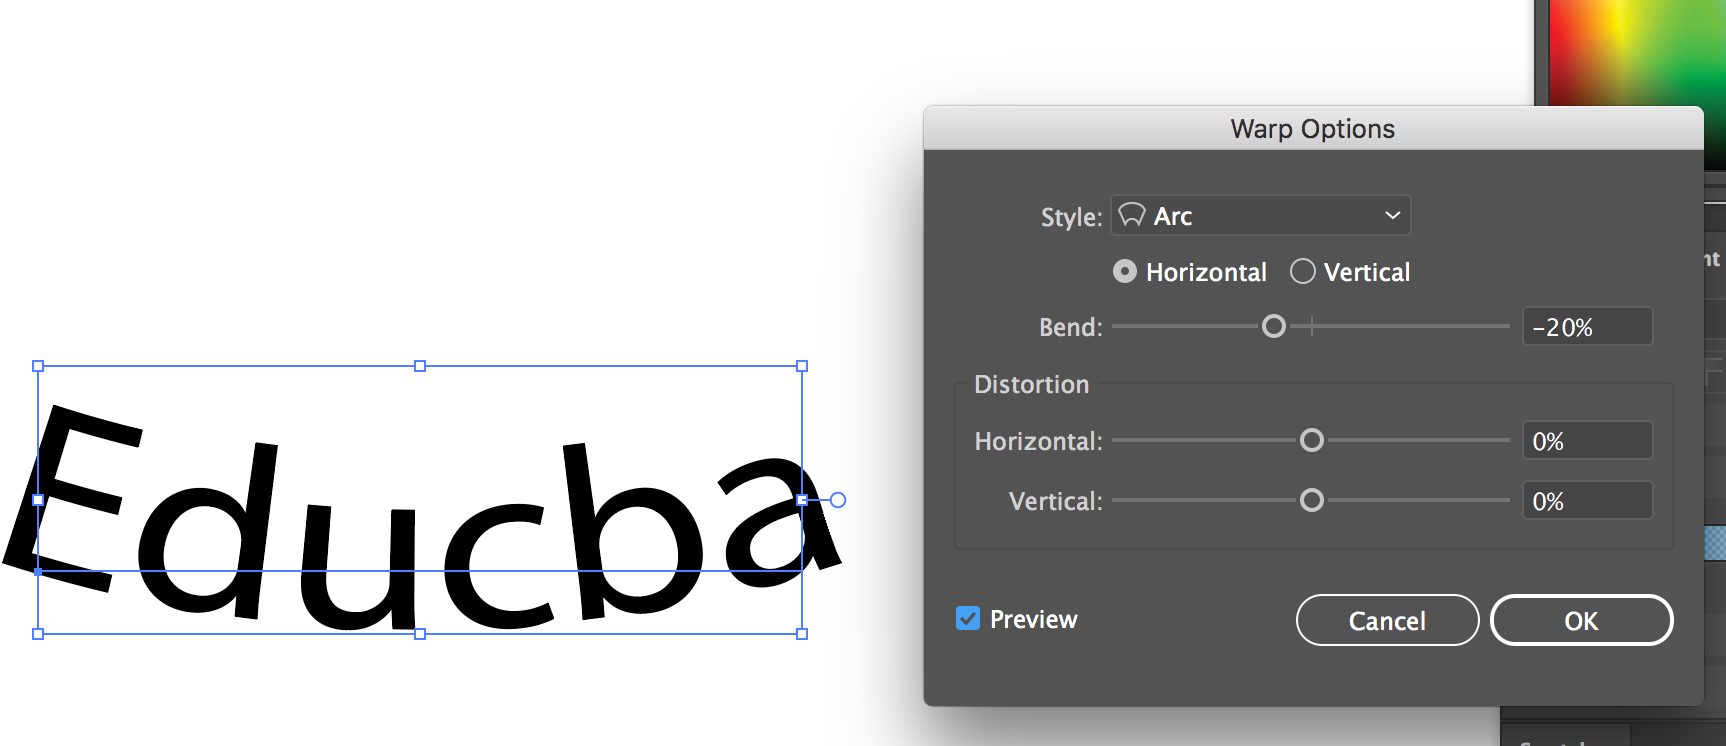
- Arc Effect
Select arc under the warp, and you will get a dialog box. You can give an arc shape to your text with this effect.
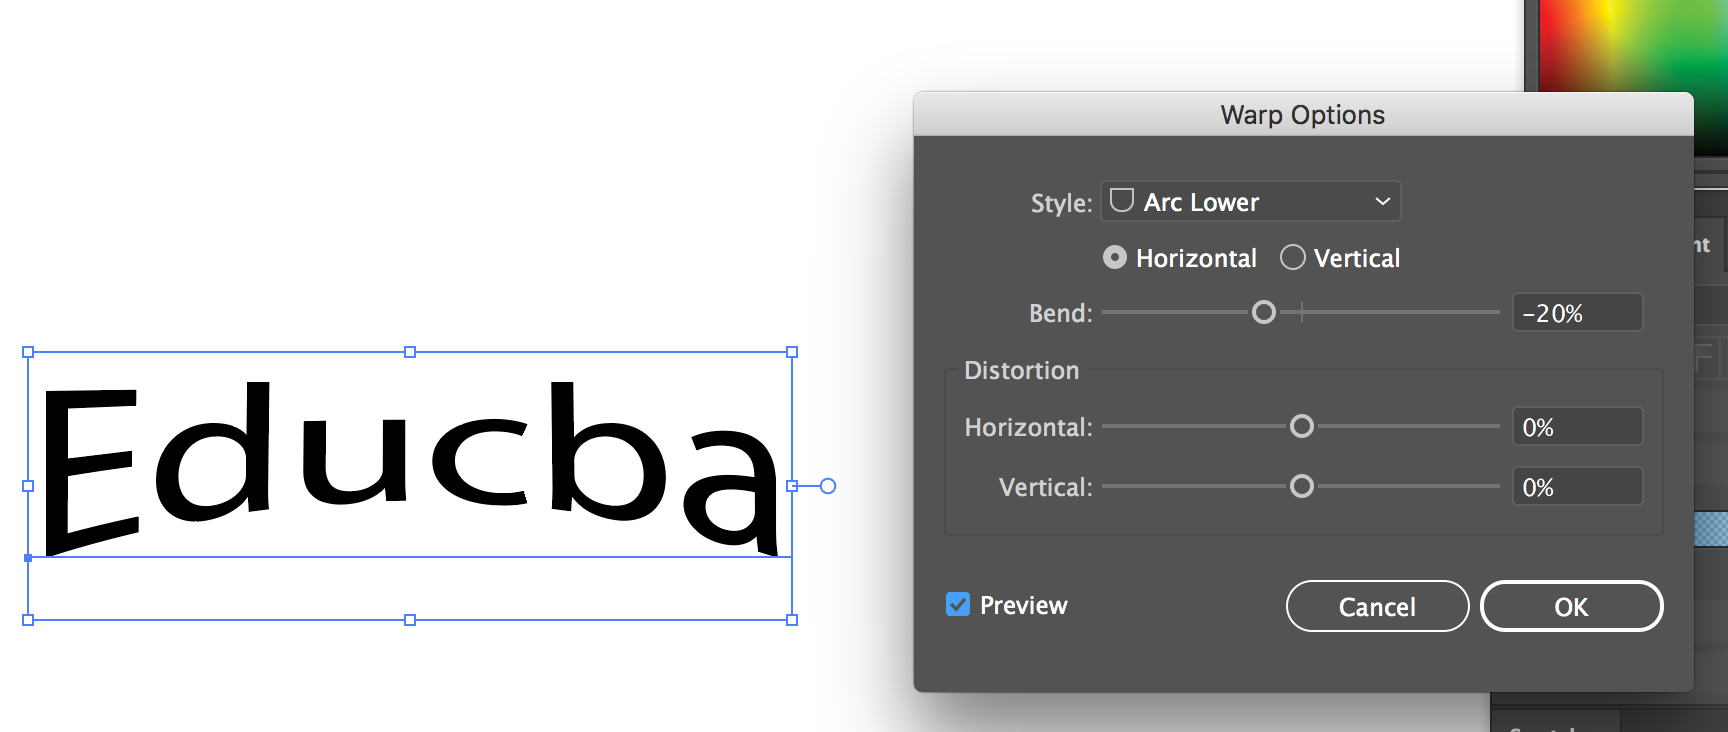
- Arc Lower Effect
Select arc lower under the warp, and you will get a dialog box. You can give an arc shape to the lower part of your text with this effect.
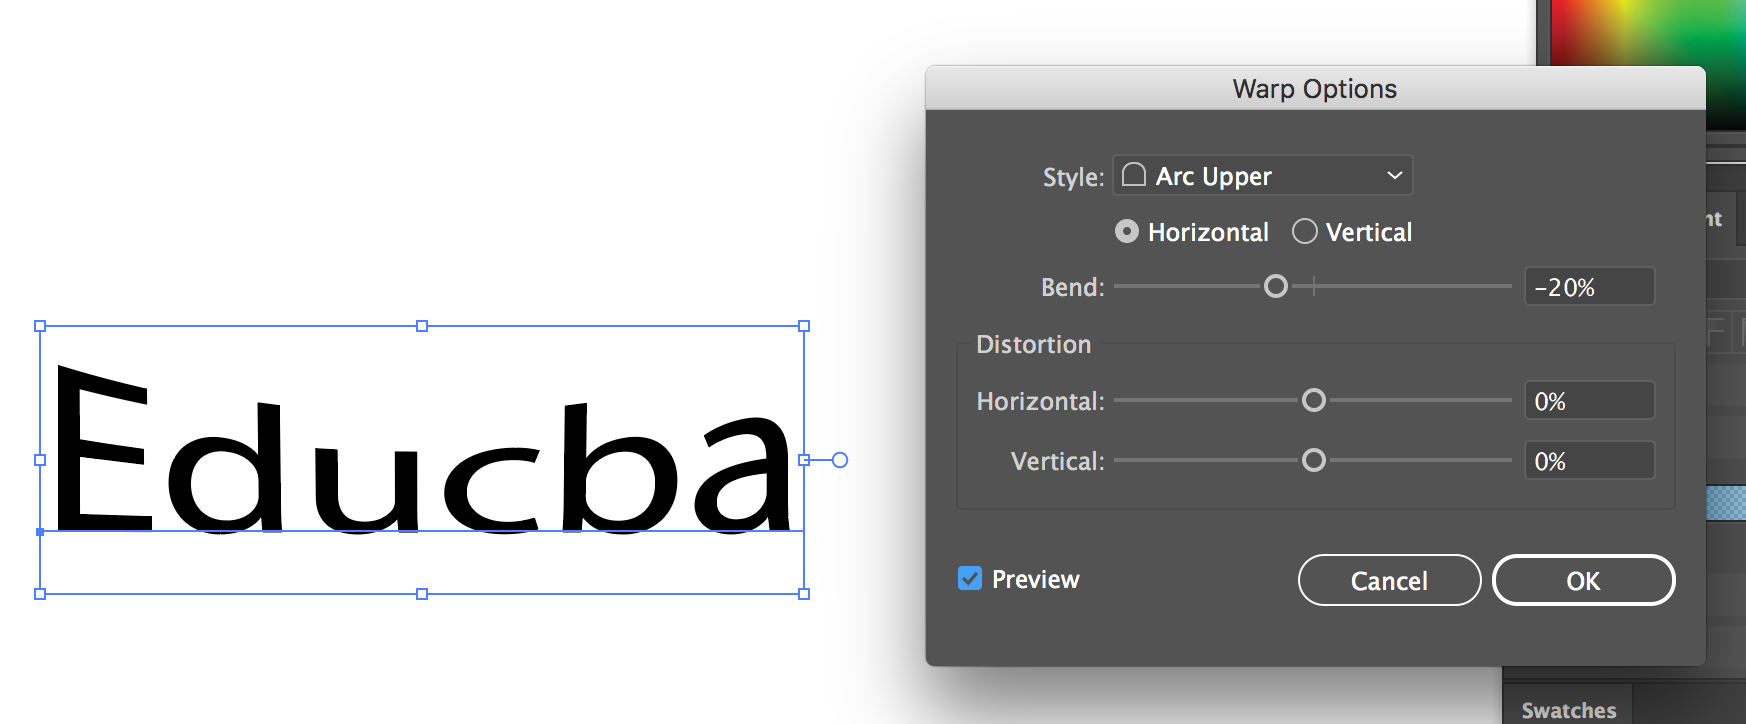
- Arc Upper Effect
Select arc upper under the warp, and you will get a dialog box. You can give an arc shape to the upper part of your text with this effect.
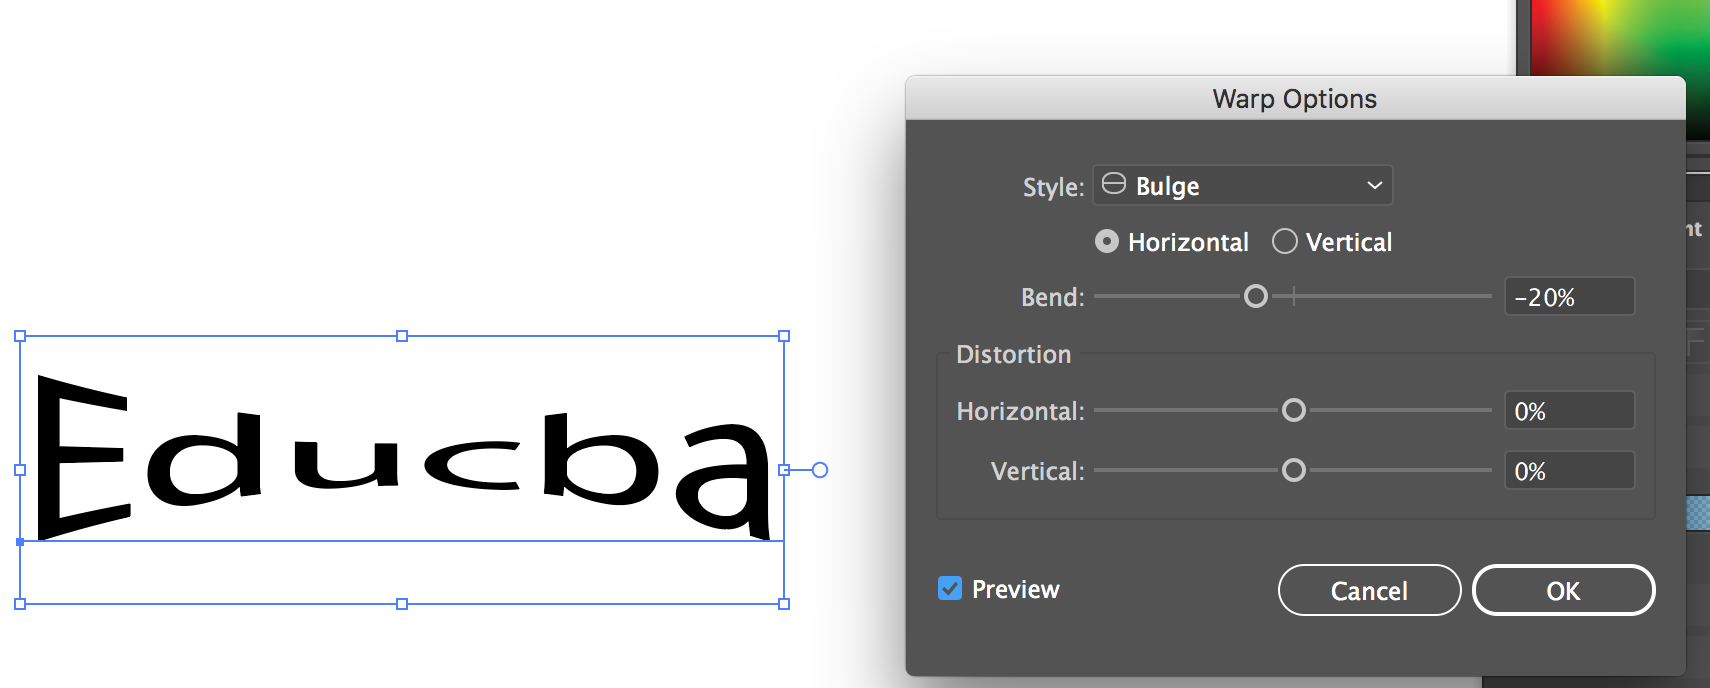
- Bulge Effect
Select arc upper under the warp, and you will get a dialog box. A bulging effect can be given to the text.
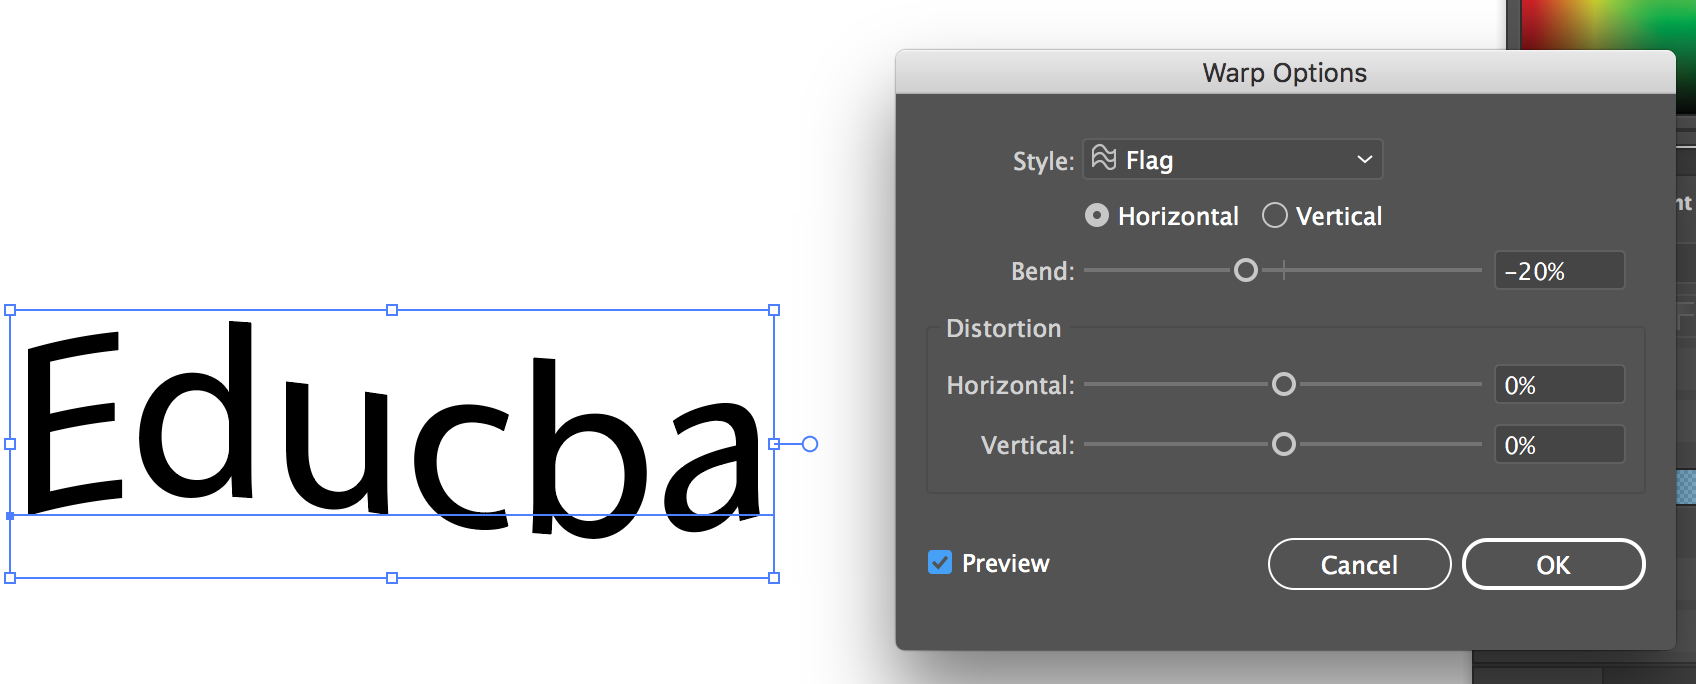
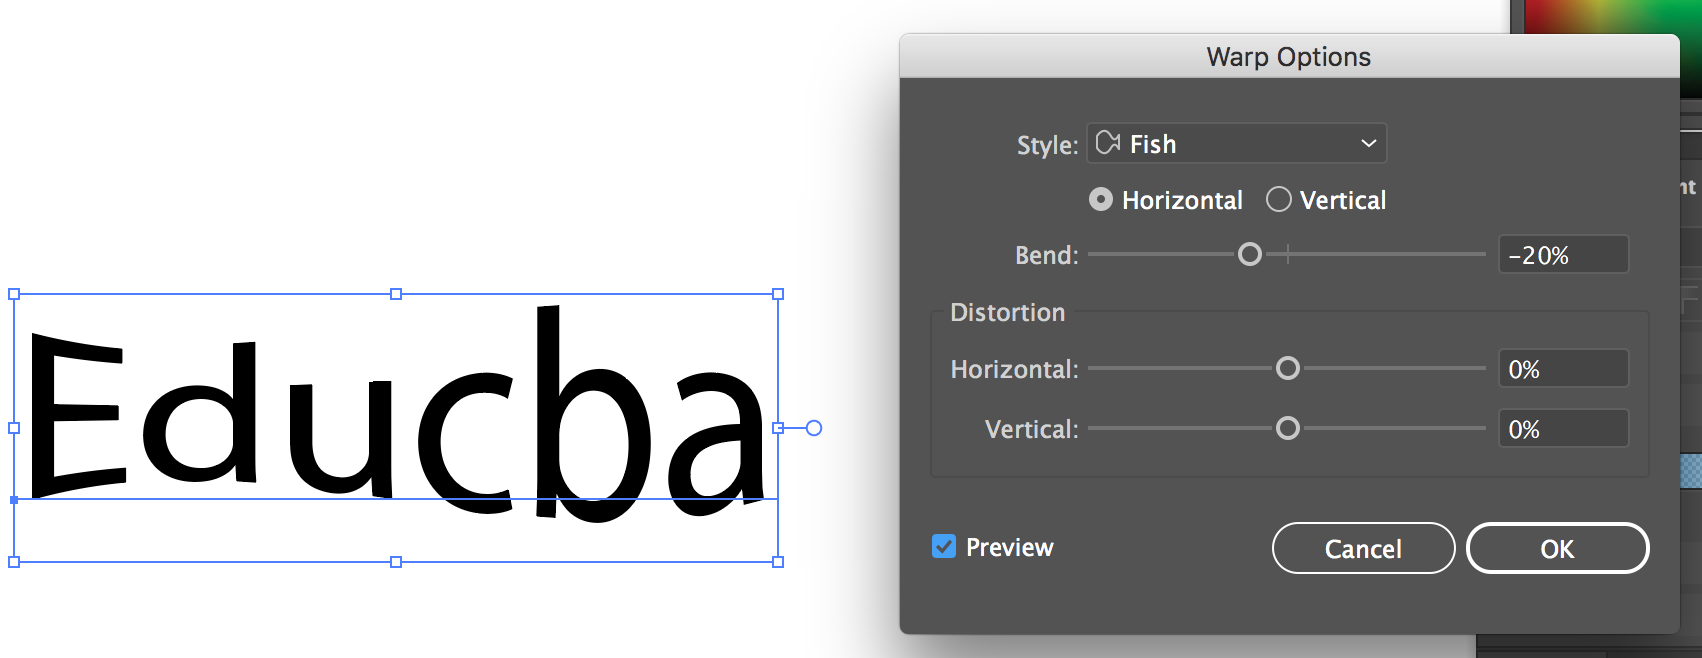
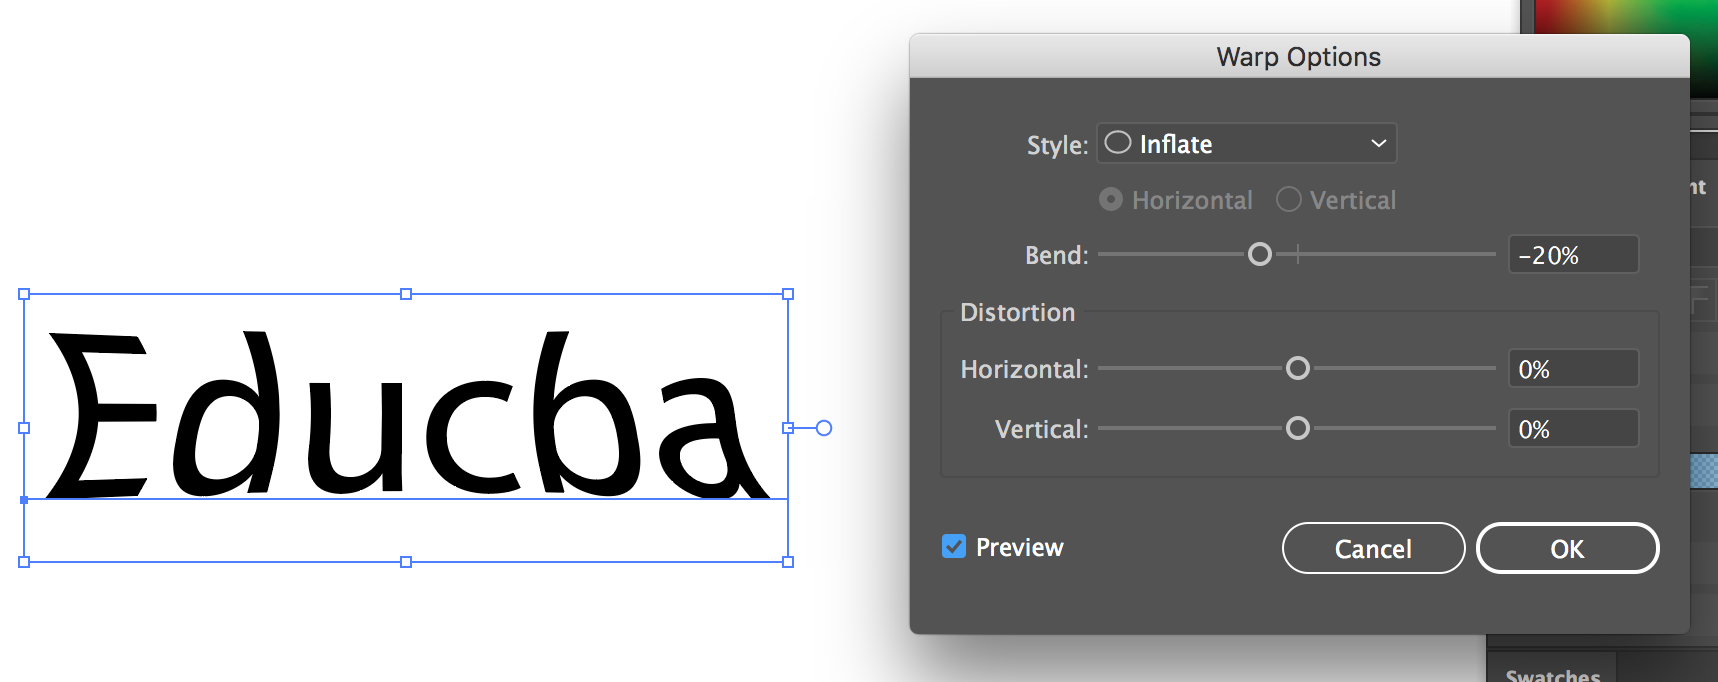
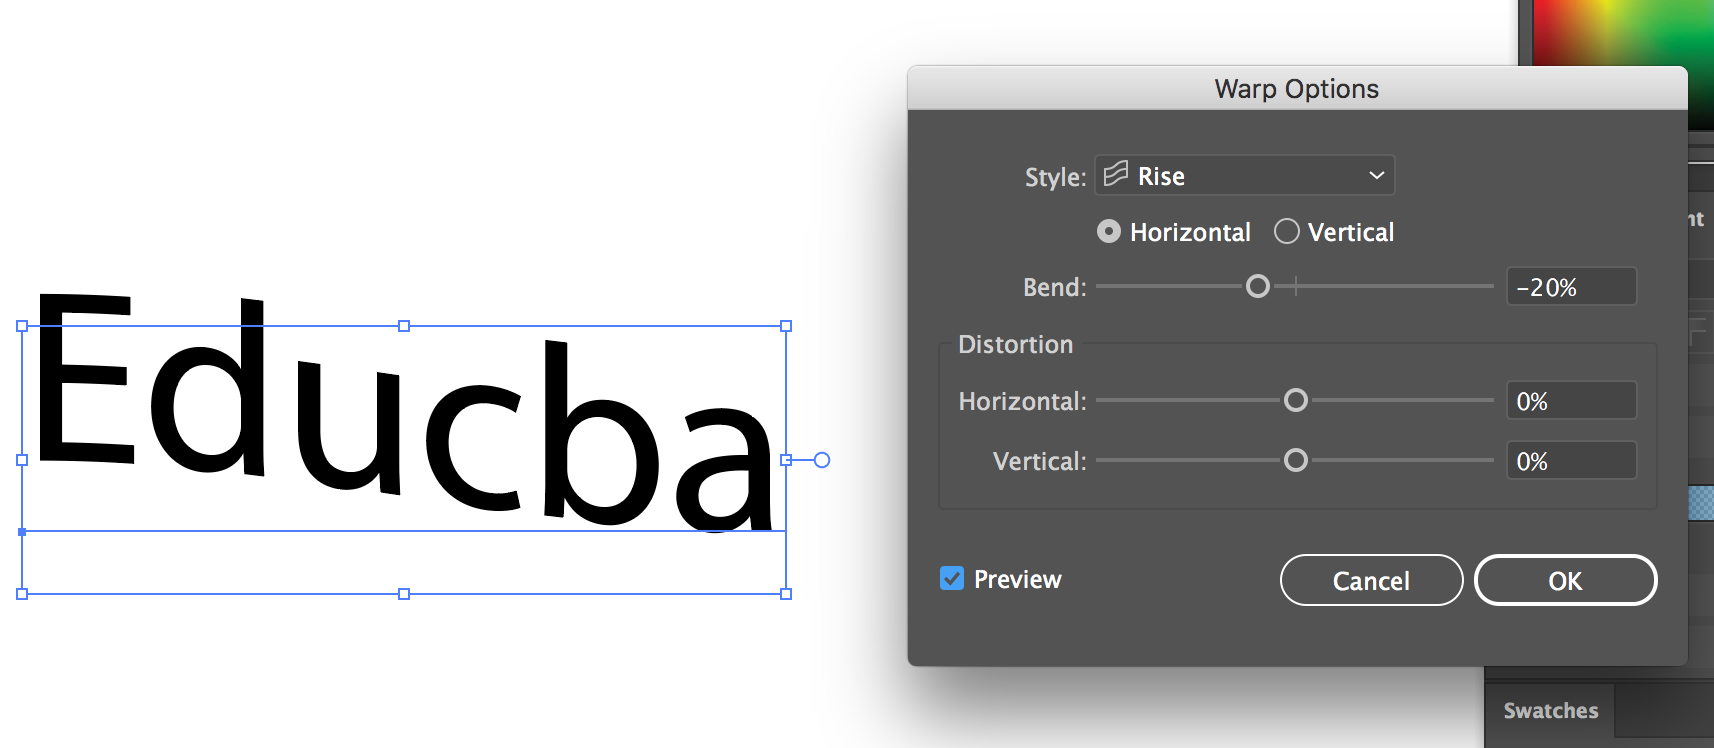
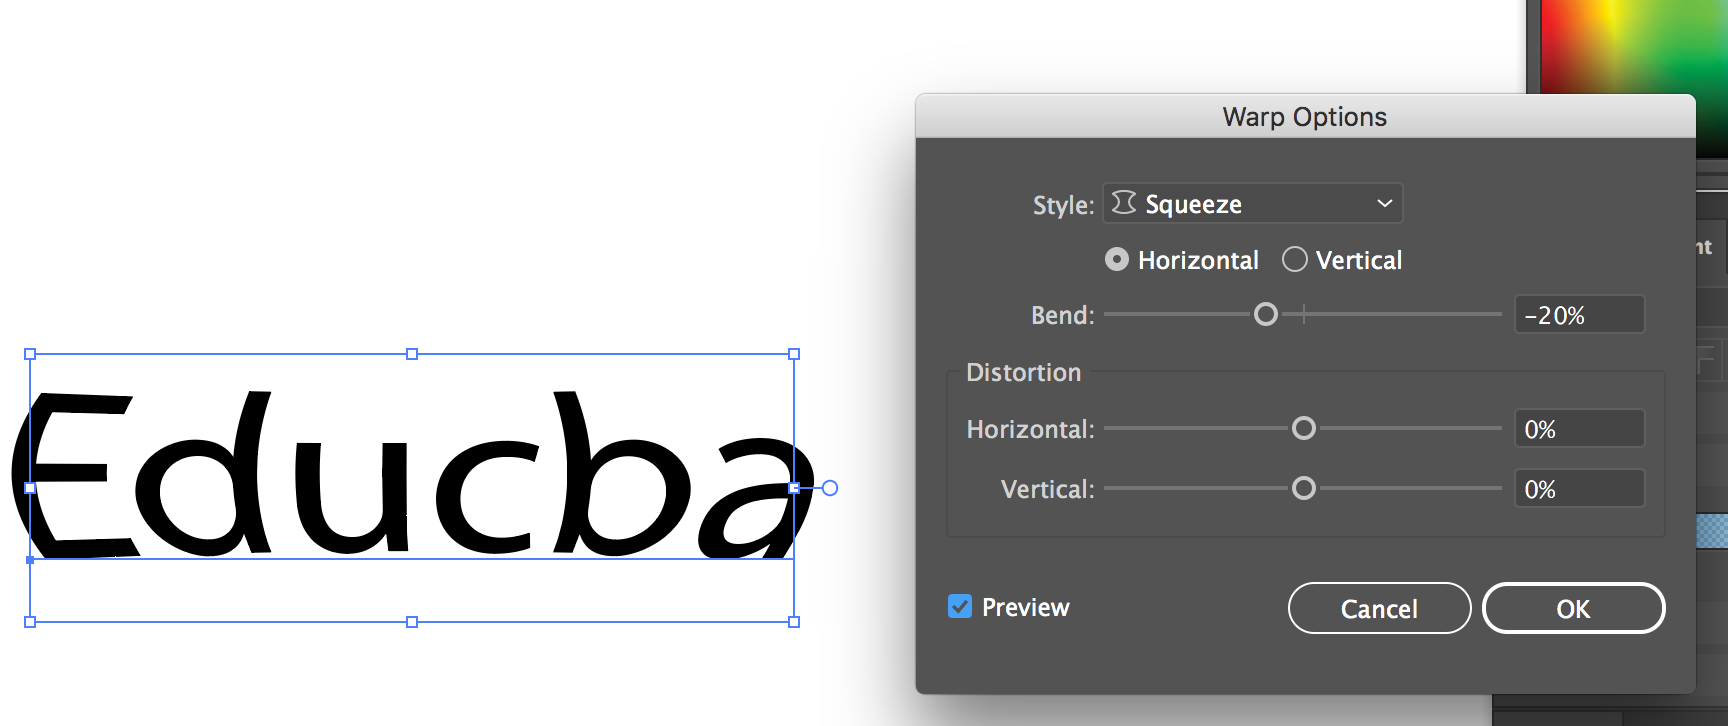
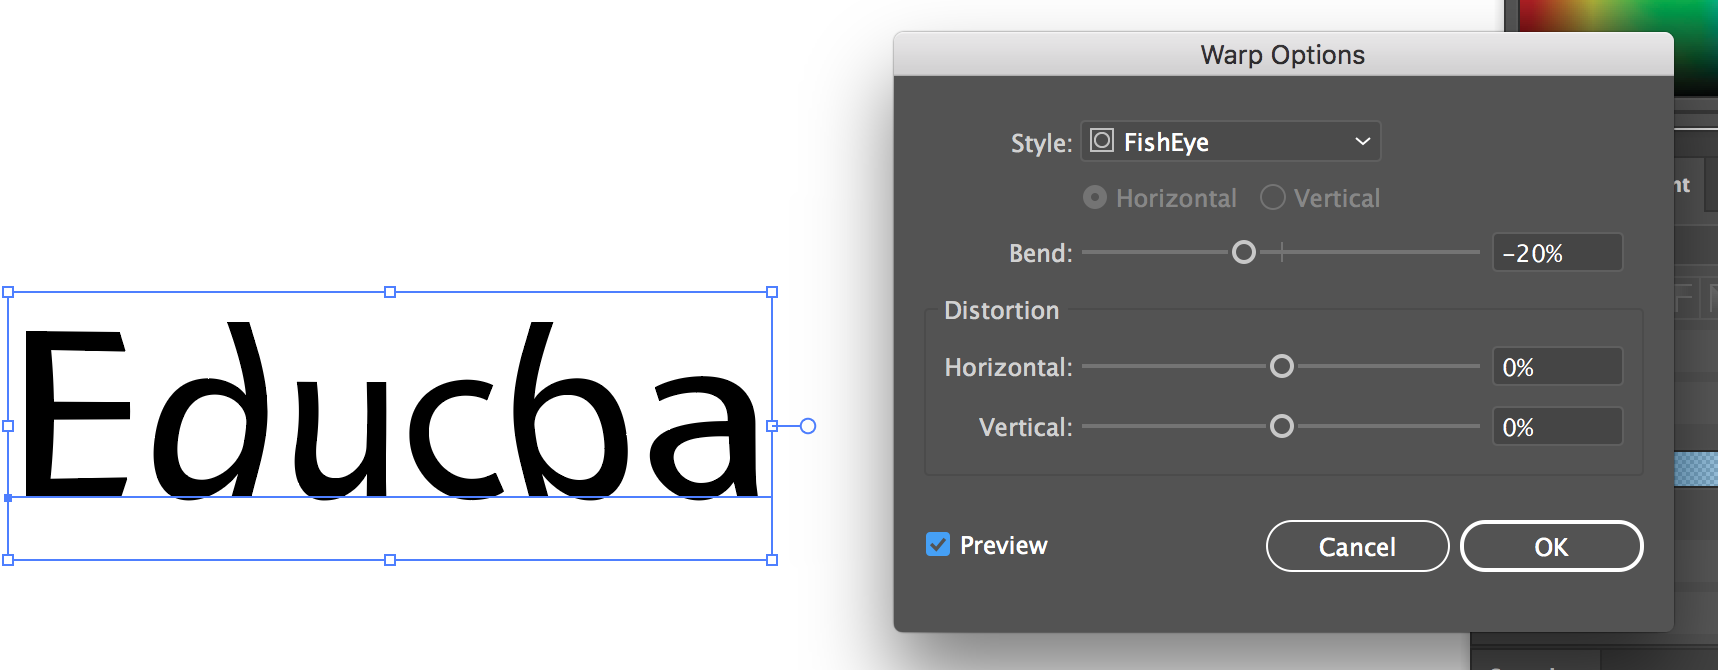
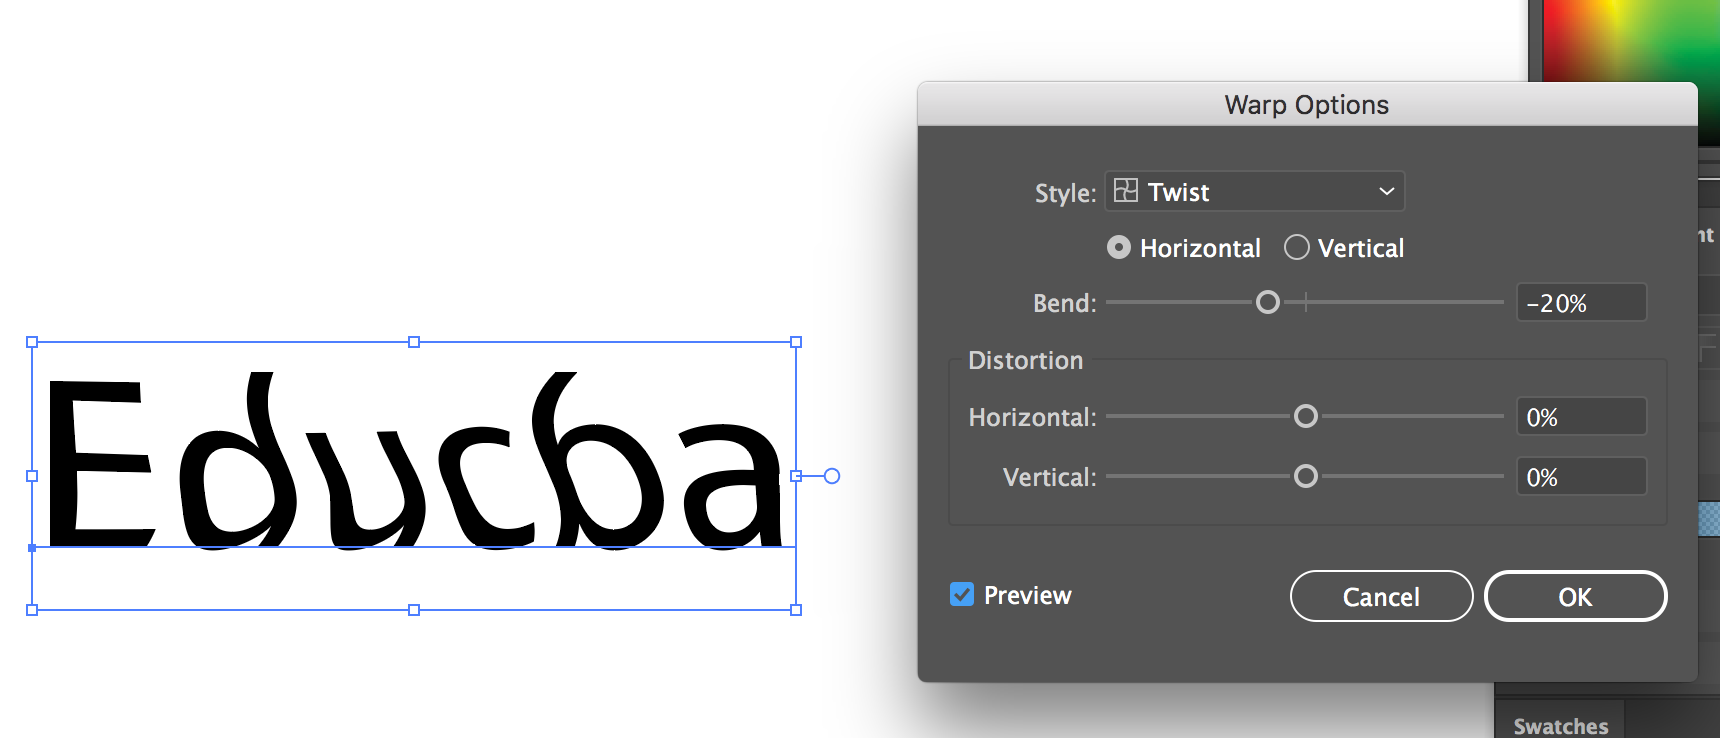
Some other effects in the warp are a flag, fish, inflate, fisheye, rise, squeeze, twist, wave, etc.
- Warp (Flag Effect)
- Warp (Fish Effect)
- Warp (Inflate Effect)
- Warp (Rise Effect)
- Warp (Squeeze Effect)
- Warp (FishEye)
- Warp (Twist Effect)
- Warp (Wave Effect)
Conclusion
In this way, numerous types of effects can be applied to the text you are working on. Typography is not just a vital feature of design but also a form of art in itself. Selecting the correct font, ideal spacing, and the accurate form of the text can be considered as an essential aspect that can decide the success and the failure of a project.
Recommended Articles
This has been a guide to Text Effects in Illustrator. Here we discuss the concept and different types of Text Effects we can do in Illustrator. You can also go through our other suggested articles to learn more –
