Updated July 3, 2023
Overview of Illustrator Free Transform Tool
The Free Transform tool is a useful and effective tool that can be used to rotate, resize, mirror, and bend an artwork. Furthermore, there are options to add distortion and perspective effects as well. After selecting the free transform tool, a new widget appears. It contains buttons for various options. The users can also control the tool using the keyboard keys. It is always better to use the smart guides along with the free transform tool to have alignment control. The new update in Illustrator supports touch support. Therefore, you can work these tools using a touchscreen device. Go through this article and learn to use the free transform tool in your project.
Steps to Use Illustrator Free Transform Tool
Here are the steps to know how to use the Free Transform Tool.
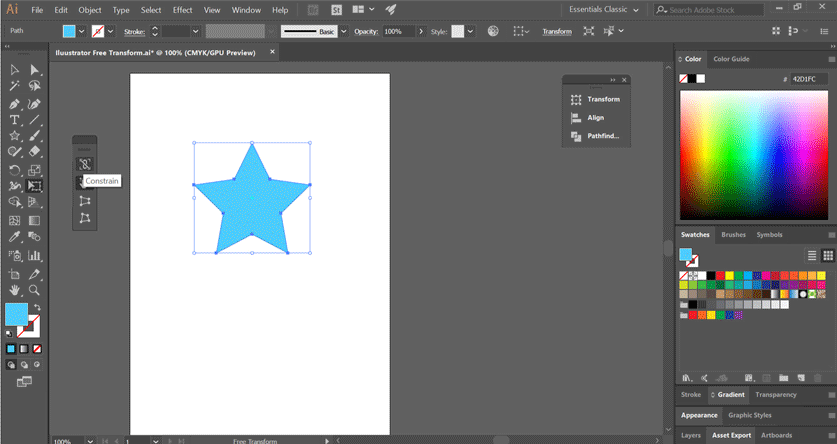
Step 1: First of all, you will have to select the artwork you have created from the tools panel. For this, go to the Selection tool and select it. You can also use the shortcut key (V) to select an object quickly.
Step 2: Choose the required objects in the artwork to transform.
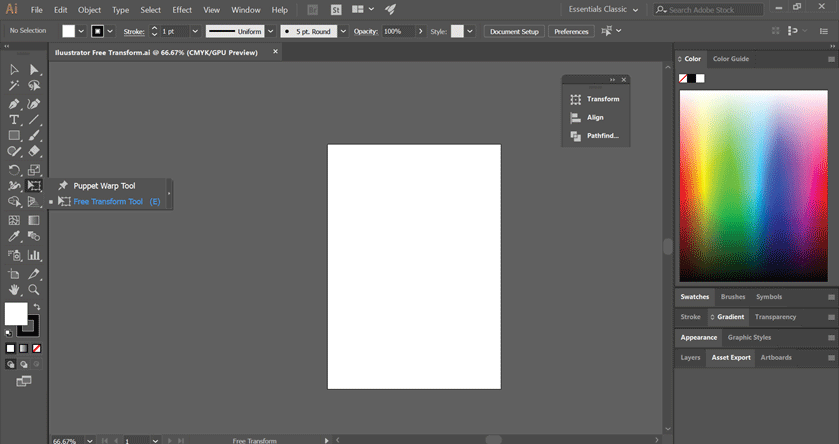
Step 3: Pick the free transform tool available in the tools panel. It is hidden under the Puppet Warp tool. As seen in the image below, hold the puppet warp tool, and the Free transform tool appears below.
Step 4: Using Smart Guides with Transform can be helpful in your work. Follow the below method to do so. Go to the View option at the top of the menu. From the drop-down list, select Smart Guides. This displays the smart guides.
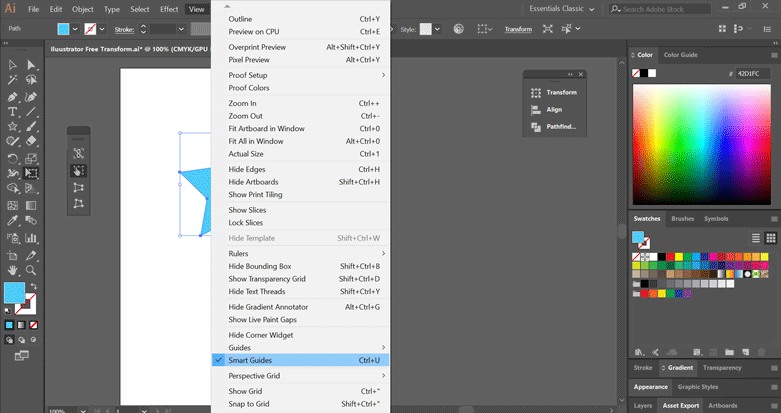
Now, as you move the selected object around the artboard, you will notice smart guides that you can use to align the artwork.
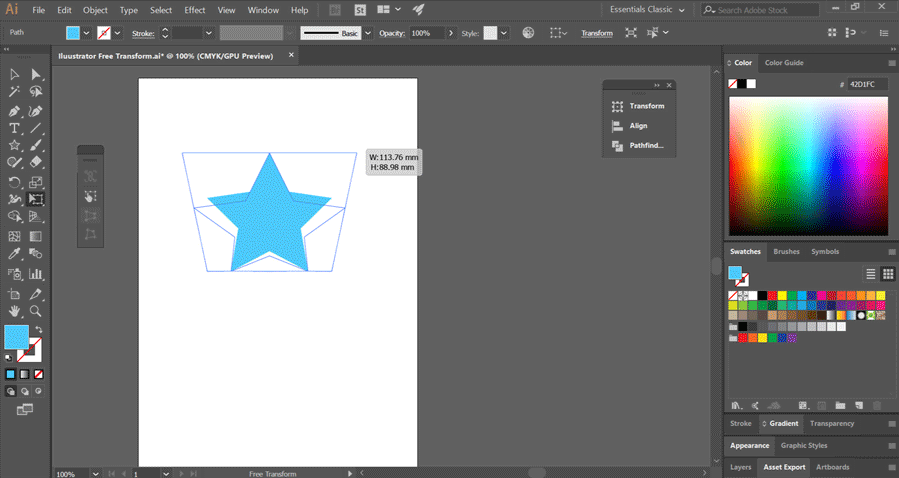
Step 5: Transform tool with Perspective Distort or Free Distort: To modify an object, choose the Perspective Distort or Free Distort options.
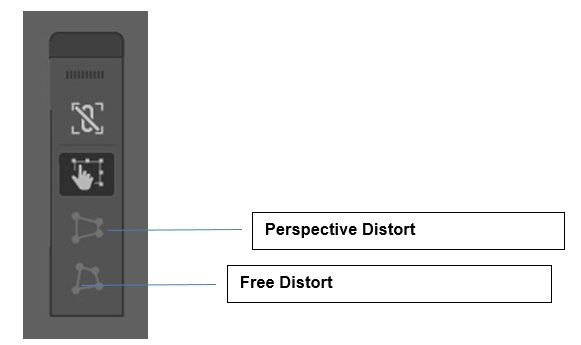
As shown in the above image, toggle between perspective and distortion based on your needs.
Step 6: If you must free-transform an object from the widget, choose the Free Transform button. After that, do the following:
- Scale: You could change the size by dragging the corner or resizing the handle along two axes. You can also select just one handle to scale in one axis.
For scaling uniformly, toggle on the constrain button from the widget, and a lock icon appears. Next, to scale, use the shift key to drag the object. You can also scale the artwork from the center by holding the Alt or Opt keys based on the system.
- Reflect: By dragging a slide handle all through the way, you can reflect an object.
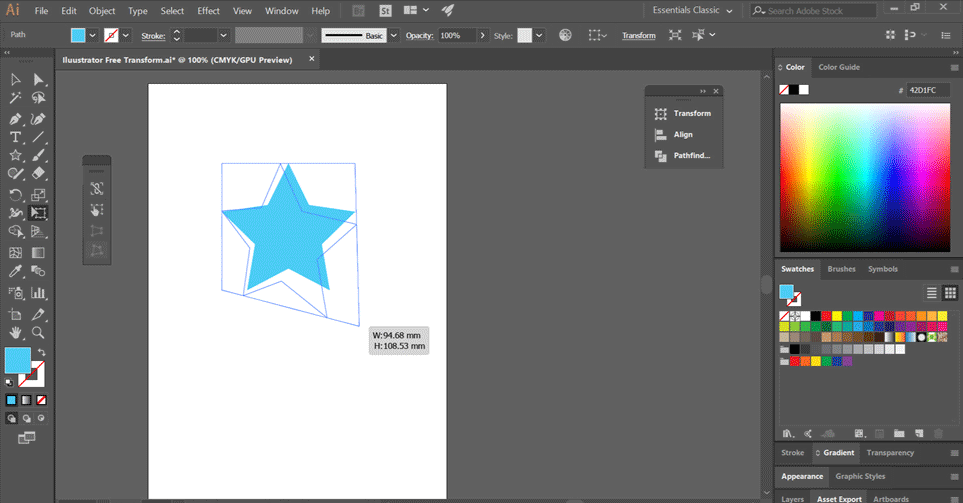
- Rotate: Move the mouse a little bit away from the corner handle (the pointer changes form into a double arrow), and then rotate the object circularly. You can rotate the object at a 45-degree angle with the shift key. If you need to rotate an object at a 180-degree angle, drag the handle diagonally till you want.

- Shear: Drag the handle from the side, press the Ctrl key, and continue the step. Use the shift key to constrain the movement. For moving from the canter, hold the Alt or Option key.
- Select the required artwork or object to shear
- Pick the Free Transform tool
Follow the below instructions:
- Perspective: Pull the side handle and press the Ctrl + Alt + Shift key combo. In Mac, use Cmd + Option + Shift while dragging.
- Distort: Press the Ctrl or CMD button and drag the corner handle.
- Pick the objects to distort
- Next, activate the free transform tool
Now you can start to drag the corner handle of the object and follow the below methods:
- Press the Ctrl button if you use Windows or the Mac OS’s Cmd key. See if the distortion is accurate and end the process.
- To distort in perspective mode, in Windows, use Shift + Alt + Ctrl; in Mac, use Shift + Option + Command.
You need to know that using perspective and distortion requires extra care, or your work might be affected.
Scale objects with the bounding box
- Choose the artwork that needs to be scaled.
- Activate the free transform tool or the selection tool.
- Next, pull the bounding box handle until the object has reached the desired size.
You can further manipulate the scaling controls by:
- Holding the shift key to transform the item uniformly.
- Press the Alt or option keys to start scaling from the canter.
In Adobe Illustrator, strokes and effects are not transformed by default. For that, you do not need to change some settings. Go to the edit option and choose preferences from the drop-down list. Next, select the available Option and choose scale strokes and effects. You can use the transform panel to scale objects depending on your project. Now you can change the reference point by pointing to the point and dragging it. For resetting the reference point, double-click it.
Conclusion
By reading this article, you might have understood the benefits that the Free Transform tool brings to the table. It is a real time saver and easily gets the desired results into your work. If you are unfamiliar with the device, practice applying it, and discover a new way of doing things in Illustrator.
Recommended Articles
This has been a guide on Illustrator Free Transform Tool. Here we discuss the Steps to use the Free Transform Tool in Illustrator. You may also look at the following articles to learn more –
