
Introduction to SketchUp Kitchen
SketchUp Kitchen is a part of architectural design that means we need to design the structure of the kitchen for any 3d model of architectural design. Kitchen design includes how you allot area for kitchen in plan layout of any architectural unit and what are additional things you include in the kitchen for giving it modular look to it. There are a number of things that you can include in kitchen design such as shape of slab, area for refrigerator, drawers design and their placing, and so on. You can download the different components from the 3D warehouse of sketchup as accessories of the kitchen such as cooktop model, sink model, and other objects which you want to have in your designed kitchen.
How to create a Kitchen design in Sketchup?
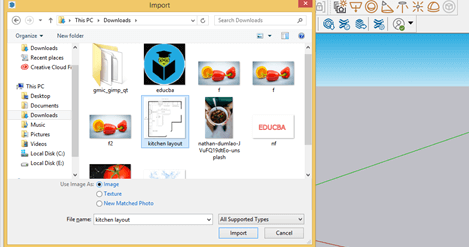
To start create the kitchen I will import a layout image of the kitchen which I have taken from the internet and for importing go to the File menu and choose the Import option.

Now i will choose this kitchen layout from its saved location and make sure to choose Image option in this box because we are importing this layout as image.
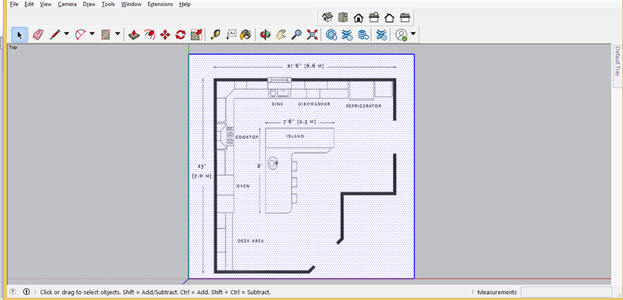
Now it will import like this. I will make click to place it.

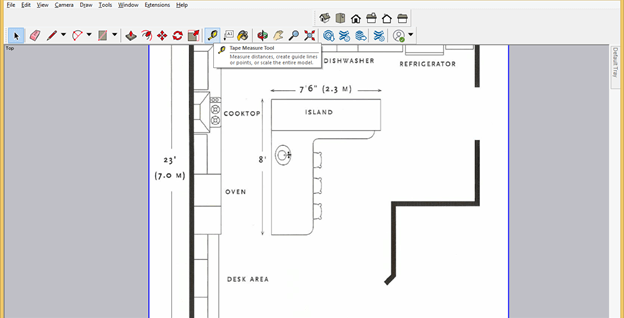
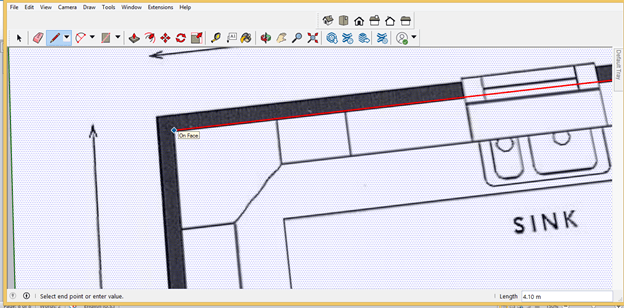
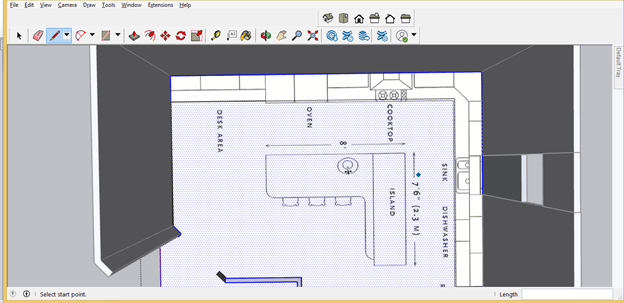
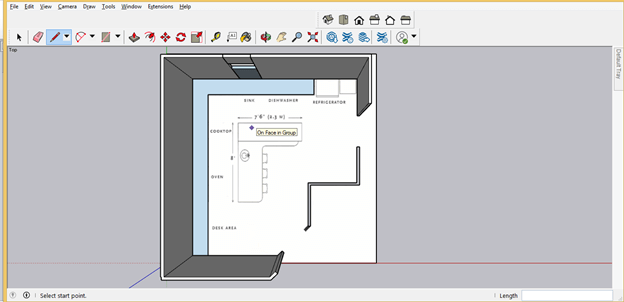
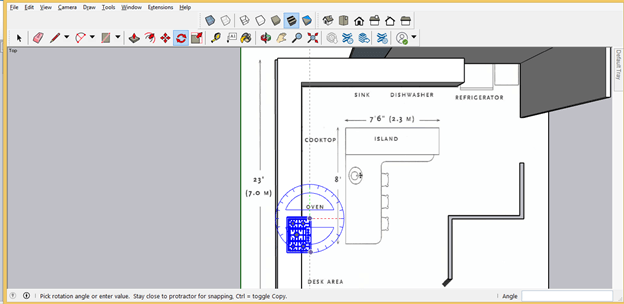
Now let us first change to top view and take Tape Measurement tool.
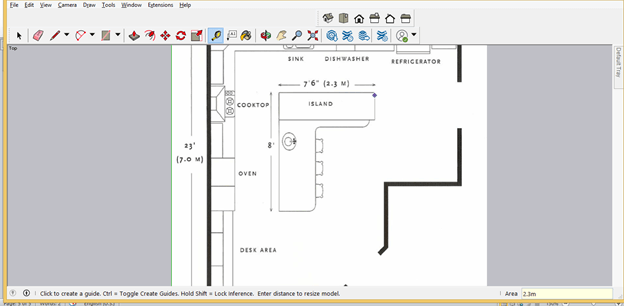
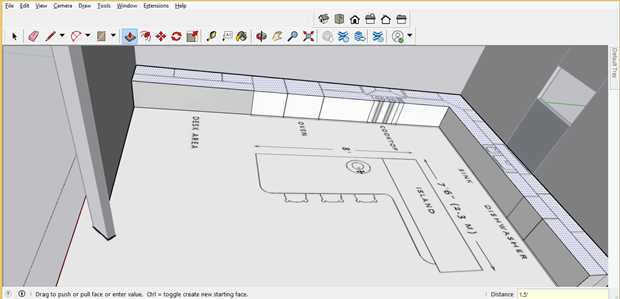
Now measure any of the dimension of layout place for checking is it in actual dimension or we have to scale it. Here you can see it is not in actual scale so first click on start point of dimension with this tape tool and then click on end point of dimension. Now enter the exact value of this dimension that is 2.3 m in the Measurement box and hit enter button of keyboard.
Once you hit enter button it will ask you whether you want to scale it or not so click on Yes button of this pop up box.

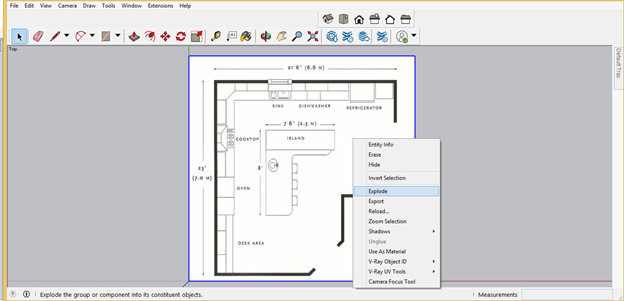
Now let us explode this image layout and for exploding it select it then make right click and choose Explode option.
After exploding it you can use it as base rectangle for this layout. Before doing anything make it group.
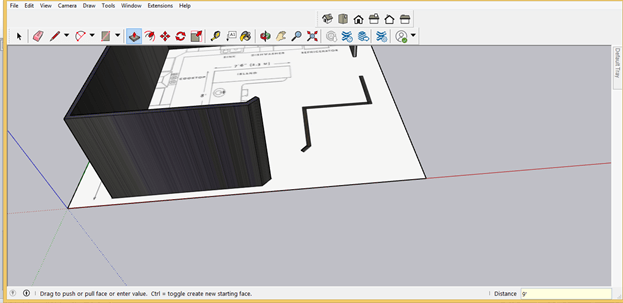
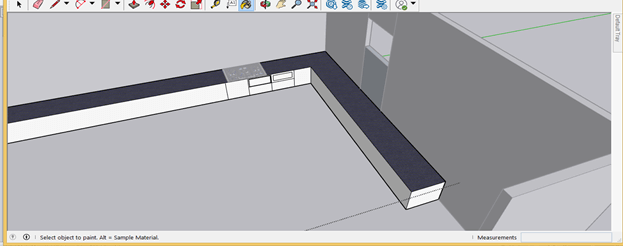
Now you can take Line tool for creating walls of this kitchen or rectangle tool for this purpose.
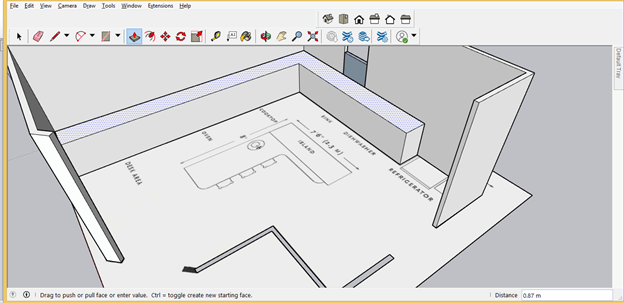
After creating it i will take Push/Pull tool and add height to this wall according to required dimensions.
I will do the same for other side wall.
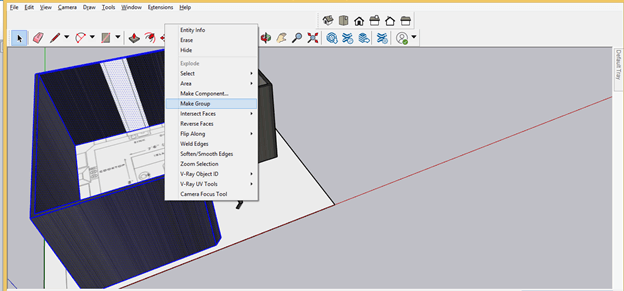
Once you done make sure you make group to the wall sections for separating it from other designed object. So for making group make triple click on this wall and whole geometry of this wall will be selected then make right click on choose Make Group option.
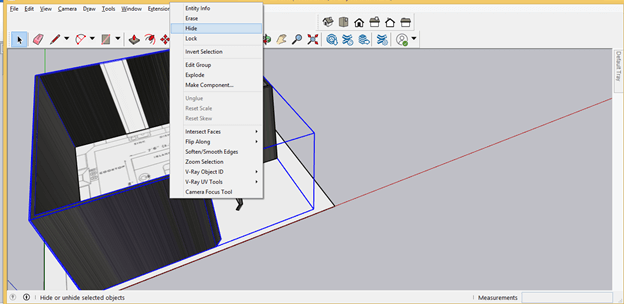
You can hide any drawn section for creating other components properly and for hiding component select that component then make right click and choose Hide option.
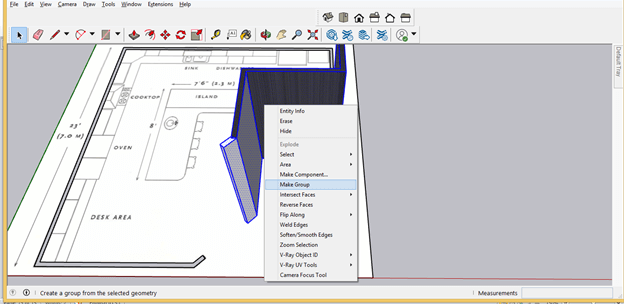
Now after making other section of wall i will make it group also by the same way as we did in previous.
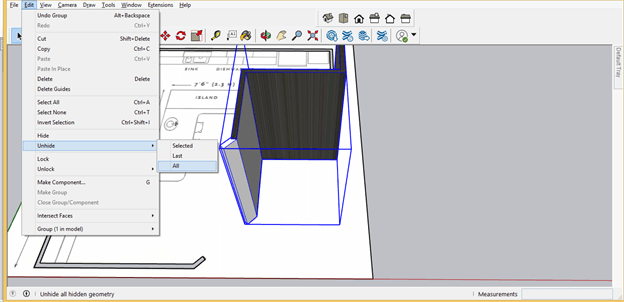
If you want to unhide hidden objects then go to Edit menu and go to Unhide option of drop down list and choose All or Last.
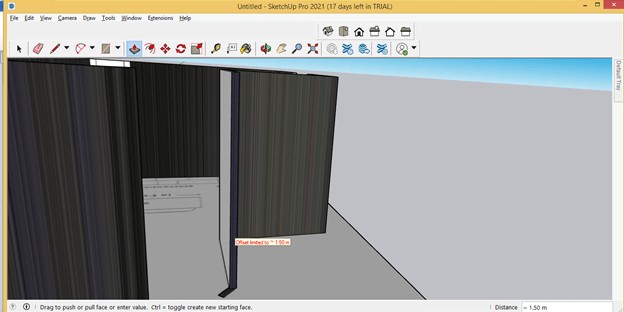
Now i will make window at this area according to layout. For that i will mark height of this window from ground with the help of Tape measurement tool.
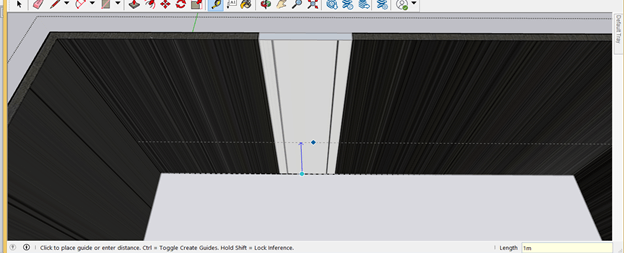
Then again mark height of window itself by the same way.
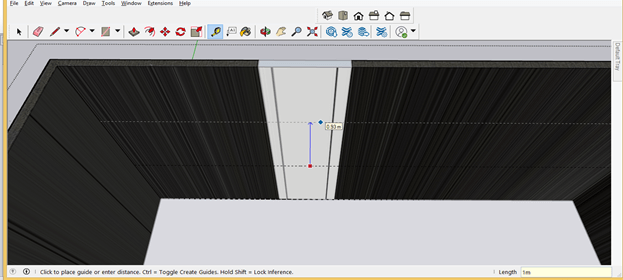
Then make a rectangle in this area and push/pull it with push/pull tool.
Now let us make slap area of this kitchen. You can select this area with line tool on the layout plan.
And add height too it like this.
Or also make a fresh area with line or rectangle tool like this.
Now i will add some height to it according to required dimensions.
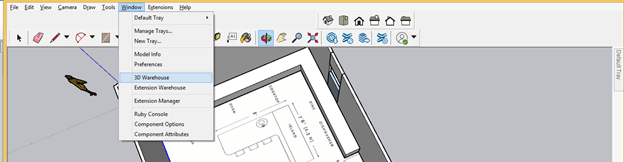
Now let us have some 3D model of kitchen accessories from 3D Warehouse. For that, go to Window menu and click on 3D Warehouse option.
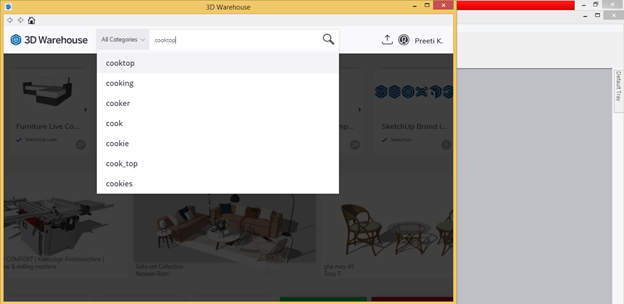
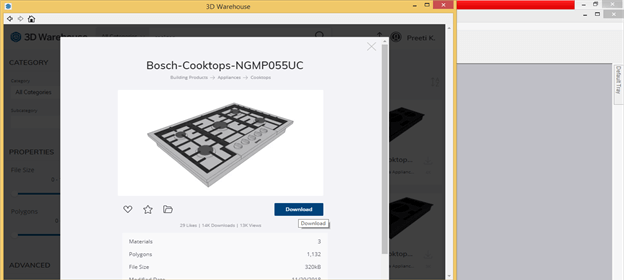
I will first search for kitchen cooktop here in the search box of this dialog box.
And download this cooktop.
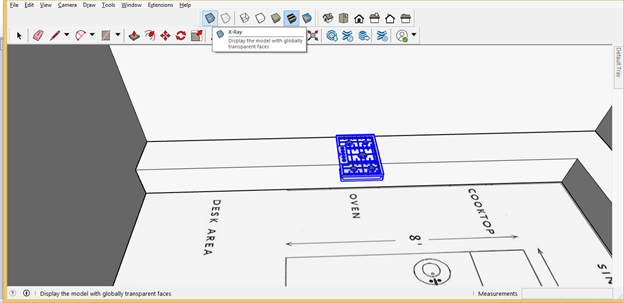
Now i will place it anywhere on working screen first like this and change to x-ray mode.
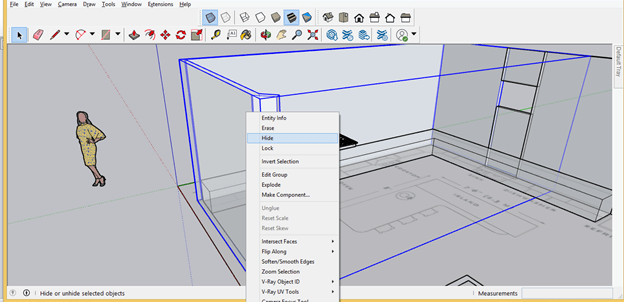
And also hide side wall so that i can properly place this cooktop on slab. For hiding wall i will again select this wall and then make right click to choose hide option from drop down list.
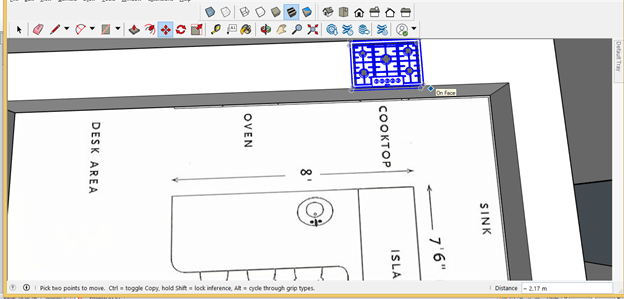
Now i will change to Top view of this kitchen model then take Rotate tool from tool panel. Assigning rotating plane to this cooktop and rotate it in the direction of slab.
And then move it at the place of Cooktop according to layout. For moving it i will take move tool and assign moving plane then move it like this.
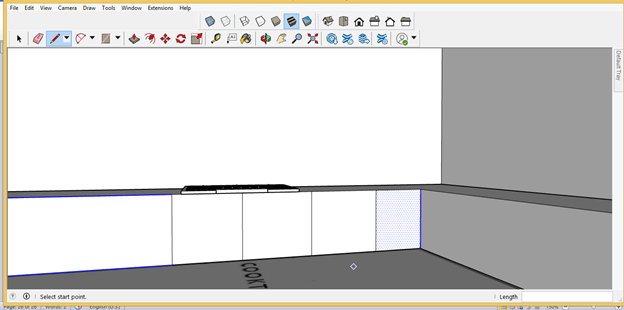
You can divide sections in the slab that will be draws for placing stuffs of kitchen. For dividing make double click on slab area so that it will converts into edit mode because i have made it as group. You must remember that each time you make any object first make it group or component.
Now i will take Line tool and draw lines from top edge of slab to bottom edge of it for dividing sections like this. I am not taking their specific dimension it is just for explaining you.
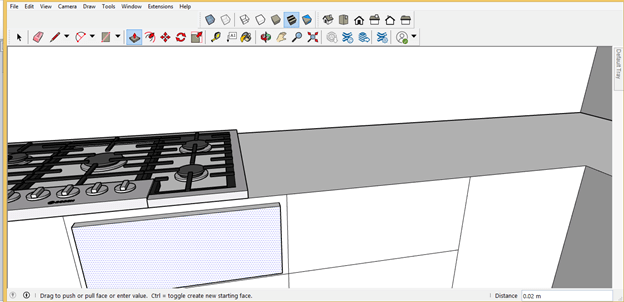
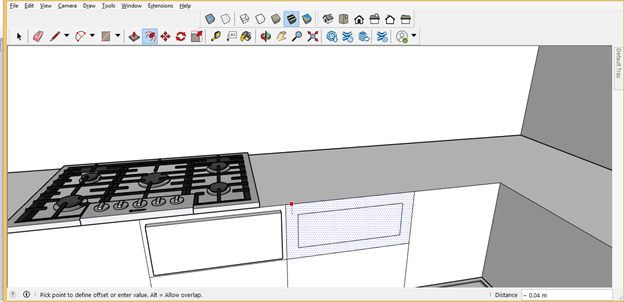
Now select anyone of the section and offset it at some distance for making front face of draw.
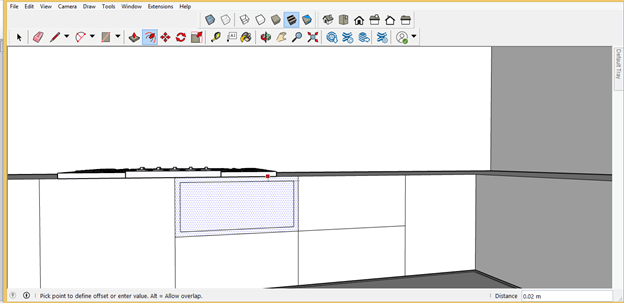
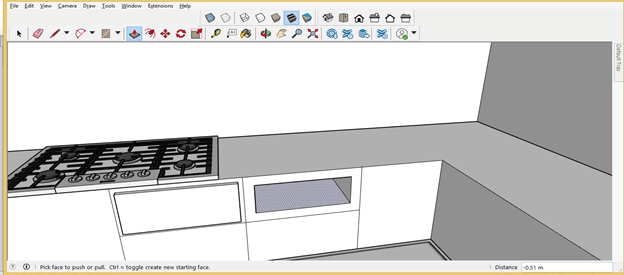
And push/pull this area like this.
Now you can also make draw door with glass and for that offset this like this.
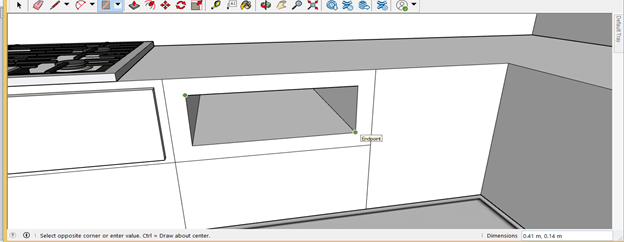
Then remove center area.
And make a rectangle here for glass and you can provide thickness to it according to chosen glass.
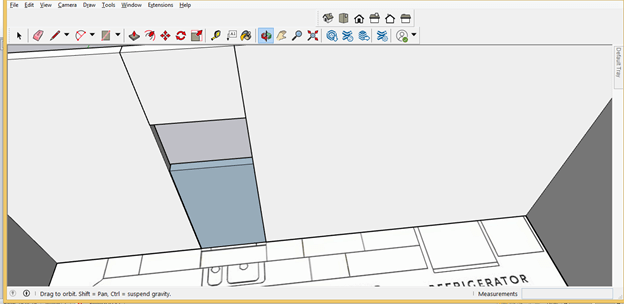
After completing you kitchen layout you can fill materials to each section like i filled in slap top.
Conclusion
Here i have gave you an idea for how you can create kitchen design in step by step manner and by following these steps you can easily complete this design. After getting idea from this article you can start designing your own kitchen by going through basics of this designing.
Recommended Articles
This is a guide to SketchUp kitchen. Here we discuss How to create a Kitchen design in Sketchup step by step in detail. You may also have a look at the following articles to learn more –
