Updated August 25, 2023
Introduction to Ripple Effect Photoshop
Ripple Effect of Photoshop is a filter of Photoshop through which we can create a water ripple effect for any image. You can create a ripple effect for any specific area of an image or for the whole image; it totally depends on which type of editing you want to do in your image. You can find the Ripple effect in the Filter menu of this software, and this effect works with some additional filters of the filter menu, such as the zig-zag option of Distort filter, clouds of Render filter, and so on. I will explain you this effect with the help of some example. So let us have a look at it.
How to Create Ripple Effect in Photoshop?
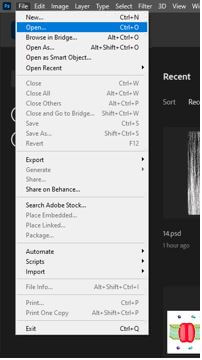
For creating a ripple effect in Photoshop, we have to make some adjustments to the image for which we want to create this effect. So the first thing I will do for this effect is an image in Photoshop, and for having an image, I will open that image. So go to the File menu and click on it, then click on the Open button or scroll down the list. You can also go with its shortcut key, which is the Ctrl + O button of the keyboard.
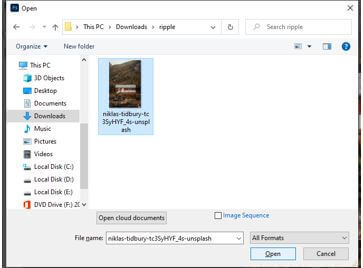
Once you click on this option, a dialog box will be open where you can choose your desired image. For example, I will choose this image for explaining this topic and then click on the Open button.
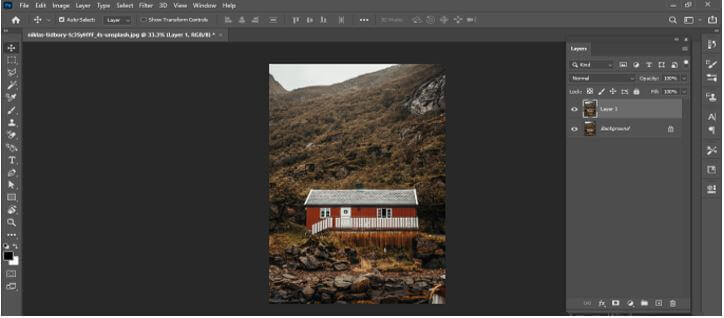
This is our desired image. I will make a duplicate copy of it, and for making a duplicate copy of it, I will select this layer in the layers panel and press the Ctrl + J button of the keyboard.
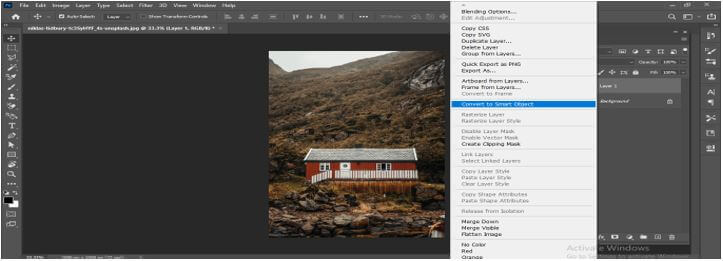
Now I will convert this duplicate copy into a Smart object, so when I resize it, then it will work as a non-destructive layer. Select the layer, make a right-click, and choose ‘Convert to Smart Object’ to make it a smart object.
Now press Ctrl + T button from having the transform box of this image, then make a right-click. I will choose the Flip Vertical option from the scroll-down list to reflect this image downward.

Now I will move this layer a little bit in a downward direction to see the source image and press the enter button of the keyboard for completing this transformation.
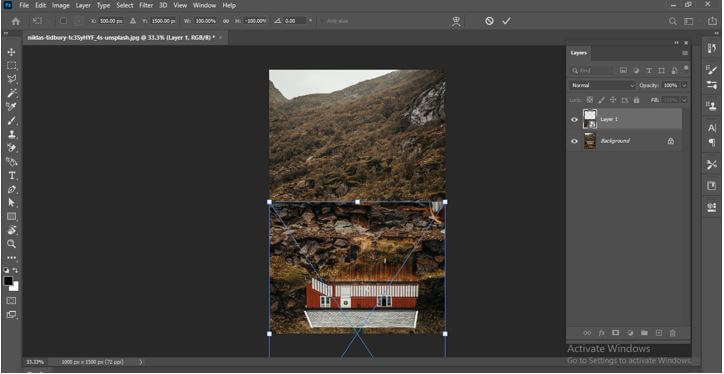
Now I will select the background layer and move it a little bit in an upward direction. Place both images in this way so that the downward image looks like a reflection of the upper one.

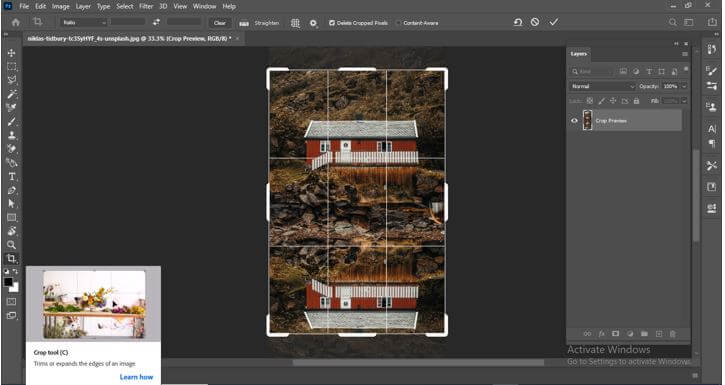
Now I will crop an extra portion of these images, and for cropping, images take the Crop tool from the tool panel; then, after defining the image area, press enter button of the keyboard.
Now take a new document to create a ripple effect for having a new document; click on the New option of the File menu.

Now choose the size of a document according to your image size. For example, I will take a 500 x 1000 size of the document.

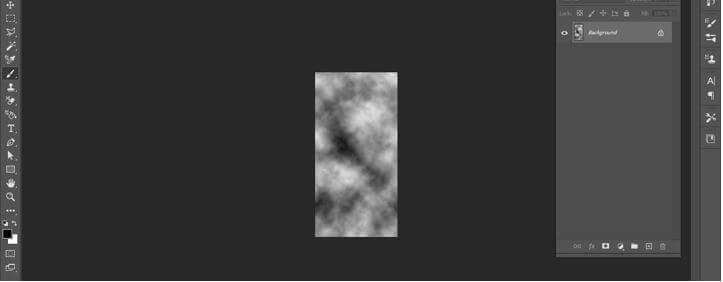
Now go to the Filter menu and click on it. Then go to the Render option of the drop-down list of this menu, then choose the Clouds option.

Cloud effect will apply like this.
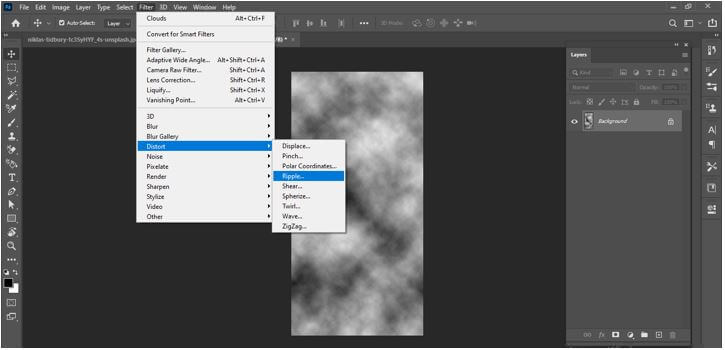
Now go to Filter menu again and this time go to Distort option, then choose Ripple effect.
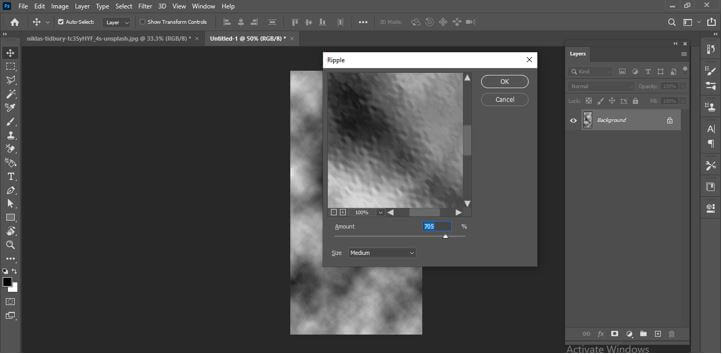
Here in the box of Ripple effect, set the amount of ripple effect from the Amount slider. For example, I will set it like this.
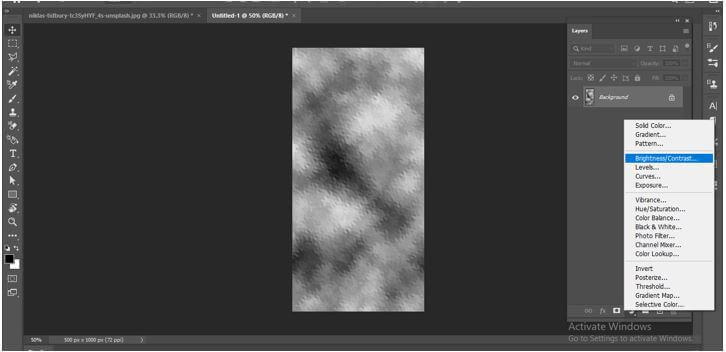
You can adjust the brightness and contrast of this ripple layer from the Brightness and Contrast Adjustment layer.
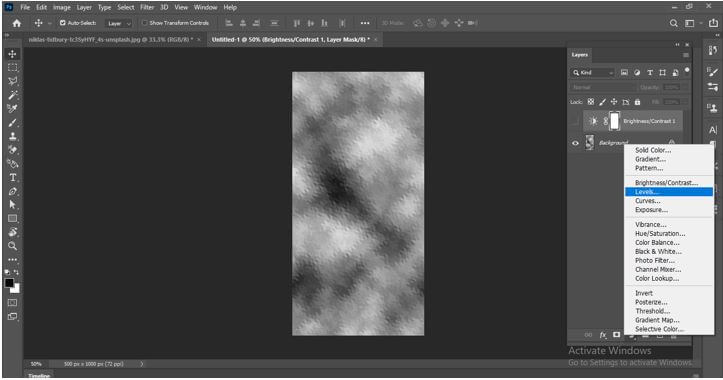
Or you can use the Levels adjustment layer for this purpose if you want to make good contrast between highlights and shadows.
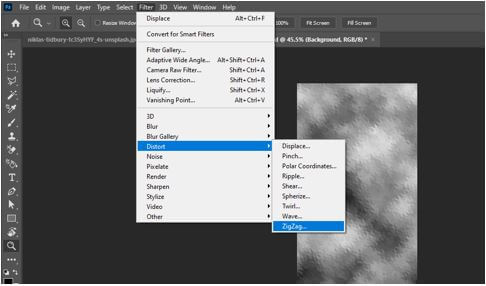
Now I will go to the filter menu again, and from Distort option of the scroll-down list, I will choose the Zig-Zag effect.
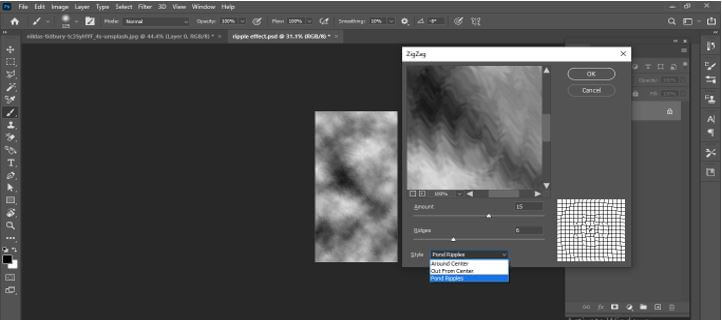
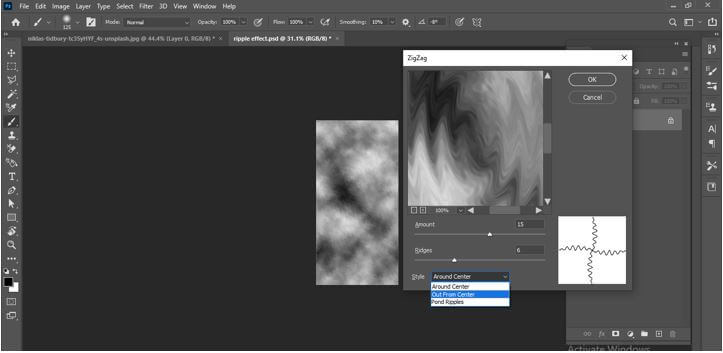
Here in the dialog box of the Zig-Zag effect, there are three options for refining the ripple effect: Around Center, Out from Center, and Pond Ripples.
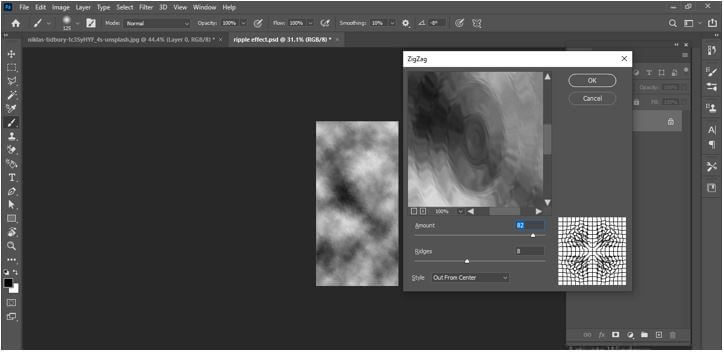
I will go with the ‘Out From Center’ option.
And adjust the value of the Amount slider as per my choice.
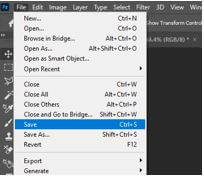
Now save this ripple effect as in .psd file format. So go to the File menu, then select the save option from the drop-down list, or you can simply press the Ctrl + S button on the keyboard.
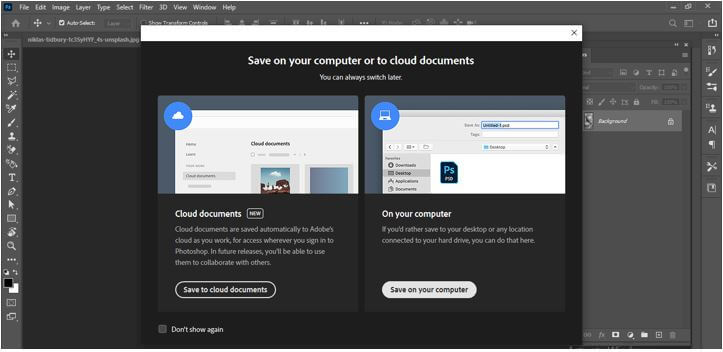
Click on the ‘Save on your Computer’ button of the open dialog box because it wants to save it on my computer. Another tab is for saving your work on cloud sever.
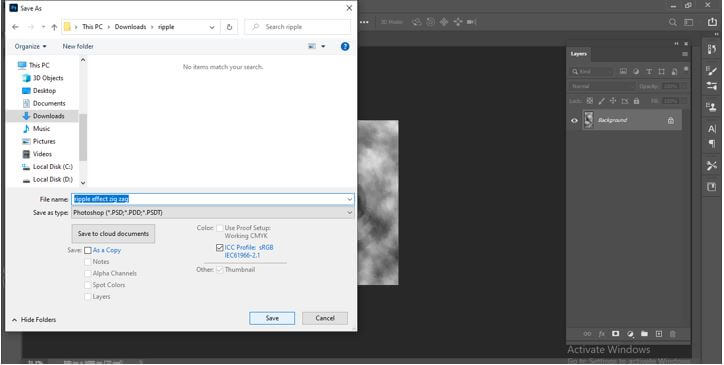
And save it in my desired folder. I will save it with the name Ripple effect zig zag.
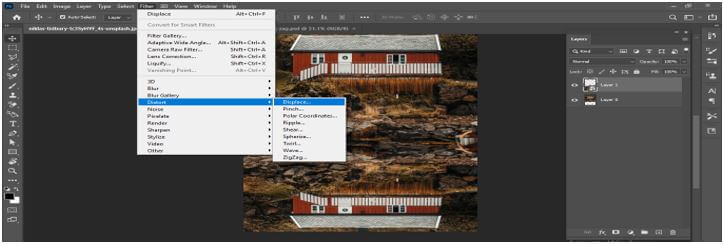
Now I will come back to our image tab, and select the downward layer in the layers panel, then go to the Filter menu and click on Displace sub-option of Distort option.
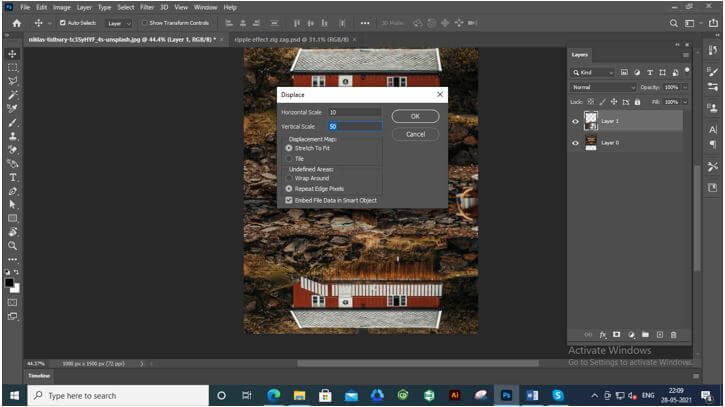
And a Displace dialog box will be open. Adjust the horizontal and vertical scale value as per your requirement. I will set them like this and hit on the Ok button of this dialog box.
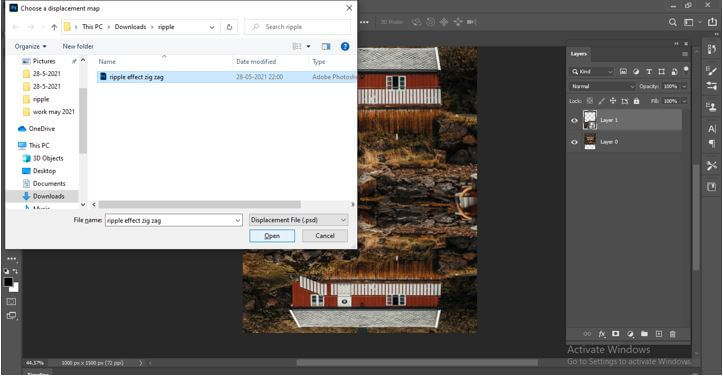
Once you click on the Ok button, it will ask you to choose a file for displacement. I will choose this ripple effect file and then press the Open button of this dialog box.
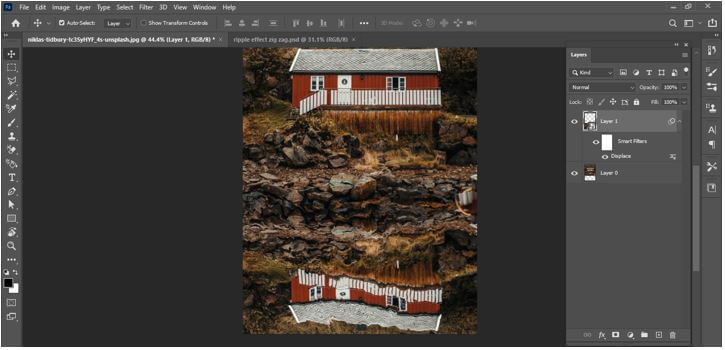
It will create a ripple effect like this.
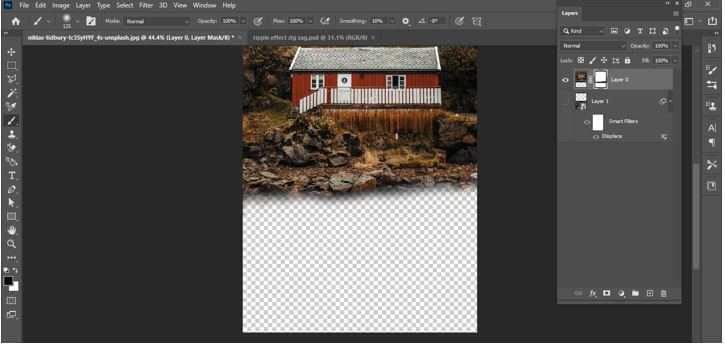
Now place this ripple effect layer below to source layer in the layer panel.
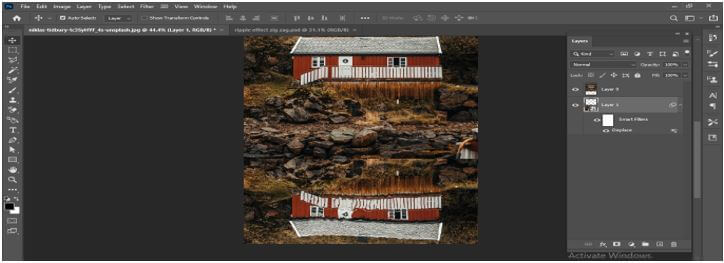
I will select an upper layer and add a mask to this layer, and for adding a mask to this layer, click on Add layer mask button, which is at the bottom of the Layers panel.

And I will take the brush tool from the tool panel and brush this area like this so that there will be good blending between the upper layer and bottom layer.
This way, you can create a ripple effect in this software. You can increase or decrease the intensity of this effect by adjusting the parameters of different filters that we have been using here.

Conclusion
You can now create a ripple effect for your image by following above discussed method. However, there are some other ways through which you can create a water ripple effect for your image, and I just tell you one of them, so try to start practicing on this feature so that you can have a good command of it.
Recommended Articles
This is a guide to Ripple Effect Photoshop. Here, we discuss creating the Ripple Effect in Photoshop by using the water ripple effect for an image. You may also have a look at the following articles to learn more –
