Updated February 17, 2023
Introduction to Redis RPUSH
If the key does not exist, it will generate a new one. If the key contains a value that is not in the list, an error will be returned. RPUSH is required to insert the elements. To add the element to the right of the element, use the redis RPUSH list command. We add the element to the right of the queue by using RPUSH.

Key Takeaways
- It is a command that was defined in a list of strings at the time of insertion.
- The redis RPUSH command adds the element to the right of the queue. To use redis RPUSH, we must first define the redis list.
What is Redis RPUSH?
When using redis RPUSH, we can push multiple elements in a single command by specifying the multiple elements at the tail of the command that we have defined. We are inserting the elements one by one to the tail of the list, from leftmost to rightmost. So, in the “RPUSH key A B C” command, RPUSH is the command we’re using, key is defined as the key we’re using with RPUSH, and a, b, and c are the elements we’re defining with the RPUSH command.
In the above example, a will come in first place, b will come in second place and c will come in last place. We are using the LRANGE command to display all of the elements defined in the RPUSH command. Redis list is mainly a key collection that is stored as per insert order.
How to Use Redis RPUSH?
For using redis RPUSH we need to install it in our system.
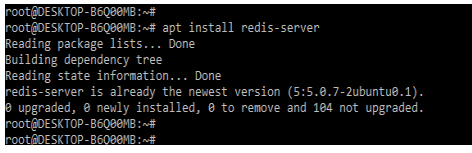
1. For using the redis RPUSH we are installing redis RPUSH. In the below example, we are installing redis RPUSH in the ubuntu system.
Command:
# apt install redis-serverOutput:
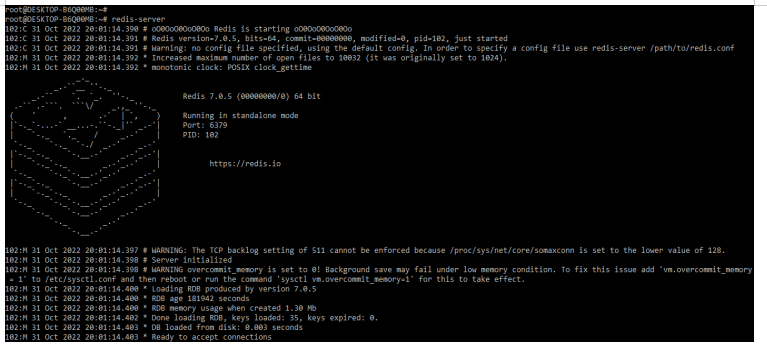
2. After installing redis on ubuntu, the redis is not starting automatically, so we must use the below command to start it. While executing the command we are connecting to redis cli.
Command:
# redis-serverOutput:
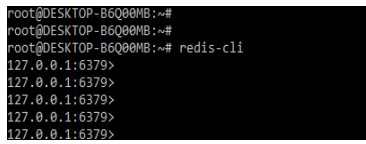
3. While starting the server, now in this step we are login into the redis server by using the below command. While executing this command we are connecting to the local server.
Command:
# redis-cliOutput:
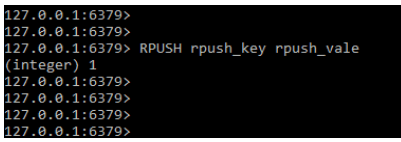
4. After login into the server, now in this step, we are executing the RPUSH command. In the below example, we only use a single value. We are giving the key name as RPUSH_key and the value as RPUSH_vale.
Command:
RPUSH rpush_key RPUSH_valeOutput:
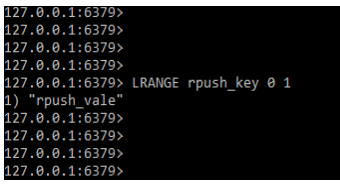
5. In this step, we will use the lrange command to display the values that we defined in it, which are as follows. In the following example, we define the range with the key name and the range of values that we want to display in the output. Because we’re using a 0 to 1 range, the first two values will be displayed.
Command:
LRANGE rpush_key 0 1Output:
Redis RPUSH List Command
In the below syntax, we have used a key with value.
Syntax:
RPUSH name_of_key VAL1 …. VALNThe RPUSH command is used in the above syntax to insert the value to the right of the query. The name of the key is the name that we specify when we use the RPUSH command. The value is the value that we define by using the RPUSH key.
In the below example, we are inserting a single value by using the RPUSH command. We are defining the key name as rpush_cmd and defining the value as val1 as follows.
Command:
RPUSH rpush_cmd val1
RPUSH rpush_cmd val2
RPUSH rpush_cmd val3
RPUSH rpush_cmd val3
LRANGE rpush_cmd 0 2
Output:

At the time of using the RPUSH command, it will first create the new list and add the values in it. In the above example, we have added three values so it will add three values subsequently into the list.
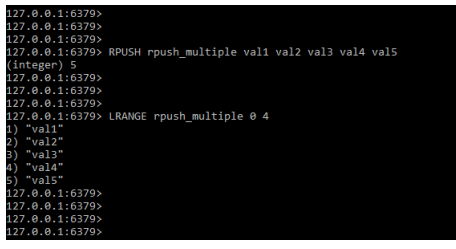
In the below example, we are inserting multiple values in a single command. We are creating a key name as rpush_multiple and inserting the five values in a single command. We are inserting the val1, val2, val3, val4, and val5 values in a single command.
Command:
RPUSH rpush_multiple val1 val2 val3 val4 val5
LRANGE rpush_multiple 0 4
Output:
Command is also used to insert the element in the already created key. In the below example, we are inserting the element into the RPUSH_multiple key which we have created in the above example. We are inserting the val6, val7, val8, val9, and val10 elements as follows.
Command:
RPUSH rpush_multiple val6 val7 val8 val9 val10
LRANGE rpush_multiple 0 9
Output:

Examples of Redis RPUSH
Given below are the examples mentioned:
Example #1
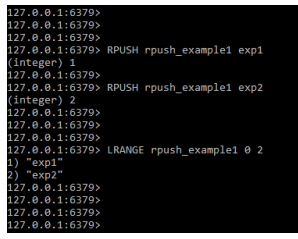
In the below example, we are inserting a single element at a single time. We are defining the key name as rpush_example1 and defining the value as exp1 and exp2.
Command:
RPUSH rpush_example1 exp1
RPUSH rpush_example1 exp2
LRANGE rpush_example1 0 1
Output:
Example #2
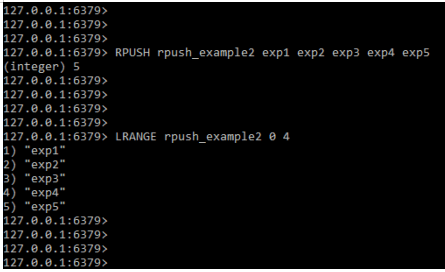
In the below example, we are inserting multiple elements in a single command, we are defining the key name as rpush_exampel2 and defining the value as exp1, exp2, exp3, exp4, and exp5.
Command:
RPUSH rpush_example2 exp1 exp2 exp3 exp4 exp5
LRANGE rpush_example2 0 4
Output:
Example #3
In the below example, we can see that the RPUSH command is inserting value at the right of the queue.
Command:
RPUSH rpush_example2 exp6
LRANGE rpush_example2 0 5
Output:

FAQ
Given below are the FAQs mentioned:
Q1. What is the use of redis RPUSH command?
Answer: Basically, this command is used to insert an element at the right of the queue. We can insert single as well as multiple elements in a single command.
Q2. What is the difference between redis rpush and lpush?
Answer: Redis rpush is used to insert the element at the right of the queue, whereas redis lpush is used
to insert the element at the left of the queue.
Q3. Which data types is accepted by the redis rpush command?
Answer: The list data type is accepted by the command for inserting the element into it.
Conclusion
At the time of using redis RPUSH, it is possible for us for pushing multiple elements in a single command by specifying the multiple elements at the tail of the command which we have defined. The list command is used to add the element at the right of the list.
Recommended Articles
This is a guide to Redis RPUSH. Here we discuss the introduction, use, redis RPUSH list command, and examples. You may also have a look at the following articles to learn more –
