Updated August 25, 2023
Introduction to Photoshop Textures
In this article, we are going to learn how to create textures in photoshop. Textures are a major component of the graphics design, and they are applied to the 3D model’s materials. Textures are also used in the game engines for terrain and other objects. Textures are used to create photorealistic models, and they are also used in normal maps and bump maps which reduces the poly count of the model and simulates the effect of actual geometry. Textures can be created using digital photography or via scanning, or like in this article; we are going to create in photoshop.
Steps of Photoshop Textures
Here are the following steps mention below
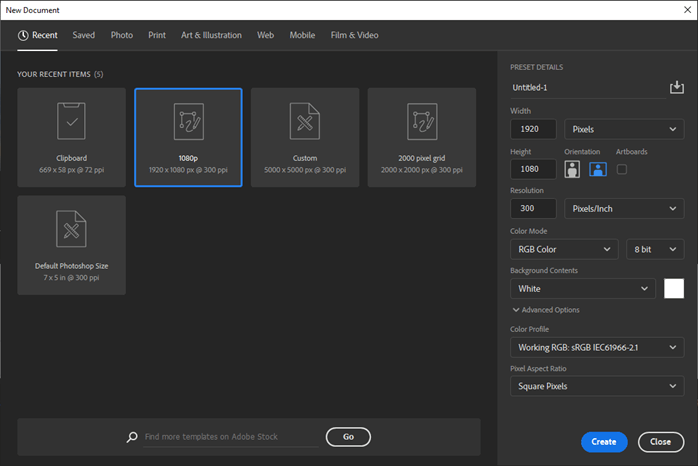
Step #1
Let’s create a new document as follows with a width of 1920 and a height of 1080, and a resolution of 300px per inch in RGB Color mode and 8 bit. The background is white.
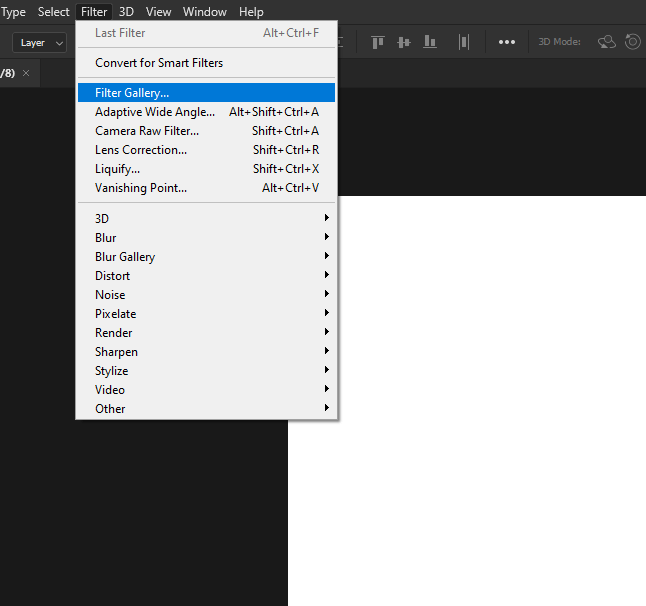
Step #2
Then go to the filter gallery from the filter menu.
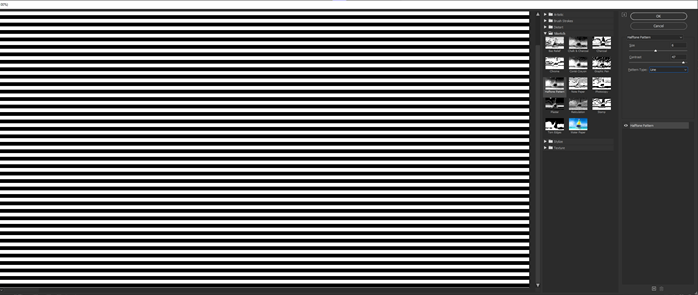
Step #3
In the sketch, folder select Halftone pattern and set the size to 6 and contrast to 47 and pattern type to the line.
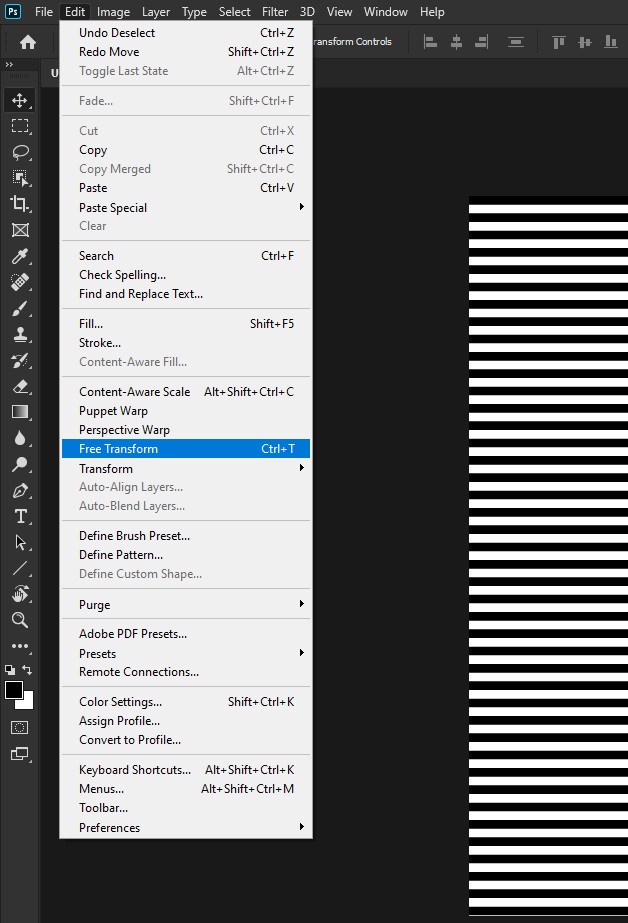
Step #4
Then to free transform from the edit menu or press Ctrl + T
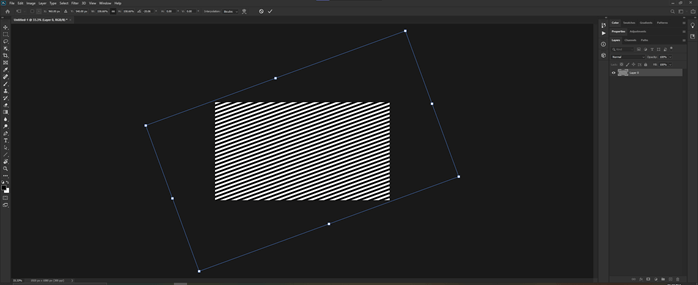
Step #5
Rotate and scale as shown. Press alt while scaling to scale it from the center. Press enter to confirm the transform.
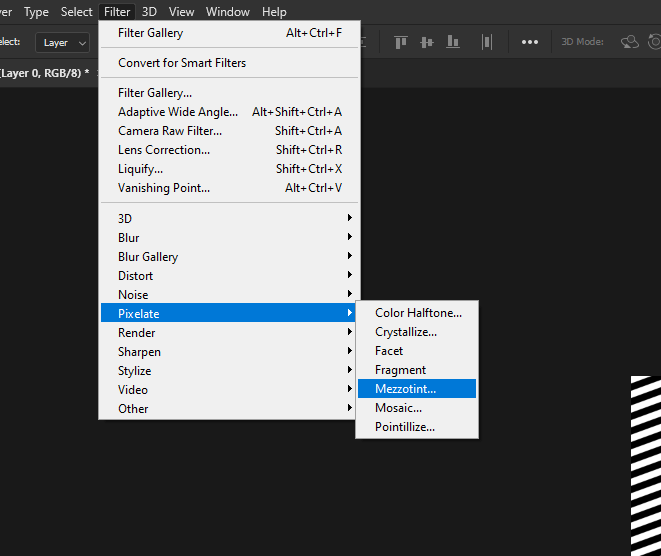
Step #6
Then go to Filter -> Pixelate -> Mezzotint
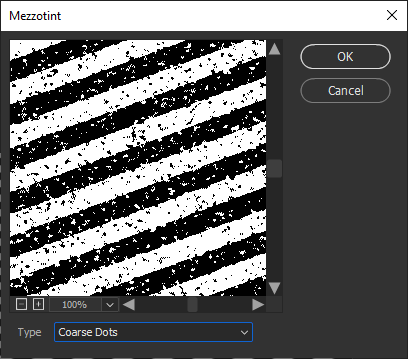
Step #7
Select Coarse Dots from the menu.
Step #8
Then go in adjustment panela and select hue/saturation which and set it to colorize and make the hue to around blue color.
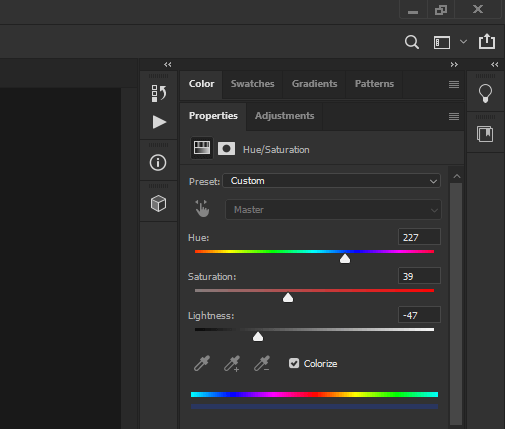
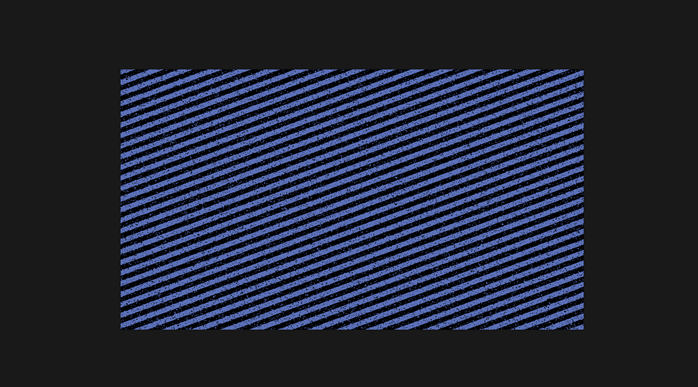
Step #9
So, we have successfully done jeans texture.
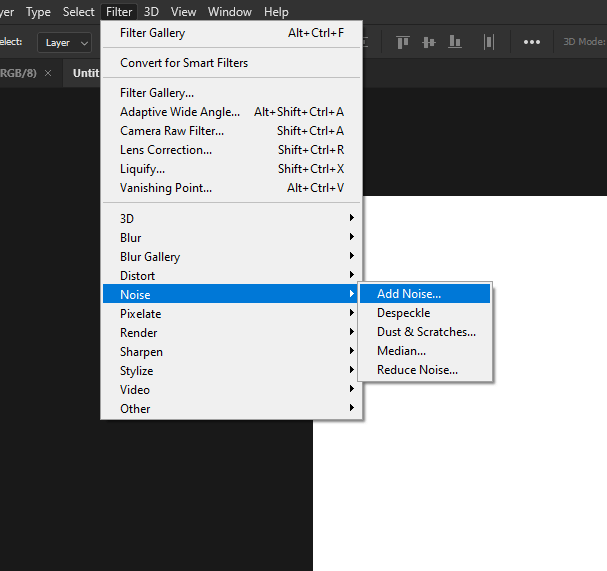
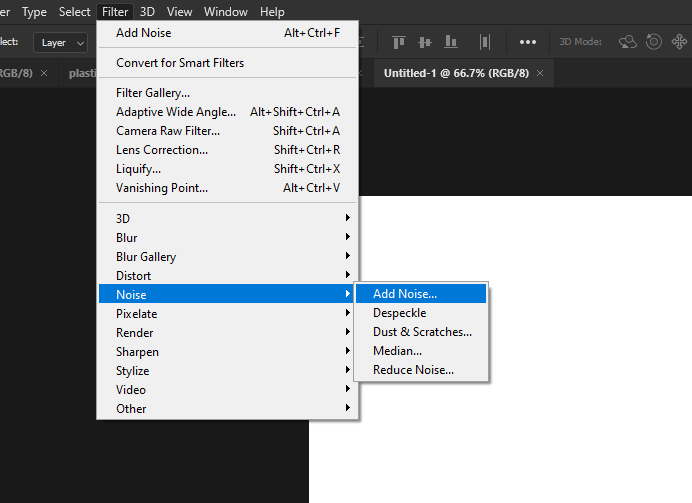
Step #10
Let’s create another texture, to start to add a nose from the filter menu.
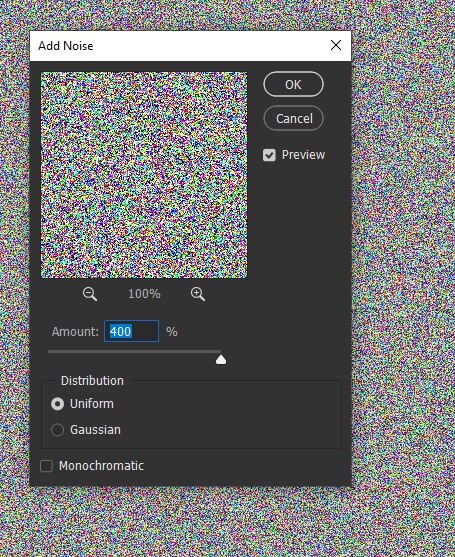
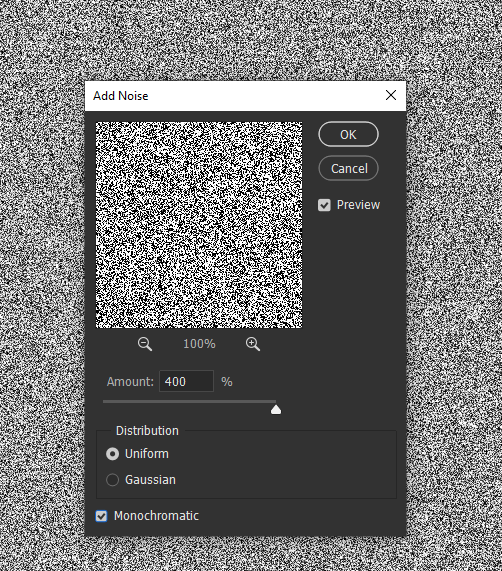
Step #11
Set amount to 400% and distribution to the uniform.
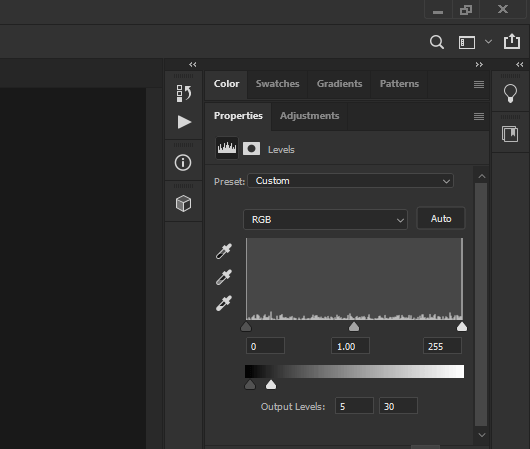
Step #12
Add the level from the adjustment menu and adjust the output level as shown.
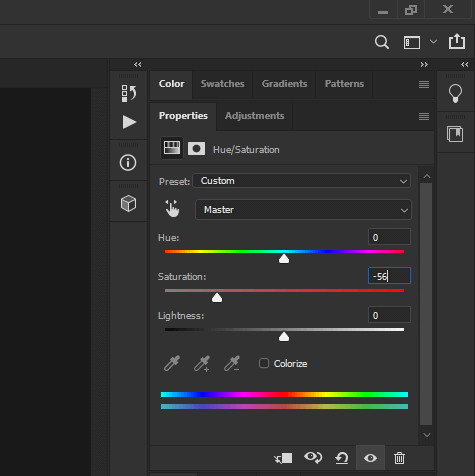
Step #13
Then let’s reduce the saturation by adding another adjustment of hue/saturation.
Step #14
We have completed our plastic texture.

Step #15
Let’s add some noise to start with our new texture.
Step #16
Select monochromatic as we want only one color, black.
Step #17
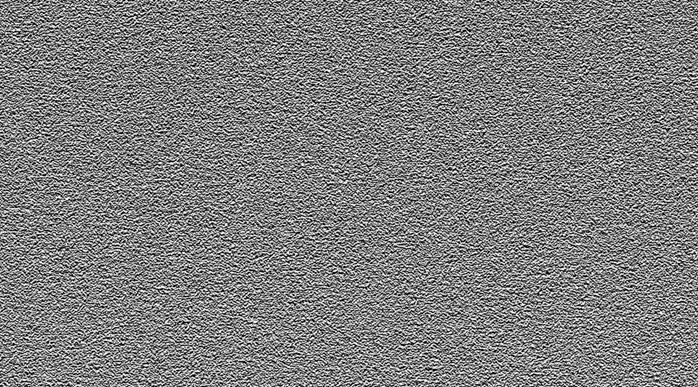
Then go to filter gallery and inside sketch folder select bas relief effect and set smoothness to 2. You can also adjust the light to get a different effect.
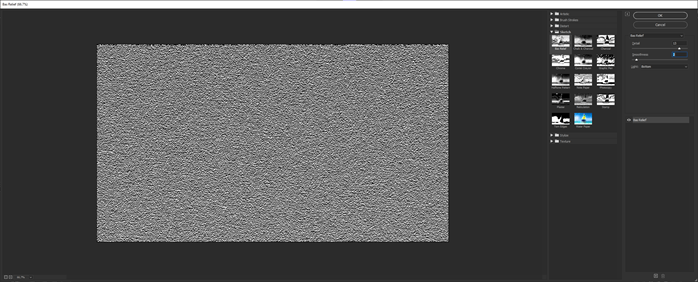
Step #18
We have successfully done a concrete texture.
Step #19
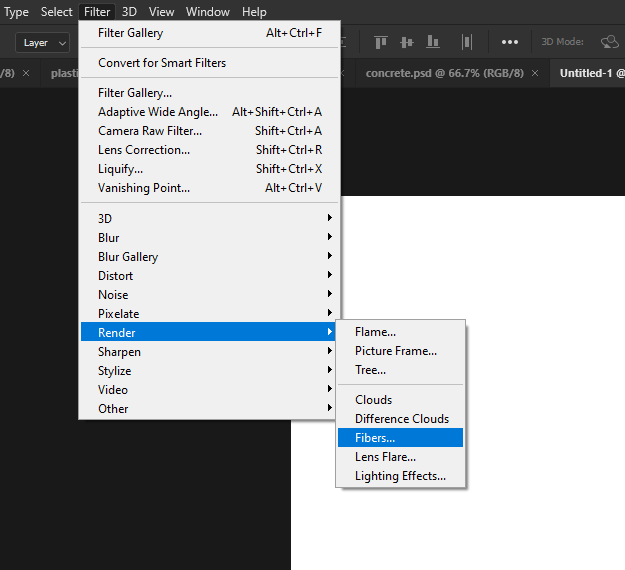
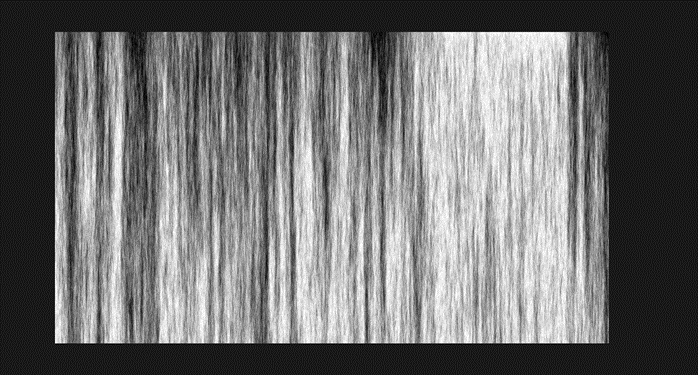
For our next texture go to Filter -> Render -> Fibres
Step #20
Set variance 8 and strength to 4 so that we get the following effect.

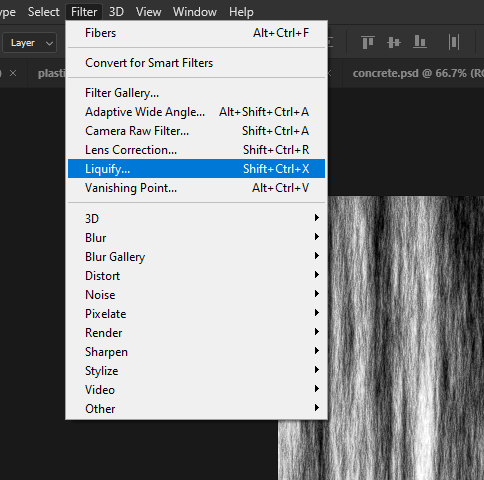
Step #21
Then from the filter, go to Liquify or press Sift + Ctrl + X
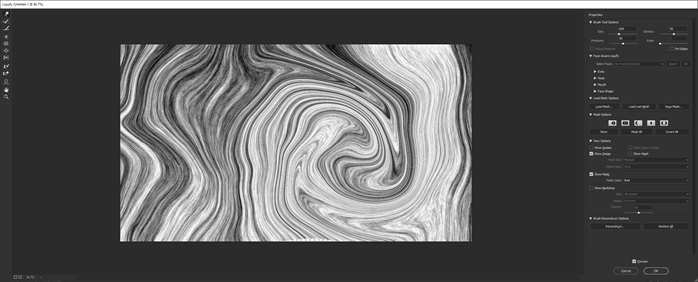
Step #22
Using the forward wrap tool, do the following distortions with the brush options as shown.
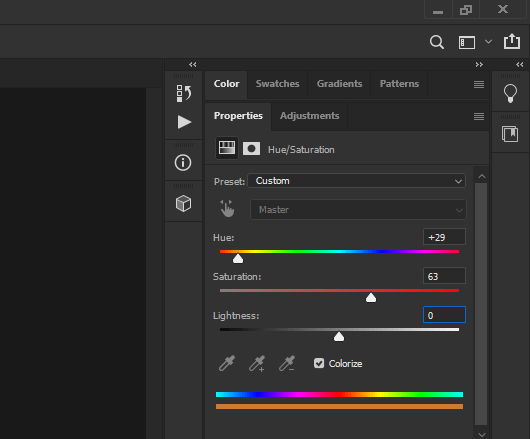
Step #23
Now from the adjustment panel, add some hue/saturation as shown.
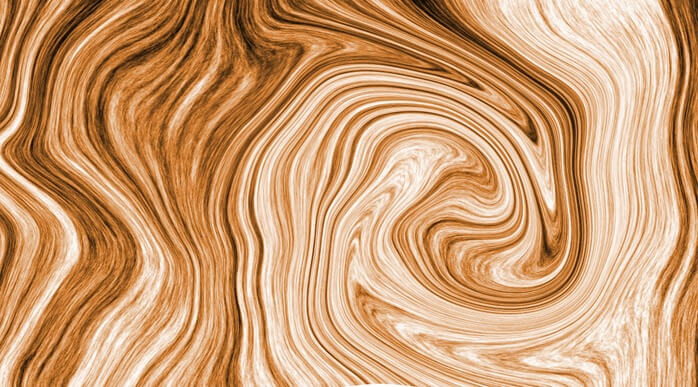
Step #24
We have completed the wood texture successfully.
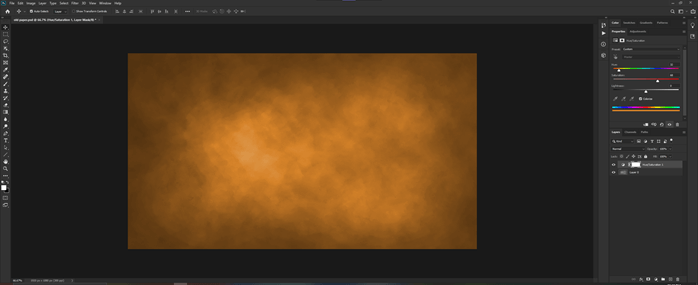
Step #25
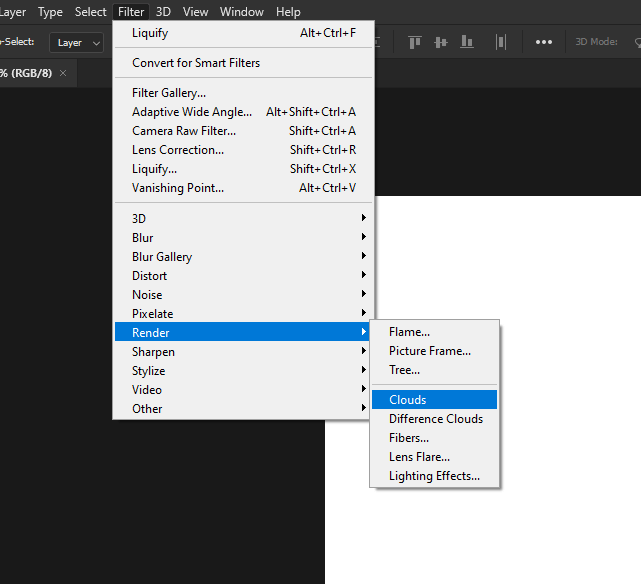
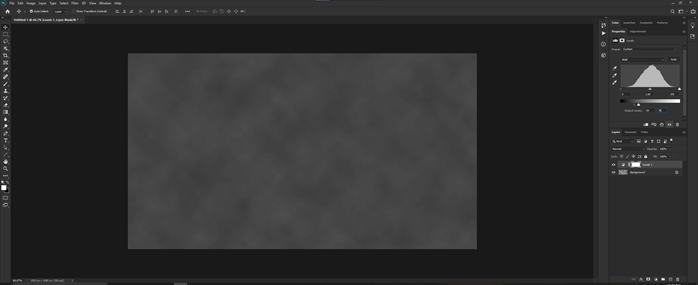
Next texture, we will start by rendering clouds as shown.
Step #26
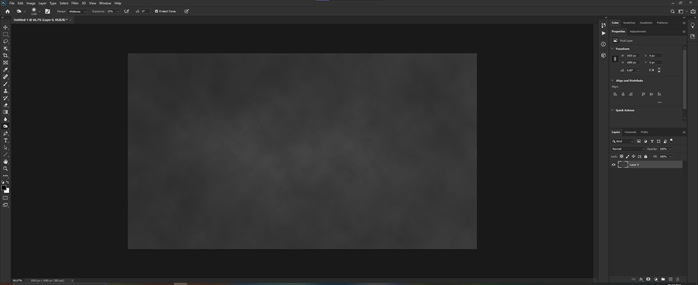
Then apply the levels adjustment as shown.
Step #27
Let’s merge the effect into the layer using merge down by right-clicking on the effect.

Step #28
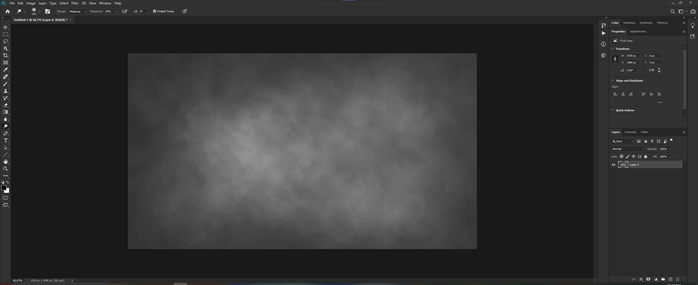
Use the burn tool to get the following effect by affecting midtones and exposure to 15%
Step #29
Then use the dodge tool to make some midtones lighter.
Step #30
Then adjust hue and saturation from the adjustment panel.
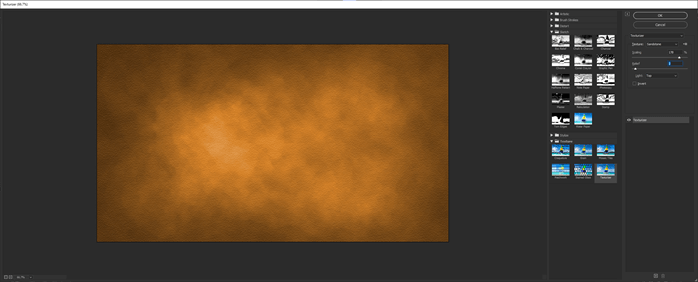
Step #31
Then go to the filter gallery and add texturizer from the texture folder and set the texture to sandstone, and set parameters as shown.
Step #32
Then let’s adjust the levels as shown.
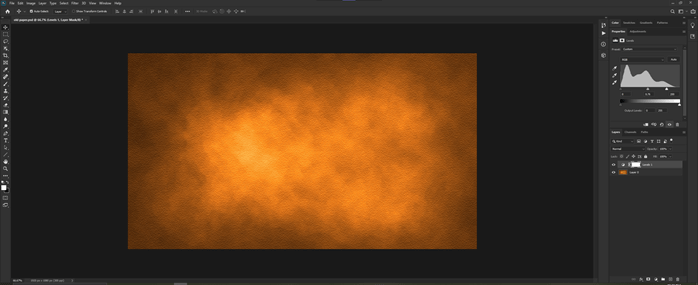
Step #33
Then adjust the color balance as shown.

Step #34
Then adjust the hue/saturation as shown.

Step #35
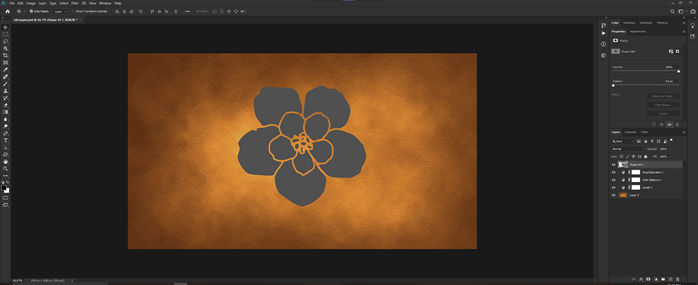
Using a custom shape tool, add any shape.
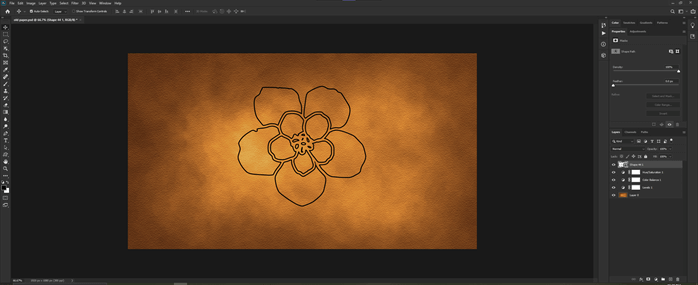
Step #36
Make it gray infill and set the stroke to none
Step #37
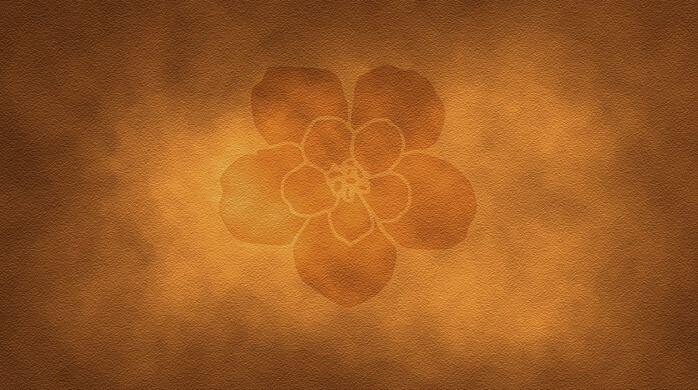
Set layer mode to soft light.

Step #38
We have completed the old paper look.
Step #39
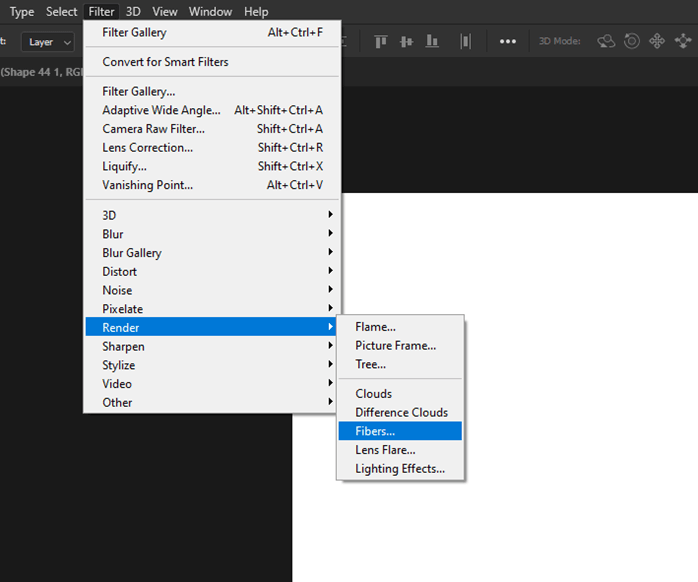
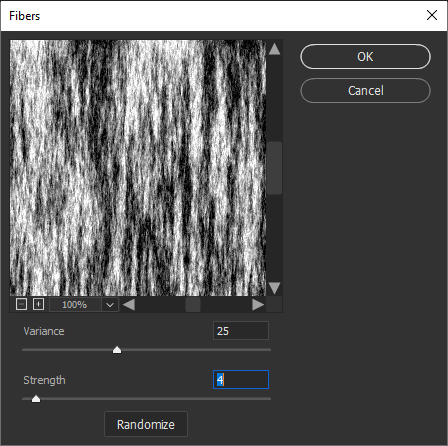
Render fiber filter for our next texture
Step #40
Set variance to 25 and strength to 4
Step #41
Add a gradient map adjustment and create a following gradient
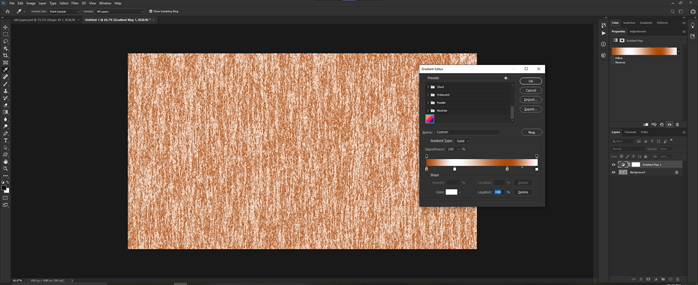
Step #42
Then add some level adjustments.
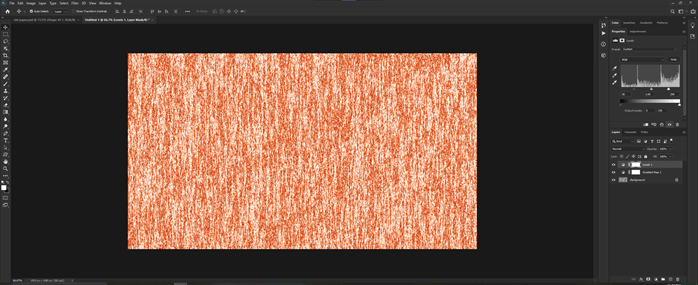
Step #43
Then add some color balance.
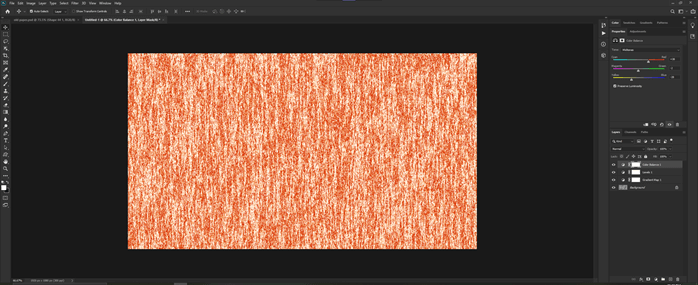
Step #44
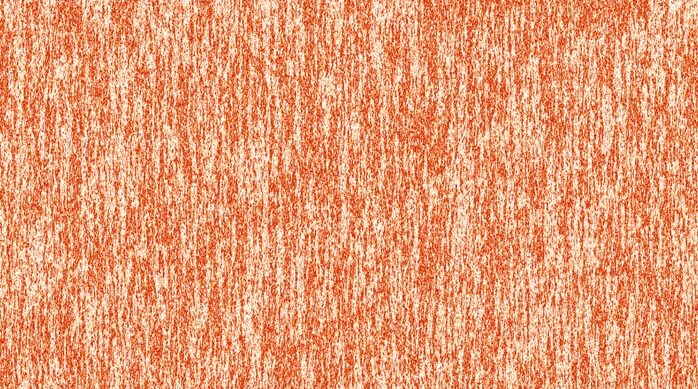
We have successfully created some rusted texture.
Step #45
For our next texture, we will render clouds from the filter menu.

Step #46
Then we go to the filter gallery and apply the Bas Relief effect.
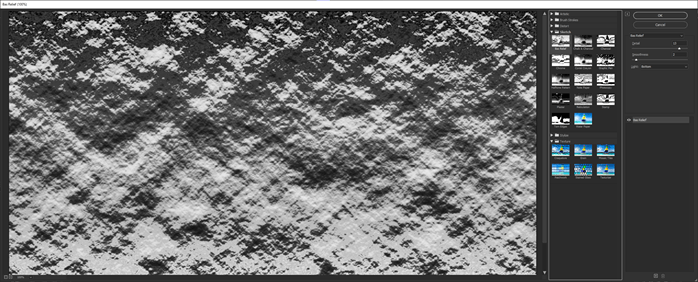
Step #47
Apply Hue/saturation adjustment as shown.

Step #48
Then we apply some color balance adjustment
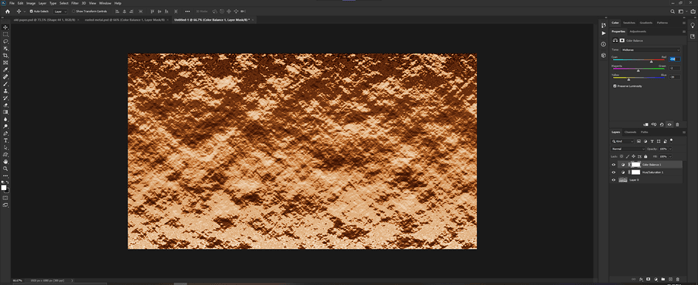
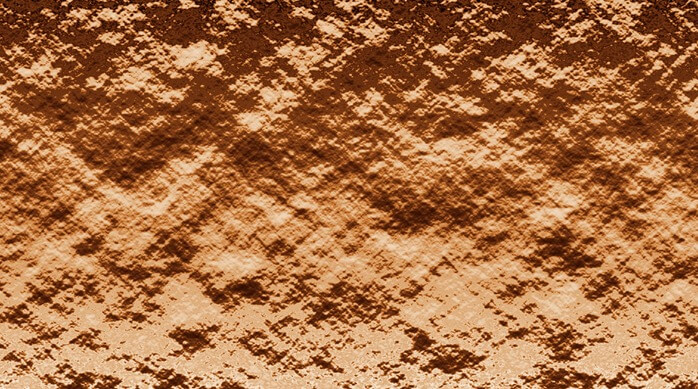
Step #49
So we have done our rock texture.
Step #50
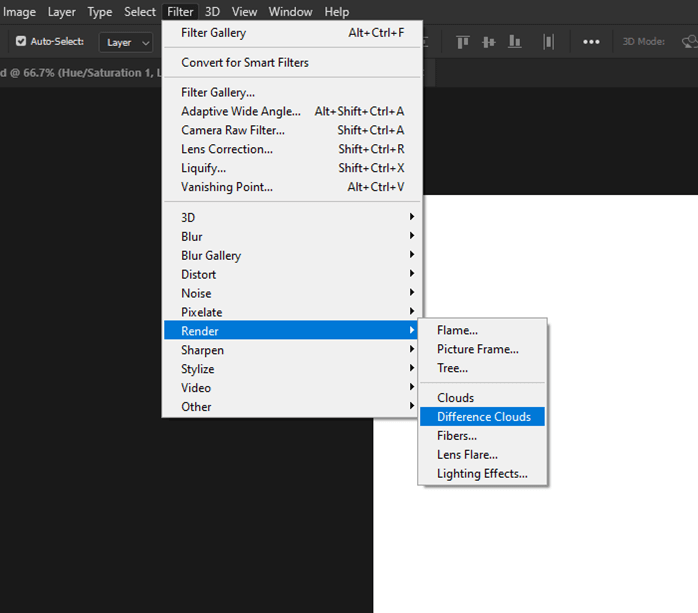
For our next texture, we again start with render cloud from the filter.
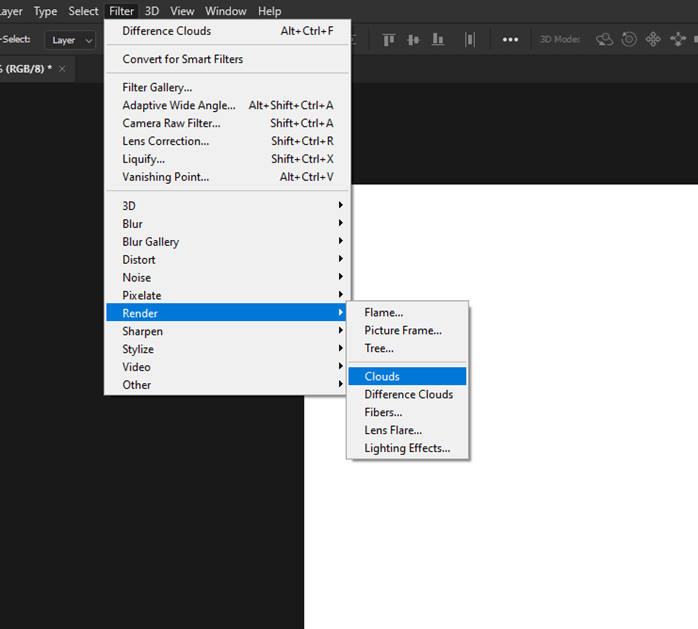
Step #51
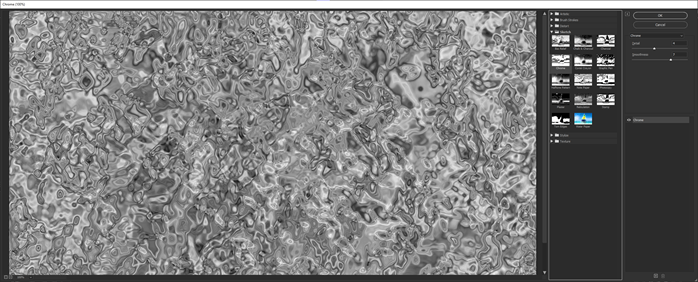
Then we apply a chrome filter from the sketch folder inside the filter gallery.
Step #52
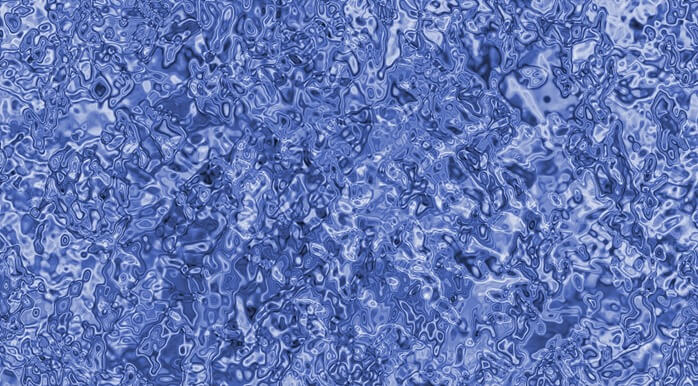
Now we adjust the hue saturation from the adjustment panel.

Step #53
So, we have completed our water texture.
Step #54
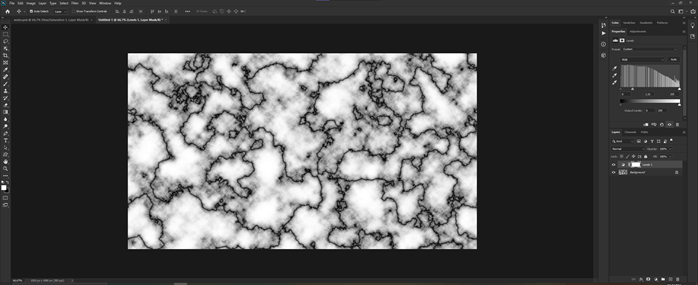
Let’s start with a different cloud now.
Step #55
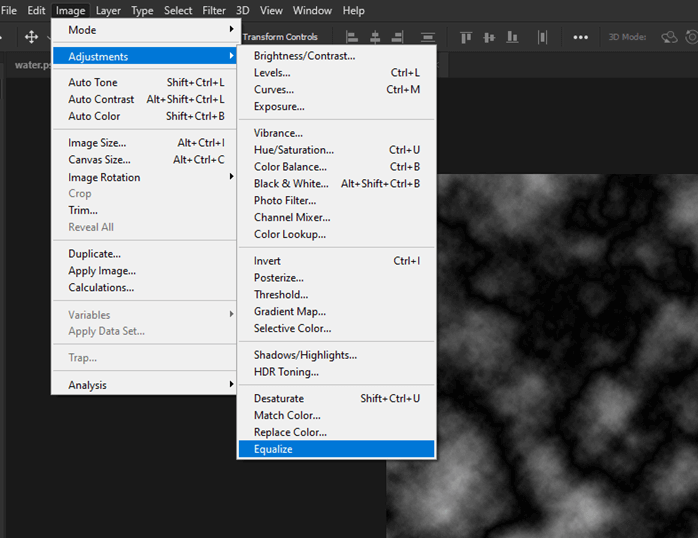
Then let’s equalize this image to get higher contrast.
Step #56
Adjust the levels from the adjustment panel.
Step #57
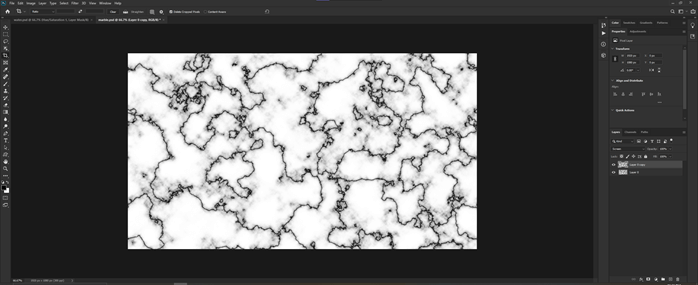
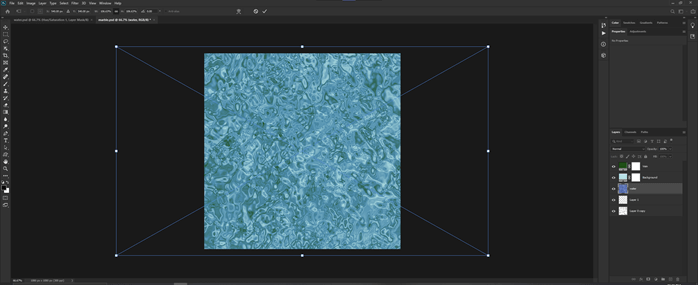
Merge down the effect and duplicate the layer, and set the mode to screen for the top layer
Step #58
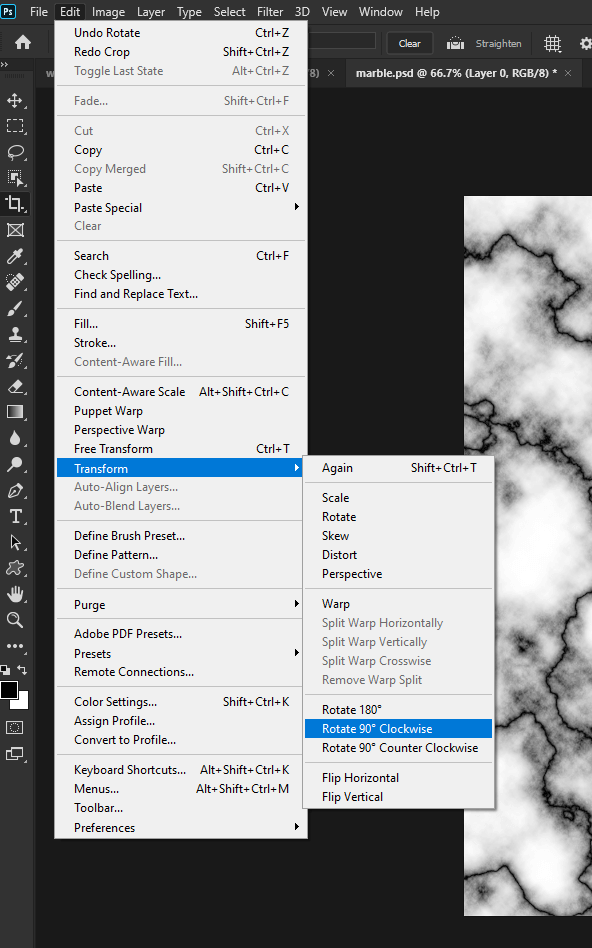
Then transform the top layer and rotate it 90 degrees clockwise.
Step #59
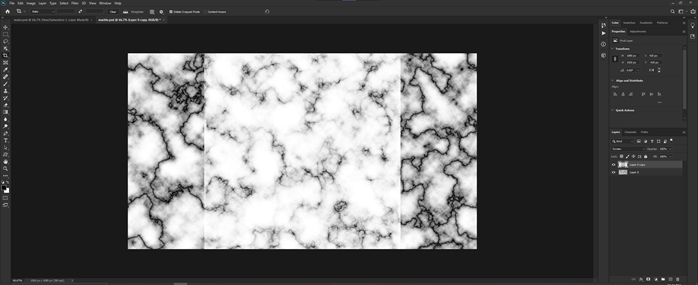
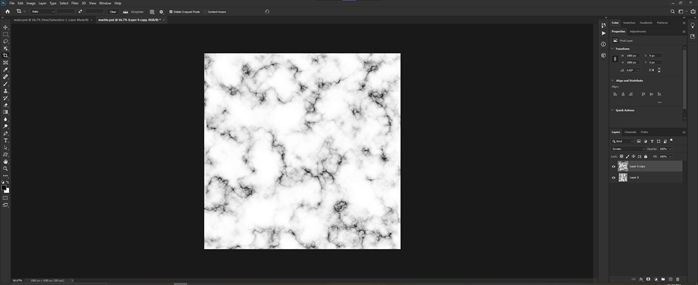
Now we can crop the remaining areas which are not in a square using the crop tool.
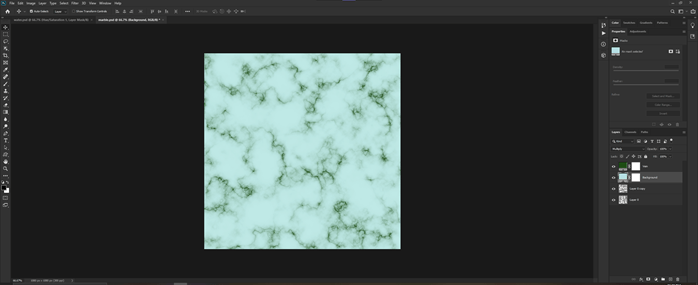
Step #60
Now we got something that looks like marble, the texture we are going to create.
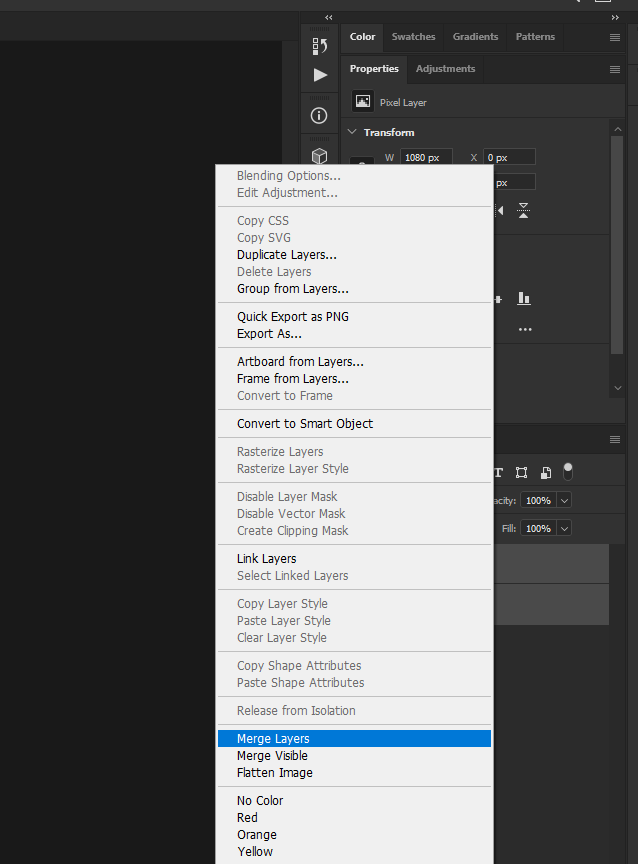
Step #61
Then we merge the layers.
Step #62
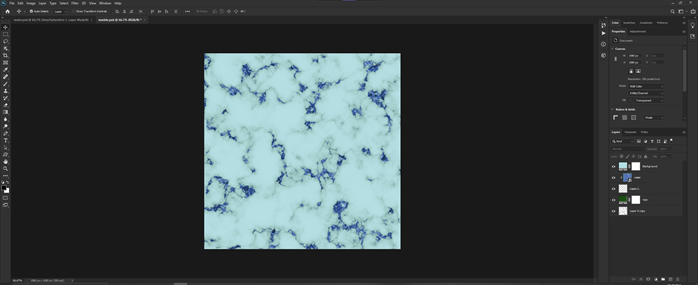
Add 2 solid layers with a fill of blue and green.
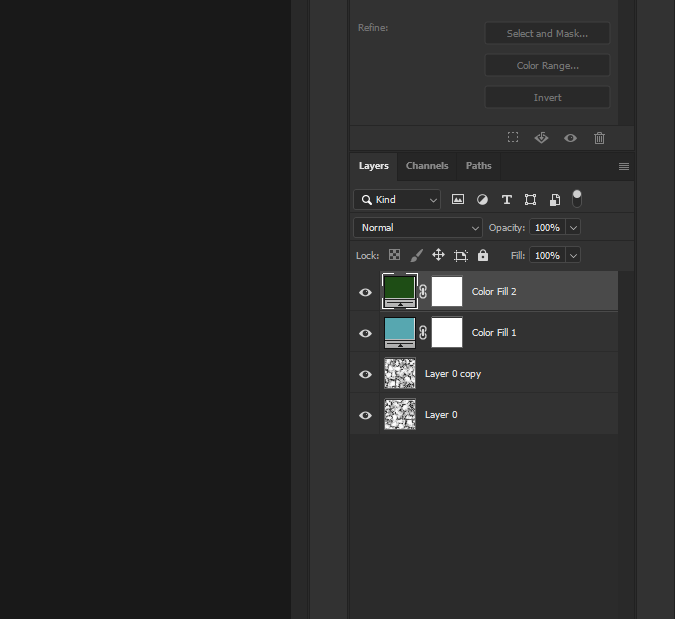
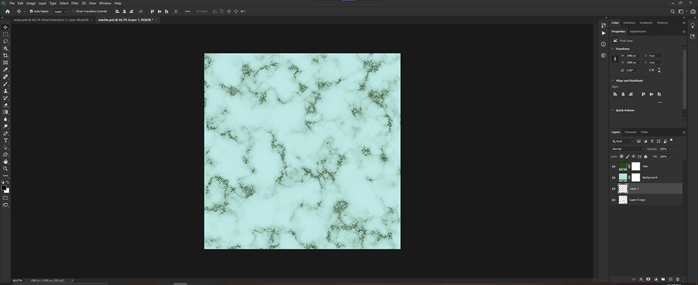
Step #63
The green color will control the vein, and blue will control the background.
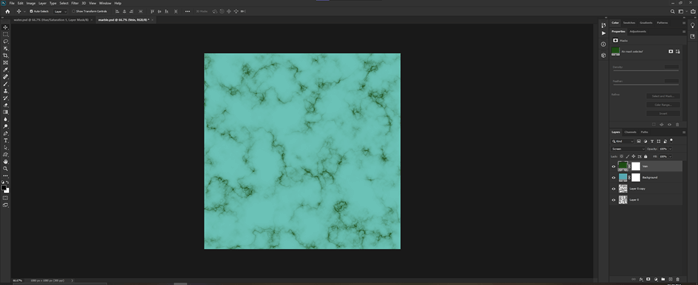
Step #64
You can adjust the background to look more like marble.
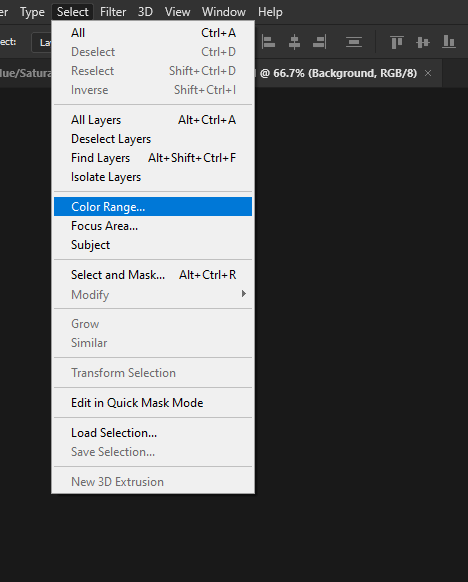
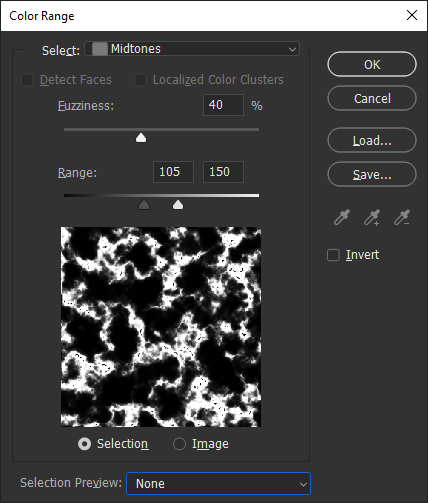
Step #65
Use color range to select midtones
Step #66
Merge the previous 2 layers and create a new empty layer on top
Step #67
Press Ctrl + del to remove the selection and then do place embedded to place the water texture.
Step #68
Create a clipping mask by pressing alt and click between layer and water object.
Step #69
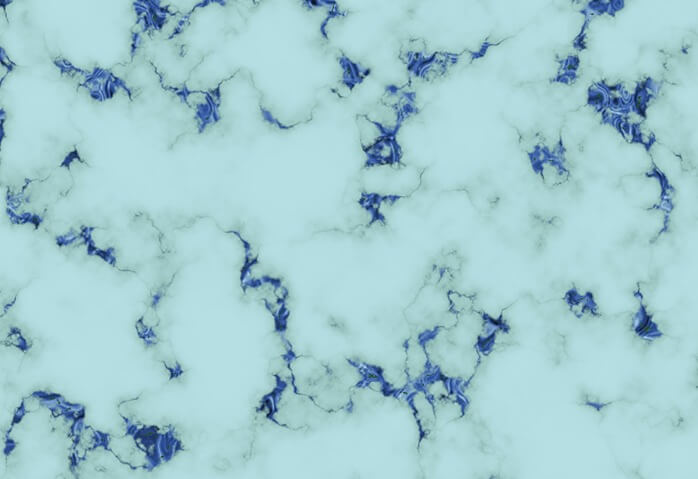
Hence we have created a marble texture.
Conclusion
In this article, we have done various textures in photoshop with a variety of techniques like using filters and applying an adjustment to achieve a realistic texture. This article has created textures of concrete, jeans, old paper, plastic, rock, rusted metal, water, and wood.
Recommended Articles
This is a guide to Photoshop Textures. Here we discuss various textures in photoshop with a variety of techniques like using filters step by step. You may also have a look at the following articles to learn more –
