Introduction to Resize Object in Photoshop
Photoshop is raster images editing software which was developed by adobe systems as its image editing software and widely used by the image editing professionals for their professional work. We have different types of features in this software for providing us with a user-friendly working environment. Resize is one of its exciting features through which you can make the change into the size of the object of any image or in the size of the image itself. In this article, we will discuss the resize feature of this software in a very simple manner and learn about its different handling parameters. So let us start our discussion.
How to Resize Object in Photoshop?
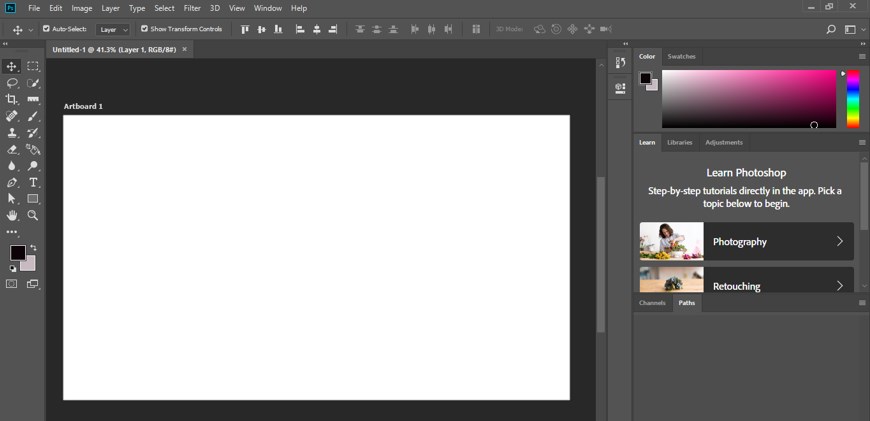
We can resize any object in this software by following some steps of the resizing procedure. So before starting it, we should have a look at the user interface of this software so that we can understand this topic in this article.
Step 1: In the topmost sections of the user screen of this software, there is a ribbon which we called the Menu bar. This ribbon has a number of menus which help us in managing of different parameters of this software; below this, we have the property bar of our active tool or active image through which we can make changes in parameters of that tool; below this toolbar; we have three sections that are, at the left side we have tool panel which has a number of tool for making our work easy in this software, at the center of this sections we have display window in which we can see our current working, at the right side we have some panels for making some adjustment in our work that are color panel, layer panel, and some others. You can adjust all these sections at any place on the working screen according to your requirement.
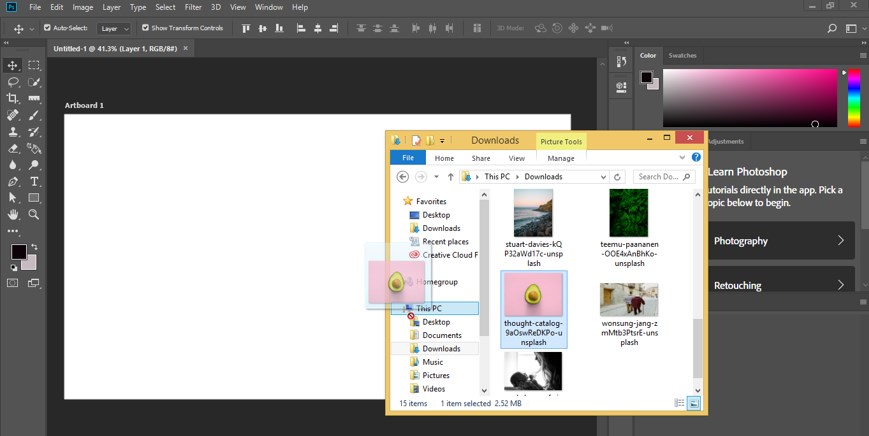
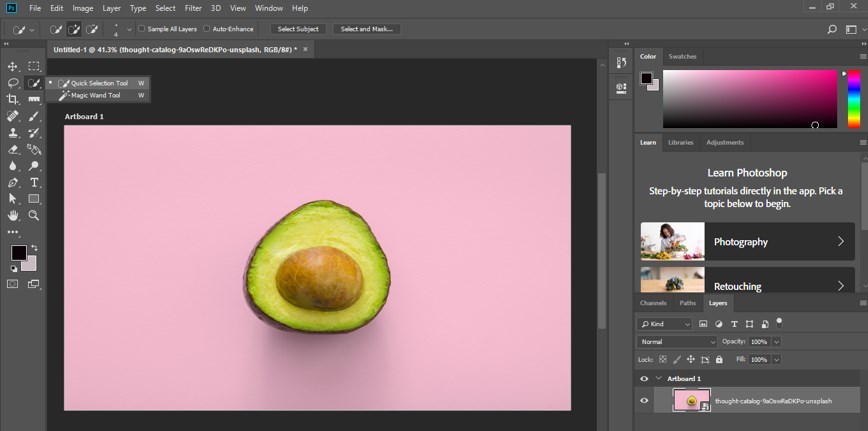
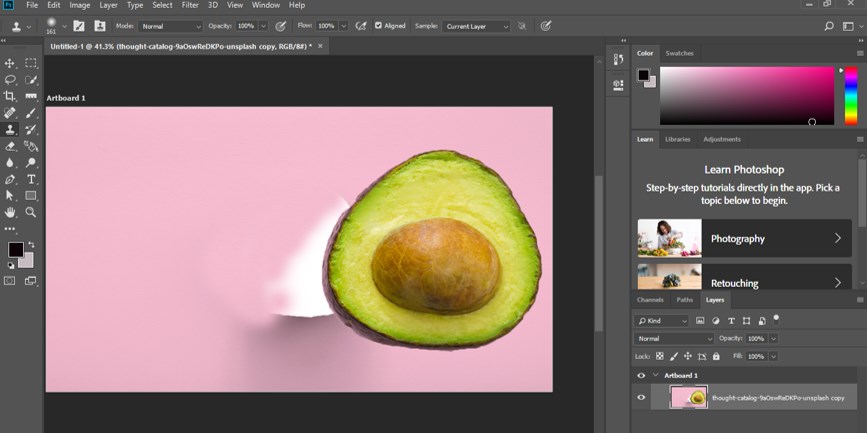
Step 2: Let us have an image in this software for our learning. For having an image in this software, go to your desired folder. Open that folder, then use the pick and drop method for importing it into this software. For that pick, the image with the help of mouse left button and drop it in the display window area of this software by releasing the mouse button.
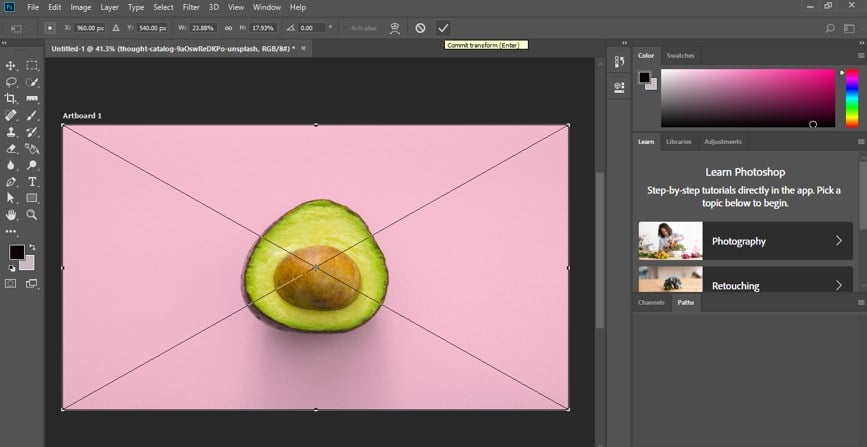
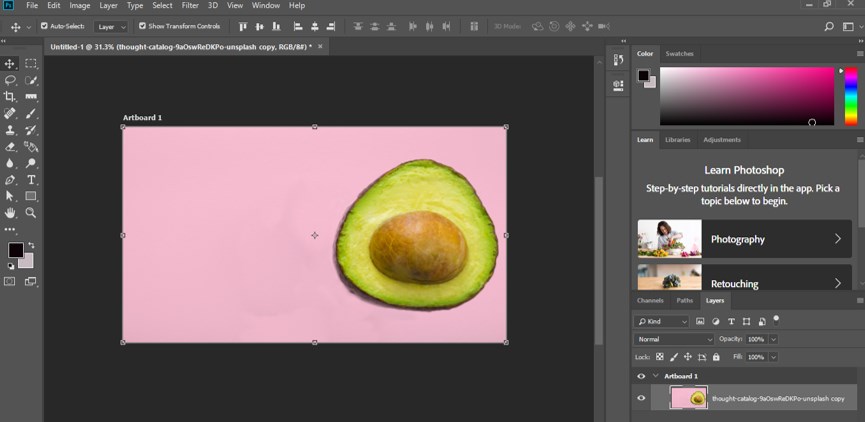
Step 3: Once you place any image, a resizing bounding box will come on around your image. Adjust the size of your image according to you, and once you did, make click on the tick mark of the property bar of this image for applying your settings, or you can simply press enter button of the keyboard for applying your settings.
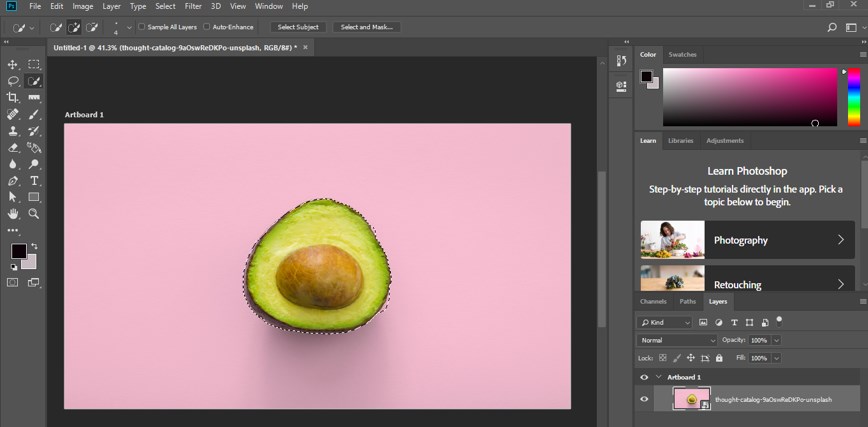
Step 4: Take a quick selection tool from the tool panel of this software to select this fruit object because I want to resize it.
Step 5: Now, make a selection like this.
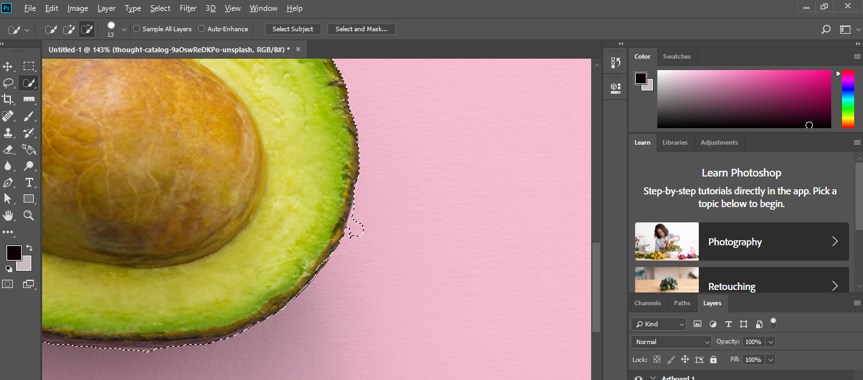
Step 6: You can subtract unwanted areas from your selection by holding the Alt button during using this quick selection tool.
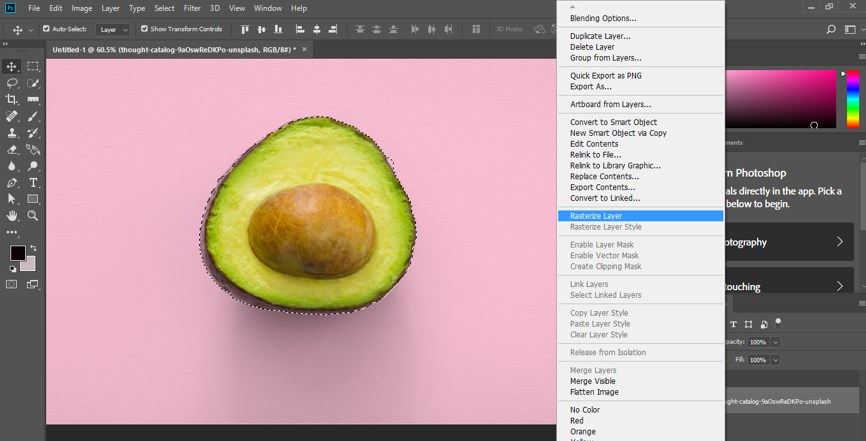
Step 7: Go to the layer panel of this software, which is on the right side of the working screen, then make right-click on this image layer with the help of the mouse right button. Once you make a click, a popup list will be open click on the ‘Rasterize Layer’ option.
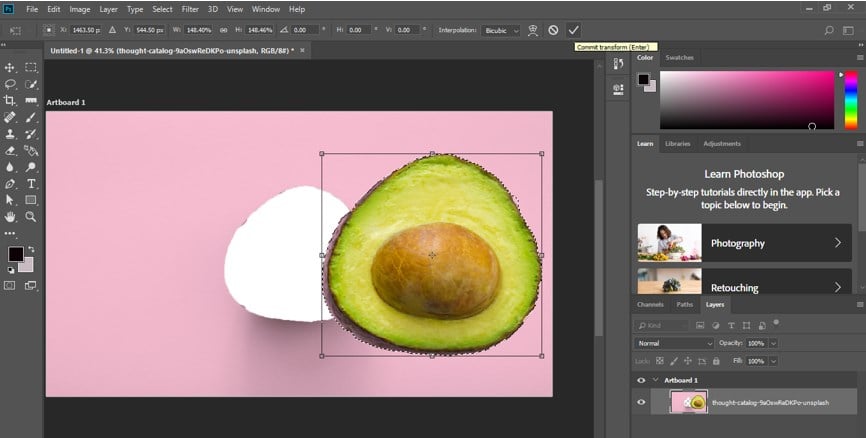
Step 8: Go to edit the menu of the menu bar, which is at the top of the working screen and click on it. A pop-up list will be open. Go to the Transform option of this list, then click on the Scale option of a new drop-down list.
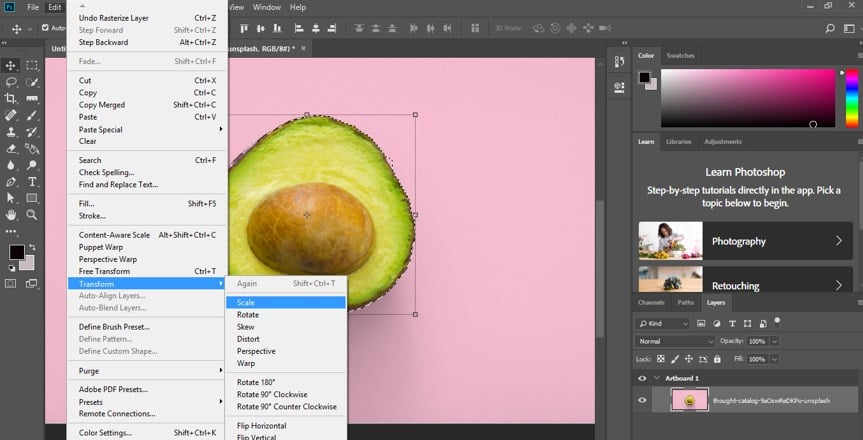
Step 9: Or you can make right-click on your selected object with the mouse right button. Once you make a click, a drop-down list will be open; you can choose the Scale option from here also by click on it.
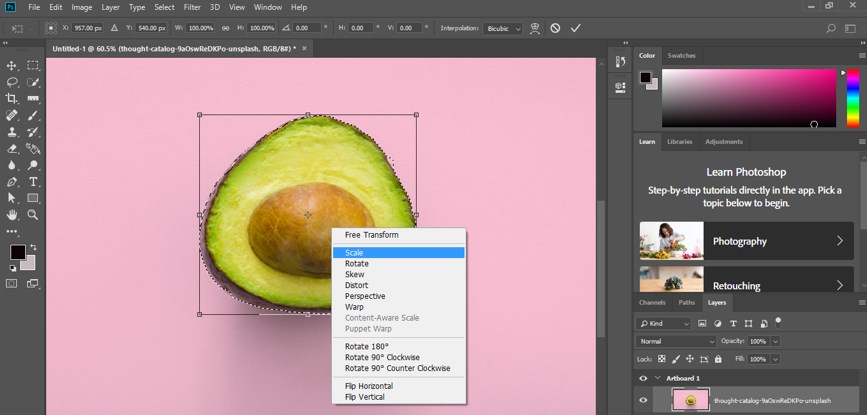
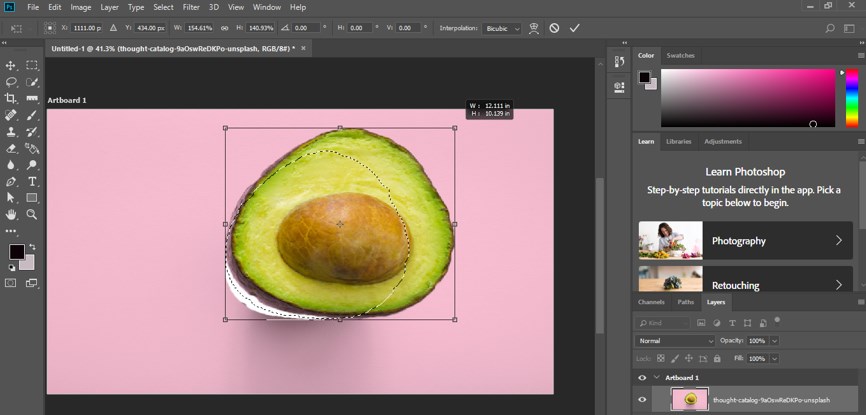
Step 10: Now, hold the anchor point of the bounding box and increase the size of this fruit. Hold the shift button of the keyboard during the resizing of your object to maintain the ratio of width and height of your object.
Step 11: Now, you can replace this object anywhere else in your image or leave it at its original position for covering its previous shape.
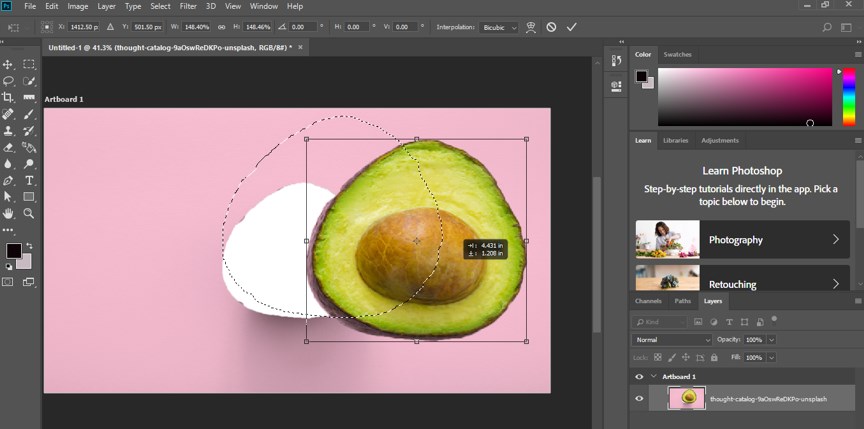
Step 12: If you want to place it anywhere else, then move it to that place with the help of the move tool of this software.
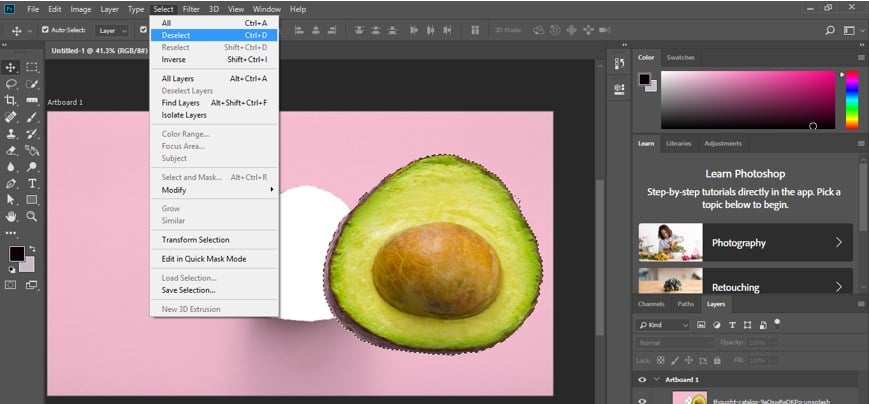
Step 13: Now go to the Select menu of the Menu bar of this software, which is at the top of the working screen. A popup list will be open. Choose the Deselect option from the list by clicking on it.
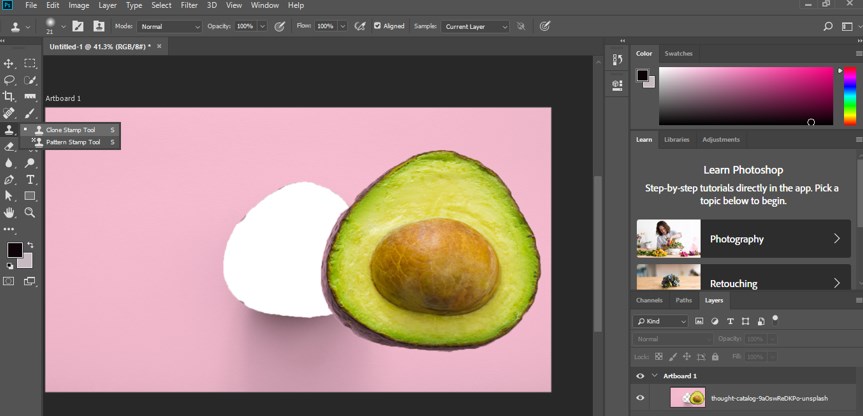
Step 14: Once you deselect it, your object will be placed in your selected place like this. Now again, go to the tool panel of this software and take the Clone tool by clicking on its icon.
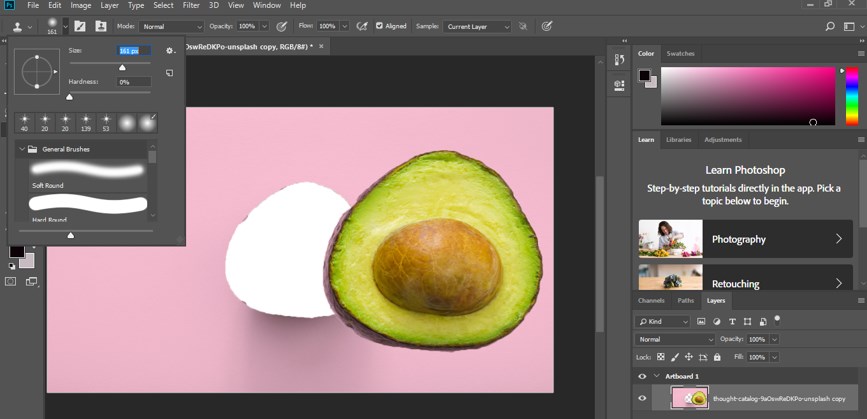
Step 15: Now hide the previous shape of your object with the help of the clone tool of this software. Adjust the size of the shape of the clone tool from the size option of the property bar of the clone tool by giving your desired value of the clone tool brush size of this software.
Step 16: Now copy background color with a brush of this clone tool of this software. For copying, hold the Alt button of the keyboard and click on the image area which you want to copy. Then release the Alt button of the keyboard and take the mouse cursor at the blank area of fruit in your image. Now press the mouse’s left button and hold it, then drag the mouse cursor for covering this area like this.
Step 17: Once you cover all the unwanted areas for you, your image will look like this. You can place your object in any other place in your image by resizing it again with the same method if you want. You are free to resize your object again and again with this resizing feature of this software.
In this way, you can resize any image in Photoshop software by following a few simple steps and making good use of it in your project work.
Conclusion
Now, after this article, you can understand what resizing of the object is and how you can resize your object by using some features of Photoshop software. You can have a good command of this type of resizing feature of Photoshop software after practicing on it.
Recommended Articles
This is a guide to Resize Object in Photoshop. Here, we will introduce you to step-by-step instructions on how to resize objects in Photoshop. You can also go through our other related articles to learn more –
