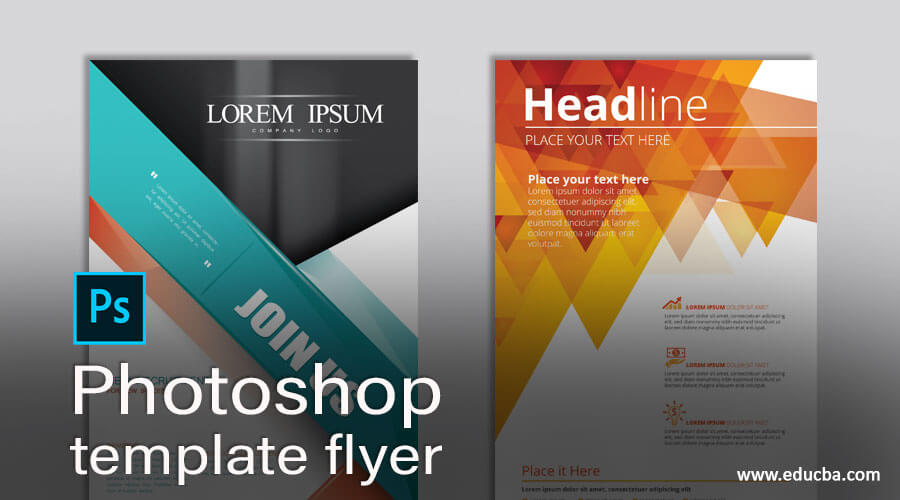
Introduction to Photoshop Template Flyer
The flyer is a type of template which has a different type of shapes, images, text design to express the ing purposes of the business idea of any particular firm. The flyer template has no specific design and patterns; it totally depends on the idea of Photoshop designThe standard dart size the of flyer template is 8.5” x 11” or similar to A4 size paper. We can create flyer templates by using different types of shapes tools, color adjustment layers, different images, etc. We will discuss all the terms that how we can handle all parameters of these features in a very simple manner of learning. So stay with this article for deep knowledge of this topic.
How to Create a Template Flyer in Photoshop?
We can create a flyer template in this software by using a basic shape tool and color correction properties of these shapes and images in this software. But do you know before getting introduced to this topic, you must have an idea about different sections of the user screen of this software? So let’s get started and discuss the user screen of Photoshop software.
At the top of this software, we will find the Menu bar, which has several menus. When you move in the downward direction from the top, you will find the second bar, which is a property bar of an active tool or active image. Below this, you will have three sections in which you will find a tool panel on the left side, display windows of the document at the center, and you will have layer panel, color panel, and some other tabs on the right side. If you are not ok with the arrangement of sections of the user screen, you can make your own user screen.
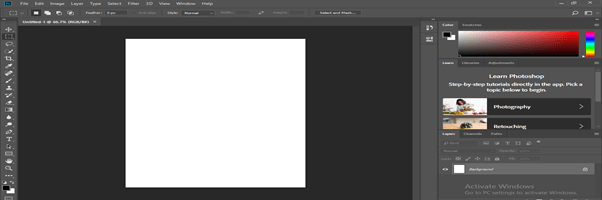
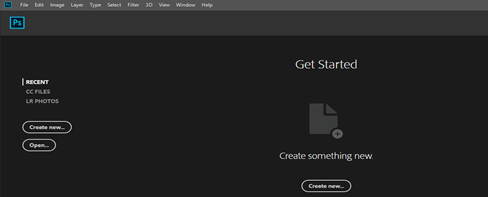
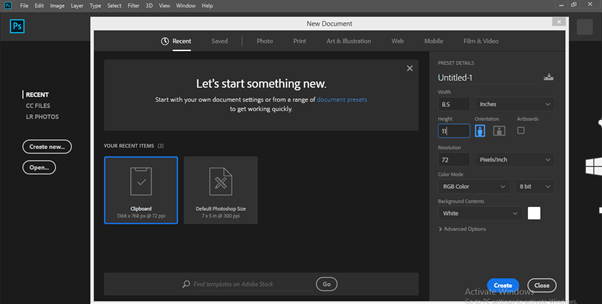
Now let us have a document of size 8.5” X 11”. So for having this document, you can click on the Create New button on the welcome screen of Photoshop software.
Now enter the value of the size of the flyer template and choose white color as background layer color, then hit create a button of the opened dialog box.
Now take a rectangle tool from the tool panel of this software by clicking on the icon of the rectangle tool or press the U button of the keyboard as a short cut key of this tool.
Make a square of your desired size like this.

Now press the Ctrl + T button from the keyboard to transform the bonding box of this shape and rotate it at 45 degrees by holding the shift button of the keyboard.
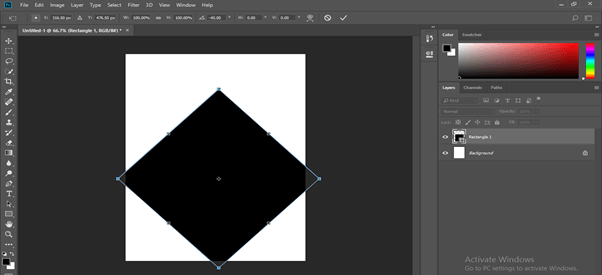
Now set it at this place and adjust it according to the background layer.
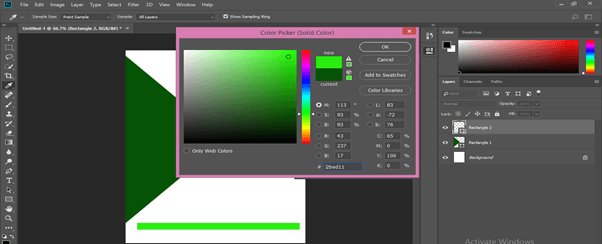
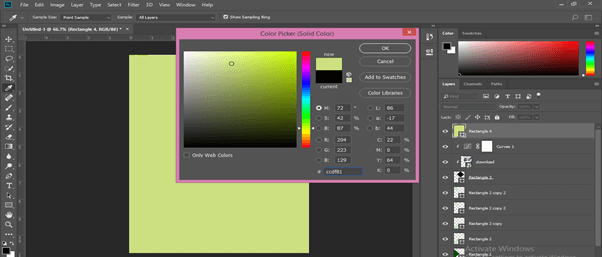
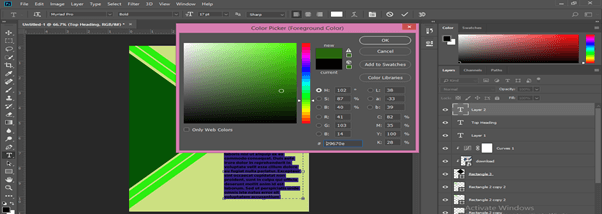
Go to the Layer panel and make double click on the thumbnail of this square layer and take the color of this shape as per your choice. I will take this color from the color picker box and then hit the Ok button.

Now again, take the rectangle tool and make this type of rectangle.
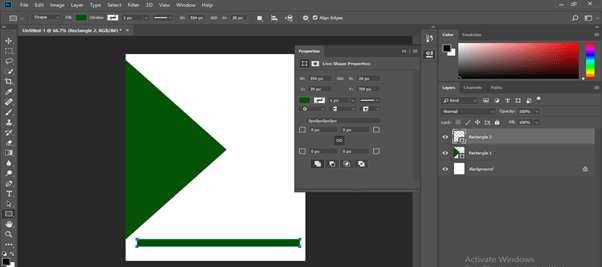
Go to the layer panel and make double click on the thumbnail of this rectangle shape layer. Choose your desired color from the color picker box. I will choose this color.
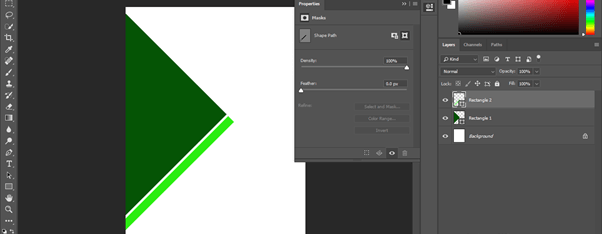
Adjust this rectangle at some inclination that is 45 degrees like this.
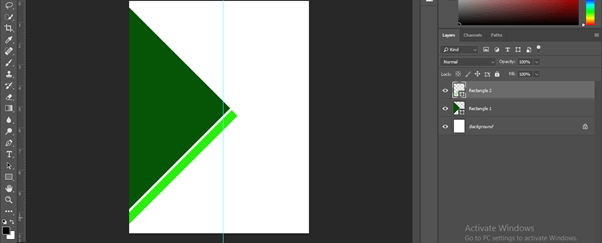
Press Ctrl + R button from the keyboard for making the ruler tool active, then drag a guideline at the center of the document.
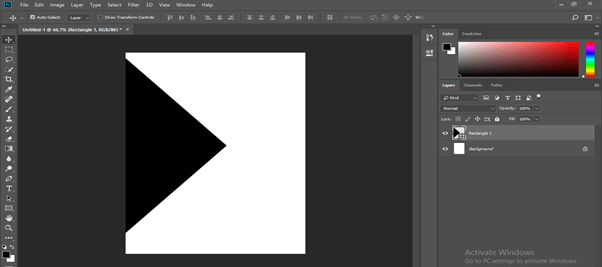
Adjust square shape according to the guideline.
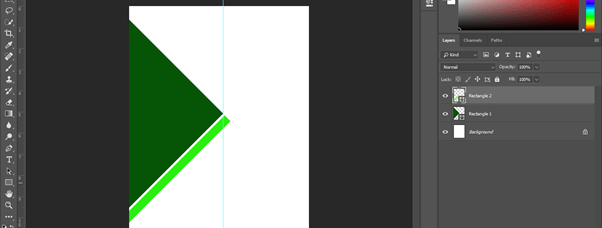
Now select the layer of this rectangle and press the Ctrl + J button of the keyboard for making a copy of this layer, then move the copied layer a little bit below to this layer.
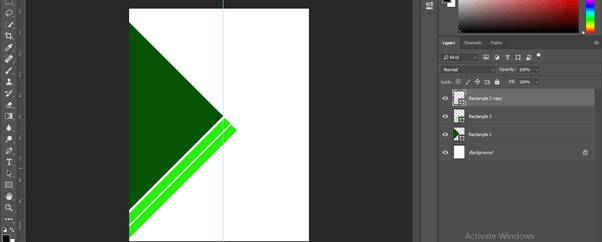
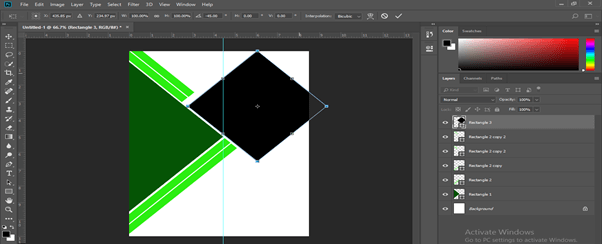
Now go to the layer panel of this software and select these two rectangle layers, then press the Ctrl + J button from the keyboard for making a copy of them.
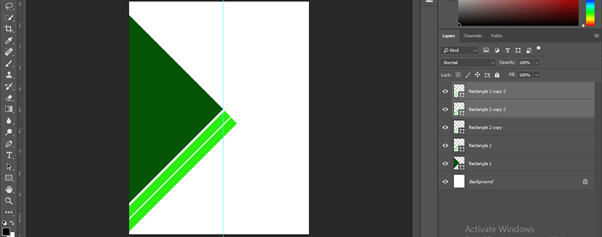
Move these two copied layers to the top side of the document area and rotate, then place them here by using the transform bonding box and move tool of this software.
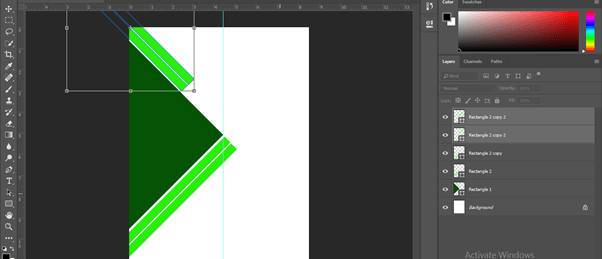
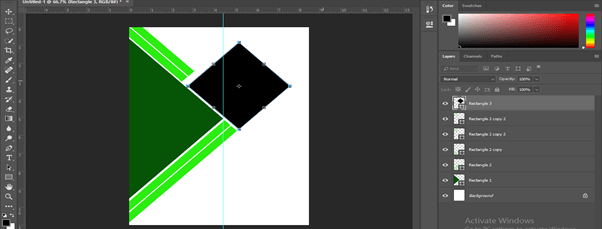
Now again, take a rectangle tool from the tool panel and make this type of square.
Press the Ctrl+ T button from the keyboard to transform bonding box of this square and rotate it at 45 degrees by holding the keyboard’s shift key.
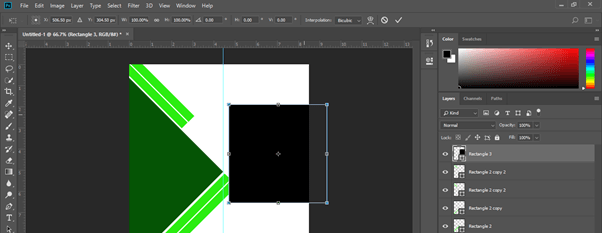
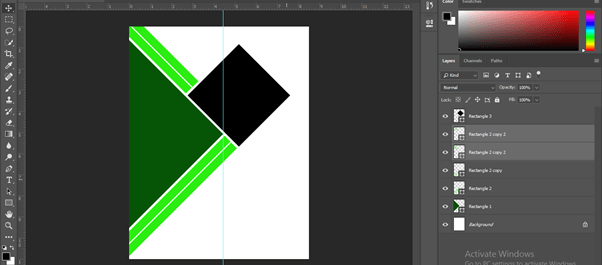
Again, go to the layer panel, select the layer of this new square shape, and then press the Ctrl + T button from the keyboard for the transform bonding box. Now decrease the size of this square.
Adjust it like this.
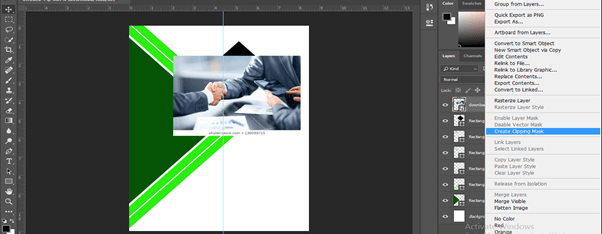
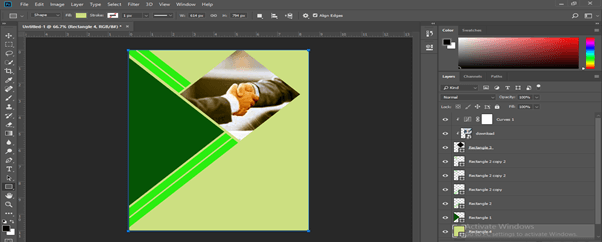
Place an image in this software that shows you the purpose of your business theme. For placing an image in this software, open that folder where you have saved it and drag it from there into the document area of your work.
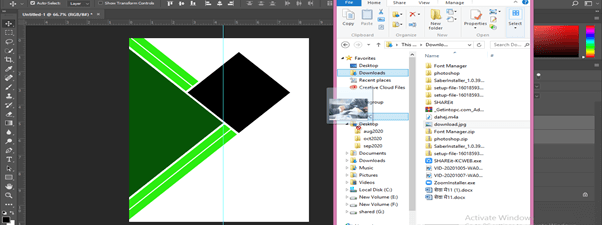
Place this image layer above the layer of square shape. Now make right-click on the image layer. A scroll-down list will be open to choosing the Create Clipping Mask Layer option from this list.
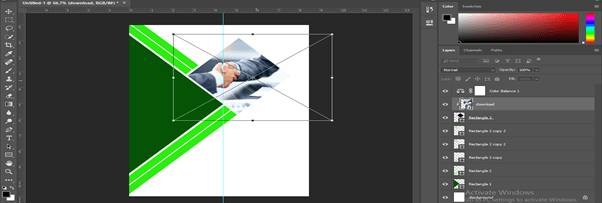
Now adjust this image according to which area of the image you want to show through this square by using the move tool and transform bonding box of this layer. I adjust it like this.
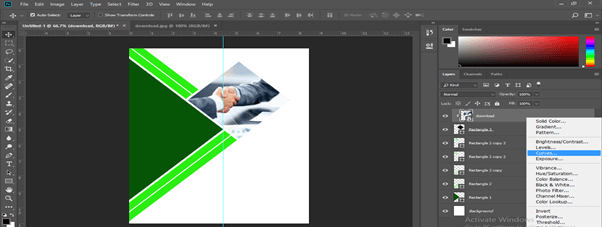
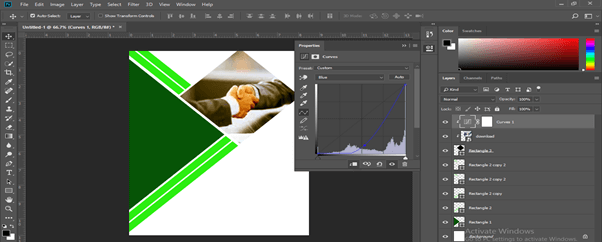
Now select the image layer and go to the adjustment layer button, then click on it. Choose the Curve option from the list.
Select Blue color in the Curve box and adjust the blue tone percentage of the image.
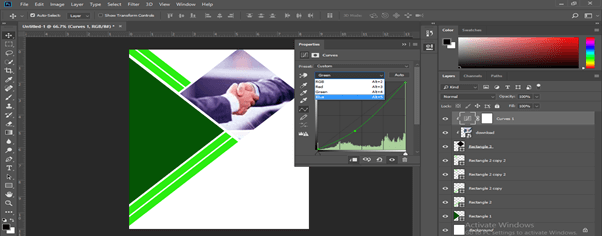
Select Red color in the Curve box and adjust the red tone percentage of the image.
Take a rectangle tool and make a rectangle like this and choose this color.
Place this layer at the bottom of all layers.
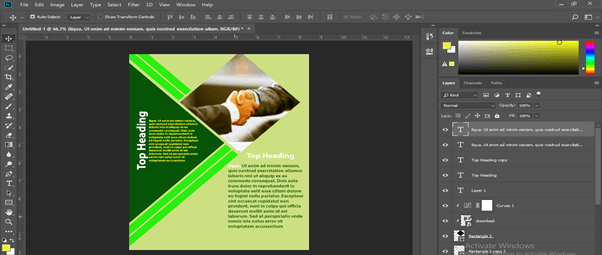
Now take the text tool from the tool panel and type a text like this here. Choose white color for the text layer. Make heading like this.
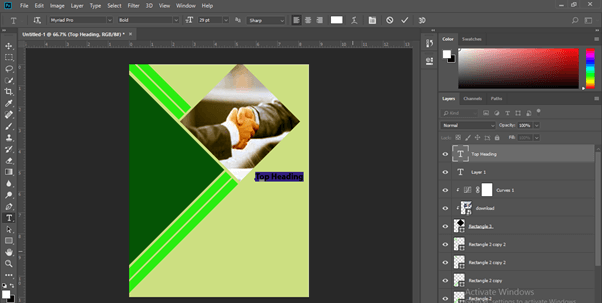
Again, take the text tool, make a paragraph like this, type your text here, and then choose this color from the color picker box.
You can adjust text according to the matter given by your client.
Now go to the custom shape tool and choose any custom shape.
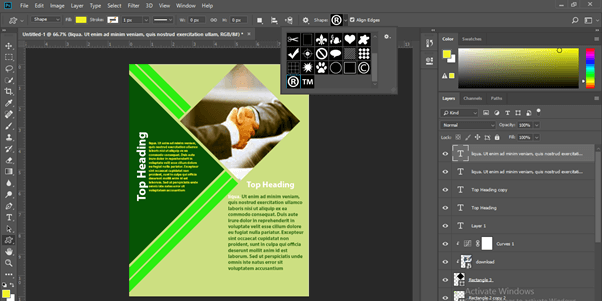
Place this custom shape here, and you can place the logo of the company here.
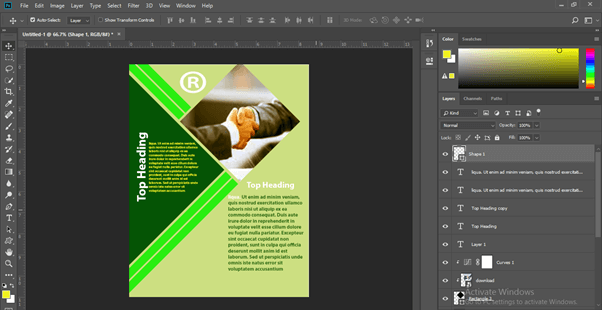
This is an overview of the creation of a flyer template.
Conclusion
I believe by going through this article; you can understand flyer and flyer design very easily. You should use your own idea for making a flyer template, and when you make practice on it, you will definitely get introduced to all the important features of this software.
Recommended Articles
This is a guide to the Photoshop template flyer. Here we discuss How to create a template Flyer in Photoshop, and also, you can understand flyer and flyer design very easily. You may also have a look at the following articles to learn more –
