Updated March 21, 2023
What is the Normalizer Transformation in Informatica?
Normalizer Transformation in Informatica is a popular transformation technique that is used to normalize the input data into more simplified data in the transformation phase. This is one of the active transformations in Informatica. The normalizer transformation generates multiple rows from a single row to create more normalized data storage for the target system in Informatica. The normalizer transformation in Informatica is mostly used to manage redundant data and segregate the demoralized data into multiple data sets. It is a connected type of transformation. Most of the Cobol data sources are being implemented with normalized transformation in Informatica.
How to Create Normalizer Transformation in Informatica?
Below is the step by step process of creating a Normalizer transformation in a mapping
Step 1: Create a source and target table with the columns and structure that you need.
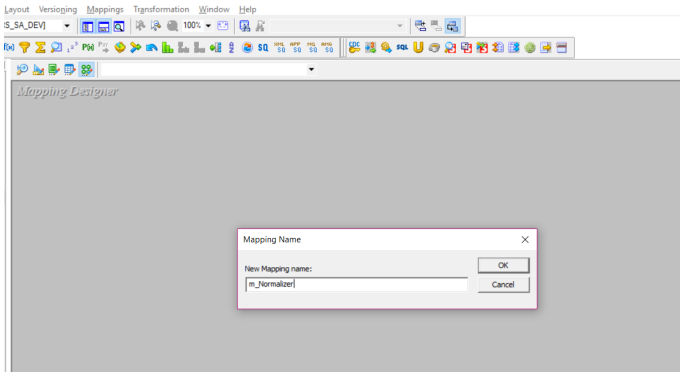
Step 2: Once the source and target are created, go to the Mappings tab and then click on ‘Create’. Once this is done, you can name this mapping with your choice.
Drag and drop the source and target which you have created to this new mapping which is created. Be Source qualifier will be created for your source.
Step 3: Once the mapping is ready, the next step is of creating the transformation. Go to the Transformation tab and click on ‘Create’.
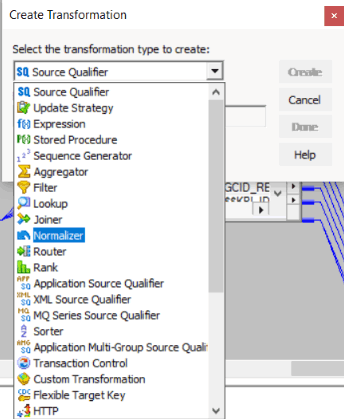
Provide a unique name to this transformation and click on the create button. Once you click on create the Normalizer transformation will appear on your mapping.
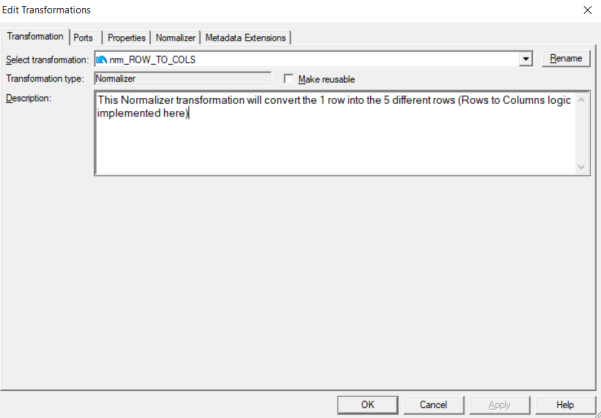
Step 4: Now double click on the transformation, and you can make the necessary changes in it. You can give an appropriate description of it and explain what the transformation is doing.
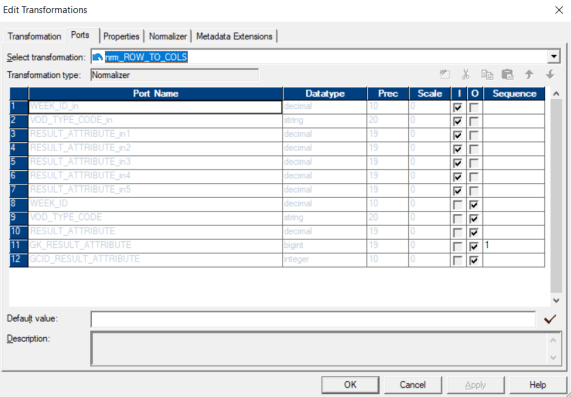
Step 5: The ports tab will have the input and output ports defined for the transformation.
Step 6: Now go to the normalizer tab and use the New field option to add new fields to the transformation. In the below screenshot, you can see three new columns using the New port button. The data type and precision should be matching with input and output fields.
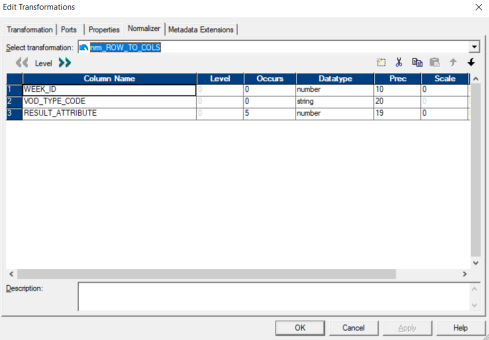
Step 7: After this, you can select a particular column to say Week_ID and create the next level by selecting the Level Button’s right shift.
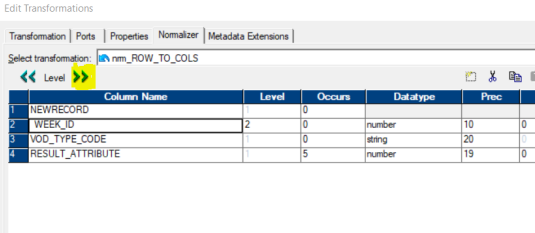
This creates a new column and shifts the WEEK_ID column to level 2. Similarly, the other two columns can also have their Level 2 created. As there are 5 results, the occurrence of this field is changed to 5. This number can be changed as per the requirement.
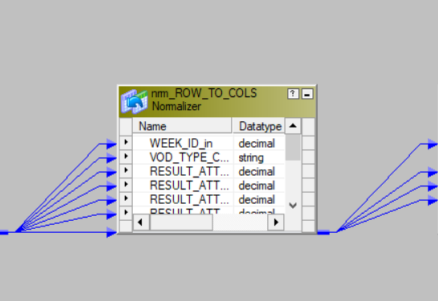
Step 8: Once this is done, if you go back and check the ports, you will observe that the ports have increased automatically for the Result Attribute.
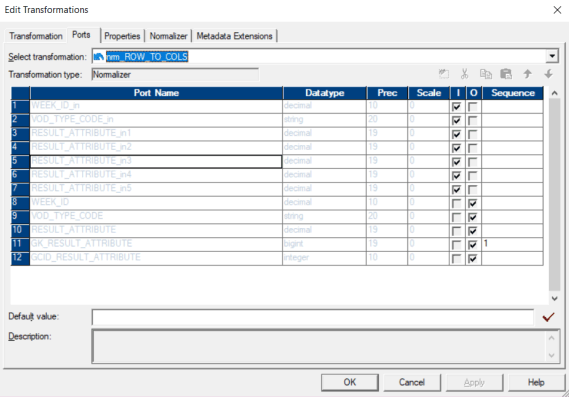
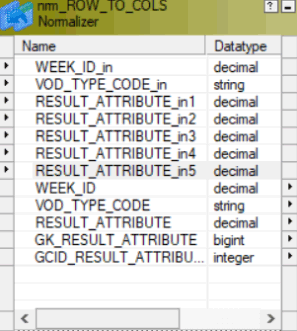
When you check the Normalizer transformation now, you will be able to see that all the Result Attributes are present in the transformation.
You can check that the previous transformation is connected to Normalizer transformation with the new ports that are created.
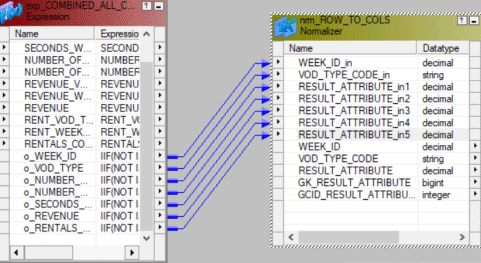
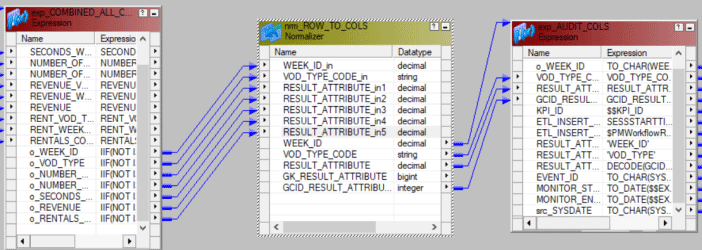
Step 9: Once this is done, you can connect the Normalizer transformation ports to the target ports or target transformations. It would help if you used the Autolink option to connect them. Once this connection is formed, you must validate the mapping before going ahead and creating its workflow.
Creating a Workflow for Normalization Transformation in Informatica
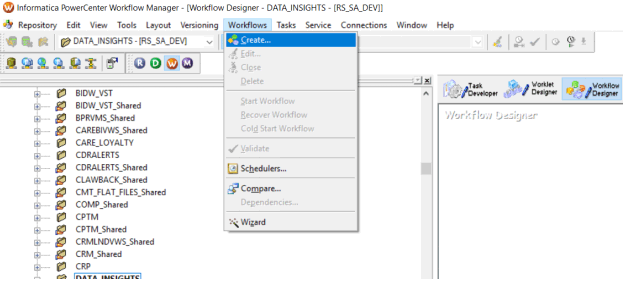
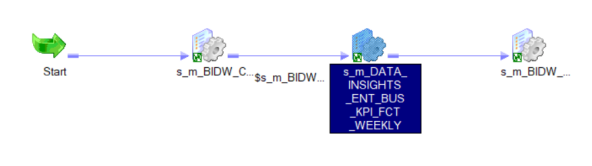
Step 1: Once the mapping is created, a workflow should also be created to run the mapping. This workflow can either be created manually or by using the Workflow wizard. To create the workflow, manually Navigate to Workflows and then click on Create.
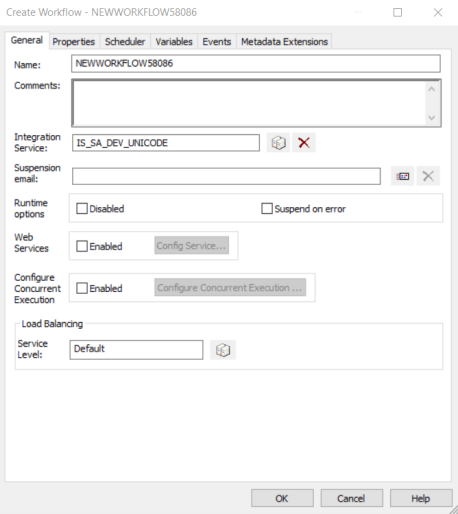
A new window will open as below where a unique name for the workflow should be provided.
Once this new workflow is created, the next task is of creating a session task.
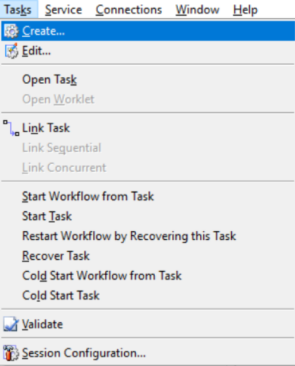
Step 2: There are two types of sessions in Informatica. They can be either Non Reusable session in Informatica or Reusable session in Informatica. For this example, we can create a Non-reusable session. Navigate to Tasks Menu and then select the create option.
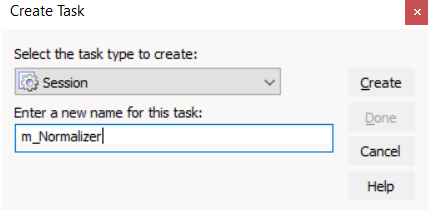
Step 3: Provide a unique name to this task. Here we have provided the name as m_Normalizer. Once you click on Create, the session is created, and you can select the session corresponding to your mapping.
Step 4: Once this is done, link the Start task with the session which is created.
Step 5: You can double click on the session task and then click on the properties tab.
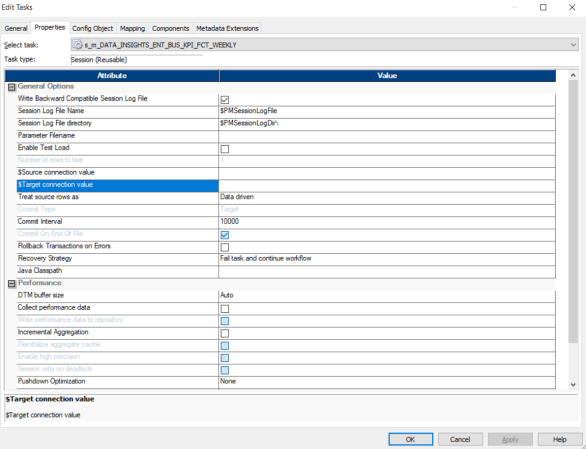
All source and target connections can be mentioned in $Source_Connection_Value and $Target_Connection_Value. You can select the targets or even defined parameters and link those to this property.
Step 6: In the mapping tab, we can configure the source, target, and connections. The source and targets can be configured by clicking on particular sources that need the paths. Similarly, the target can also be configured. Once all this is configured, go to the Workflows menu and select the Validate option to validate the workflow.
Step 7: Once the workflow is ready with the session task, then the Start Workflow option will be opened, and the Workflow monitor will be opened where the workflow can be monitored. All rows that are fetched and session logs will be displayed in the Workflow Monitor. If the mapping is successful, then this mapping’s status will be succeeded, and all rows will be displayed.
Conclusion
The Normalizer transformation is usually used to normalize the denormalized data. It can convert column-wise data to row-wise data. It hence works similarly as transpose does. In addition to converting rows to columns Normalizer also generated an index for every converted row. This is an active and connected transformation that allows the user to read data from different Cobol files. Every Cobol source definition will be associated with normalizing transformation. A normalizer is also used when a single input record needs to be converted to multiple output records. The normalizer transformation can also be used to deal with columns occurring multiple times and multiple records. These can be created by using redefines which are explained above.
Recommended Articles
This is a guide to Normalizer Transformation in Informatica. Here we discuss how to create normalizer transformation in Informatica and steps to creating a workflow for normalizer transformation in Informatica. You may also look at the following articles to learn more –
