Updated February 14, 2023
Introduction to Nginx Max Upload Size
Nginx max upload size is defined as how much big size of files we can upload by using nginx. The nginx default file upload size limit is 1 MB; if suppose the user uploads a file which is more than 1 MB, then the user will get the 413 error, i.e., entity request is too large. We can increase the max size of the upload limit in nginx by using the directive of client_max_body_size.

Overview of Nginx Max Upload Size
Nginx will abort our connection when we upload the large files, which is the max limit we have defined in the nginx configuration files. We can change the nginx file-max upload size limit using the nginx configuration file. After configuring the max upload limit of the file, we need to restart the nginx server; without a restart, it will not work properly. The default limit of nginx file upload is too low; if suppose we want to upload images or video, then it will create an issue in the application and show an error to the user while uploading the file.
How to Increase Nginx Max Upload Size?
Below are the steps to increase the nginx max upload size. We will use the directive name client_max_body_size for setting the limit of max file upload. We can place the directive of client_max_body_size in the server, http of location.
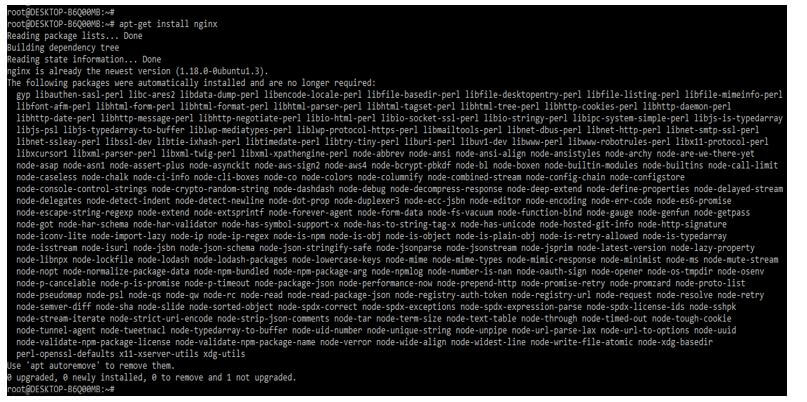
1. In the first step, we need to install the nginx server in our system. We can install the nginx server by using rpm, and source, as well as by using the binary installation.
Code:
apt-get install nginxOutput:
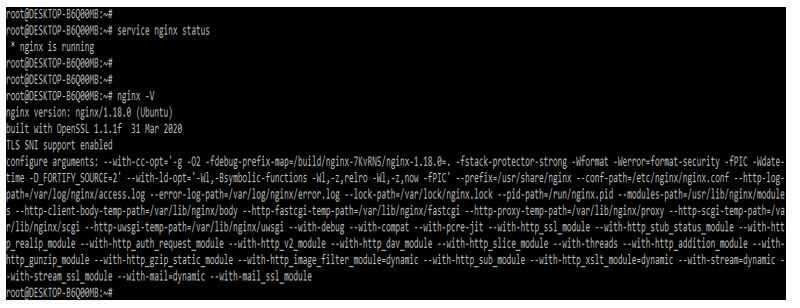
2. After installing the server of nginx, we need to start the nginx server by using the “service nginx start” command. After beginning the nginx service, we can check the status of the service. We have installed the nginx version as 1.18 as follows.
Code:
service nginx status
nginx –V
Output:
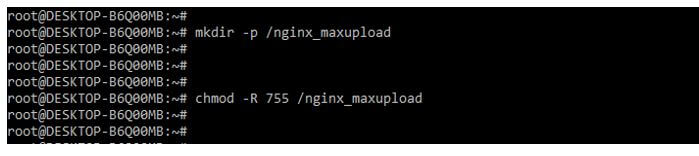
3. In this step, we create our website’s directory from which we use the auto indexes. We are creating the directory name as nginx_autoindex. After creating the directory, we provide the 755 umask value to the specified directory.
Code:
mkdir -p /nginx_maxupload
chmod -R 755 /nginx_maxupload
Output:
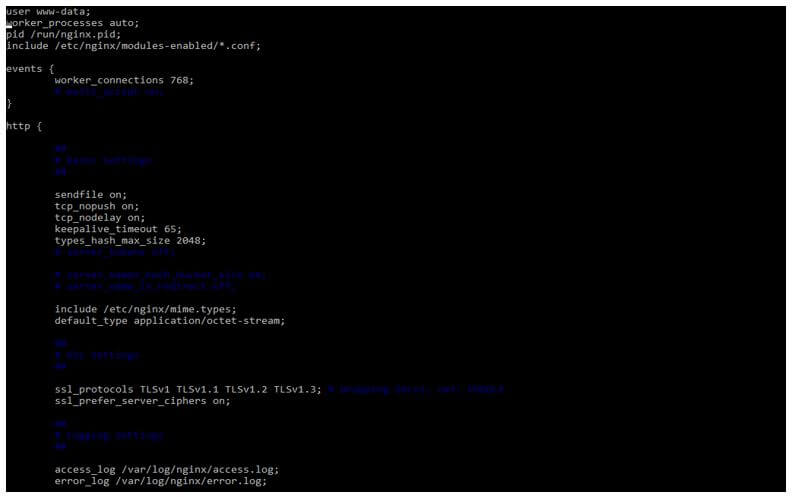
4. After creating the directory and providing the umask value to the same now, we are opening the nginx configuration file to add the configuration of the nginx autoindex as follows.
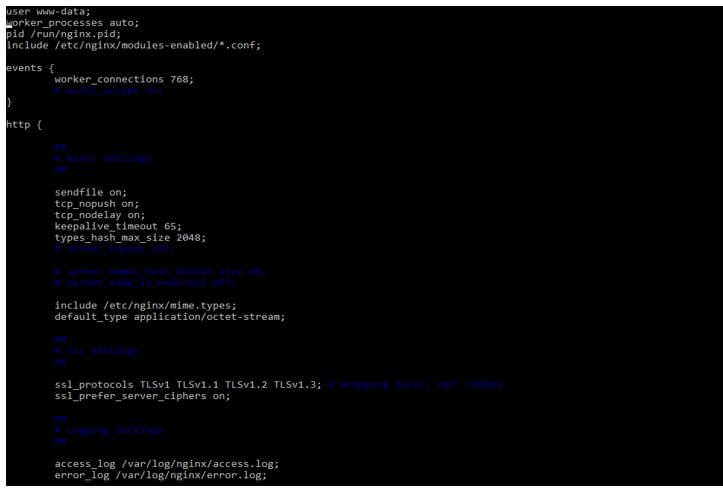
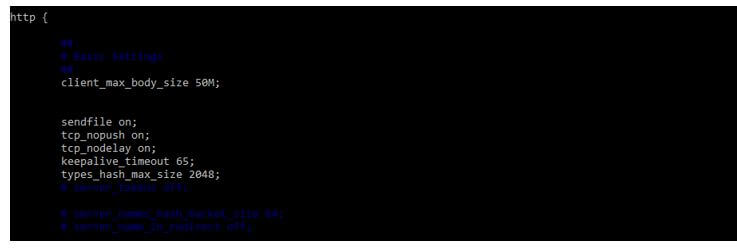
5. After opening the nginx configuration file in this step, we increase the file upload size limit of the nginx server. If suppose we want to increase the limit of our entire website to 25 MB, then we need to add the below code into the http block as follows.
Code:
http {
   client_max_body_size 50M;
}
Output:
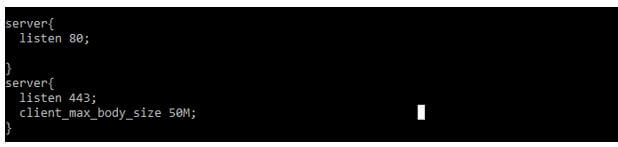
6. If suppose we want to increase the limit of file size upload only for the specified https request but not for the request of HTTP, then we need to add the client_max_body_size 50 MB line into the block of https, which listen from the 443 but not in a block which was listening from 80.
Code:
server{
  listen 80;
}
server{
  listen 443;
  client_max_body_size 50M;
}
Output:
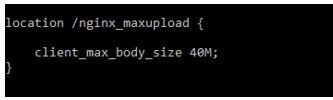
7. We can also use the above approach suppose we want to increase the upload file size limit of a specific website or domain. If suppose we want to increase the file size directive for a specified URI or directive, in that case, we can use the client_max_body_size directive in the nginx_maxupload folder as follows.
Code:
location /nginx_maxupload {
  client_max_body_size 40M;
}
Output:
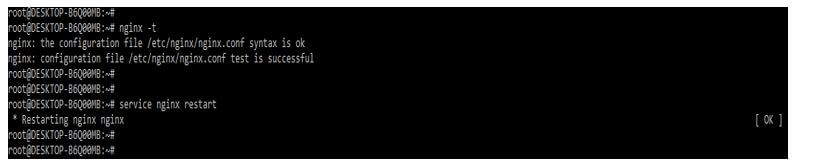
8. To take the effect of the above change, we need to restart the nginx server by using the following command. However, before that, we need to check that our configuration is valid in the nginx configuration file by using the following command.
Code:
nginx –t
service nginx restart
Output:
How to Limit File Nginx Max Upload Size?
We can limit the file upload size in nginx; by limiting the file upload size, we can prevent DOS attacks and many other issues. The below steps show how we can limit the max upload size of the file. In the below example, we are limiting the upload size of the file of http, server, and directive as follows.
1. In the first step, we open the nginx configuration file using the vi command for editing purposes.
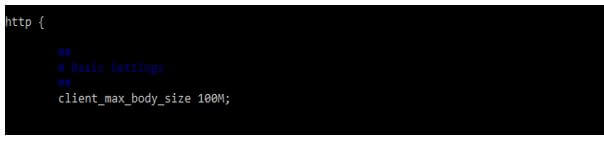
2. After opening the nginx configuration file in this step, we limit the file upload size of the nginx server to 100 MB of the http directive.
Code:
http {
   client_max_body_size 100M;
}
Output:
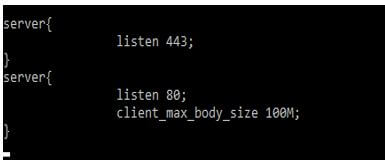
3. If suppose we want to limit the upload file size only for the specified https request but not for the request of HTTP, then we need to add the client_max_body_size 100M line into the block of HTTP, which listen from the 80 but not in a block which was listened from 443.
Code:
server{
  listen 443;
}
server{
  listen 80;
  client_max_body_size 100M;
}
Output:
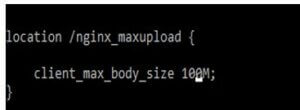
4. If suppose we want to limit the upload file size directive for a specified URI or directive, in that case, we can use the client_max_body_size directive in the nginx_maxupload folder as follows.
Code:
location /nginx_maxupload {
  client_max_body_size 100M;
}
Output:
5. After limiting the directive of client_max_body_size, we need to check the syntax of nginx configuration files. After checking the syntax, if suppose the syntax of the file is ok, then we need to restart the nginx server; if suppose syntax is not ok, then we need to verify the same.
Code:
nginx –t
service nginx restart
Output:

Conclusion
We can change the nginx file-max upload size limit using the nginx configuration file. The nginx default file upload size limit is 1 MB; if suppose the user uploads a file which is more than 1 MB, then the user will get the 413 error, i.e., entity request is too large.
Recommended Articles
This is a guide to Nginx Max Upload Size. Here we discuss the introduction and how to increase and limit file nginx max upload size. You may also have a look at the following articles to learn more –
