Updated May 25, 2023

Introduction to MySQL add user
The default user in MySQL after installing it is a root user. In real-time scenarios, it is necessary to create multiple users to assign access privileges and ensure the security of the database. Here we will see how we can create new users in MySQL. Creating a new user in MySQL involves using the CREATE query statement to create a new user.
Syntax of MySQL add user
Given below is the following syntax of CREATE USER statement to create a new user in MySQL:
CREATE USER [IF NOT EXISTS] name_of_account
IDENTIFIED BY 'password_to_be_used';
name of the account is the account name you wish to give to the new user. The account name consists of two things the name of the user and the hostname. When creating a new user in MySQL, the account name is specified by combining the username and hostname, separated by the “@” symbol. The format used is user_name@host_name. Hostname helps us specify from which host the user will access and connect to the MySQL database.
The hostname is optional, and when not specified, the account name is equivalent to user_name@%, which indicates that the user can access the database from any host.
When we want to add space or dash(-) or any other character in the user name of the hostname, then we need to quote the username and hostname in either single quotes, double quotes, or backticks as shown below:
`user_name`@`host_name`
The password_to_be_used field helps us specify the password of the newly created user that will be used at the time of login to the MySQL database by that user. When a new user is created, it is not assigned any of the privileges. We need to use the GRANT statement to assign privileges to users to access and manipulate the database and its contents.
Using the IF EXISTS statement in the query is considered a good practice as it prevents the creation of a user if it already exists in the database with the same username.
Example of MySQL add user
Given below is the example mentioned:
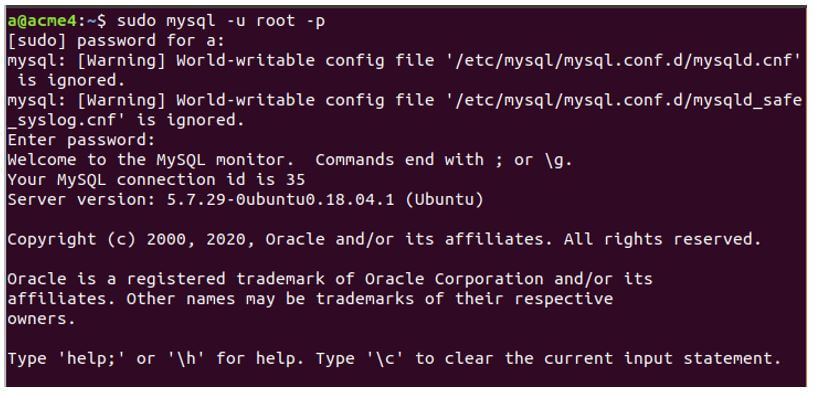
Firstly, we will log in to our database using the root user created by default at the time of installation of MySQL, which has nearly all the privileges, including the privilege to create new users and grant them the necessary privileges.
We can log in using the root user with the help of the following statement.
Code:
sudo mysql -u root -pEntering the password “sudo” and setting it for the “root” user produces the following output. Using sudo is optional. It depends upon the permissions assigned. Most of the time, you can log in using just mysql -u root -p statement.
Output:
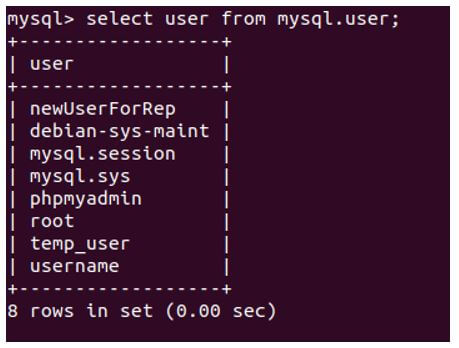
To retrieve the list of all the users and their names on your MySQL database, we can use the following query statement.
Code:
select user from mysql.user;Output:
Let us create a new user named grantdemo using the following create user statement, which we can use to grant privileges.
Code:
CREATE USER 'grantdemo'@'localhost' IDENTIFIED BY '123';Output:

Let us check this user’s granted privileges using the following query statement.
Code:
SHOW GRANTS FOR grantdemo@localhost;Output:
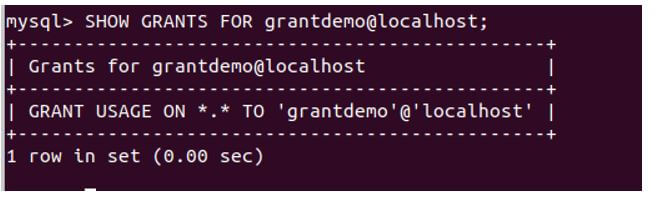
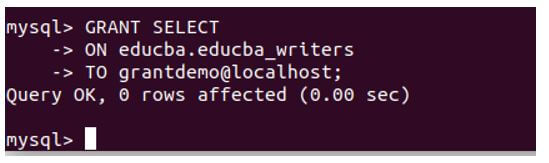
We can see from the output that the newly created user has no grants assigned to it. It can just log in to the database but not access the contents and can neither modify them. Using the GRANT statement, let us grant the select privilege on all the educba_writers tables of the educba database.
Code:
GRANT SELECT
ON educba.educba_writers
TO grantdemo@localhost;
Output:
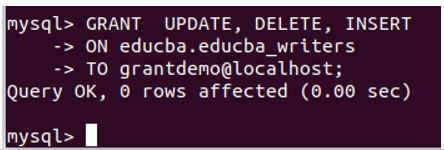
Using the GRANT statement, we can even assign multiple privileges to the grantdemo user. For example, let us assign UPDATE, DELETE and INSERT privileges to the grantdemo user on the table educba_writers located in the educba database. For this, we will use the following query statement where the privileges to be granted are mentioned in a comma-separated format.
Code:
GRANT UPDATE, DELETE, INSERT
ON educba.educba_writers
TO grantdemo@localhost;
Output:
Suppose we try to create the same user with the name grantdemo again using the CREATE USER query statement below.
Code:
CREATE USER 'grantdemo'@'localhost' IDENTIFIED BY '123';Output along with the error after the execution:

Now, instead of CREATE USER statement, we would have used the IF NOT EXISTS clause in it, then the error must have been prevented. Instead, it just shows the output saying the query executed successfully and issues a warning.
Code:
CREATE USER IF NOT EXISTS 'grantdemo'@'localhost' IDENTIFIED BY '123';Output:

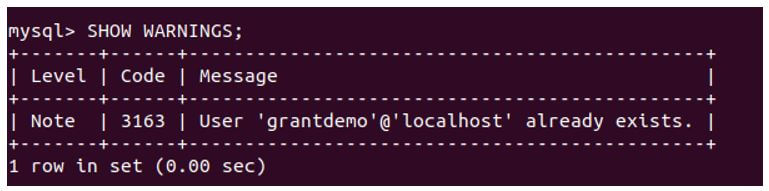
To see the warning that has arisen while executing the statement, we can make use of the following query statement.
Code:
SHOW WARNINGS;That gives the following output after executing, saying that the user with grantdemo name and the localhost hostname is already present in the current MySQL database.
Output:
Conclusion
During the installation of MySQL, the system creates the root user as the default user. However, using the CREATE USER query statement in MySQL, we can create multiple new users. This method provides flexibility to specify user-related properties and other details required while user creation in MySQL. However, when a new user is created in MySQL, it does not have any privileges assigned to it. Hence, it can’t perform any operations on the database or its contents and can neither access the contents. For this, we need to grant privileges to the user.
Recommended Articles
We hope that this EDUCBA information on “MySQL add user” was beneficial to you. You can view EDUCBA’s recommended articles for more information.
