Introduction to Line Tool in Photoshop
Line tool helps Photoshop users to uses lines to compose and orient their artwork or objects for creating a clean and well-structured design layout and also a line tool can come in handy in various project areas from creating a simple line, adding a flow cart, add a partition to the design document, for architectural drawing to creating design elements – a line tool caters all these and more.
This tool is also interesting with its properties which are well described further in the content. For the student and the beginners of Photoshop usage, it is going to be very useful to know how a line tool is used for different projects in industries. The line tool is used to draw lines, make a flow chart, divide workspace into an equal or adjustable number of splits, to draw civil, electrical, and plumbing layouts for construction use and many more it just depends on the project we are using it for and it easy to use.
How to use Line Tool?
Once Photoshop and Line tool![]() form shape tools
form shape tools![]() in the tools menu. Before starting to draw a line on the workspace, check and configure its properties shush as Arrow if needed at start or end, lines length %, width % and concavity % of the arrows, and the weight of pixel count of the line. We can use different modes to show our line on the image with adjustment of opacity % of creating the line. Ensure the properties of the line we are supposed to create are configured before drawing because after drawing, we can change its properties instead; we have to erase and re-draw the new line as required.
in the tools menu. Before starting to draw a line on the workspace, check and configure its properties shush as Arrow if needed at start or end, lines length %, width % and concavity % of the arrows, and the weight of pixel count of the line. We can use different modes to show our line on the image with adjustment of opacity % of creating the line. Ensure the properties of the line we are supposed to create are configured before drawing because after drawing, we can change its properties instead; we have to erase and re-draw the new line as required.
Long press on shift key from your keyboard helps in drawing straight lines from start to end accurately. The shift key technique can also be used to draw 45 degrees angular arrows in any direction as per your mouse curser ends. This trick helps in drawing layouts, article boundaries on newspapers, engineer technical drawings and many more.
Arrowheads can be set as required before drawing. There are 4 types of arrowhead setting with our arrows just a line, the arrow only at the start of the line, arrows on both sides of the line and an arrow at the end of the line. Below are the examples for all of them.
![]()
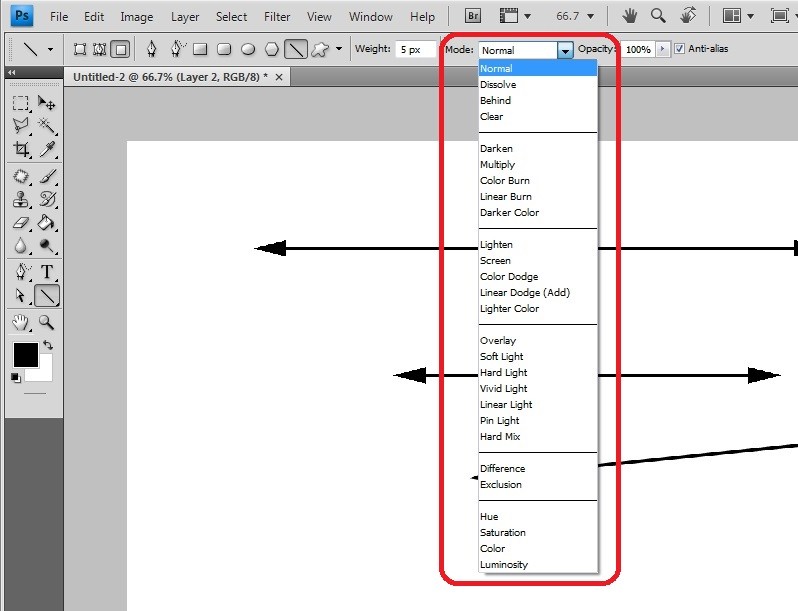
Few more advanced options are Mode, Opacity and Anti Alias. Modes help create line and create linear hallow (erase) on the layer users must test all the layers to get the idea of when to use them effectively. Opacity deals with the visual display appearing of the line based on the % set. Anti-alias must always be turned on because it helps in non-pixel rating the color of the line drawn to other pixels, which affect the quality of the image.
Steps with screenshots
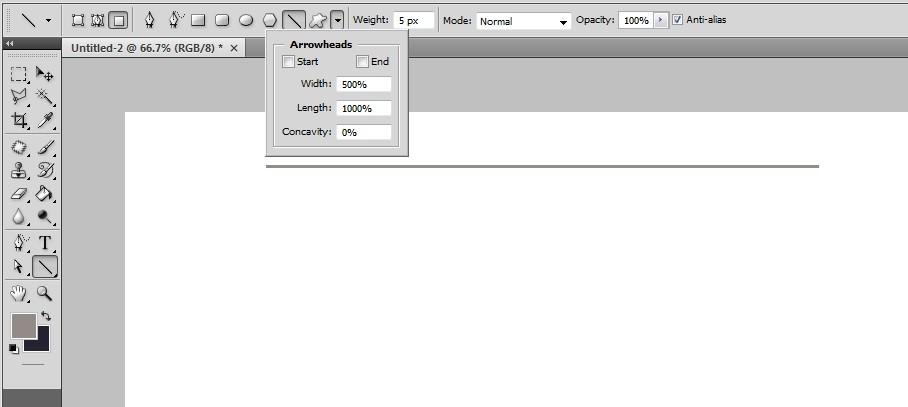
- After opening Photoshop, “U” is the hotkey to activate shape tools and select line tool. To make the line on the work area. The tool is located below the text tool in the tool menu bar. This contains all the other shaping tools in the hub. Once after selecting the line tool, the properties of the line tool will be displayed on the top menu bar of the application.
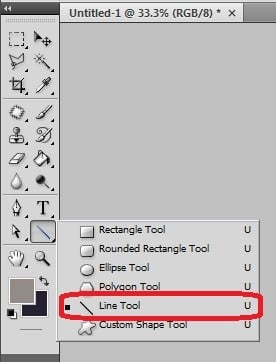
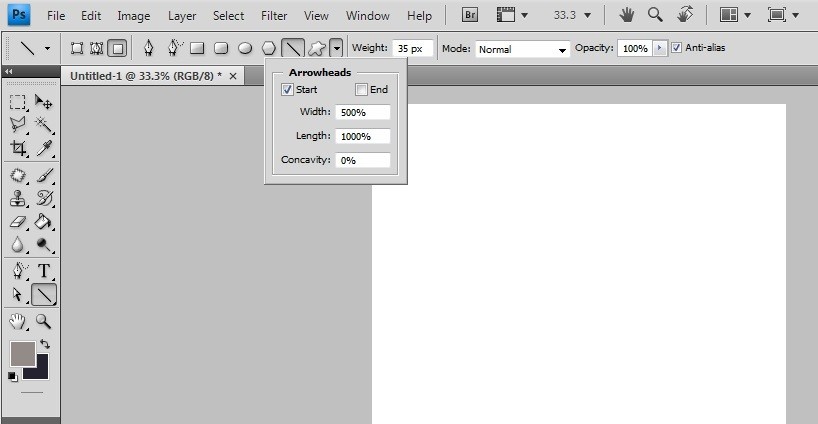
- Click the dropdown arrow to get the arrowhead properties list for the line. We can configure them as required based on the demand. Make sure the line properties are configured before drawing because the first time doing right is more accurate than alternating the design using other tools.
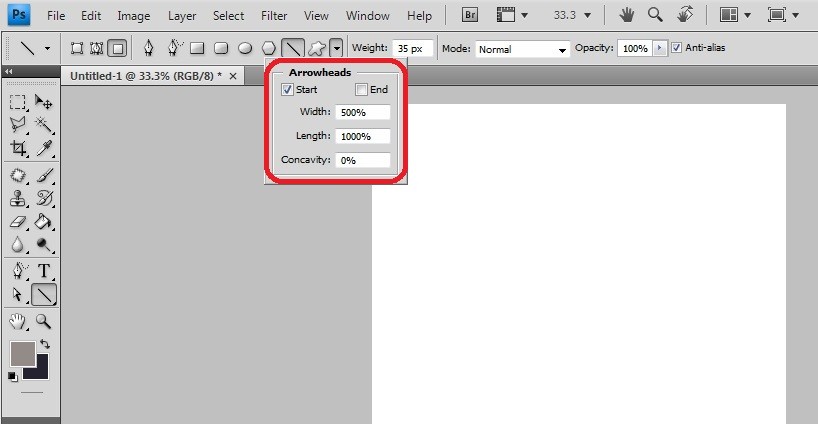
- We have Line propertied, Weight pixel configuration as per count of pixels can be done. We can set modes of the line as needed, use opacity if required, and activate Anti-alias to avoid line pixel blur issues at boundaries of creating a line with enriches the quality of work done.
- Let’s try line using shift key without any arrows, start and end line by dragging the mouse courser from start to endpoints to draw a straight line. Using shift, straight lines can be drawn with 45 degrees angle displacement towards any side of the work area.
- Hand-free drawing can also be done without using the shift key, which leads to a change in pixelation, which many professional users of Photoshop do not recommend.
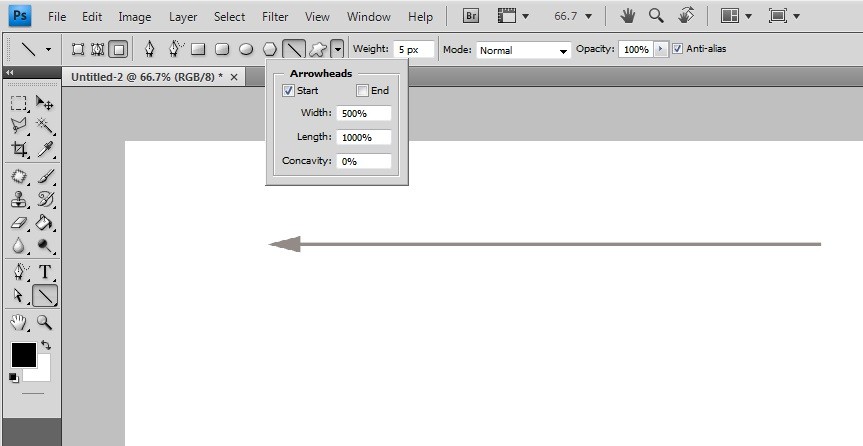
- Line with an arrowhead at the start with the required width, length, and concavity. We can see the start of the arrowhead is active.
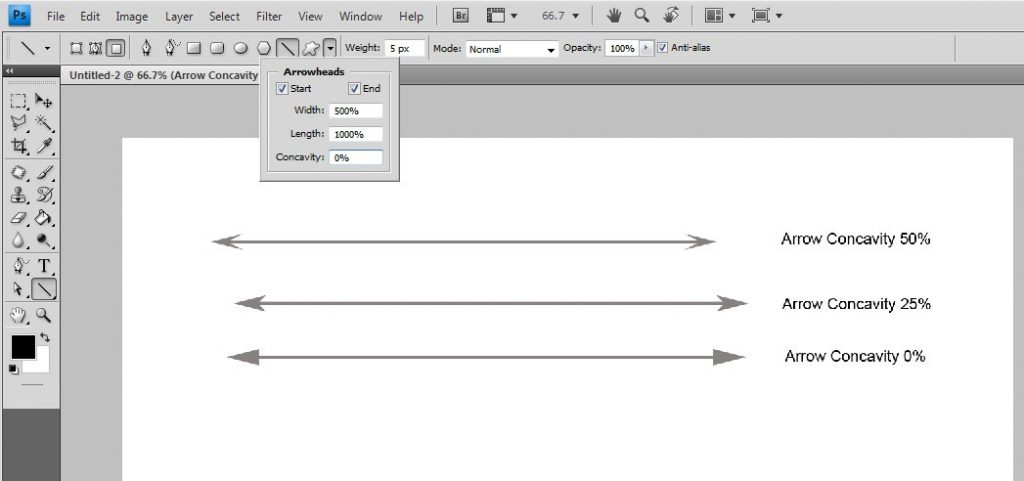
- The line is drawn with both directions arrowheads. We can see both start and end are active before drawing the line. Similarly, we can turn off the start arrowhead and draw only the end arrowhead to the line.

- Different lines are drawn using differ % of concavity.
- Activating anti-alias helps in avoiding line pixilation at the edges of the line.

- The opacity of the lines drawn can be set for reference boundaries.

- Modes help in getting solid lines, erase data in the shape of the line, etc.
- The weight of the line is nothing but the occupancy of line pixel count while drawing on the workspace.

Conclusion
The line tool in Photoshop is very effective in use by many professional need like newspaper making, texturing for gaming and characters in VFX, and many more other project demands can be fulfilled by the line tool with good quality. The practice is also much needed for every Photoshop professionals; this will help users know how to use the Line tool in Photoshop by trying different properties and attribution changes of the line. Making interesting things and bringing imaginations to reality can only be done by an artist who uses Photoshop and its tools. Use the line tool and explore your experience in making the best visual outputs.
Recommended Articles
This has been a guide to the Line tool in photoshop. Here we discuss how to use the line tool in photoshop with the proper steps and screenshots. You may also have a look at the following articles to learn more –
