Updated March 28, 2023
What is Joiner Transformation in Informatica?
The joiner transformation is an active and connected transformation in Informatica. By using this join, you can easily create joins. These joins are similar to joins in the database. When joins are to be created from different databases, then this is very useful. Joiner transformation uses two sources to join the data available. Here the source can either be the master source or it can be a detailed source. The properties of joiner transformation the source can be either a master or a detailed source.
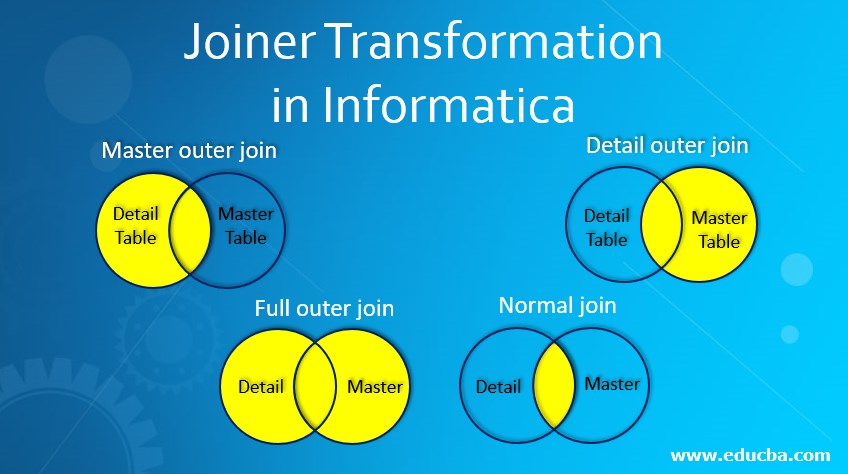
The joins can be as below:
- Master outer join
- Detail outer join
- Full outer join
- Normal join
How to perform Joiner Transformation in Informatica?
Let us begin with a step by step process of creating a mapping with joiner transformation.
Step 1: Create a new target in the database. Import this table in Informatica target
Step 2: Create a new source in the database and import it in the Informatica source.
Step 3: Once these are created, take these sources and targets into the mapping. Go to the mapping option and click on ‘Create’.
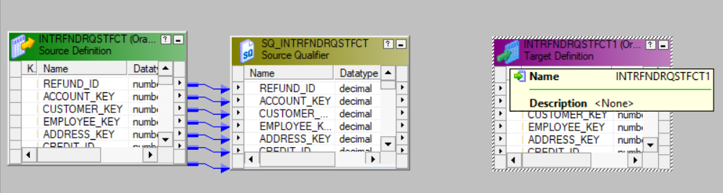
Here the sources and targets are adding into the mapping designer. Now go to the Mapping menu and then add a joiner.

The given source and target can now be pulled into this mapping. This is the source and target that we had created in the last step. Now to go ahead, go to transformation menu and then click on create.
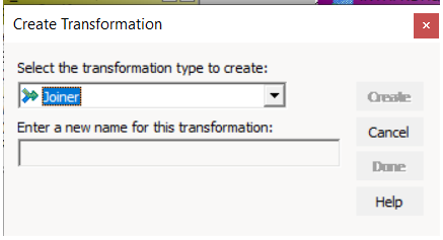
Step 4: Give this transformation a name. A new joiner transformation will be created when you click on Create.
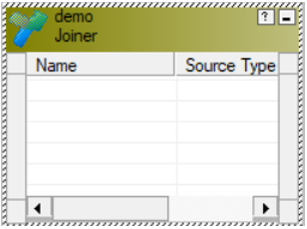
Step 5: Drag and drop all columns from the source qualifier in this new transformation that is created.

Step 6: Now double click on this transformation and then in the edit transformation window do below:
- Go to Condition tab

- Click on the new button to create a new condition. Here you can add the join condition which you would like the mapping to have.
- Now go to the properties tab and choose the join you would like to apply.
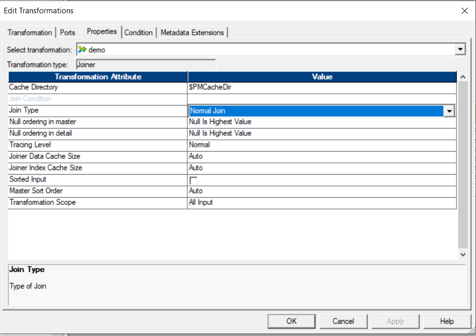
This can be normal join, full outer, master outer or detail outer join. To have better performance, you can make the source table as the master source, which will have fewer records. To perform this task below, steps can be helpful.
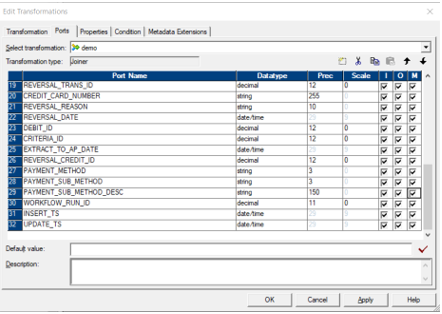
Step 7: Go to ports tab and then select any column which you will like to make it act as masters. This is the last column in the ports tab where you can select the columns which should act as the master source.
Step 8: Once this is done and the conditions are added in the joiner with its sources, you can connect the ports to the output. Drag and drop the columns which you want in the output as per the condition decided.
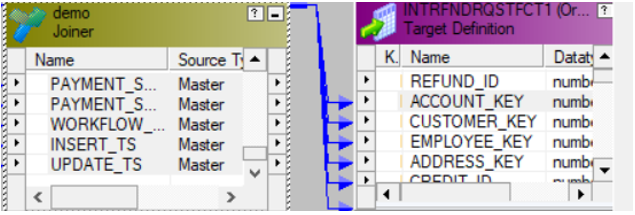
Once this connection is formed, you must validate the mapping before going ahead and creating its workflow.
The workflow of Joiner Transformation in Informatica
Creating a workflow to run the joiner transformation which is created.
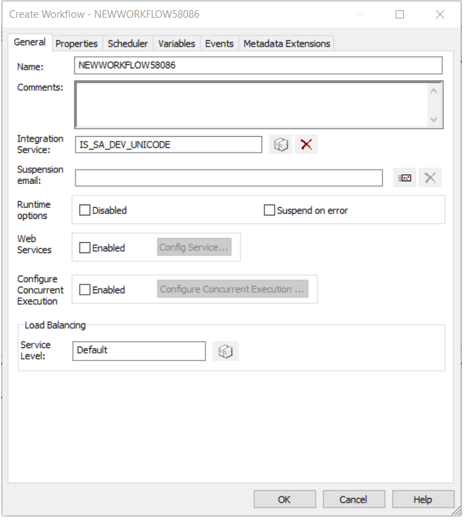
Step 1: Once a mapping is created, a workflow should also be created to execute and run it. Workflow enables us to run a mapping with particular session properties. This workflow can be created either manually or by using the Workflow wizard. If you have to create a workflow manually, you can navigate to workflows and then click on create.
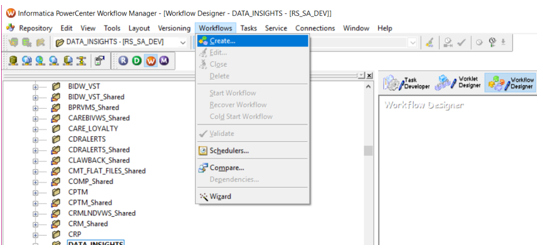
A window opens where the workflow name should be provided, which helps in identifying the workflow uniquely. You can name it in accordance with your mapping so that it is easy for you to associate the workflow with the mapping.
After the workflow is created, the next task is of creating a session for this workflow. A session helps in defining properties for a particular workflow.
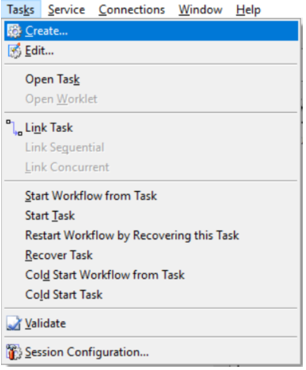
Step 2: Sessions can be of two types in Informatica. They can be reusable and non-reusable. Our session should create a non-reusable session that will be unique to our workflow. As our workflow’s functionality is unique and will not be reused, we can keep this session as nonreusable. To create a new session, go to the Tasks menu and then select the create option.
Step 3: Give a unique name to the session created. Click on a new session and then name it as m_Joiner. Once you click on creating a new session, you can select the session corresponding to your mapping.
Step 4: To set and define properties you can double click on the sessions ta, which will help you have properties common to your session.
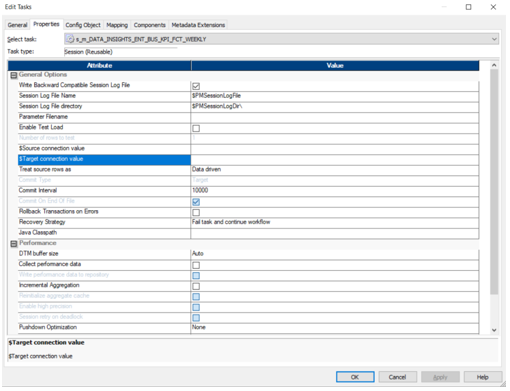
All sources and targets can be mentioned here. They are mentioned in $Source_Connection_Value and $Target_Connection_Value. Users can define parameters instead of targets, and these parameter files can be reused for different sources and targets.
Step 5: In the same session, when you move to mapping tab, you can configure the source and target connections. These can be configured easily by clicking on the sources on targets that are to be used. All this setup will make your workflow ready to run. You can validate the session and workflow by selecting the validate option which will validate the workflow.
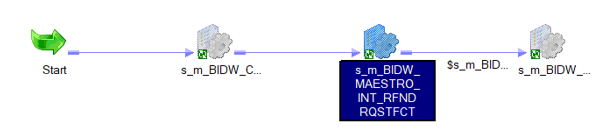
Step 6: When the workflow is validated, it is ready to be run. The session task will enable the workflow to run, and the workflow monitor will open with workflow status. All rows that are fetched satisfying the joiner condition will be displayed in run properties. If there are any errors, then even they can be checked with the help of the monitor.
Conclusion
The joiner transformation is the most used and useful transformation. It helps in joining two tables with the conditions required. Joiner transformation helps the user to join two tables by making use of four types of joins. These can be normal join, full outer, master join, or detail join. Maser join helps in optimizing the data and improves the performance of the mapping. The columns where less number of rows are there are selected and joined further. This makes the process faster. Joins thus help in extracting data from multiple tables as per the defined conditions.
Recommended Articles
This is a guide to Joiner Transformation in Informatica. Here we discuss how to perform Joiner Transformation in Informatica along with the workflow. You may also have a look at the following articles to learn more –
