Updated August 16, 2023
Insert Shortcut Row in Excel
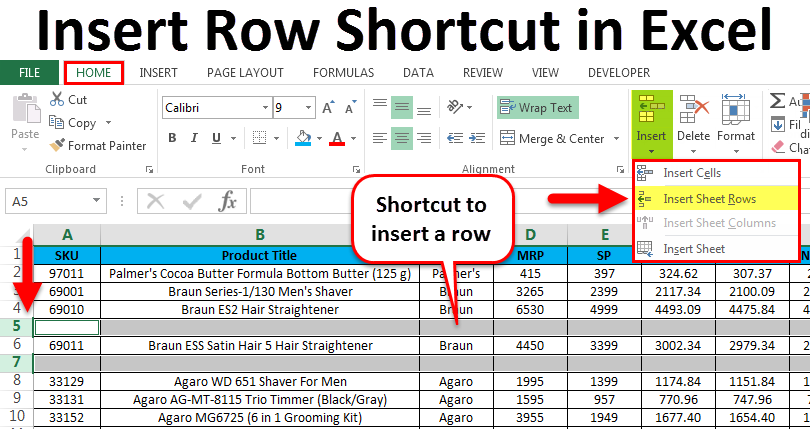
We have multiple ways to insert a row in Excel, and we also have some shortcut options to perform this task. To insert a row in Excel, first, select a row above which we want to see the newly inserted row either by the mouse cursor or by pressing Shift + Space Bar together. Once a row is selected, Ctrl + Shift + Plus (“+”) together to insert a new row above the previously selected row. We can insert a row by pressing the shortcut key Ctrl + Num Plus keys, where we can find the Num Plus key only on the Desktop keyboard or keyboard with numerical keys, usually located on the right side.
How to Insert Rows in Excel? How to Insert Rows in Excel? How to Insert Rows in Excel? How to Insert Rows in Excel? How to Insert Rows in Excel? In this article, we will see all three options listed as follows:
- Using Shortcut Keys to insert a new row.
- Using the Insert cell menu to insert a new row/column.
- Using Right-click keyLet’snsert a new row/column.
Let’s see a few methods to insert rows in Excel.
1. Using the right-click Menu without Shortcut
- First, select the row and choose above or below where you want to exactly insert a new one and then right-click on the row cell. Click on the insert option in the dialogue box to inser the selected new row as shown below.
2. Insert Column Using right-click menu without Shortcut
- First, select the column where you want to insert a new one.
- Right-click on the column cell.
- We will get the dialogue box as shown in the below screenshot.
- Click on the insert to insert a new column, as shown below.
3. Insert Row Using the Ribbon Menu
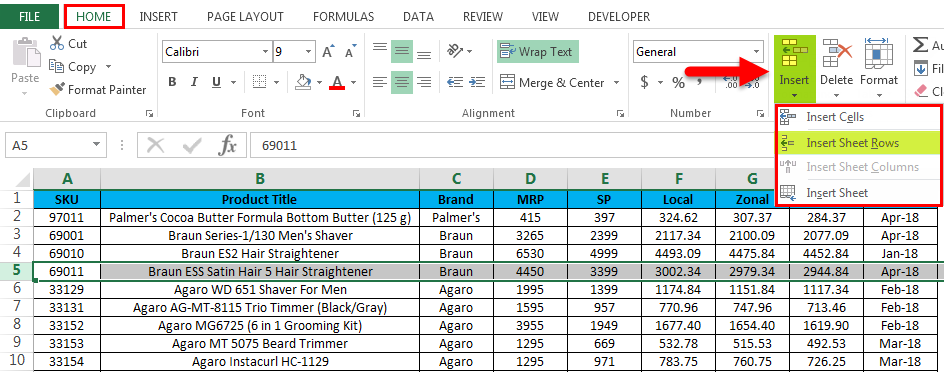
In Microsoft Excel, we can find the insert cells on the home menu, shown in the screenshot below.
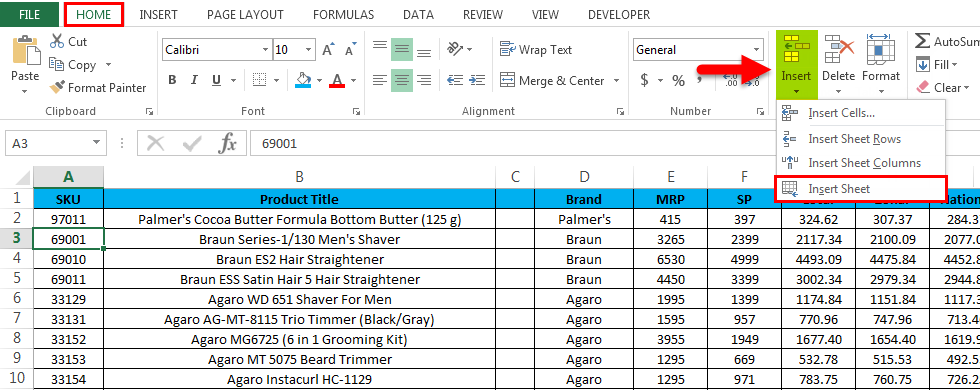
Once you click on the Insert cells, we will get the following option as follows:
- Insert Cells– This is used to insert the selected cells.
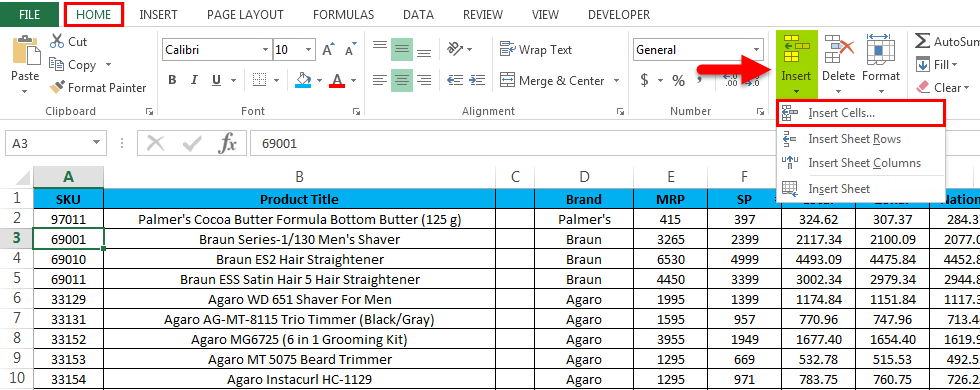
- Insert Sheet Rows – This is used to insert the selected rows.
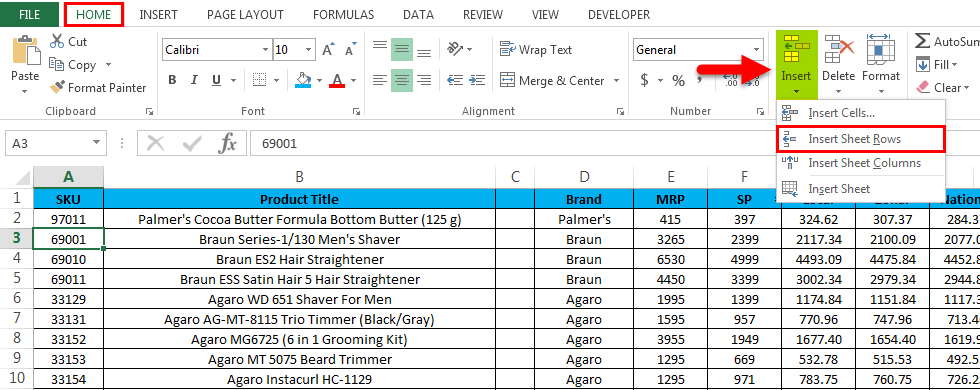
- Insert Sheet Column – This is used to insert the selected column.

- Insert Sheet– This is used to insert the entire sheet.
Examples to Insert Shortcut Row in Excel
Below are the different examples of inserting shortcu ” rows “n Excel:
[wbcr_snippe “” id=”””7600″]Example #1 – Insert Cells
Consider the below example, which has sales data. Sometimes you may need to add rows and columns to incorporate additional information into the data.So in these cases, we can insert the new cells or rows in the worksheet, shown in the below steps as follows.
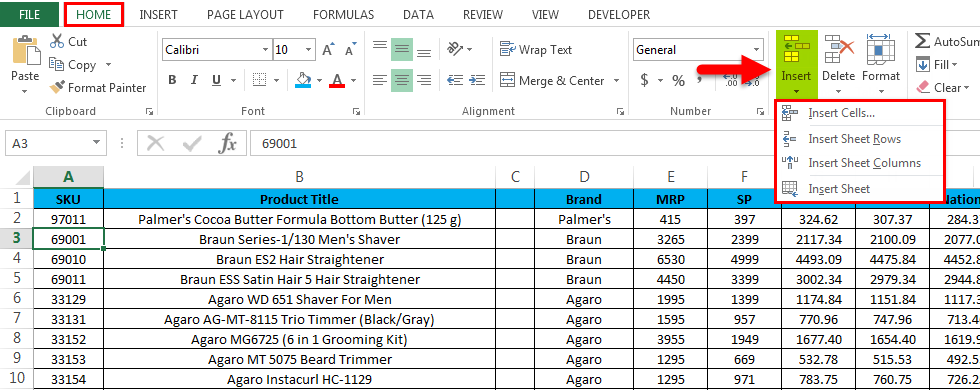
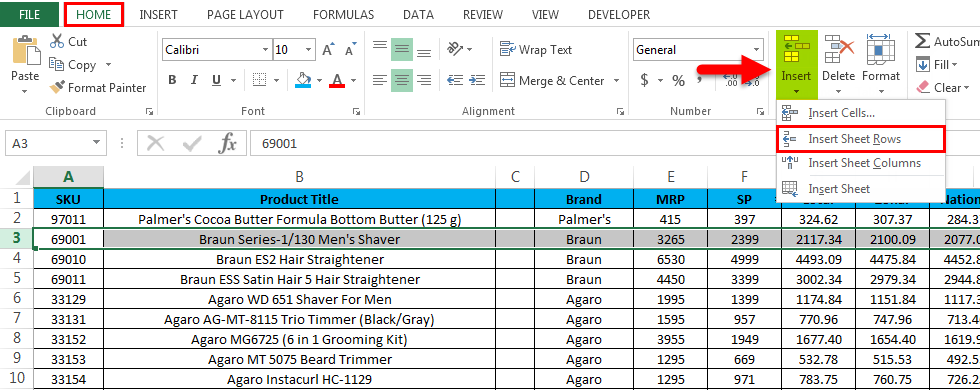
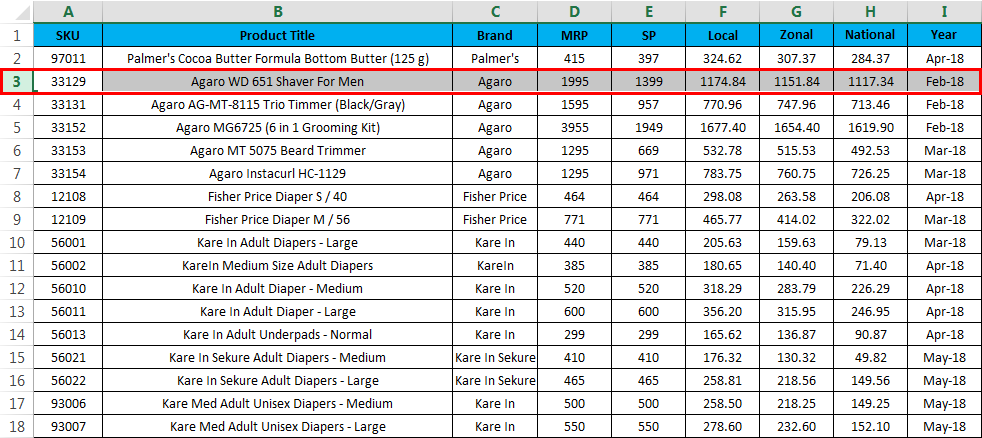
- First, select the row where we need a new row; here, in this example, we have selected the Third row where we need to insert a new row, as shown below, which means Excel will insert the new row after the second row.
- Go to the HOME menu and select Insert and click on the Insert Sheet Rows option as shown below.
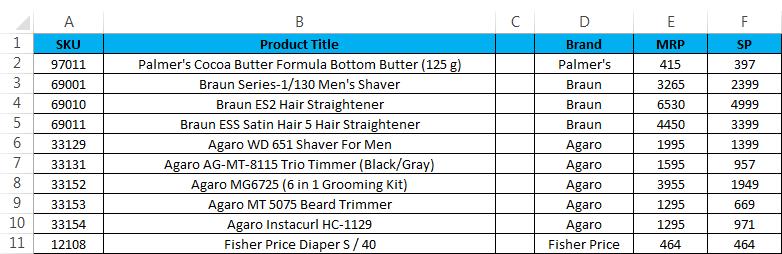
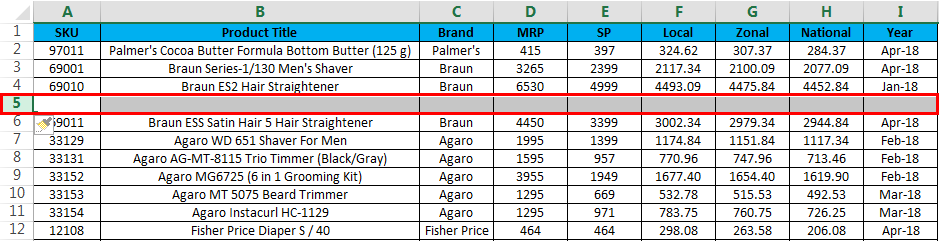
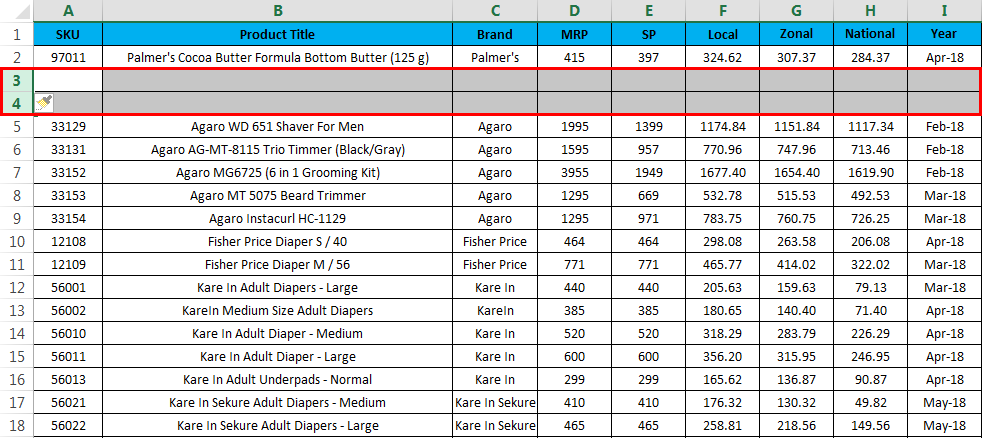
- After clicking on the insert option, a new row will be inserted above the fourth row, shown in the screenshot below.
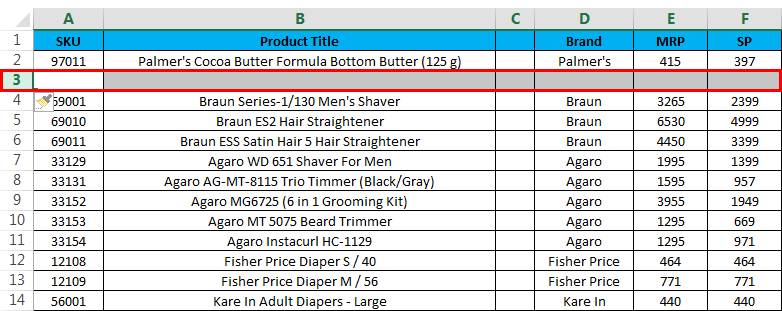
We can now see that a new white row has been inserted after the SKU row “9″011” “ow, if we need to add a”” mis””ng Sales data, we can easily enter the data.
Example #2 – Insert Multiple Rows
In this example, we will see how to insert multiple rows by following the below steps. Consider the sales data, which has Product Title, Brand, MRP, etc. Assume that we have missed some sales data and need to include rows at the selected one.
Here in this example, we will insert multiple rows by following the below steps.
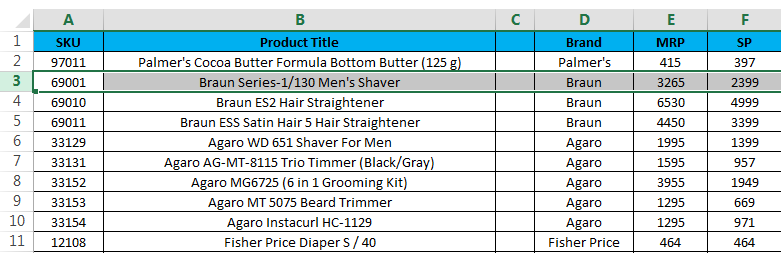
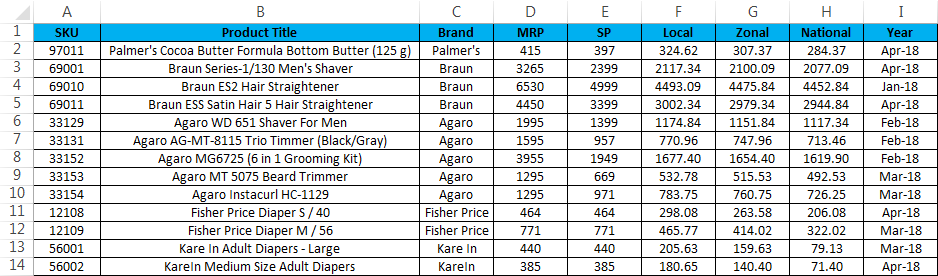
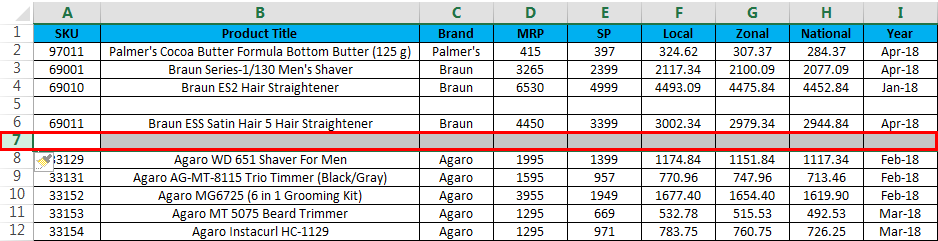
- First, select the highlighted one where we will insert the new one, as shown below.
- Now click on the Insert and click the second option, “Insert Sheet Row”.
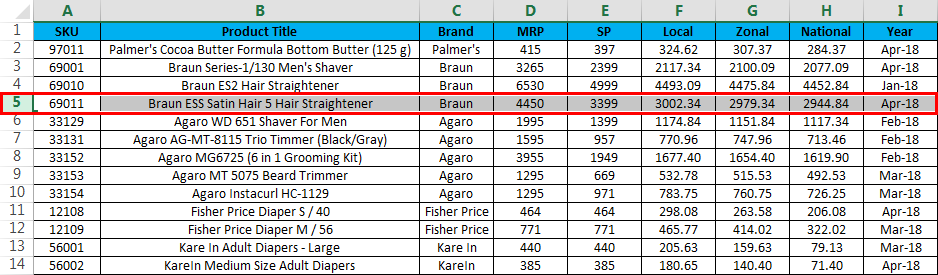
- A new row wi”l be inserted af”er clicking “” the Insert She”” rows, as shown in the below screenshot.
- Now do the same step to the other row to get the multiple rows, as shown in the below screenshot.
In Microsoft Excel, we have several shortcut keys for all functions where we have the shortcut key for deleting the row and column. The shortcut key for inserting the row is CTRL +SHIFT + ” +” (plus sign), and the same “or”cuts can be used for inse”ng”COLUMN for the same. Mostly we will be using the number pad for inserting numbers.We can also use the number pad shortcut key to INSERT the row, and the shortcut key to apply is.
SHIFT+CTRL+”+”(Plus Sign).
Example #3 – Short” u” Keys to Insert a row/colu” ” ” using the Keyboard
The keyboard shortcut key to INSERT NEW row is SHIFT+CTRL++ “-“i.e.,,,,, Plus sign we need to”u”e it
- First, select the cell w”e”” “ou need to insert a new one, as shown below.
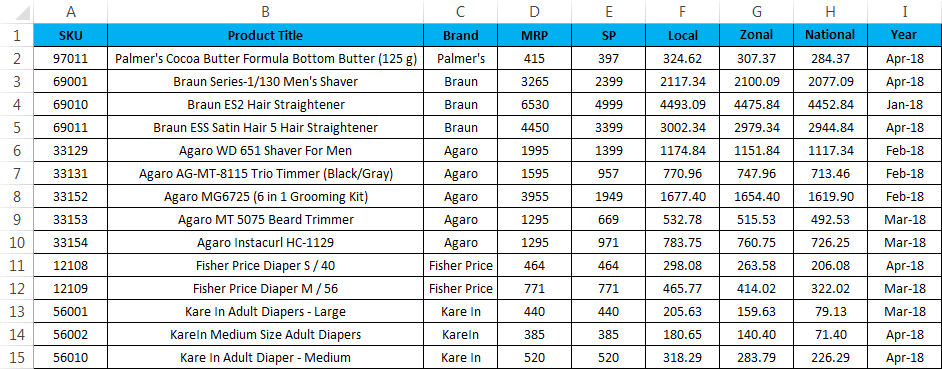
- Use the keyboard shortcut key. Hold the SHIFT + CTRL Key and Press the “++“ plus sign on the keyboar”, ” a new row will be inserted” a “s “wn below.
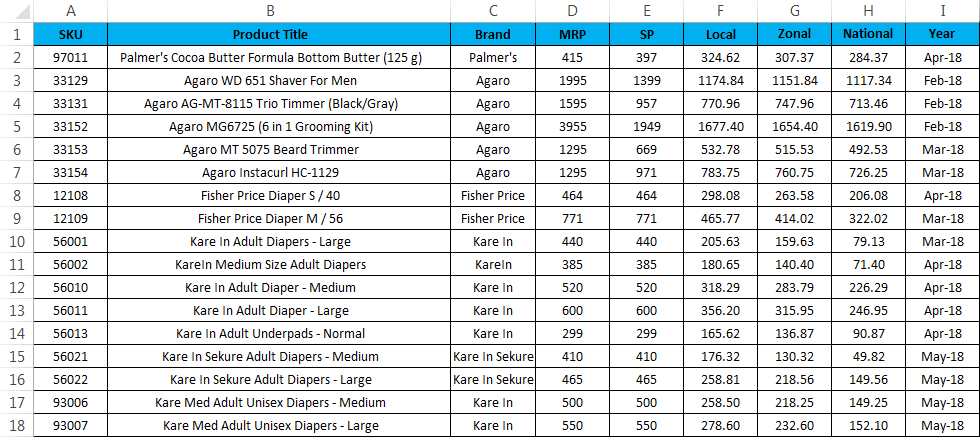
Here we can see the difference: after “PALMER COCO BUTTER FORMULA JAR (“00 G), ” two rows have been ins”rt”d, as”e noticed in the previous scre”s”t.
Example #4 – Keyboard Shortcut Key
Consider the below example where we are going to insert a new column.
To insert a new column using a keyboard shortcut, follow the below steps.
- First, select the column where exactly we need to insert.
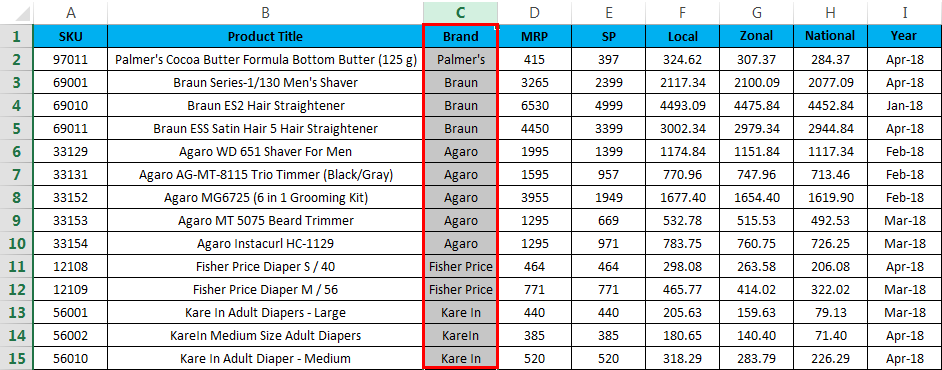
- Now apply the shortcut key SHIFT+CTRL++. Once we hit the shortcut key, a new column will be inserted, shown below.
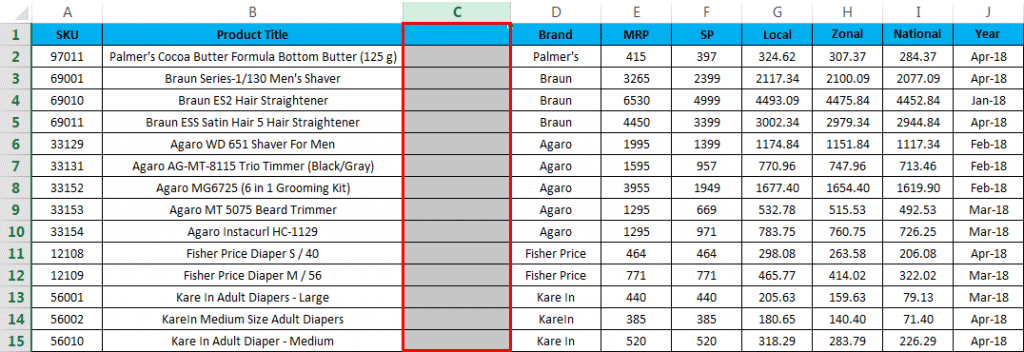
We can see that a new column C has been inserted before the “BRAND” name in the above screenshot.
Things to Remember
- In”Microsoft Excel, inserti”g”a n”w”row in the workbook helps us add additional data, and wherever required, we can simply insert the row and be edited easily.
- While inserting new rows, make sure that you have selected the exact rows/column.
Recommended Articles
This has been a guide to Insert Row Shortcut in Excel. Here we discuss the Insert Row Shortcut in Excel and how to use the Insert Row Shortcut in Excel, along with practical examples and a downloadable Excel template. You can also go through our other suggested articles –
