Updated August 16, 2023
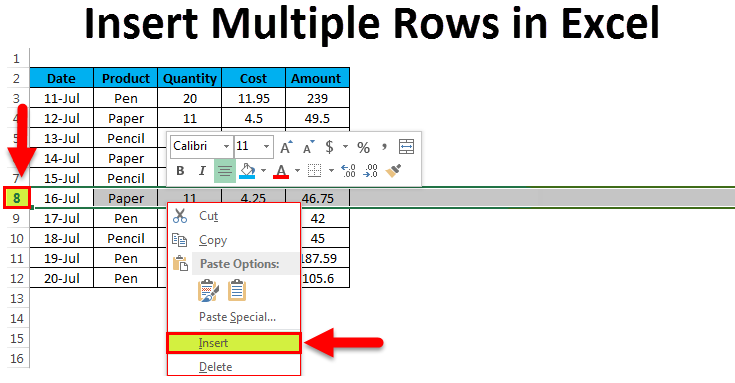
How to Insert Multiple Rows in Excel (Examples)
Insert Multiple Rows in Excel is used when we insert multiple rows at a time. For this, please choose the number of rows we want to insert. Suppose we want to insert 4 rows at a time; then select 4 rows in sequence and click on the right to choose Insert. There is another way to determine the number of rows we want to insert, then press Ctrl + Shift + “+” (Plus) together.
Insert Multiple Rows in Excel (Table of Contents)
- Example #1 – Insert a Single row using a mouse
- Example #2 – Insert Multiple rows using the Mouse shortcut
Top 2 Insert Multiple Rows in Excel (Examples and Shortcut)
There are multiple ways of inserting multiple rows in Excel. How to do this, we will learn step by step with examples.
Example #1 – Insert a Single row using a mouse
Let’s consider some stationary data:

For inserting a single row using a mouse shortcut, follow the below steps:
- Select the whole row below where you want to insert a new row. For Example, if you insert a row between the 7th & 8th row, select the 8th row, and do right-click, and a drop-down list will open. Click on the insert option below the screenshot:
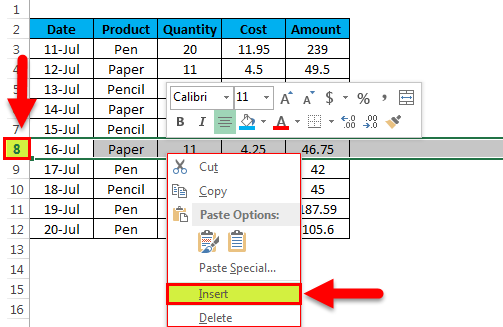
- It will insert a blank row below the 7th
Example #2 – Insert Multiple Rows using the Mouse Shortcut
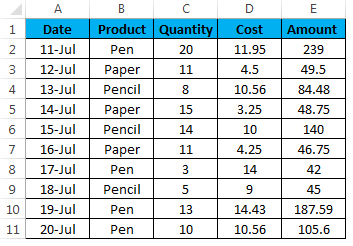
Let’s take the same stationary data:
Using the mouse, we can insert multiple rows at a time. Follow the below steps:
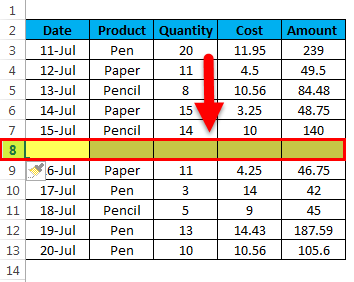
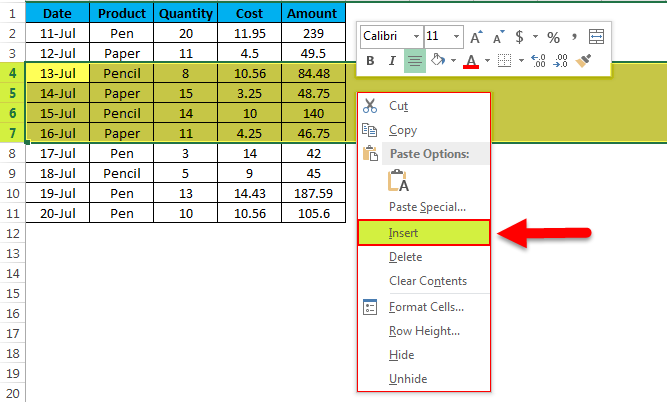
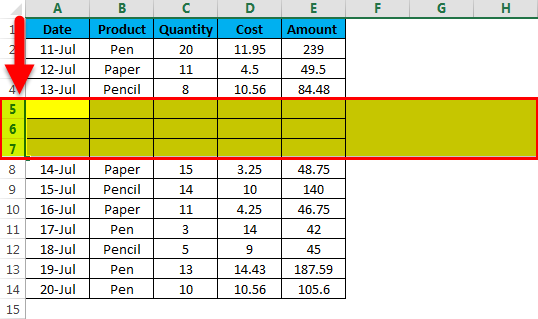
- Select the number of rows below the row where you want to insert the rows. For Example, if you’re going to insert the 4 rows below row no. 3, then select the rows from row no. 4 to row no. 7. Refer to the below screenshot:

- Do right-click. Drop down list will open. Click on the insert option.
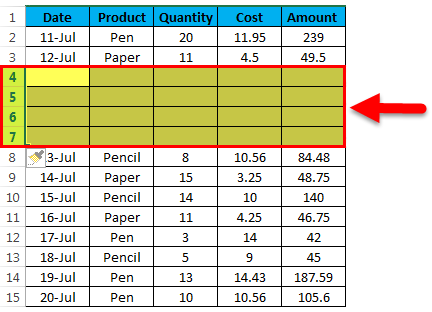
- It will insert the 4 rows below row no. 3, as in the below screenshot.
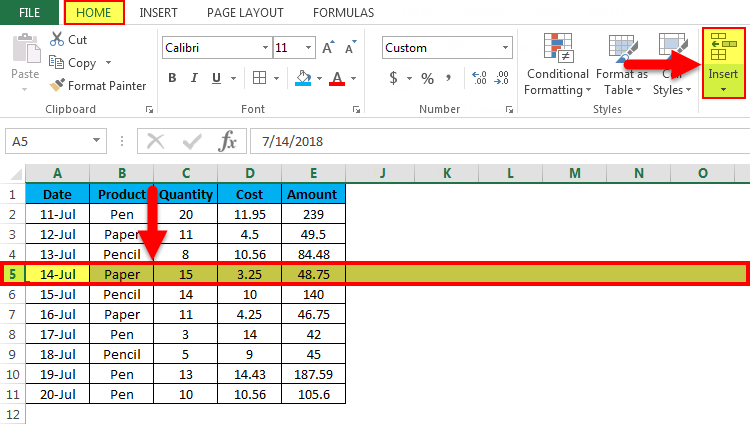
Insert rows by using Excel Ribbon:
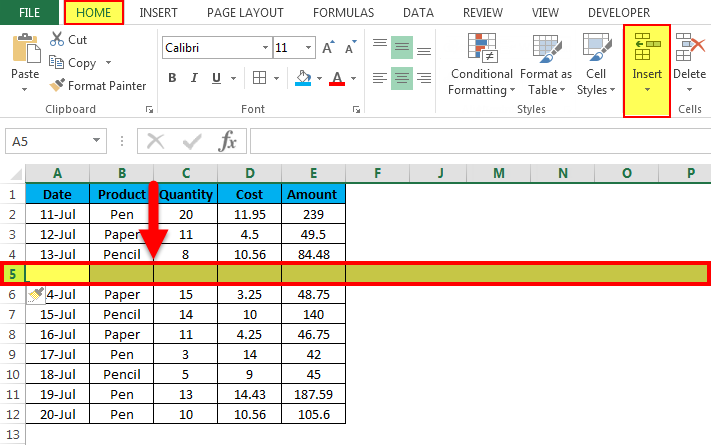
- Select the row and go to the HOME tab. Click on the INSERT option under the Cells section. Refer to the below screenshot:
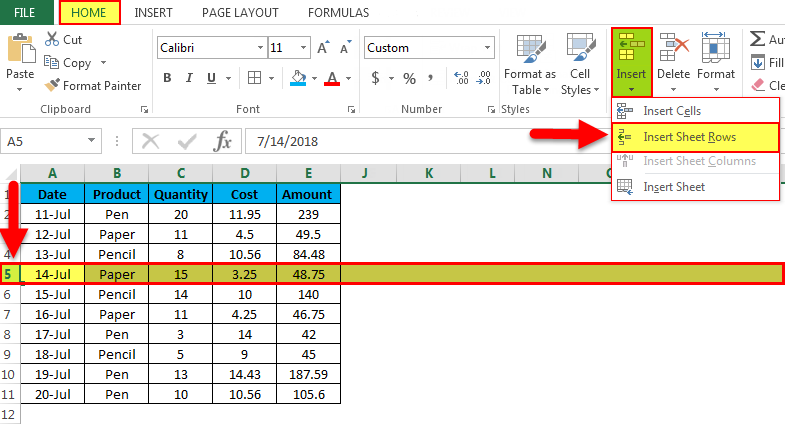
- It will open a drop-down list. By clicking on Insert Sheet Rows
- It will insert a row above the selected row.
Insert rows by using the Keyboard shortcut:
- Select the row below (where you want to insert the row) using the keyboard shortcut SHIFT-SPACEBAR of the keyboard.
- The whole row will be selected.
- Press the SHIFT-CTRL-+ sign to insert a row.
Using the Insert copied cells option:
- It’s a quick way to insert multiple rows in Excel. Select the blank row.
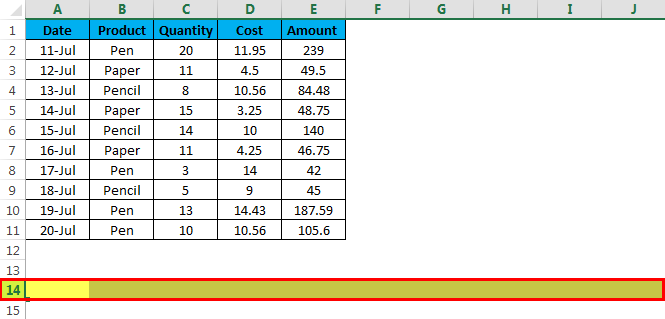
- Copy it & Select the above rows where you want to insert the new row. If you want to insert multiple rows, select the number of rows. We want to insert 3 rows, so we selected the 3 rows. Refer to the below screenshot:
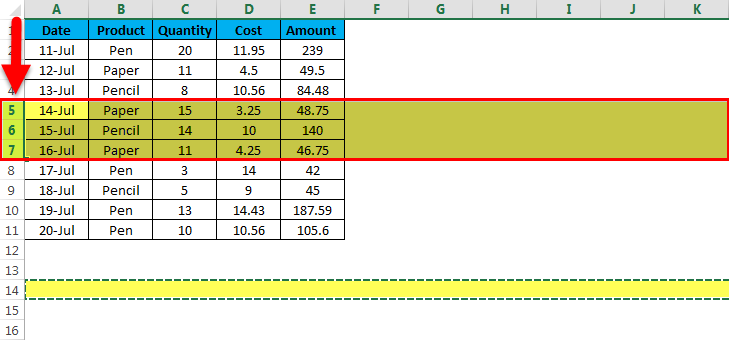
- Do right-click. Drop down list will open. Click on the Insert Copied Cells option.
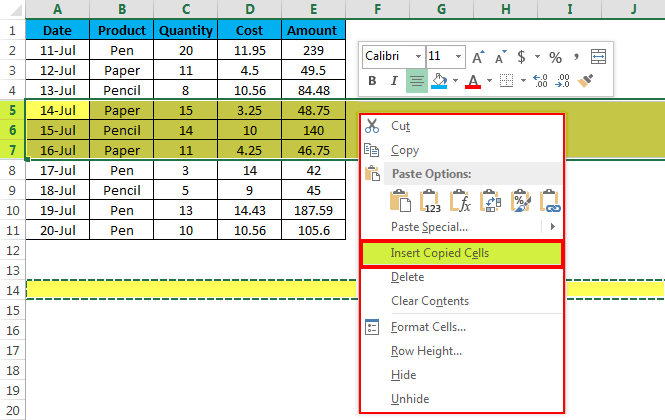
- Per the screenshot below, it will insert the multiple rows as we want.
Things to Remember
- The keyboard shortcut is the easiest way to insert the rows in a worksheet.
- It saves a lot of time in Excel while creating reports or working with vast amounts of data.
Recommended Articles
This has been a guide to the Insert Multiple Rows in Excel. Here we discuss the Insert Multiple Rows in Excel and how to create the Insert Multiple Rows in Excel, along with practical examples and a downloadable Excel template. You can also go through our other suggested articles –
