Introduction to Inkscape rounded rectangle
The following article provides an outline for Inkscape rounded rectangle. In this essay, we shall learn about creating, modifying, and rendering shapes in the vector-based software Inkscape. Specifically, targeting rectangles and basic shapes, we will learn to use the different methods of creating shapes and modifying them, using nodes and filters.
Inkscape being a freeware vector program has multiple courses of action to perform a single task. We will learn all the ways to create rounded shapes with the help of nodes and path selection tools.
How to Create Rounded Rectangles in Inkscape?
As discussed above, there are three ways by which the users can edit the existing nodes and make their corners round or FILLET (as called in the program). All the techniques are discrete from each other in terms of performing and applying the effects.
Method 1:
This is the easiest method to create rounded rectangles in Inkscape. But, with this method, the user can edit the nodes of the entire rectangle, instead of selecting the individual nodes to edit and then modifying the rounded rectangle.
Although, this can be an issue of concern for the users, sometimes it demonstrates the quickest and simplest technique to create rounded rectangles.
Following are the steps: –
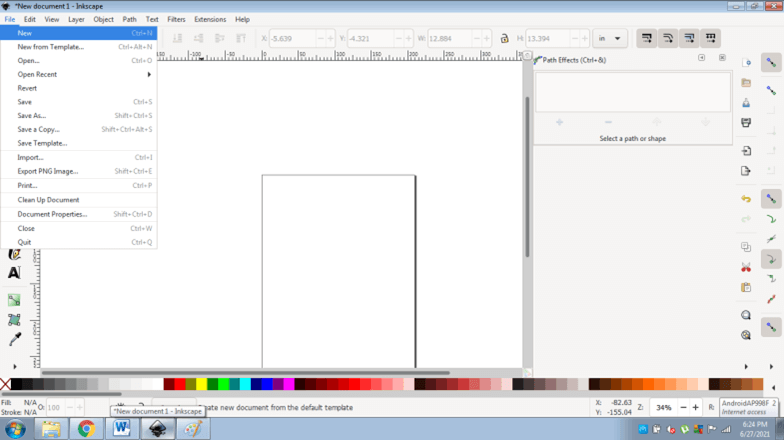
- Launch Inkscape and create a New file
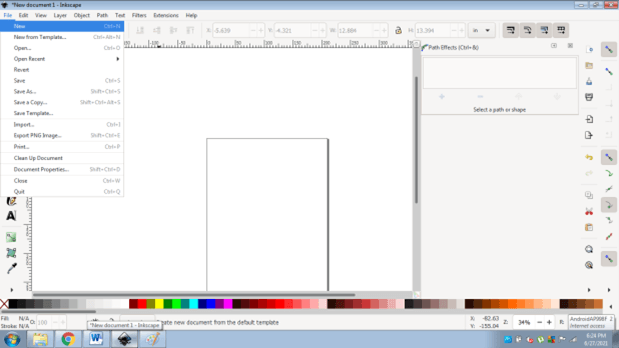
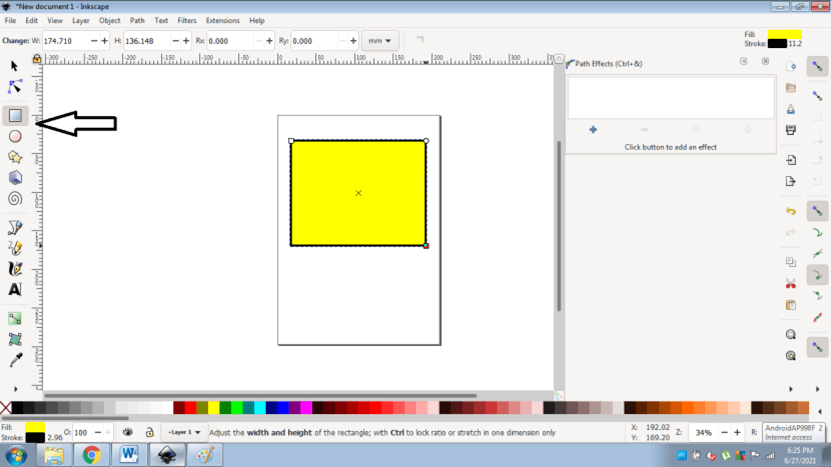
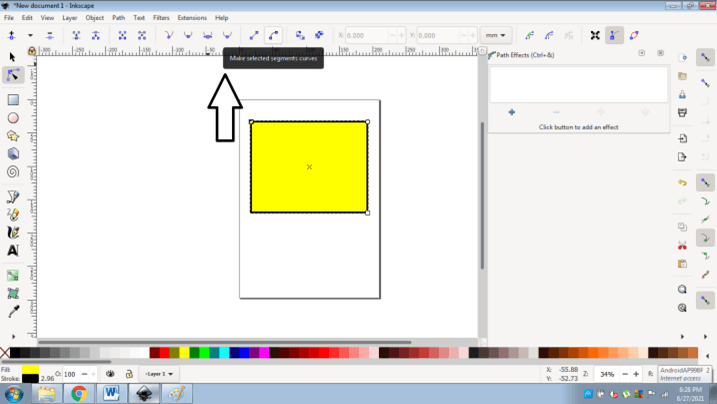
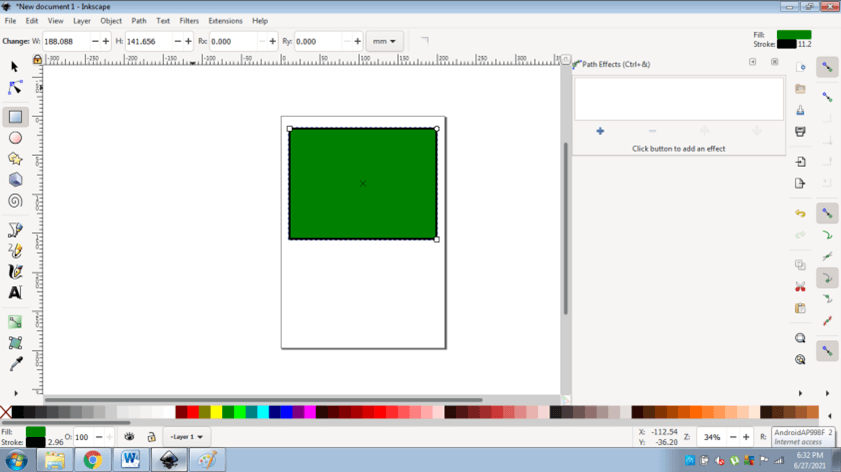
- Create a rectangle as shown in the figure below
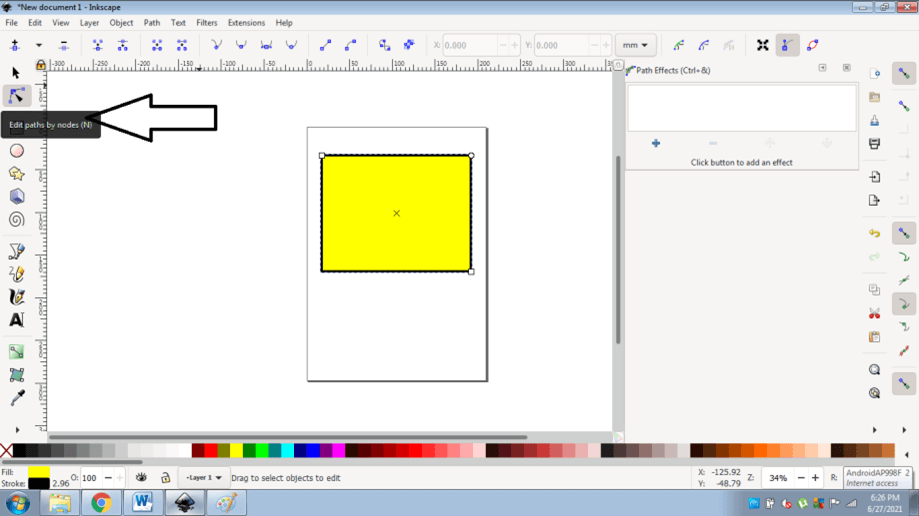
- Select Edit Paths By Nodes Tool from the toolbox, or press N from the keyboard
- Select Make Selected Segments Curve from the Option panel as shown in the image below
- In this method, we can only modify one node at a time and edit the shape of the object.
- Drag the node inwards to round the rectangle.
- We can see the values of the X and Y-axis in the Command panel and how they are modifying when we drag the nodes inwards.
- Also, we can again drag the node in the outward direction to straighten the rectangle as before.
Method 2:
In this method, we will use the Path filters to edit the shapes as per requirement. The benefit of this tool or filter is that, the user can edit the rectangle with individual nodes selection. Path filters have many effects that can be applied on not only on basic shapes but also on drawings and complex artworks too.
This is the most efficient method of modifying an object with perfect accuracy and great results.
Following are the steps to create rounded rectangles with this method: –
- Launch Inkscape and create a new file
- Create a Rectangle as shown in the image below.
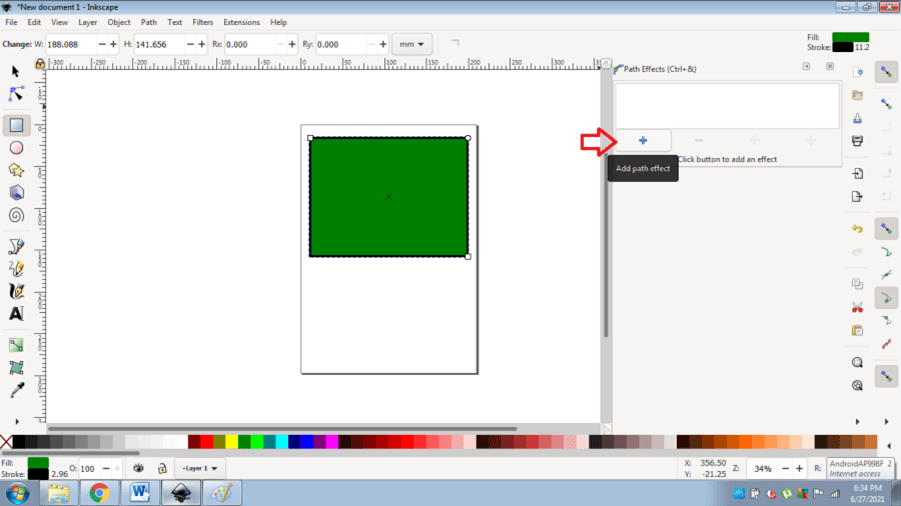
- Go to PATH > PATH EFFECTS ( Ctrl+&)
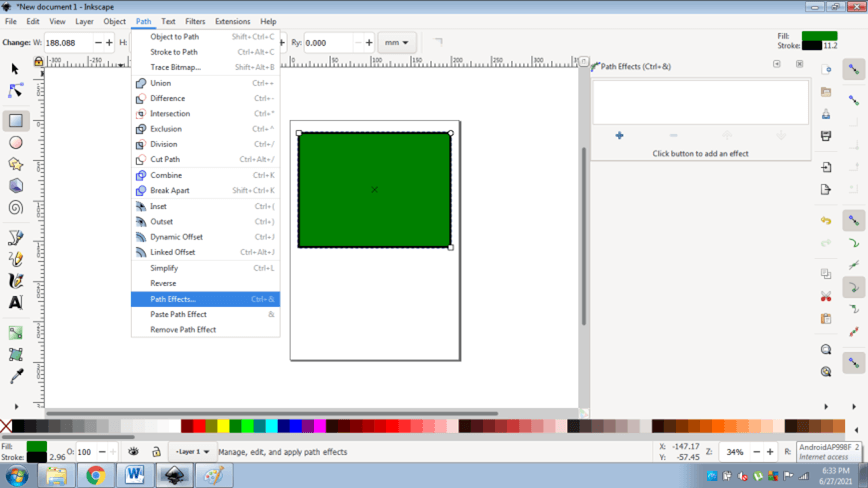
- A different Tab will open for adding/ removing Path effects.
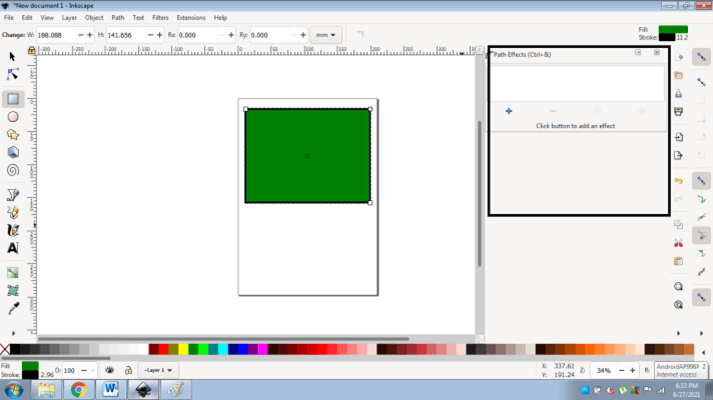
- In this Tab, click on the + sign to add Path effects on the object as shown in the figure below.
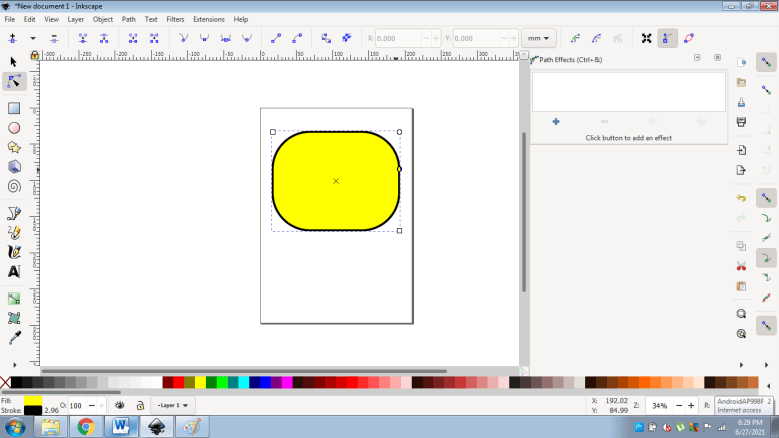
- Double Click on CORNERS ( Fillet/ Chamfer) option
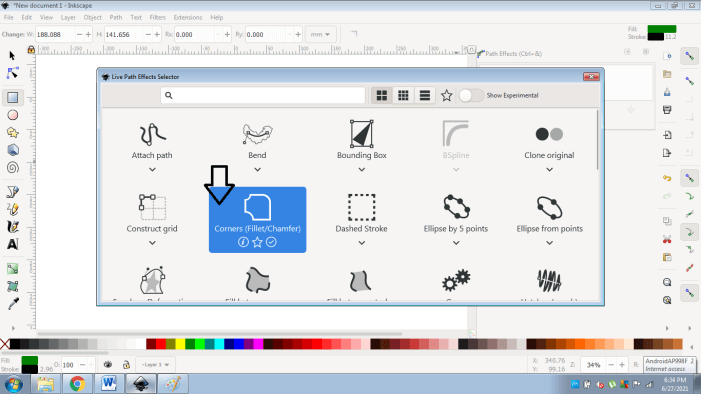
- The effect will be applied on the shape as shown in the figure

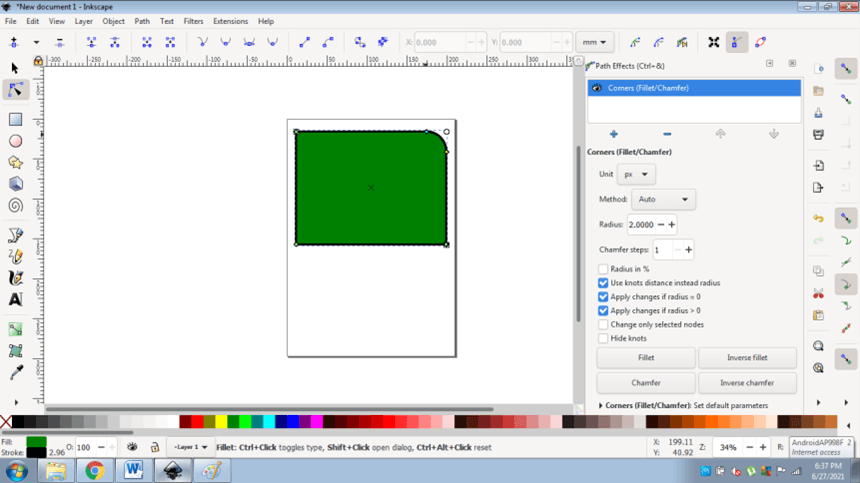
- But, it will not be visible yet. To create the effect, select a specific value in the RADIUS OPTION
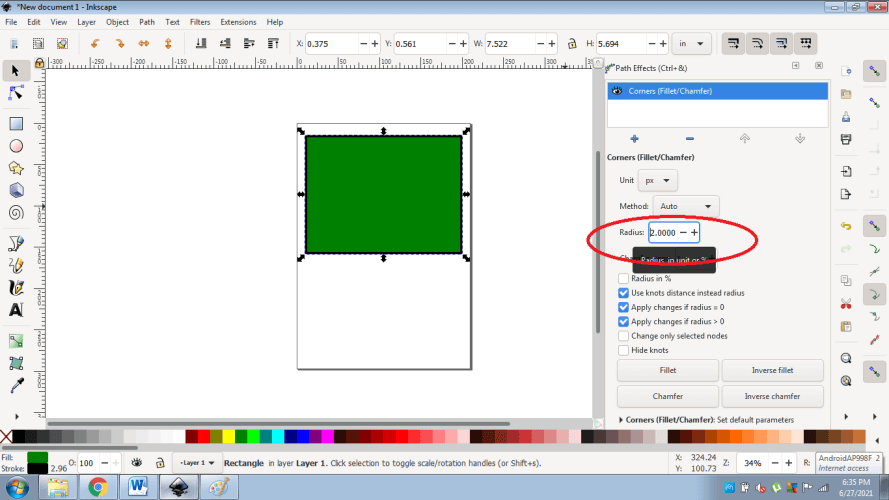
- After this, click on Fillet Option

- You will see multiple nodes around the shape.
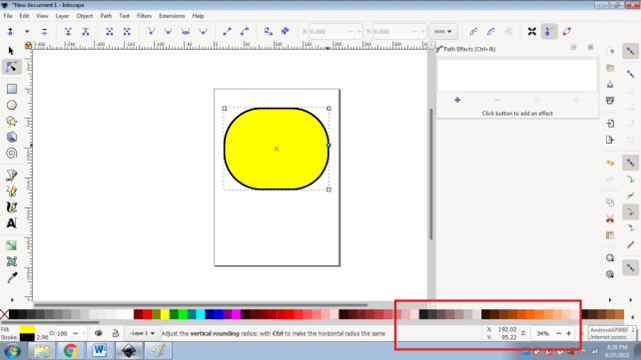
- Now, Click on the path selection tool from the toolbox
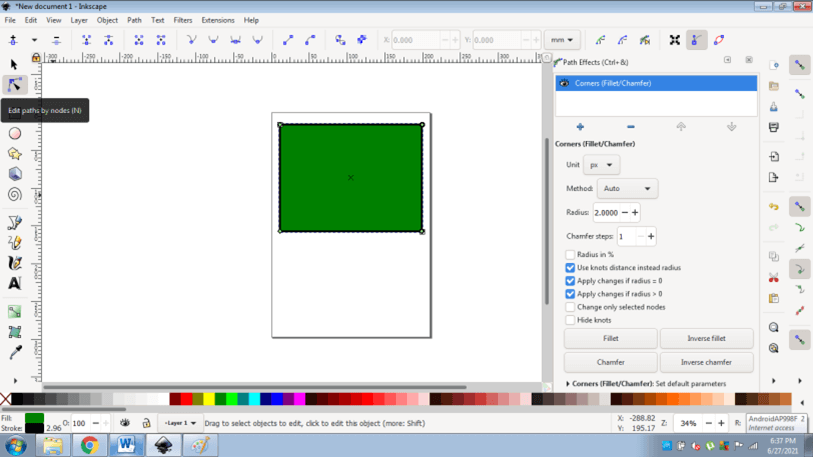
- Drag the nodes individually to fillet or round individual corners of the rectangle.
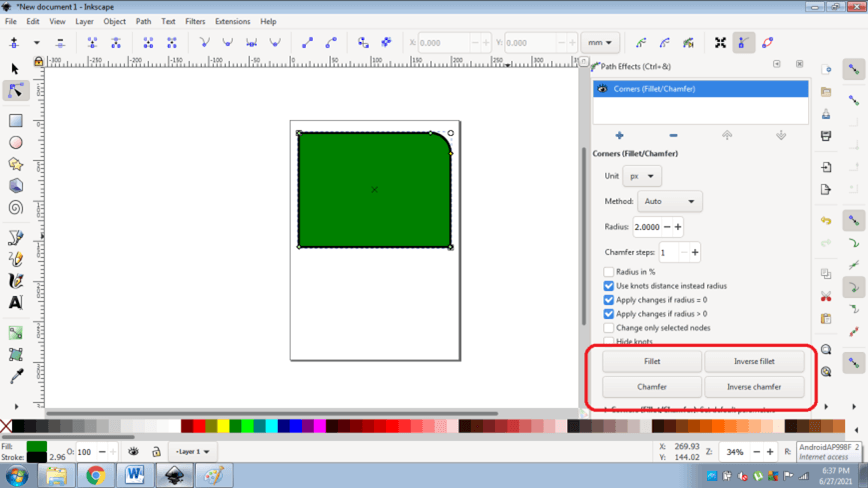
- We can select options from Fillet, Inverse Fillet, Chamfer & Inverse Chamfer.
- By applying this effect, we can edit radius, corner measurements and vertices also.
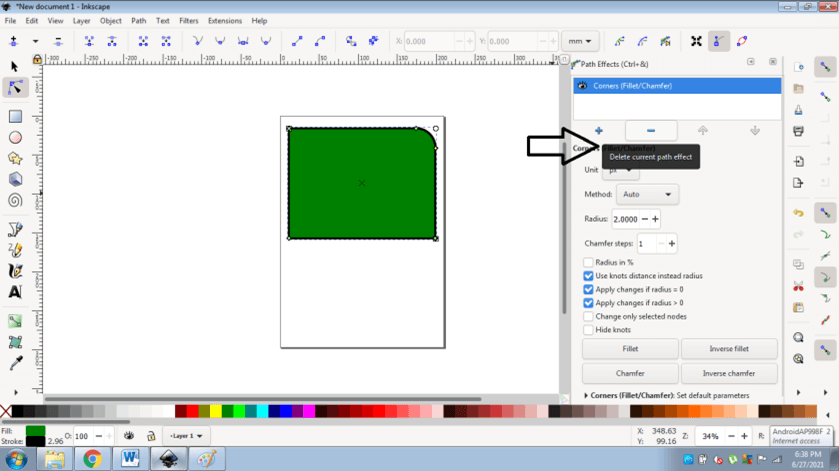
- The user can also delete the effect easily and quickly as shown in the image below.
- Similarly, the user can create different shapes using the path filters tool in Inkscape.
Method 3:
This is an effortless method to apply fillet effects on the shapes and objects. All we have to do is convert the Objects to Paths. This technique will work on the entire object instead of performing actions on independent nodes. Following are the steps to create the rounded rectangles with this method:-
- Launch Inkscape and create a new file

- Create a rectangle as shown in the image below
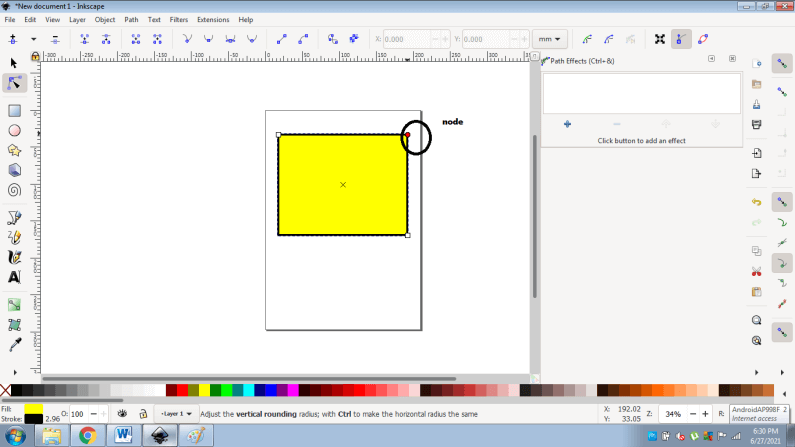
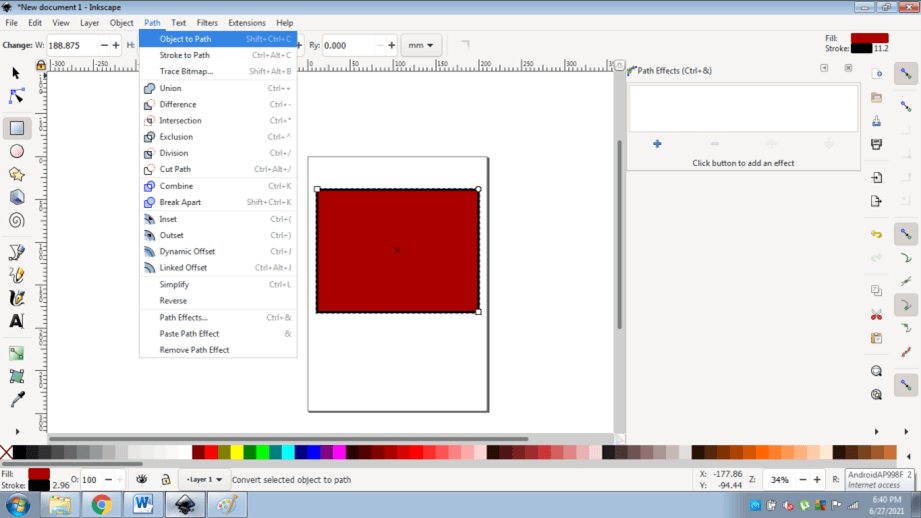
- Go to Path and select OBJECTS TO PATH (Shift +Ctrl+ C) option
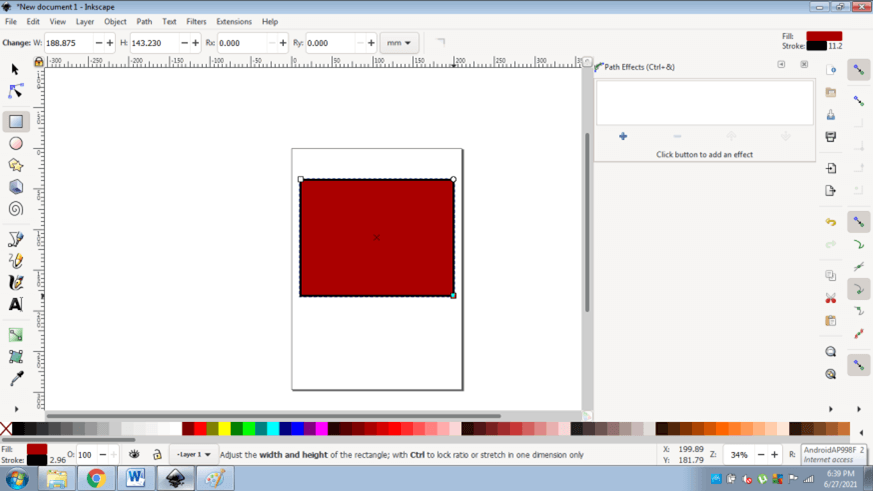
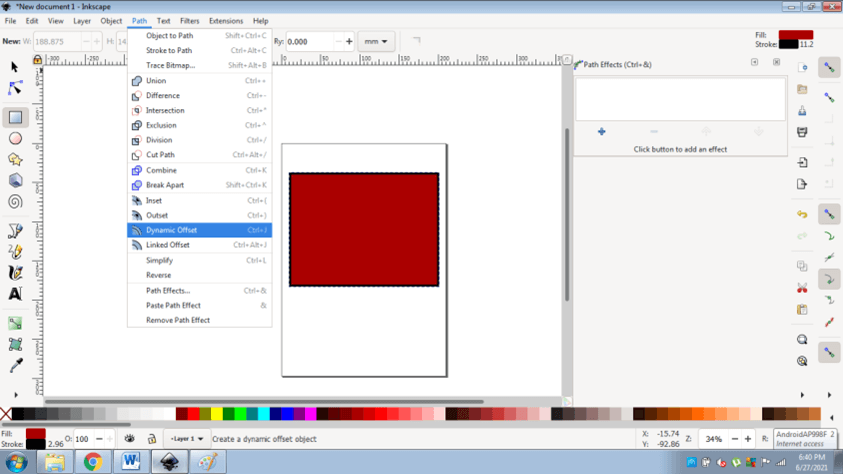
- Now, click on the DYNAMIC OFFSET (CTRL+J) option
- This option will create a node which the user can drag outwards to create rounded effect on the object. As shown in the figure below
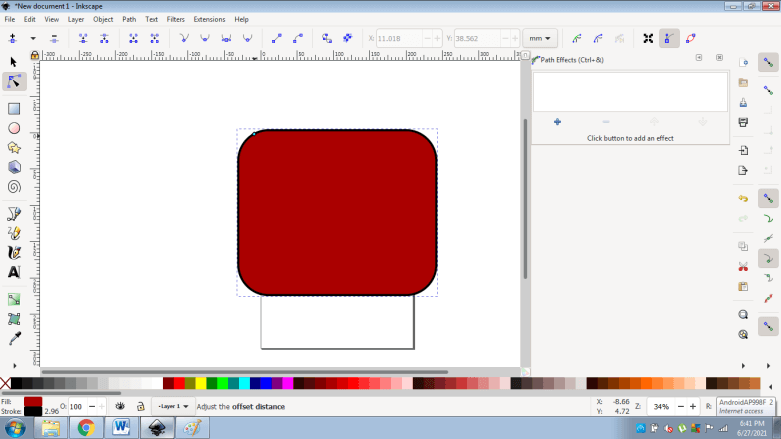
- The rectangle is rounded without any complex actions.

Conclusion – Inkscape rounded rectangle
Summarizing the document, these are the three major methods by which the user can create rounded rectangles in Inkscape. Besides, the user can also use other path effects such as Intersection, Union, Difference and many others to create exceptional designs with the blend of multiple objects.
Creating rounded rectangles in Inkscape teaches the user many noteworthy tools and functions that can be used throughout the program.
Recommended Articles
This is a guide to Inkscape rounded rectangle. Here we discuss the three ways by which the users can edit the existing nodes and make their corners round or FILLET. You may also have a look at the following articles to learn more –
