
Introduction to Inkscape EPS
Inkscape EPS is a file format that stands for Encapsulated PostScript, and we can export work of Inkscape in .eps file format very easily, but there are no specific ways for importing .eps file format in it. We import it in Inkscape for different types of purposes, such as we can have vector shapes through this file format with transparent background, but in Inkscape, we cannot import a .eps file format directly; in fact,,, we have to make some adjustments for opening this file. First, we have to download Ghostscript for making Inkscape accessible for this file format; then, we go through some personal computer settings.
How to Use EPS in Inkscape?
You can use eps in Inkscape, same as a vector file format, but you have to first import it in this software so let us find what these steps are that you have to understand for doing this.
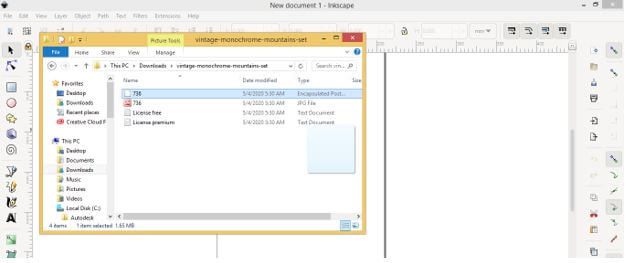
Let me first show you what will happen if you try to import an eps file into this software. So open Inkscape software.
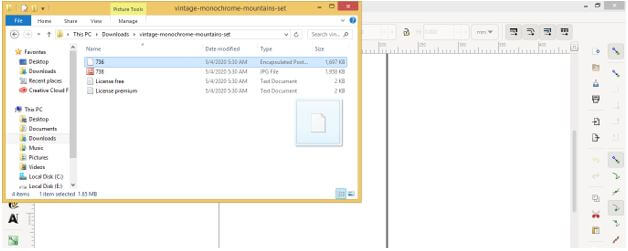
And I simply drag and drop my desired eps file in this software, and for this purpose, I will go to my desired folder and pick the eps file and drop it in Inkscape.
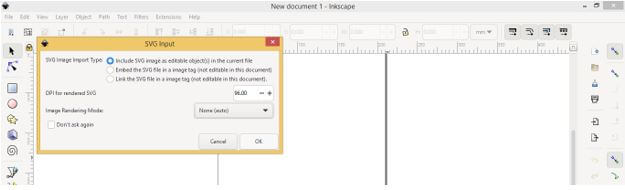
You can see it shows me a message box for importing this file, so click on the ok button of this dialog box.
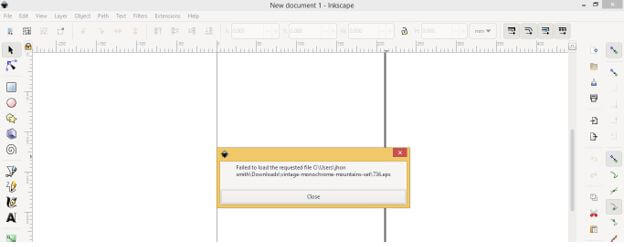
It will show me this message that Inkscape cannot open.
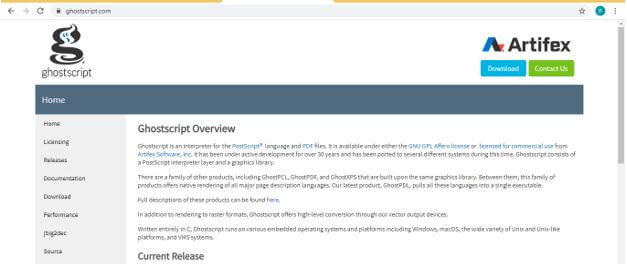
So let us find the solution to this how we can resolve it. Go to any browser and search for Ghostscript and open the first link.

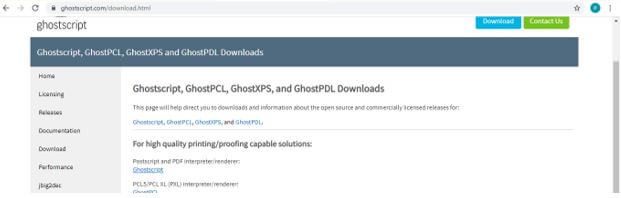
Here on the home page of Ghostscript, please find the download page link and click on it.
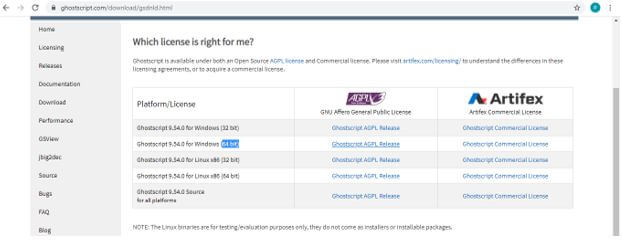
Click on the PDF interpreter/render link on the next opened page.
Download this Ghostscript according to your system capacity. For example, I will download 64 bits according to my system.
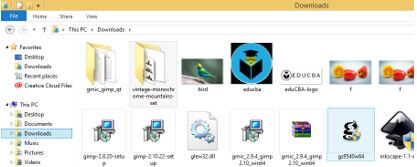
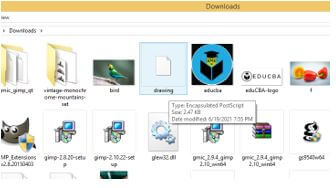
Now go to the location where you have downloaded this Ghostscript. I have downloaded it into the downloads folder so that I will click on this file of it.
And install it with default setting locations.

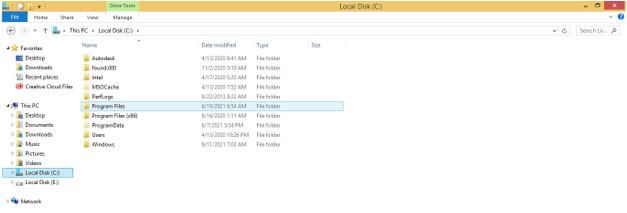
It is installed in my C drive, so I will go to the folder of Ghostscript that is a gs folder. But, first, I will go to the Program files of the C drive.
And find the gs folder of the Ghostscript file.
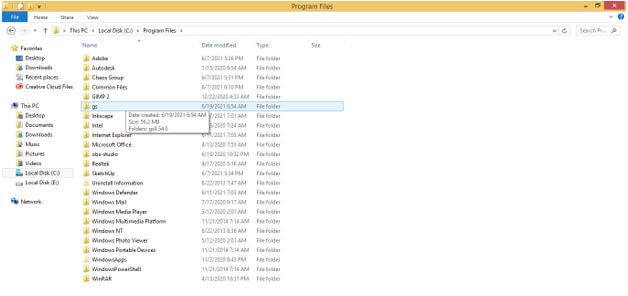
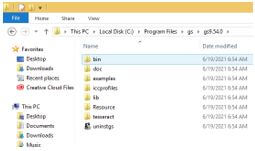
Open it and then again click on the gs 9.54.0 folder of it.

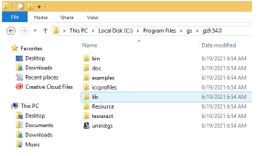
Here it has bin and lib folder in this Ghostscript folder, and we will create a path for these two folders in our system for having a solution to our problem.
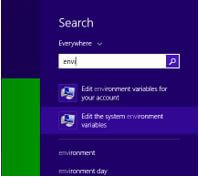
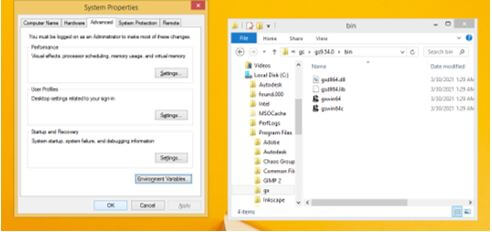
Now in the search box of the start button of your computer, search for Environment Variables and click on it for opening it.
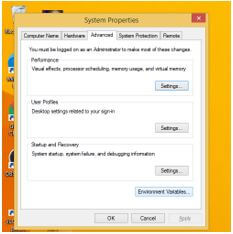
Once you click on it, you will have the System Properties dialog box on your window screen. Here in this dialog box, select the Advanced tab from the list of the tab of it. At the button of this tab, you will find Environment Variable button, so click on it.
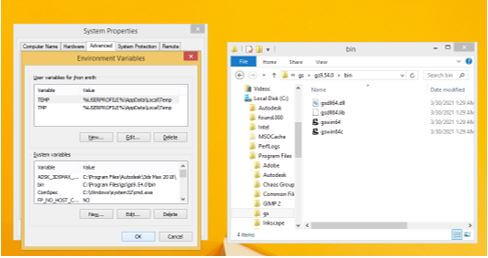
Once you click on it, a dialog box for Environment Variables will be open. Here we have two sections in this dialog box; go to the Systems variables sections and search for the Path option. Then, select this Path option by clicking on it.
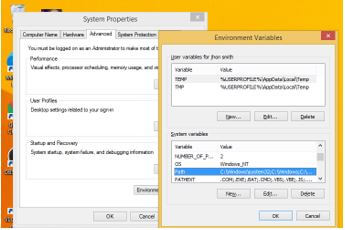
And then, click on the New button of this section for adding a new path for the bin and lib folder of Ghostscript.
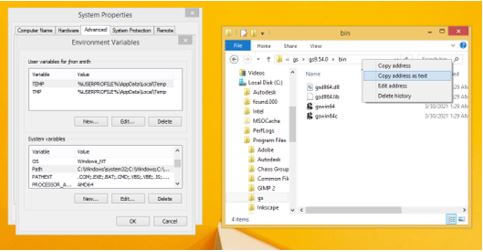
And open bin folder in gs folder of Ghostscript then makes right-click on the address bar for copying its address. Once you make right-click, a scroll-down list will be open like this. Click on the ‘Copy address as text’ option of this list.
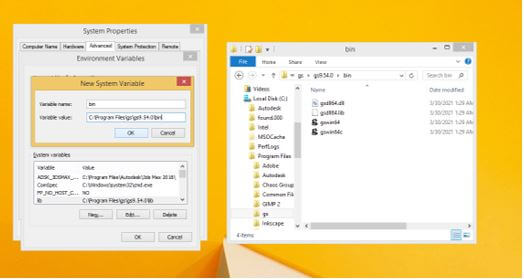
And go to the Environment Variables dialog box again, then past this copied location in the New systems variable dialog box’s Variable value box. I will name this path as bin by typing bin in Variable names box of the same dialog box and clicking on the Ok button.
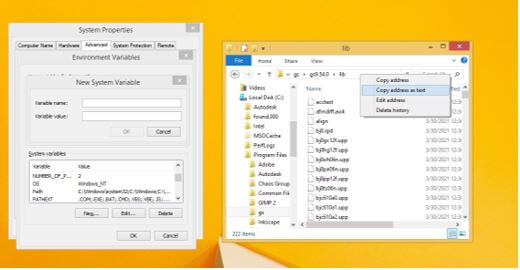
Now open Lib folder of gs folder of Ghostscript and copy its address in the same way as we did for copying address of bin folder.
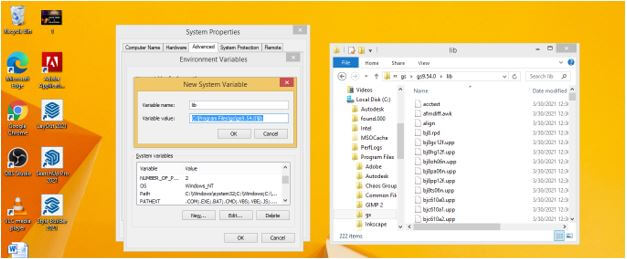
Paste this address location in the Variable value box of the New System Variable dialog box, and I will name it as lib in the Variable name box, then click on the Ok button.
Then click on the Ok button of the Environment Variables dialog box to apply changes in it.
Click on the Ok button of the Systems Properties dialog box too for completing this process.
Now this time again, go to the folder where you have saved the eps file, drag it, and then drop it in the Inkscape.
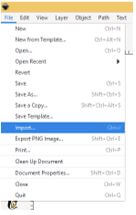
Or you can go to the File menu of the menu bar and click on it. Then choose the Import button from the drop-down list.
And an import dialog box will be open, choose your desired file from its saved location on your computer, then click on the Open button of this dialog box.
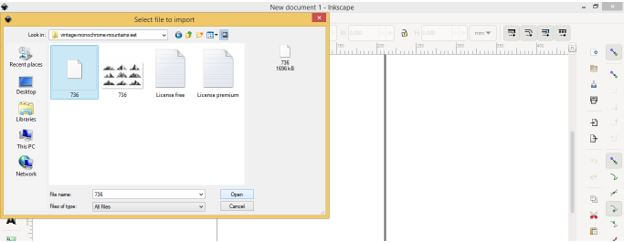
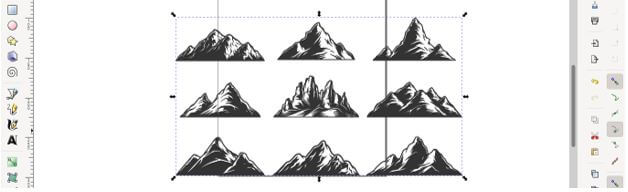
Now it will open an eps file into Inkscape within seconds like this.
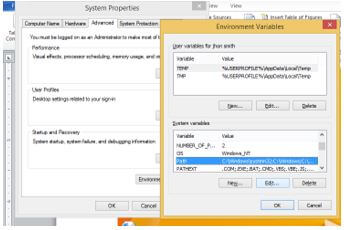
If this file is not opening in your software still then you can move the bin and lib path up in this list of System variable section of the Environment dialog box and then try again.

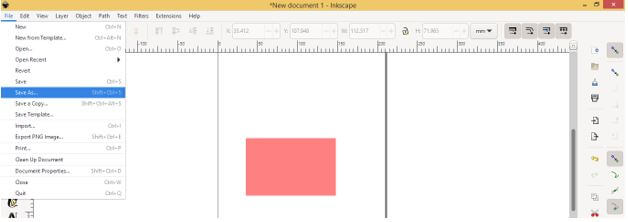
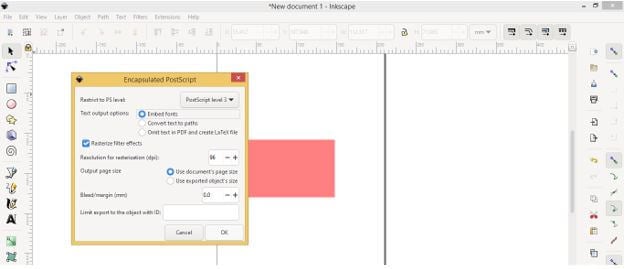
Now let me tell you how you can export eps files from this software, so for this, I have been drawn this simple rectangle, and I will save it as .eps.
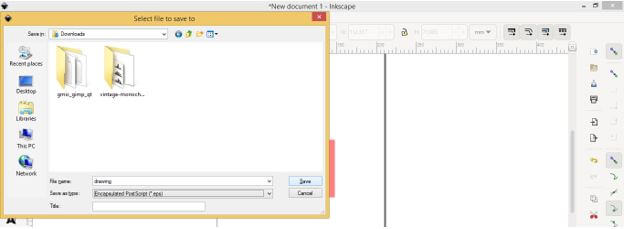
So go to the File menu of the menu bar and click on it, then click on Save as an option drop-down list.
Here a Save as dialog box will be open. Go to file type and select .eps file format from the list.
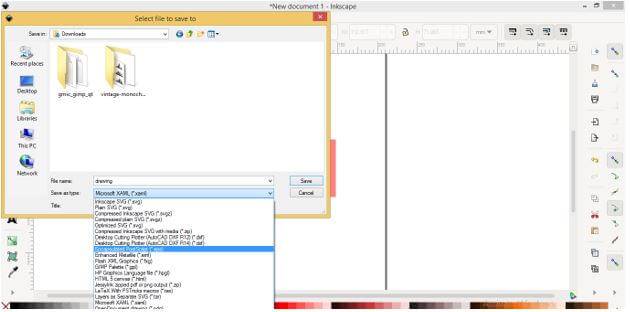
And then click on the Save button.
Also, click on the Ok button of Encapsulated PostScript dialog box.
And your file will save as .eps
Conclusion
Now you can understand how you work with eps file in Inkscape and how you can open it in it. You just have to follow the above-discussed steps, and then you will get your desired result very easily. I also told you how you could export any work of Inkscape in eps file format.
Recommended Articles
This is a guide to Inkscape EPS. Here we discuss how to work with eps files in Inkscape and how you can open it step by step in detail. You may also have a look at the following articles to learn more –
