
Introduction to Inkscape 3D
Inkscape 3D stands for designing any object in three dimensions, and we may create the illusion of a three-dimensional object in Inkscape to give that object a three-dimensional appearance. You can create 3D objects, 3D logos as well as 3D art after going through the important aspect of designing that 3D work, and here I will tell you how you can do this. Today our article includes grids management, Menus option manipulation, and some techniques of an isometric view of Inkscape software. You can understand it very easily if you have knowledge about the isometric view. I will take a refer to 3D objects so that you can understand how we can design 3D objects in a better way.
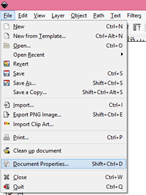
First of all, I will set a grid that will work as 3d grid for our designing purpose. So I will go to the File menu of the menu bar which is at the top of the User interface of Inkscape and click on it. We will have this scroll-down list here and click on the Document Properties option or I will go with my favorite step which is the short cut key so I will press Shift+ Ctrl + D keys of the keyboard.
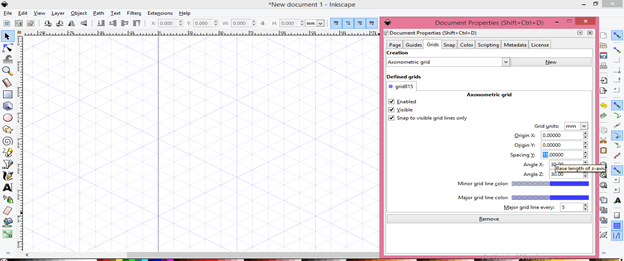
In this dialog box, I will navigate the Grids tab for having grids on my document area. Here you will have two types of grid (if you want to know each and everything of gird tab then you can search for Inkscape snap to grid article of mine which has been published by eduCBA). This time we will go with the Axonometric grid.
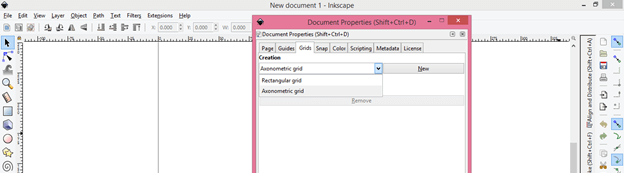
And after clicking on the New button we will have this grid.
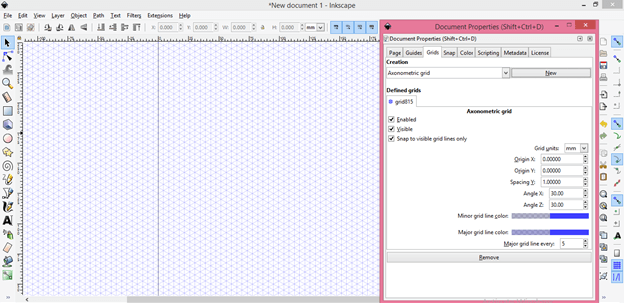
Here we have a gird line at 30 degrees in the X and Z planes and in the Y plane horizontal lines are there.
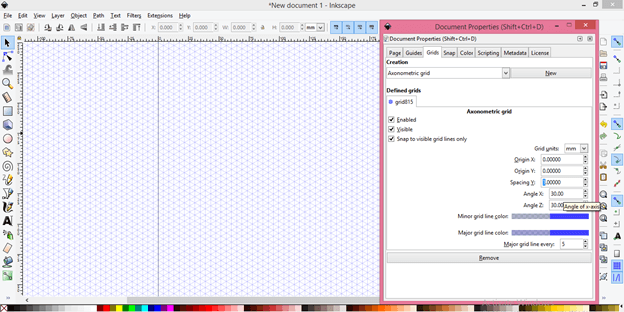
I will increase the spacing of grid lines in the Y plane for drawing my 3D object. I will give 15 as the spacing value of it. You can have it according to your choice.
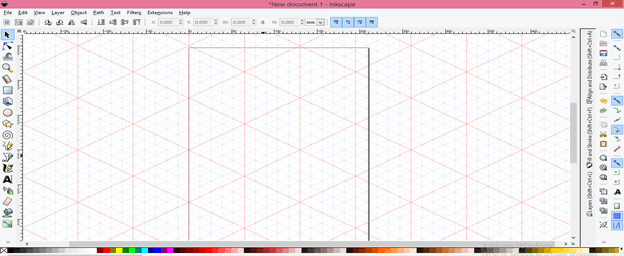
And our 3D grid is ready.
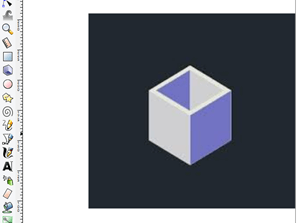
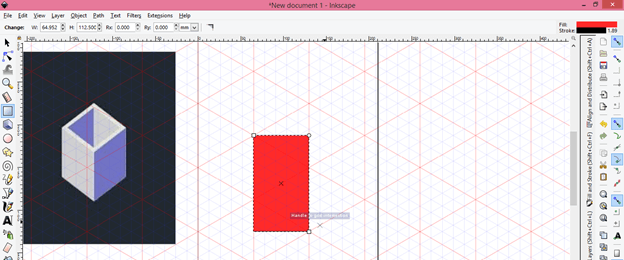
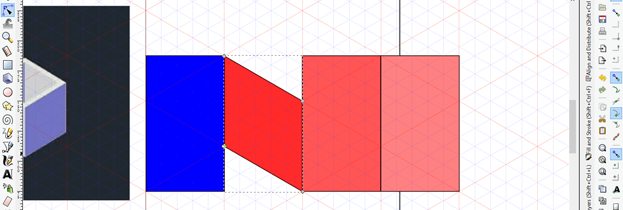
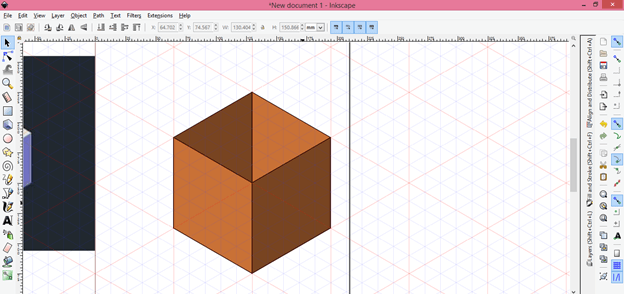
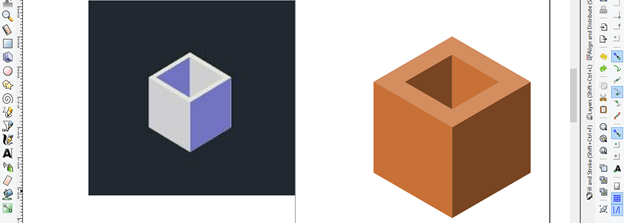
I will import this image of a 3D object which will be our reference.
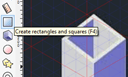
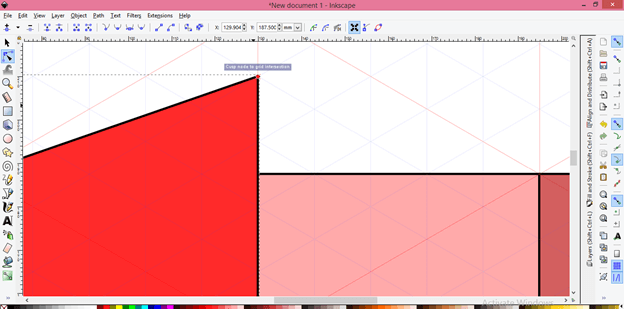
Now take the Rectangle tool from the tool panel. You can do this with the Bezier tool also but I will explain it by Rectangle tool.
Now draw this type of rectangle with this tool. I am drawing freehand you can draw with exact dimensions. You can notice workings with the grid if quite comfortable because if you have Snap to grid option is enable then gird blocks corners automatically attract mouse cursor.
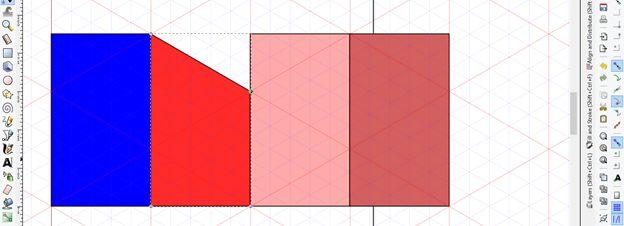
Being selected for this rectangle press Ctrl + D button on the keyboard for making a duplicate copy of it. After making copy of it drag it next to the first rectangle with the help of the Selection tool.
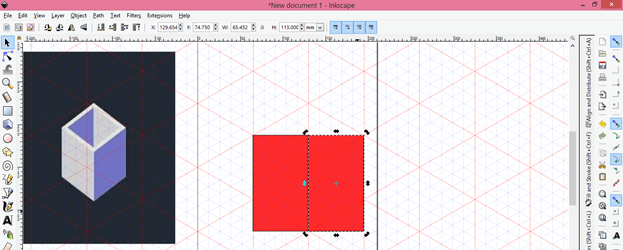
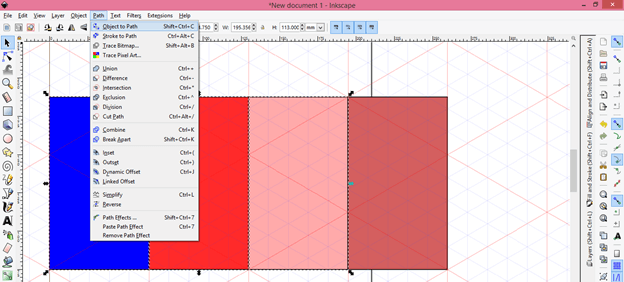
In the same way make two more copies of this original rectangle, in short, we have 4 rectangles of the same dimension here in our document area. Choose different colors as a fill of these four rectangles.

Now select all fours rectangles then go to Path menu of the menu bar and click on ‘Object to Path option’ or go with Shift + Ctrl + C keys of the keyboard.
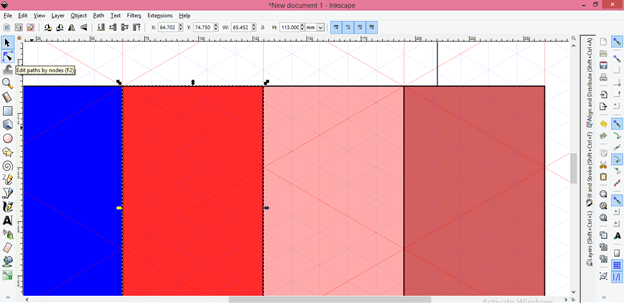
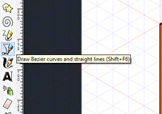
Now take the Edit Paths tool from the tool panel or press F2 as short cut key.
Now you can move the corner node of the rectangle like this.
I will align this corner node with a red line of the grid.
Do the same from the lower corner node of the left side of this rectangle and adjust it like this.
Now move to the next rectangle and adjust them too like this. You just have to follow the red line of the grid for doing this.
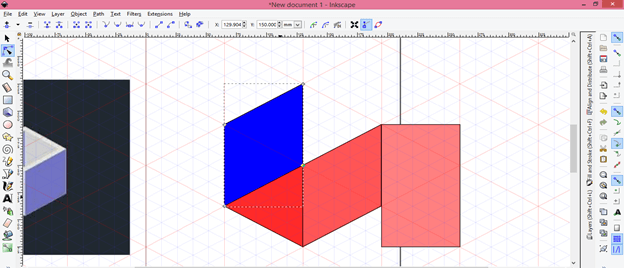
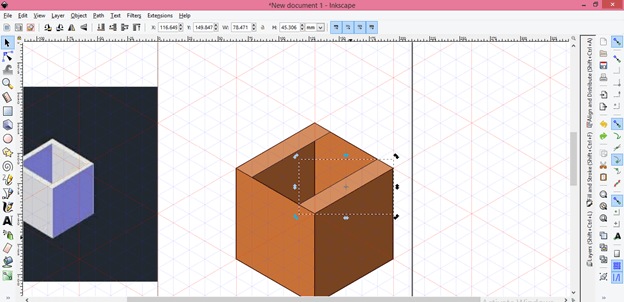
Now go to the selection tool and you will have these layers order tabs for different layers. Being selected blue rectangle click on the ‘Lower Selection to button (End)’ option for moving this rectangle lower in order of layers’ arrangement.
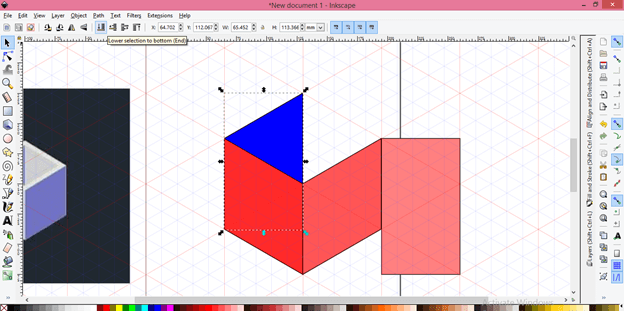
Now place this last rectangle left corner to the right corner of the blue rectangle.
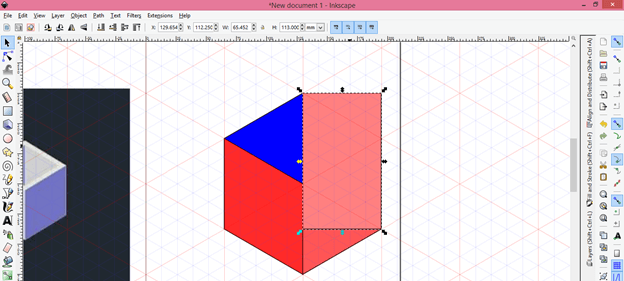
And moves its node with the Edit Node tool like this and I will move this rectangle below to redone in the same way as we did in the blue rectangle case.
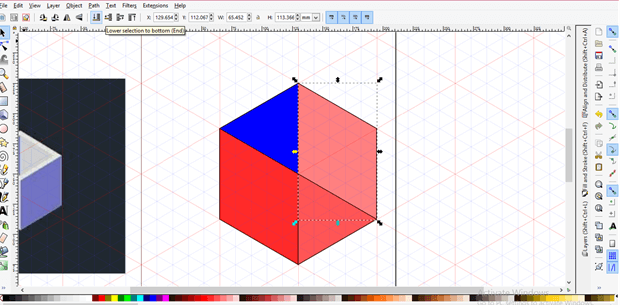
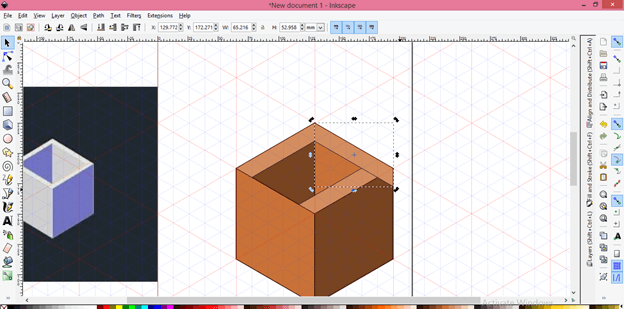
Now change the color of all four rectangles in this shade. I take these color shades according to light dropping on this box.
You can change its color at any time.
Now take the Bezier tool from the tool panel for drawing the next part of this box. You can do this with the rectangle tool but this time I will do it with the Bezier tool.
And draw a rectangle with the Bezier tool by following one block of this grid.
And we will have this type of rectangle. Now take the selection tool then press Ctrl + d for making a duplicate copy of it.
Move duplicated rectangle on the opposite side of this rectangle and adjust with the corners of the front side of the rectangle.
You can draw one more rectangle with the Bezier tool on this site but I will tell you another way, just make a duplicate copy of any one of the upper rectangles and rotate it by the rotating anchor handles of bounding box of that rectangle.
And adjust nodes of this rectangle like this with the Edit node tool.
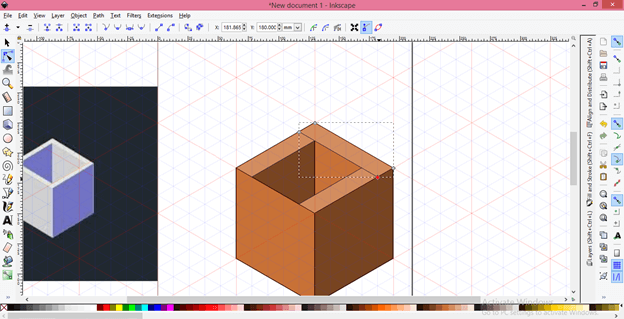
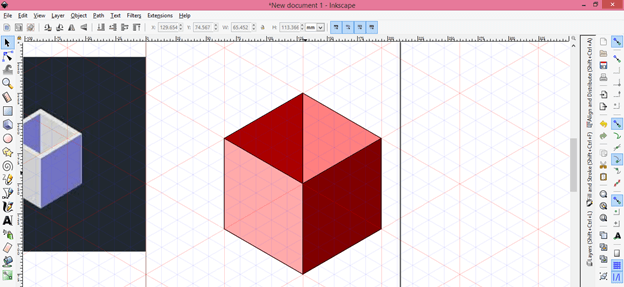
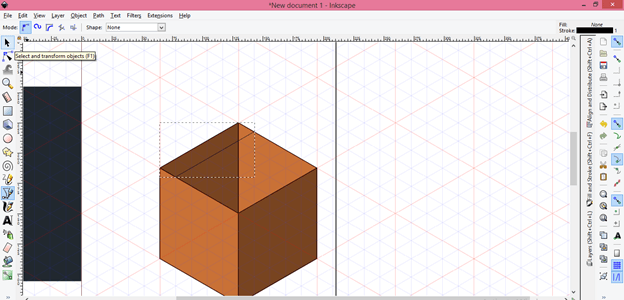
Now move a copy of this rectangle to the other side like this and our 3D object is ready. Now select all the rectangles and I will remove the stroke of all rectangles for giving it a more realistic view from the Stroke tab of the Fill and Stroke panel which is at the right side of the User interface.
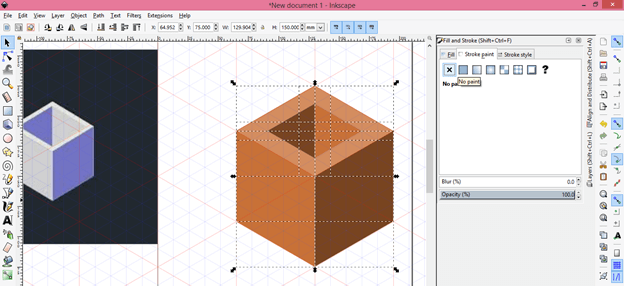
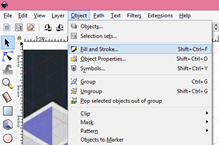
If there is no File and Stroke panel then you can find it in the scroll-down list of Object menu of the menu bar.
This is our 3D object and you can make more 3D objects by getting ideas from the technique which we discussed above.
Conclusion
Now im sure making 3d objects in Inkscape will be like eating cake for you and you can apply your own idea for play with 3D objects and can also handle different aspects in a very easy manner so that you can go with your desired things in respect to this features.
Recommended Articles
This is a guide to Inkscape 3D. Here we discuss the grids management, Menus option manipulation, and some techniques of an isometric view of Inkscape software. You may also have a look at the following articles to learn more –
