
Introduction to InDesign underline
Adobe InDesign is a powerhouse of tools and functions. These tools and functions are mostly comprehended in terms of texts/character formatting, layout formatting, image formatting and page formatting. An InDesign underline option comes in the sub category of text and character formatting. Unlike any other vector graphics program, Adobe InDesign comprises with a bunch of Underline and strikethrough options which can be considered while using type tools.
How to Create and Use Underline in Indesign?
Underlining a text may be useful in highlighting that particular word or sentence in a paragraph. Content creators, editors, book designers and graphic designers generally use underlining tool for headings, tittles, captions or texts that needs a stand out amongst the other phrases.
The user can create underline and strikethrough effects by using two different methods that are available within Adobe InDesign. These functions may be small and negligible but they hold adequate importance in creating standout texts within multiple pages for books and magazines.
For a beginner, using type tool and underlining options will be easier than creating manual underlines with pen or Line tool. Likewise, users who have sound knowledge of the software may find using pen tool or line tool easier and more creative.
Method 1
In this method, we will learn the most basic technique to use and apply underline and strikethrough on a text. Also, we will learn the detailed options given in the software for underline and strikethrough effects.
Following are the steps we should follow:-
- Launch Adobe InDesign
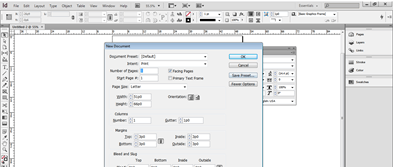
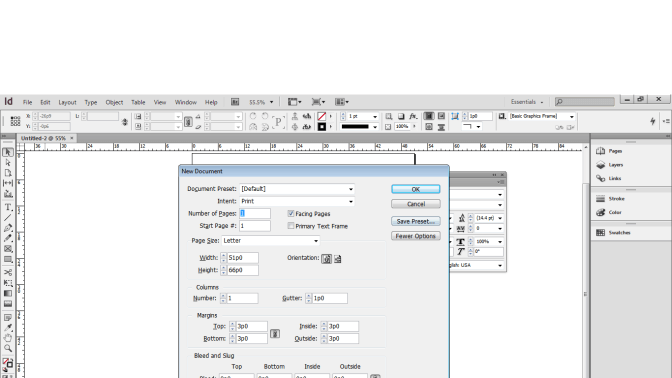
- Create a new document as shown in the image below
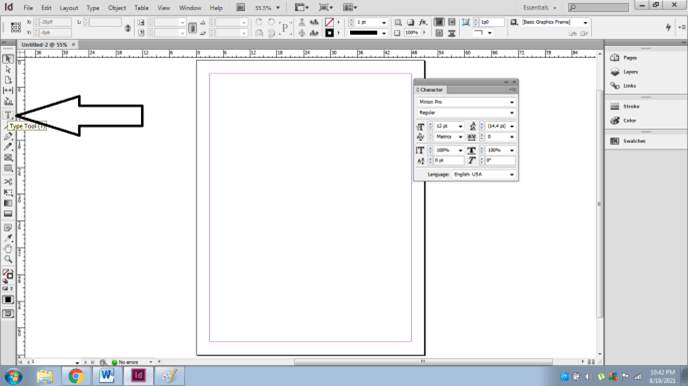
- Now, go to the Type Tool
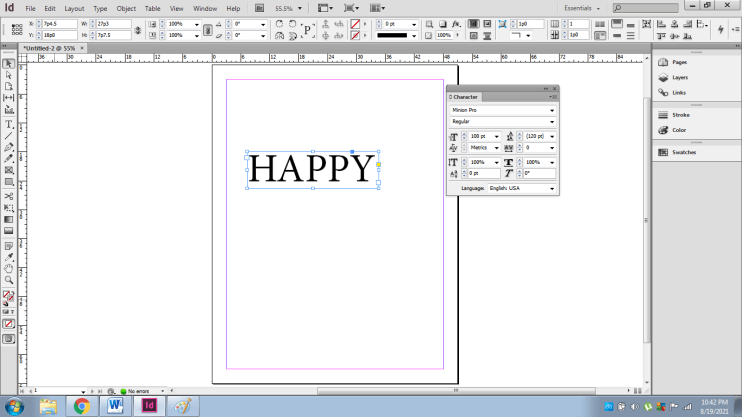
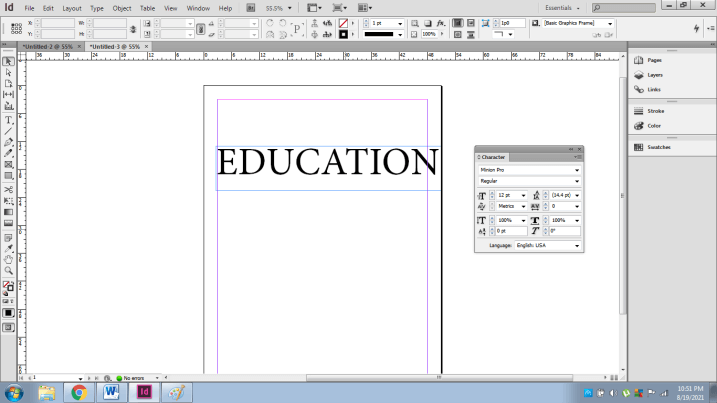
- Create a text frame and write a sample text as shown in the image below.
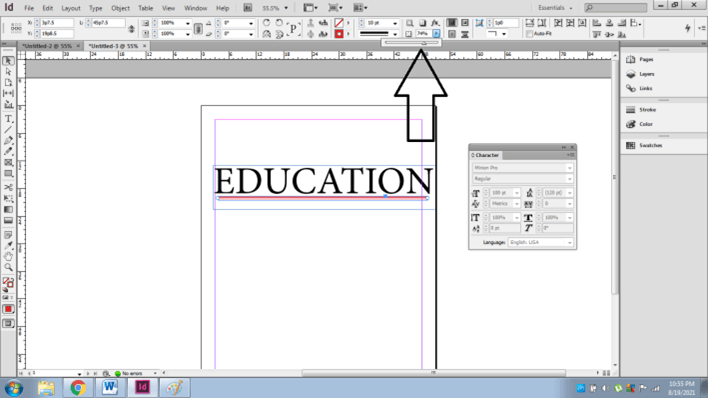
- Next, go to TYPE function on the menu bar and click on CHARACTER
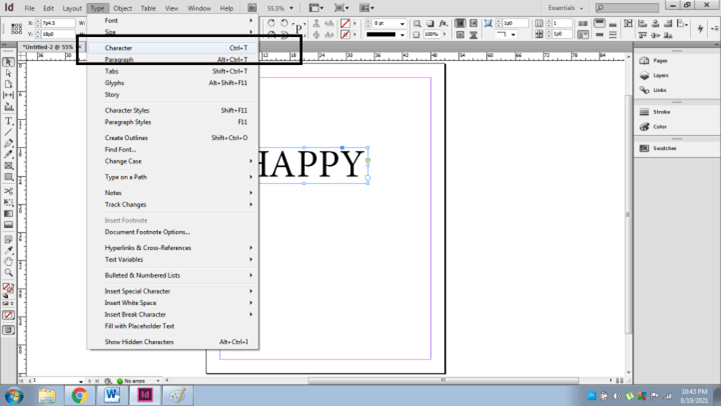
- A new dialog box will appear for CHARACTER editing and modifying.

- Now, click on the sample text and click on the three arrows given at the upper right corner of the dialog box
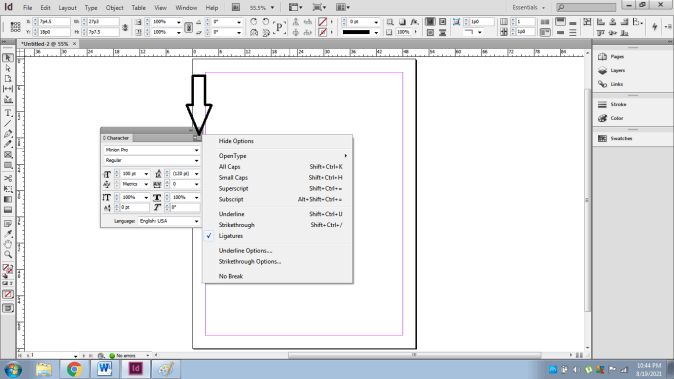
- Click on the Underline Options from this list
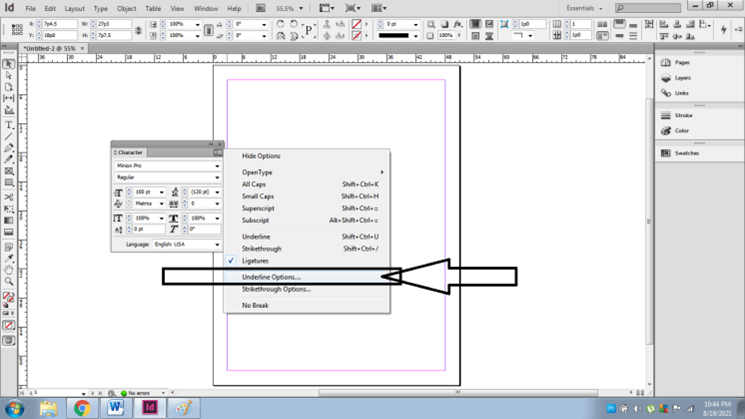
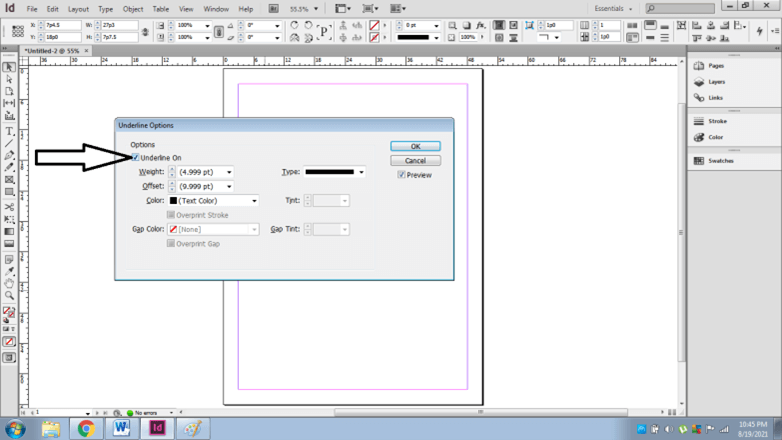
- After this, we will get a new dialog box for underline options.
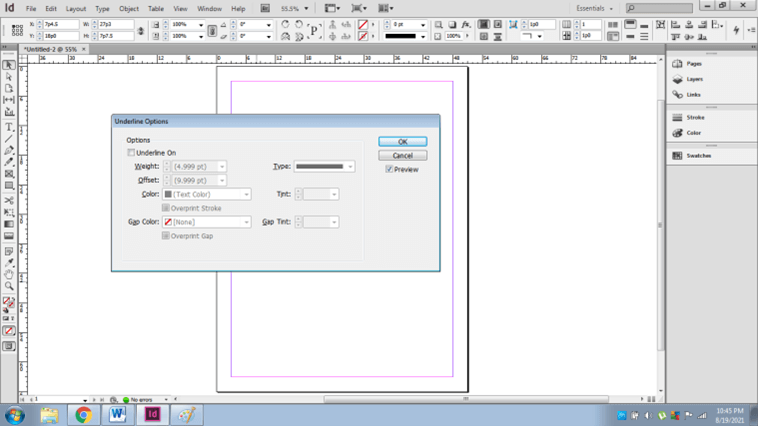
- In this panel, we can change/ edit the settings for underlining a particular text. Please remember to select that text.
- Click on the UNDERLINE ON option.
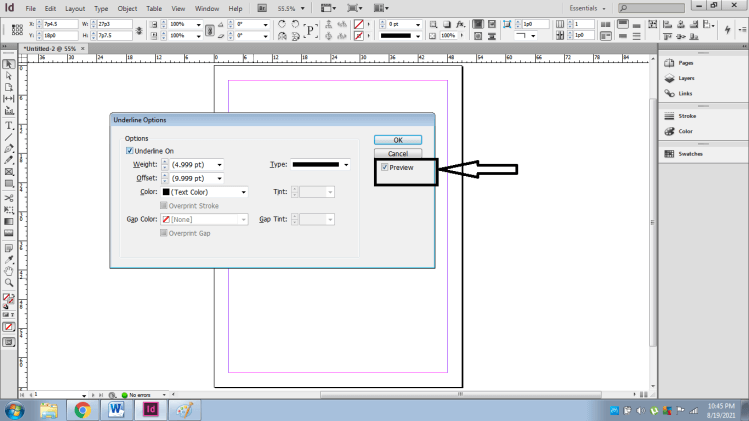
- Next, click on preview to see the changes that are made simultaneously.
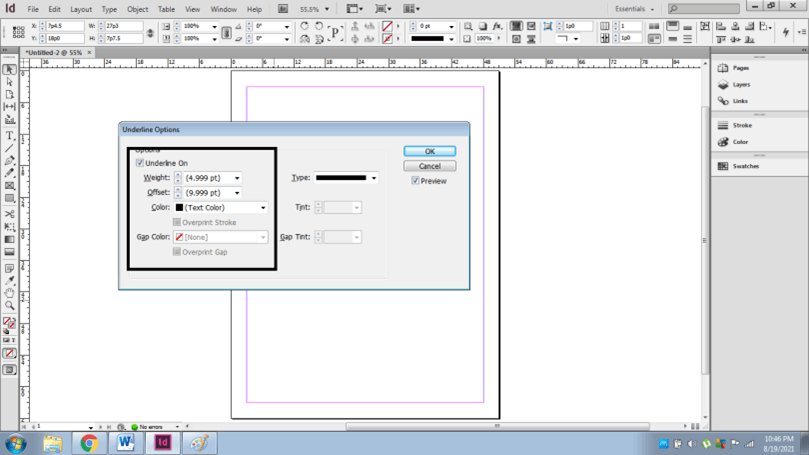
- Now, in this panel, we can change the weight (the thickness of the stroke) of the underline, Offset (Gap between the text and stroke), Color of the stroke, Gap Color of the Stroke.
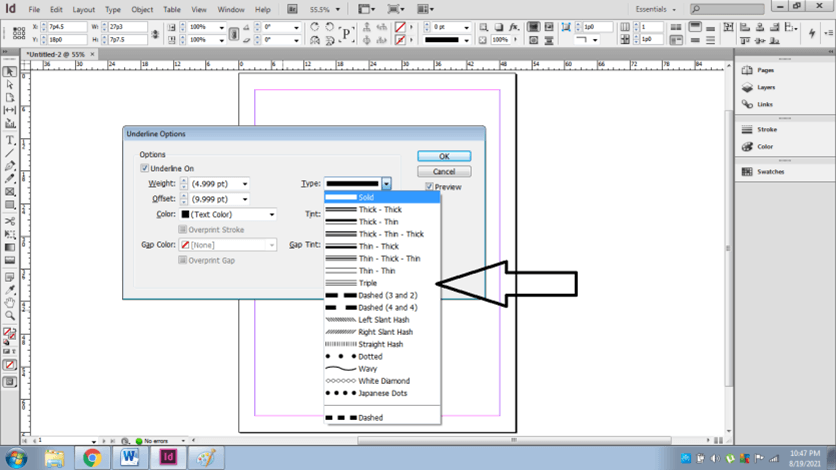
- We can also change the Type of stroke style we require. Click on TYPE to see the list of Stroke styles available in InDesign.
- Next, we can edit the Tint Color and Gap Tint color of the stroke as well.
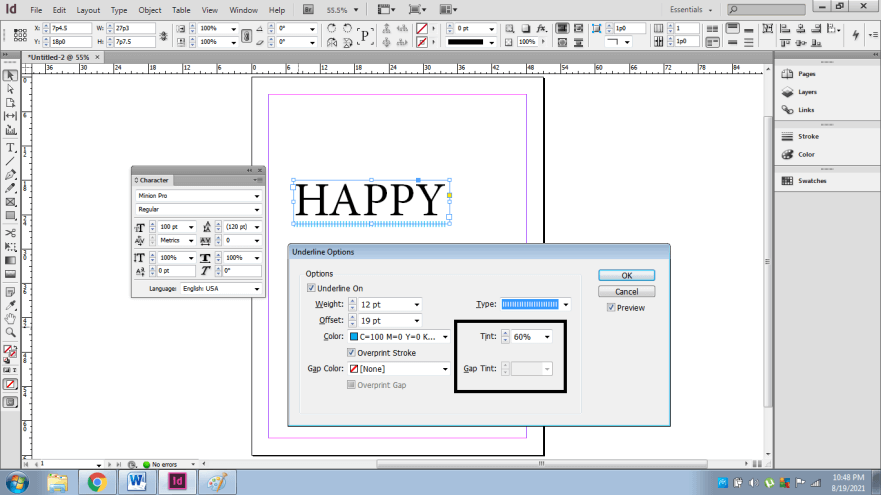
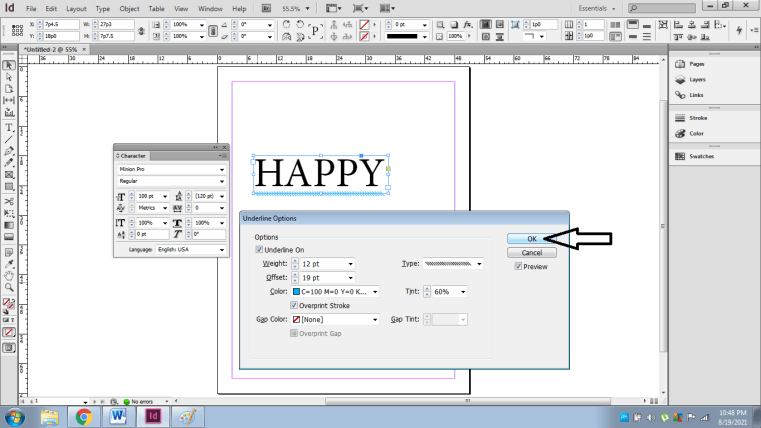
- Now, to save the changes click OK.
- Next, for Strikethrough options, the user needs to click again on the three arrows from the CHARACTER dialogue box and select STRIKETHORUGH OPTIONS.
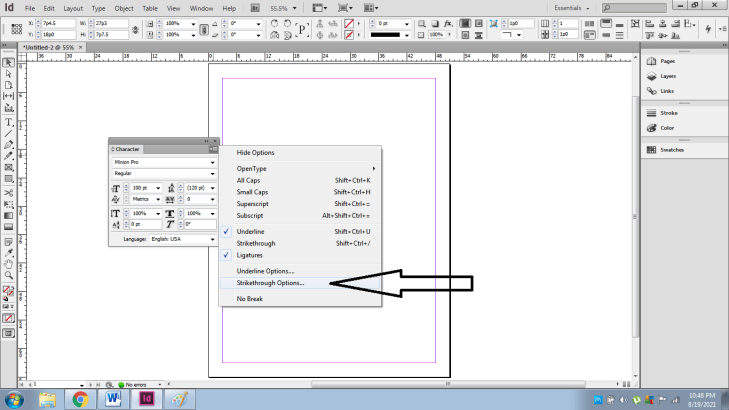
- The Strikethrough options and settings are similar to the Underline options given in the CHARACTER panel.
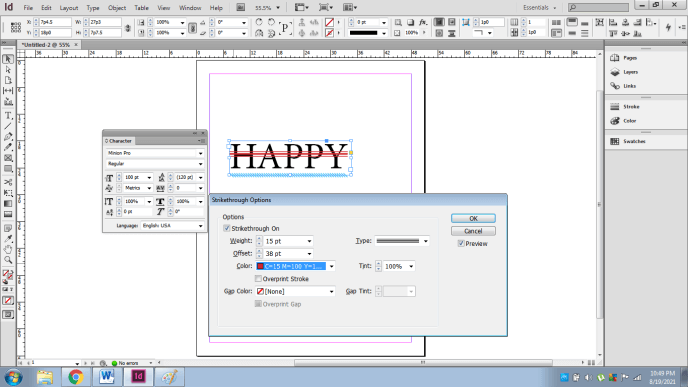
- Finally, by using the above procedure we can change the underlining and strikethrough of the texts.
Method 2
So, as mentioned above in this method we will use the line tool and pen tool to create a stroke under the sample text. Using these tools will help the user in creating creative strokes with some realistic effects.
Following are the steps we should follow:-
- Launch InDesign and create a new document
- Click on the Type tool and create a sample text as shown below
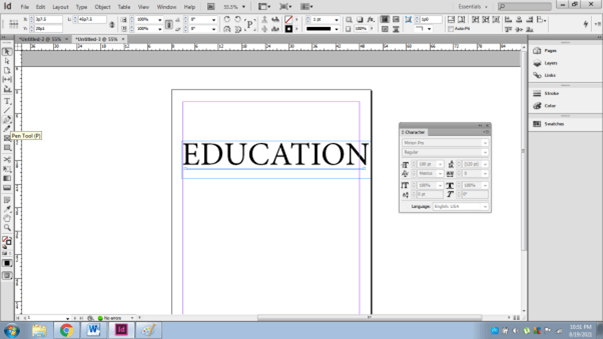
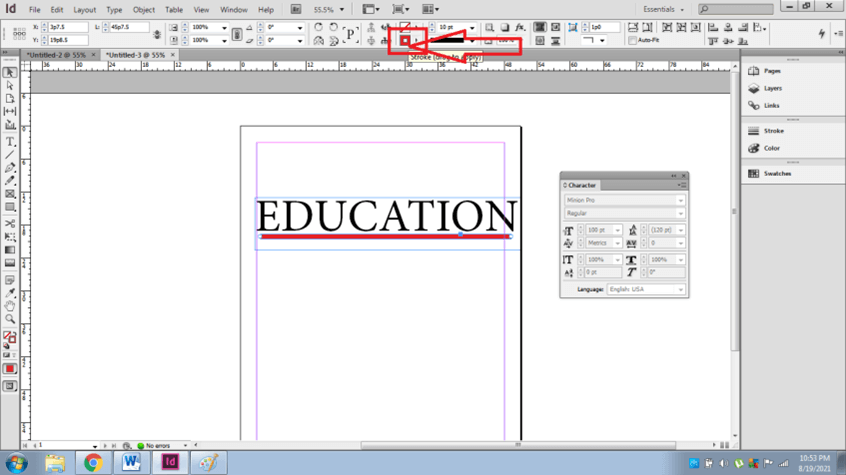
- Click on the Line tool/ pen tool and create a line as shown in the image below.
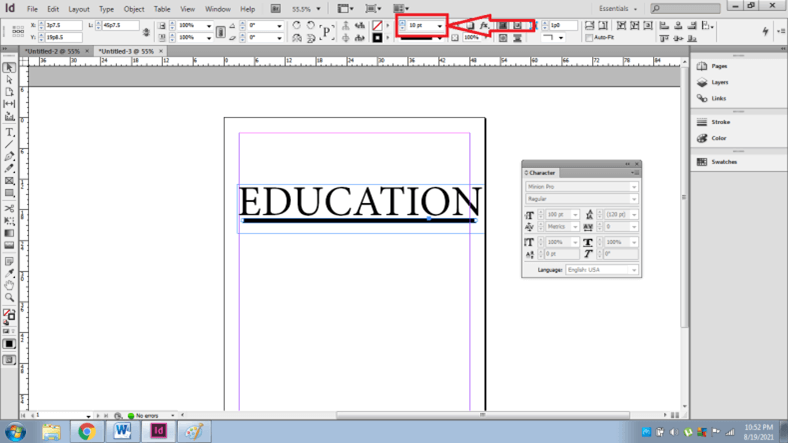
- Now, to increase the weight of the stroke select the line and click on the control panel as shown in the image below.
- Next, We can also change the color of the stroke as shown below
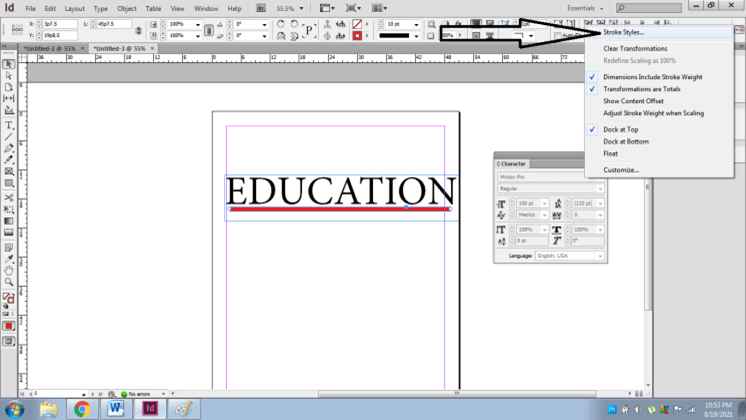
- To change the stroke style click on the three arrows given in the upper right corner of the control panel and click STROKE STYLE
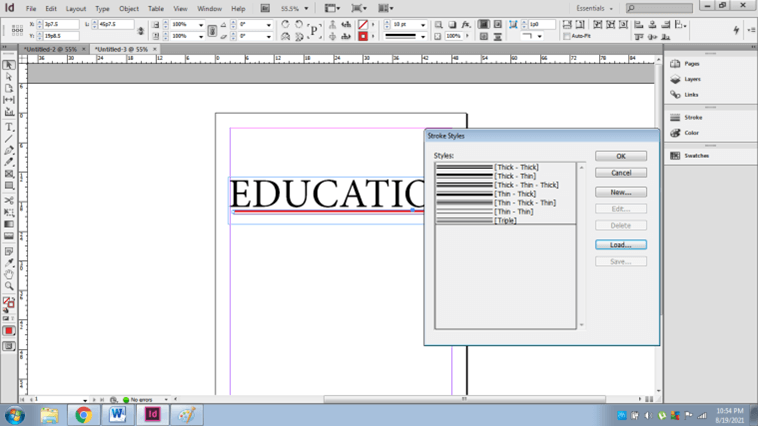
- A new dialogue box will appear where we can change and select the stroke style. We can also add the stroke style as per our requirement.
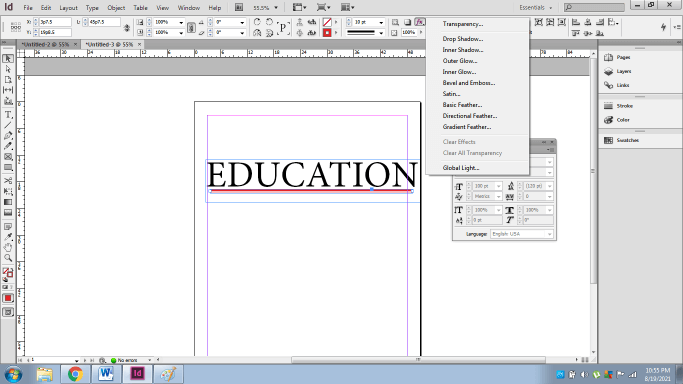
- Next, we can add effects by using the EFFECTS option in the control. We have many options such as Drop Shadow, Inner glow, Bevel and more that can be applied on the strokes.
- The user can also control the opacity of the strokes as required.
This method provides ample creative options for the user that is not available with the direct Underline options in the Type tool. It’s just that we create another object as a stroke and place it under the text we need.
Conclusion
Summarizing the article, we can say that InDesign has numerous mechanisms for creating a particular effect. It has tools and functions for both beginners as well as professionals. Adobe InDesign is embedded with multiple options for Underline tools.
Recommended Articles
This is a guide to InDesign underline. Here we discuss that InDesign has numerous mechanisms for creating a particular effect. You may also have a look at the following articles to learn more –
