
Introduction to InDesign overset text
InDesign Overset text can explain as setting overflowing text content in the text frame box by using some techniques and making some parametrical adjustments in InDesign. However, many times during working on larger content of text project when we place text in our drawn text box then it more likely happens that over text will not fit in that drawn text frame and that time we need to fit it by making different text arrangement. There are many ways through which we can do this, but some ways have limitations for large text content. So here in this article, we will have a look at each way.
How to work with Overset text in InDesign?
This article will be very helpful for you, and by this, you will have a good understanding of the overset text feature of InDesign. So let us first have a new document, and you can have a new document by clicking on the Create New button of the welcome screen of InDesign, or you can press the Ctrl + N button of the keyboard.
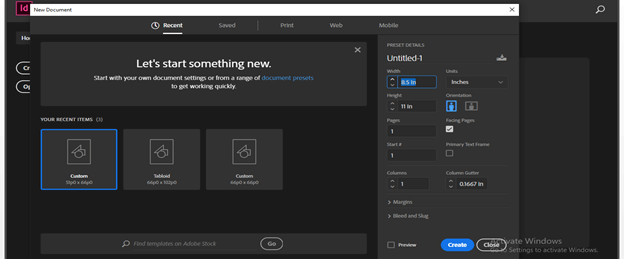
Here in the document settings dialog box, i will take a default size document page that is 8.5 in x 11 in and click on Create button of the keyboard.
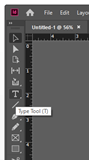
Now i will take the Type tool from the tool panel.
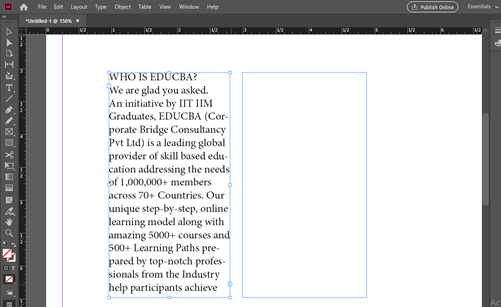
And drag it on the document page area for creating a text box. So I will create this small size of a text box.
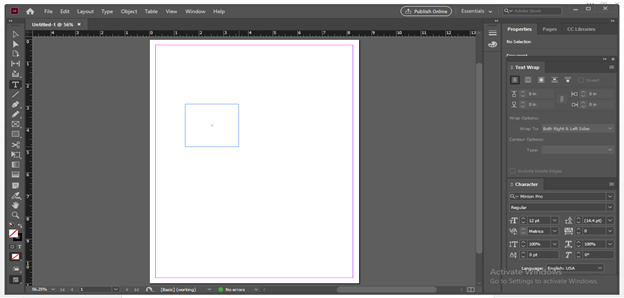
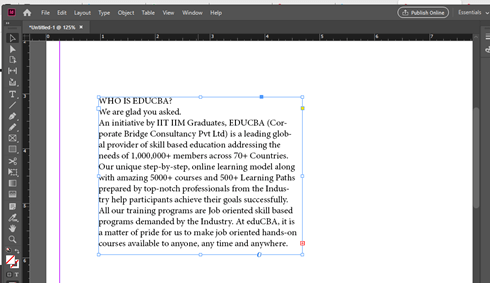
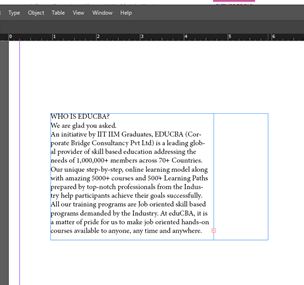
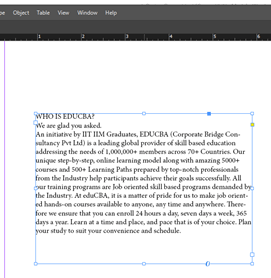
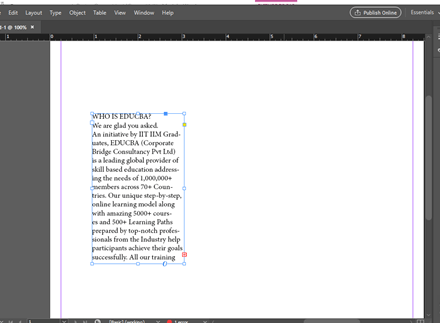
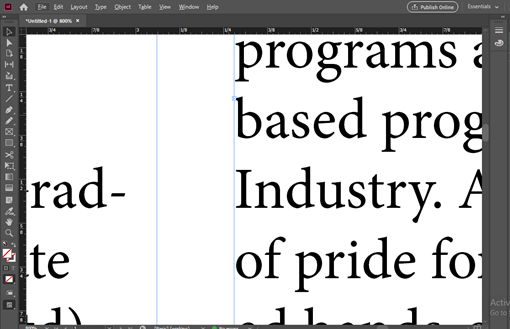
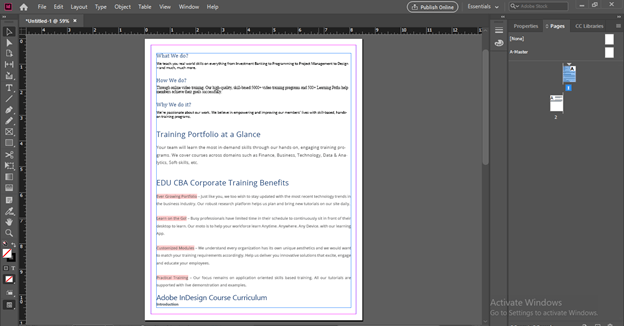
Now i will paste some text here like this, and you can see the text is not perfectly fit in this box. So you can identify this if there is a red square box at the end of the text box that means if there is a red box at the end of the text box, then the pasted text is not perfectly fit in the frame is called over size text.
So we can set this over text in the text frame box by different ways, and in this case, when there is not much text, we can increase the size of the text box. For the increasing size of the text box, simply select the anchor point of the text box with the select tool and drag it for increase size. You can increase text box size in the horizontal direction.
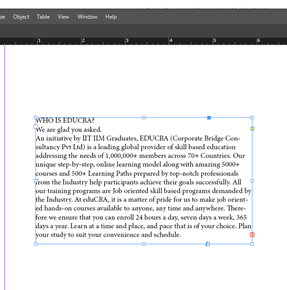
Or in the vertical direction as per your choice and can fit it like this.
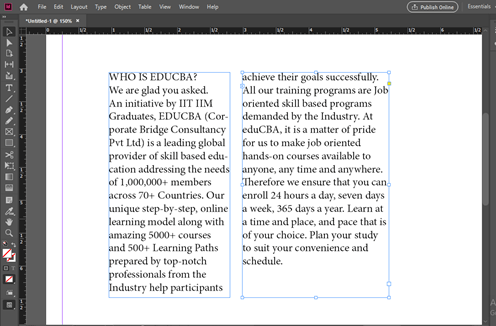
Let us now learn other techniques through which we can do this. This time click on the red square of this text box.
And red square will change into an arrow box, and our mouse cursor will have a text sign on it.
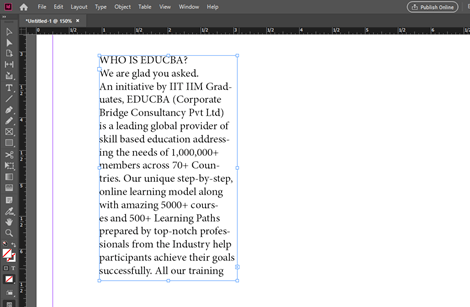
Now drag the text box to the next of this text box or at your desired place on the document area.

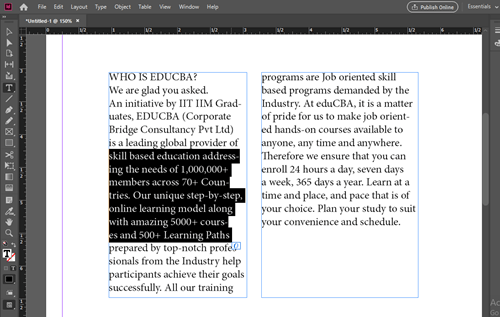
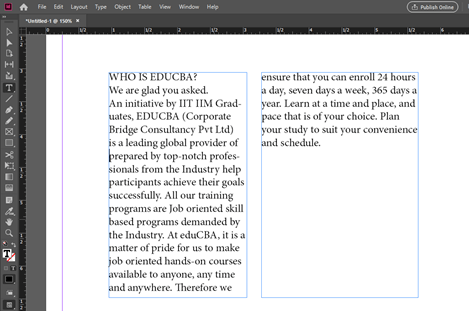
And once you release the mouse cursor, the unfitted text of the first text box will come in this new text box.
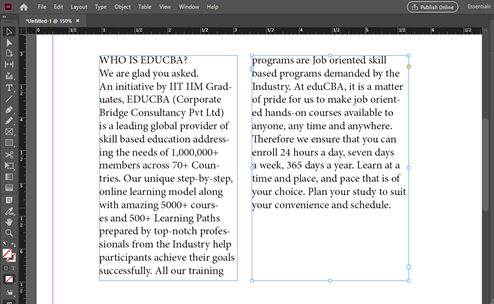
And this new text box also have the same arrow box sign as we have in the first text box. This arrow sign shows that the text content of both text boxes is connected to each other.
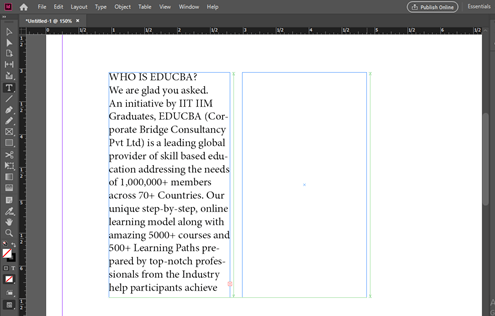
Now, if we make changes in the text content of the first box, then it will affect the content of other connected text box. So, for example, i will select these line of a first text box.
And delete them, and you can see other text box has decreased text lines due to making changes in the first text box.
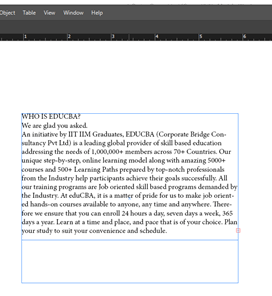
There is one more way with which you can do this, and in this method, you can take the text tool and draw your desired size of the text box.
And then click on the red square of the first text box so that we have extra text on the mouse cursor.
And click on the new drawn text box with the same cursor, then it will paste your extra text here in this box.
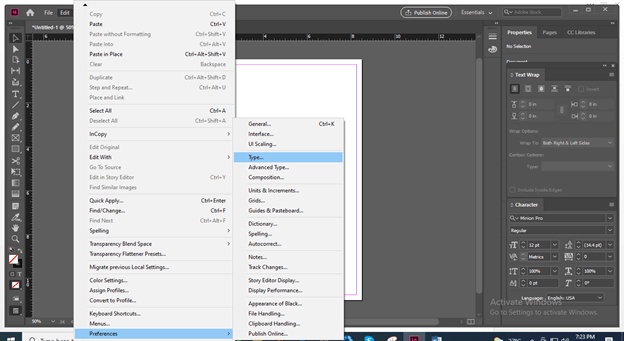
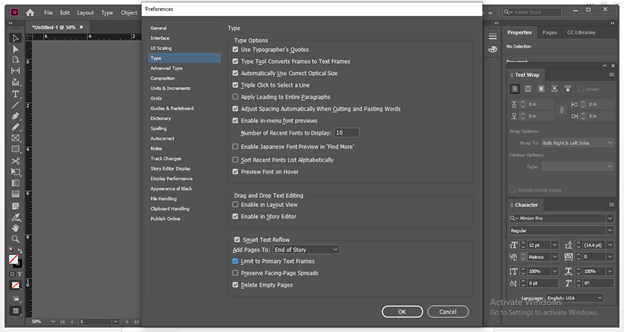
What we will do if we have a very large content of text like the content of any book. So there is a solution for this also. Go to the Edit menu of the menu bar and then the Preference option. In this Preference, we will find the Type option so click on it.
Here in the Preference dialog box, enable the Smart Text Reflow option.
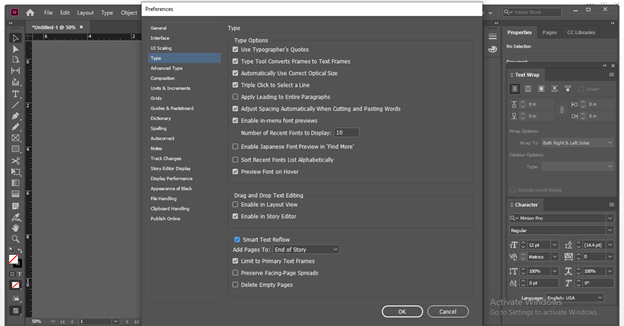
Enable Limit to Primary Text Frames and Delete Empty Pages option also, those are sub option of Smart Text Reflow and then click on the Ok button of this dialog box.
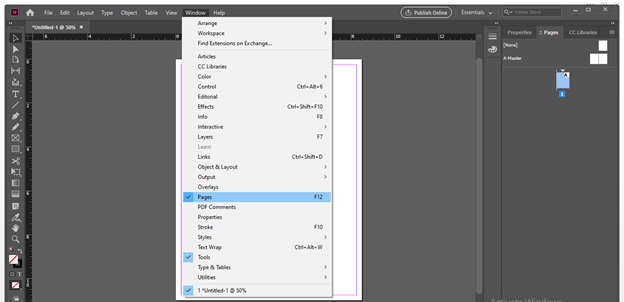
Now go to the Pages panel.
If there is no Pages panel on your working screen, then you can find it in the scroll-down list of the Window menu.
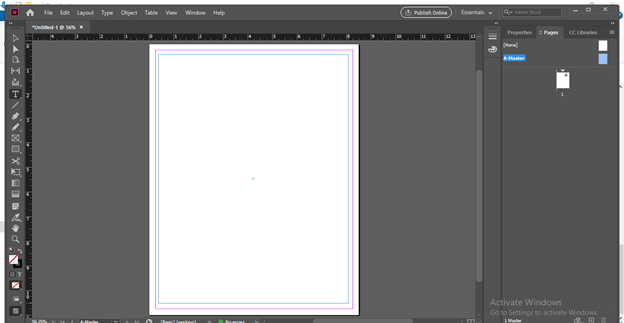
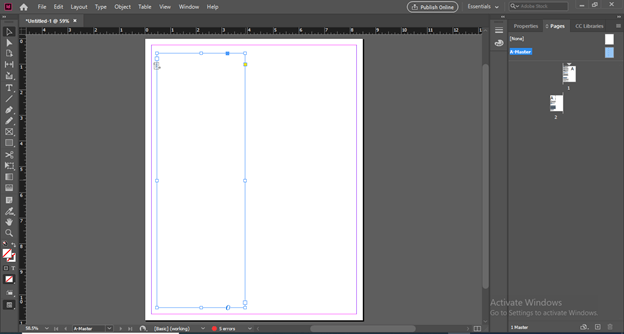
I will select the A Mater page in the Pages panel by making double click on it.

Now again, take the type tool and drag a text box on the document area.
We will have this primary text flow button there on the draw text box, so click on it.
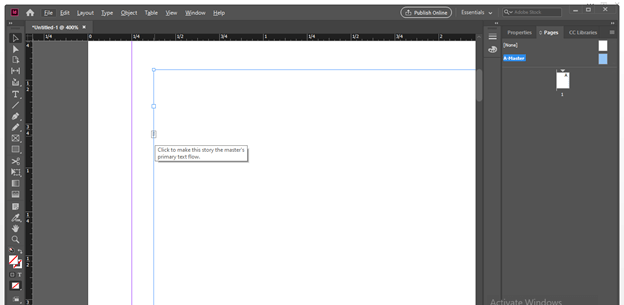
After selecting it, it will change into something different icon.

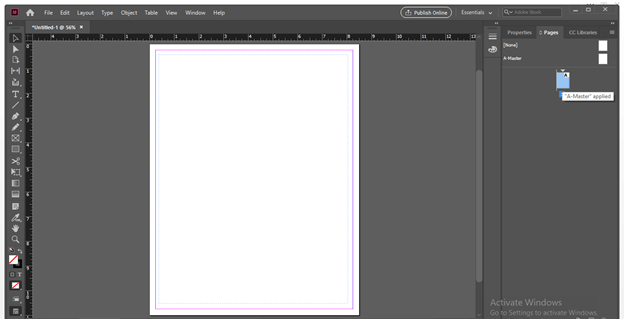
Now selected the normal page in the Pages panel by making a double click on it.
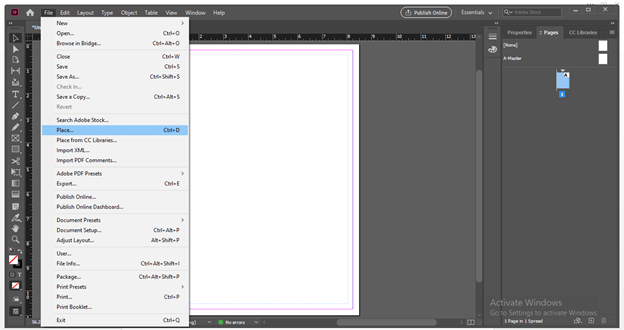
Now i will place large text here in the drawn text box, and for that, i will go to the File menu then click on the Place option of the scroll-down list, or you can press Ctrl + D as its shortcut key.
I will choose my desired text from its saved location and click on the Open button of this dialog box.
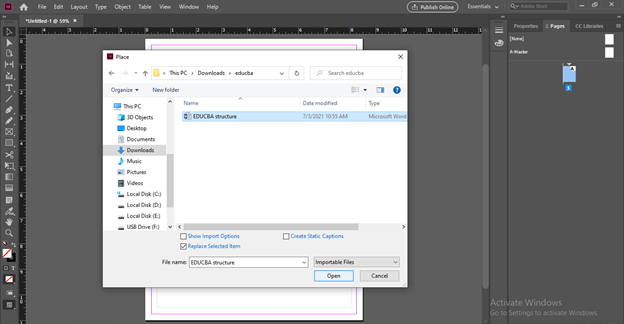
Your chosen text content will come on the mouse cursor, and you when you make a click within the drawn text box, InDesign will automatically adjust the whole text content into a number of pages according to the length of text content.
You can changes the size of the text box any time by going again on the Mater Page in the Pages panel, and the change will apply to the all pages that have connected content.
Conclusion
This way, you can set over text with in the area of the text box as per your choice, and in this article, you got that it is easily to adjust over the text of less content and for large content, you have to make some parametrical settings first, and after that, you can enjoy your work with proper text settings.
Recommended Articles
This is a guide to InDesign overset text. Here we discuss How to work with Overset text in InDesign step by step in detail. You may also have a look at the following articles to learn more –
