Introduction to In Design Invoice Template
InDesign Invoice Template can understand as designing of invoice template in this software by using different design elements as well as type settings of this software. Not only elements of this software we can also use external design elements of other software for creating invoice template. Generally in Invoice template, we have a number of things such as company name and logo, materials details, quantity, price, and so on. So we can arrange these texts contained in this software beautifully because it offers us different text formatting features as well as design elements. The invoice Template layout totally depends on what type of content is required by the client end. So let us have a look at the basics of this topic.
How to Create Invoice Template in InDesign?
You are free to use your own creativity to have a good layout design of the invoice template but there are some points that are necessary to be mention in the layout design of the template. So let me explain to you what are these things.
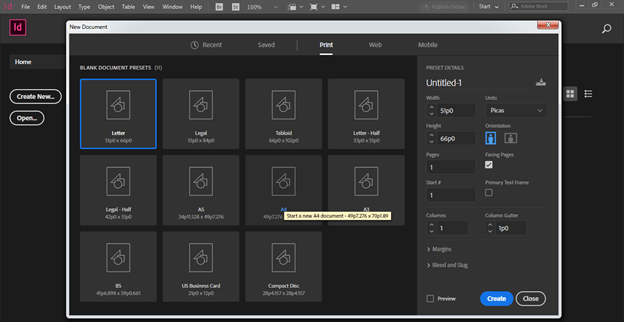
For creating an Invoice Template we generally take the A4 size of the document. So I will go to the Print tab of the New Document dialog box & choose the A4 size of the document.
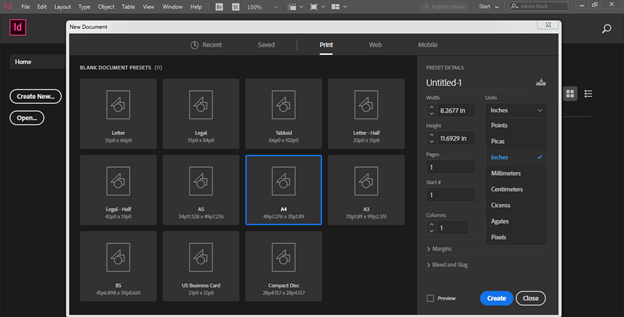
We will work on Inches so I will select the Inches in Units option of this dialog box.
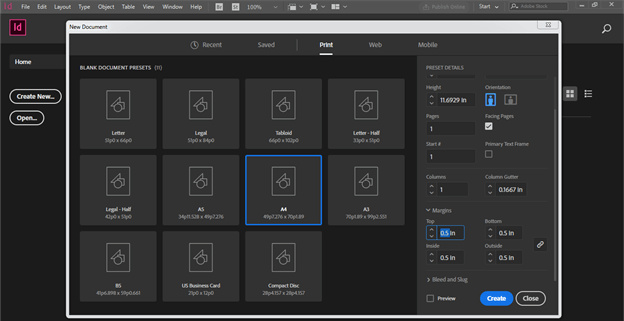
I will also add a margin of 0.5 inches for all sides of the document page and then click on Create button of this dialog box.
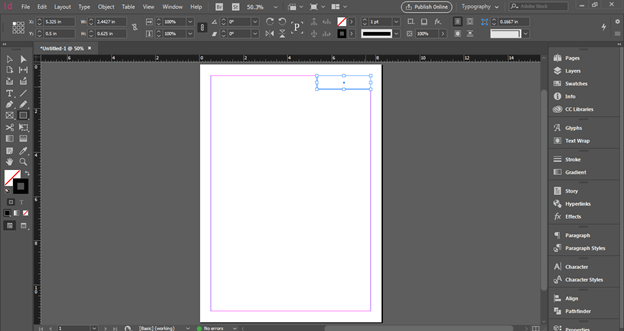
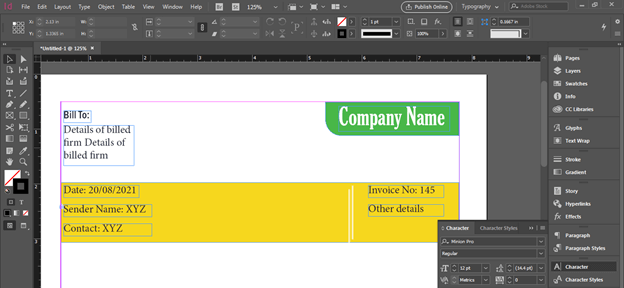
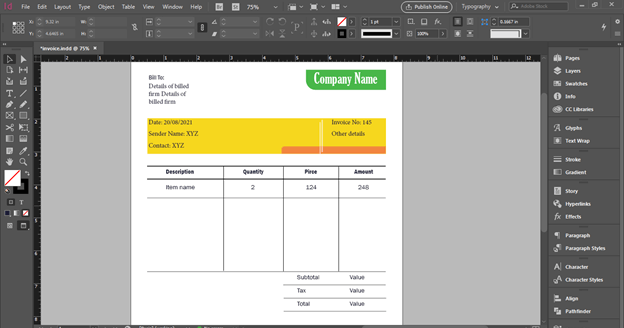
The very first thing we should add in the Invoice is the name of the company or space for the logo. You can choose an appropriate place for having a company name or logo. I will add this here at the top right corner of this document page. I will create a rectangle here first by using the Rectangle tool of the tool panel.
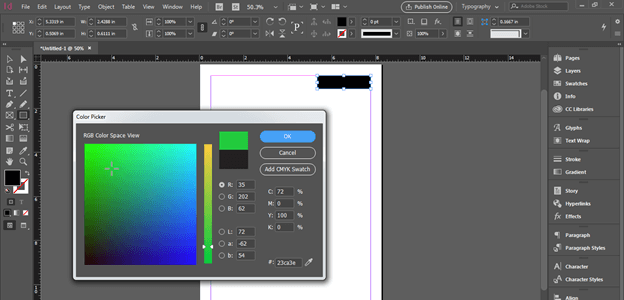
And add this green shade to the rectangle.
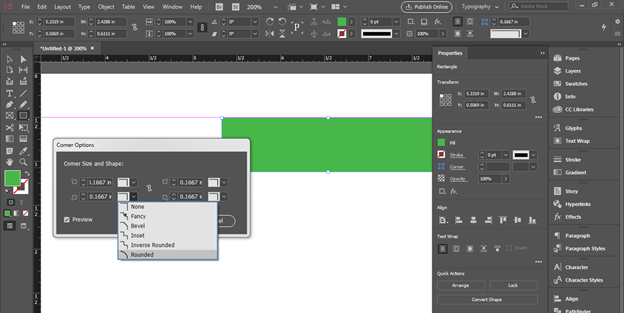
Now I want to round one corner of this shape so I will go to the Properties bar which is at the right side of the working screen and here we have Corners option so I will click on it.
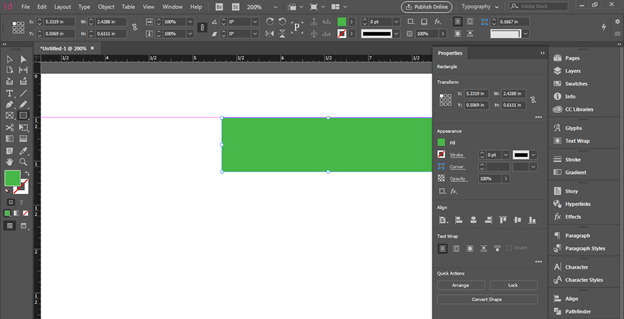
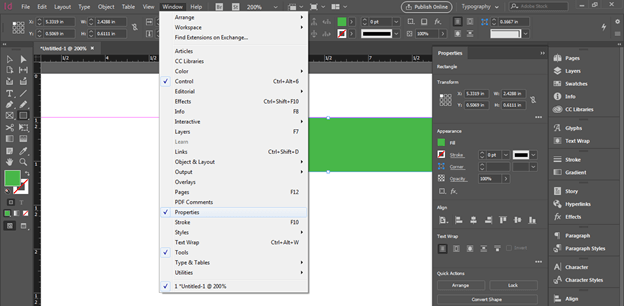
If there is no Properties panel then you can go to the Window menu of the menu bar and have it in the scroll-down list of it.
Now I will choose the round corner option from this list of the button left corner of this shape.
Here I will take the Type tool from the tool panel and type the text for the company name. Here we can type the name of the company.
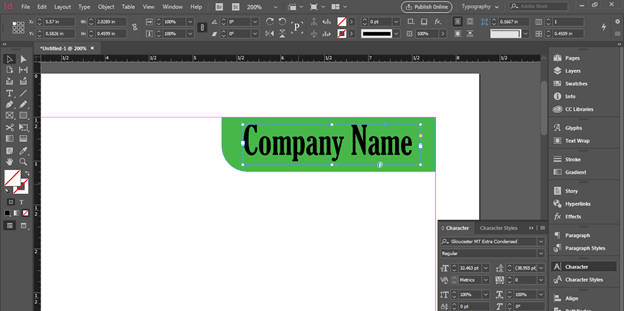
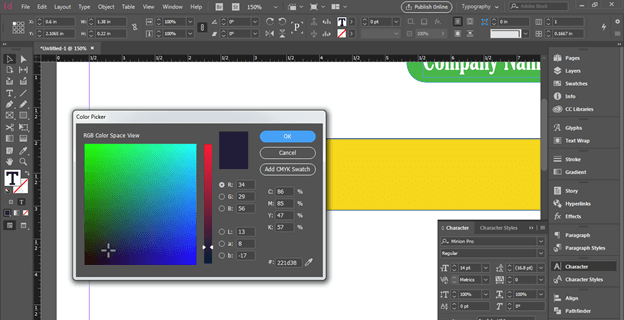
I will click on the text colour box and change its colour to white colour for making good contrast between text and background. You can use your own idea for this purpose.
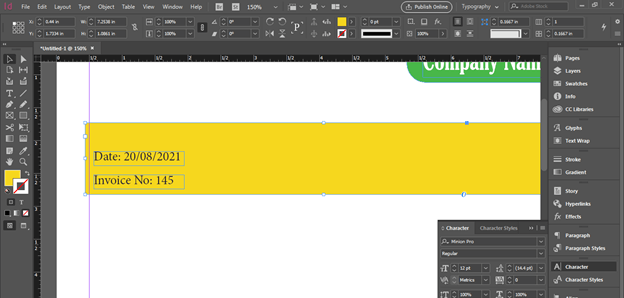
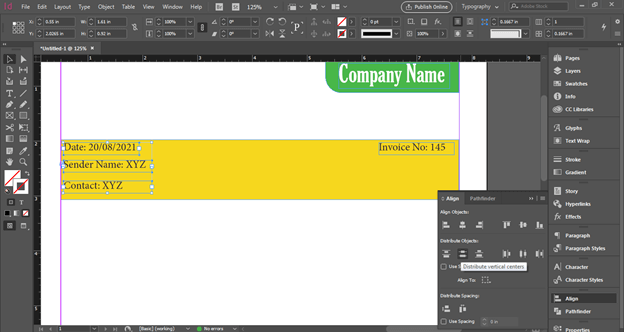
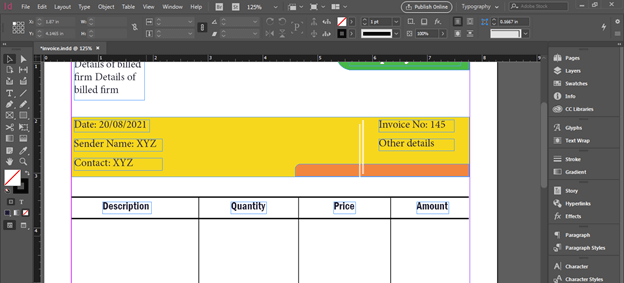
Now I will create a rectangle here for mentioning some details here and give it to the shade of yellow color. Then I have typed this text here with the Type tool. It is for the Date of the Invoice.
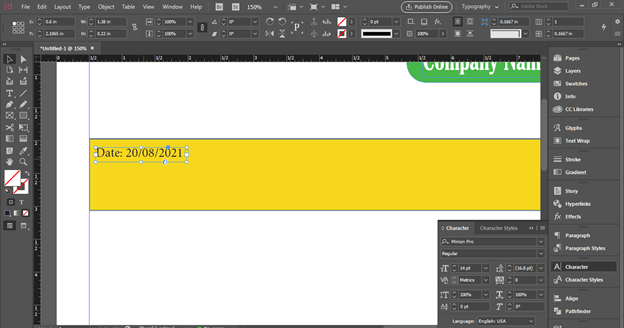
I will change the color of this text into this shade of blue. You can go with black color also if it is required by the client end.
Now I will select date text and drag it with the Selection tool by holding the Alt button of the keyboard and make a copy of it. In the copied text I will add detail for the invoice number. If you are facing a problem with the background rectangle and don’t want to move it during working on the text.
You can lock it and for that select, the object which you want to lock and go to Object menu and choose Lock option or you can press Ctrl + L as its shortcut key.

Now I will place this Invoice No at the right side of this rectangle and for proper alignment of both texts select the both text and holding shift I will again click on Invoice text because I want to align other text with this invoice text.
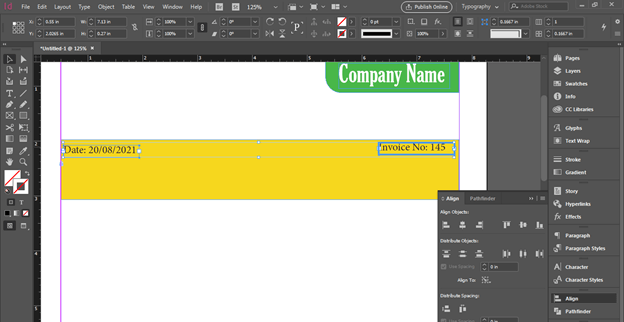
And click on the bottom alignment button of the Align panel.

You can add other text details here that are given by your client.
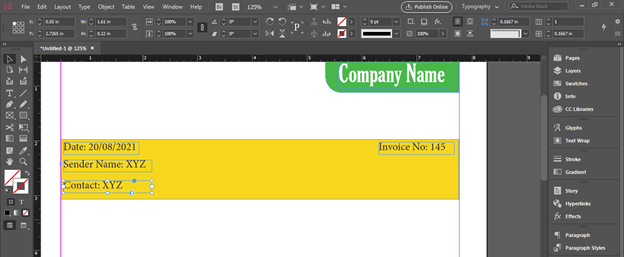
You can equally distribute this text by the same Align panel. So select them and click on Distribute Vertical centres option of this panel.
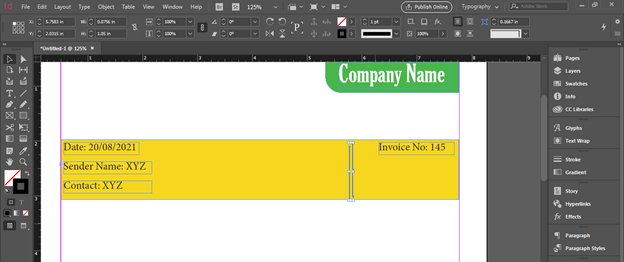
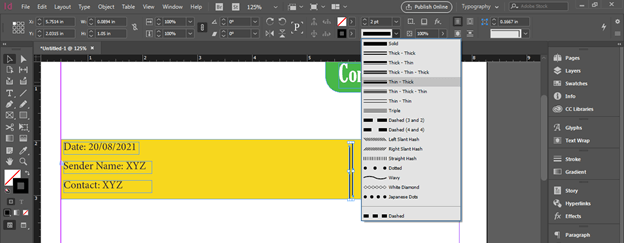
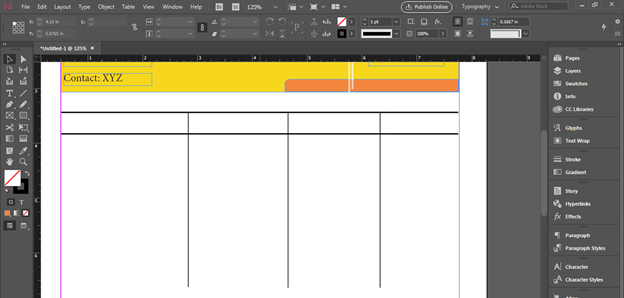
You can also add some design elements like I will add these two lines here.
You can change the stroke style from here such as I will change it as Thin-Thick.
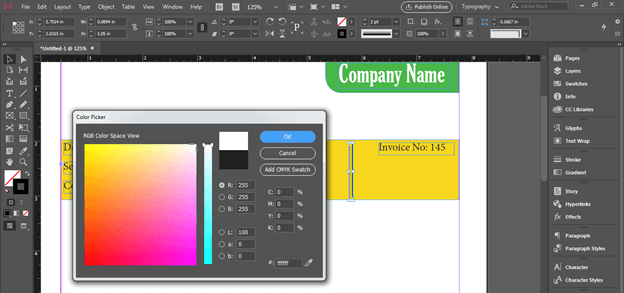
And change the color of this line to the white.
Here we should add the address with whom this invoice will relate. So I will add the ‘Bill To’ text here.

And you can add one more text box here where the details of the related firm will be.
Now the next step is creating a table for material details that will be in the invoice. So I will take the line tool from the tool panel and create this type of table. I have increased the width of the stroke of the top row as 2 pt. and vertical lines width as 1 pt. You can create it according to your idea.
In the first row of this table, I will add the headings of the table such as details of material, its Quantity, price and amount. I will use a bold style of text font for these headings.
In the next row, we can add details of purchased items like this. You can add a number of entries here according to the given details.
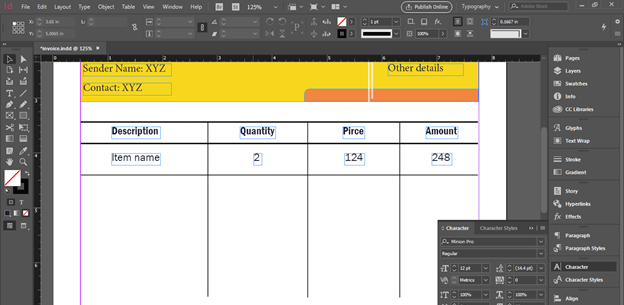
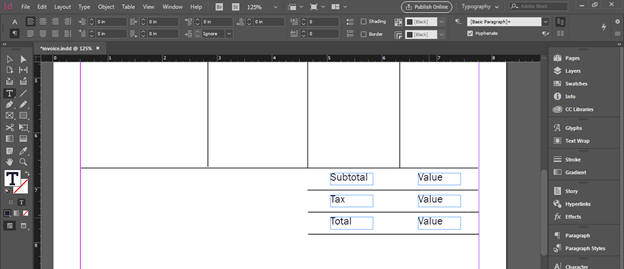
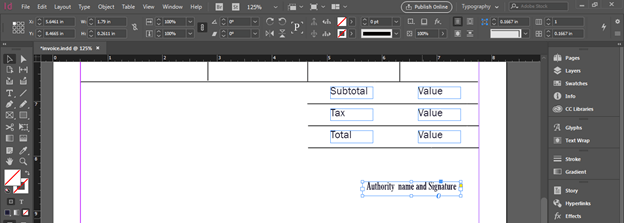
At the end of the table, we should add other details like subtotal, total and so on.
And at the end of the invoice, there should be the signature of the authorized person.
So this way you can create an Invoice Template for your client.
Conclusion – InDesign invoice template
Here I have given you an idea of the basic features of this invoice that involve the layout design of the invoice template in this software. Now after having knowledge about the basics of this topic you can go with your own ideas and can create a professional template of Invoice of any firm.
Recommended Articles
This is a guide to InDesign invoice template. Here we discuss the basic features of this invoice that involve the layout design of the invoice template in this software. You may also have a look at the following articles to learn more –
