Introduction to InDesign Gap tool
InDesign Gap Tool is one of the useful tools of this software and helps us for maintaining gaps between different contents of a document of InDesign. It offers several techniques for maintaining gaps between two or more contents during the design layout of lots of documentation-related designs. With this tool, we can maintain both vertical as well as horizontal gaps of the contents of the page. It not only adjusts gaps between contents with each other but you can also use it for maintaining the gap of any particular content from the edges of the document page. So there is a number of things which you can do by using this tool.
How to use Gap tool in InDesign?
Let us find how we can use this tool for maintaining gaps of the content of any document page during working on different project.
For this purpose, I will create a new document and for that click on Create New button on the welcome screen of this software or you can go to the File menu and choose the New option from there.
Now i will choose Print document type and select the Letter size of the document from this dialog box.
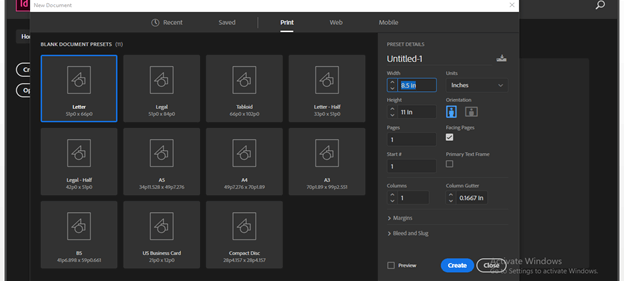
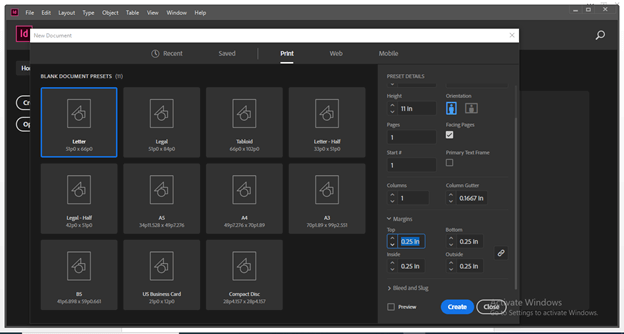
You can set the margins of the document page from this dialog box also. I will take 0.25 in margin and click on Create button of this dialog box.
Now our document page is ready.
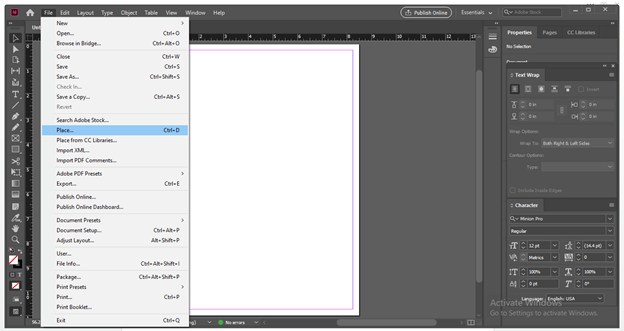
I will place some images in this document area for exampling you about the Gap tool of this software. So for that I will go to the File menu of the menu bar and click on it then from the scroll-down list I will choose the Place option or you can press Ctrl + D as a shortcut of it.
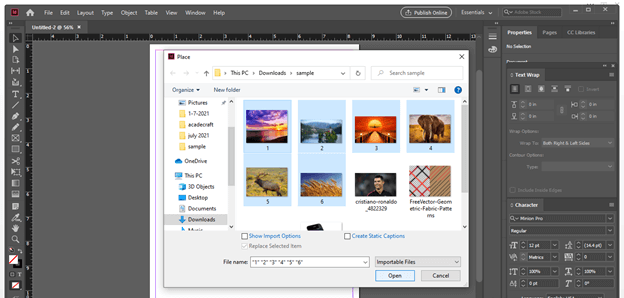
I will choose these 6 images from their saved location and click on the Open button of this dialog box. You can choose any content for learning about this Gap tool.
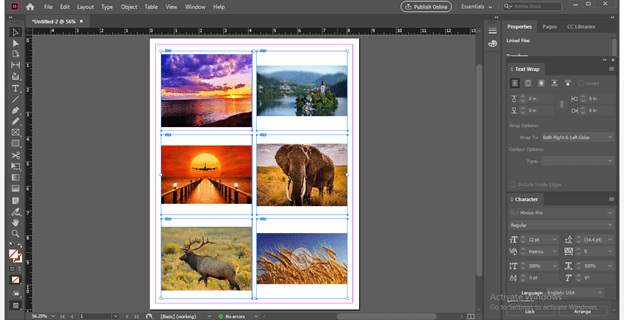
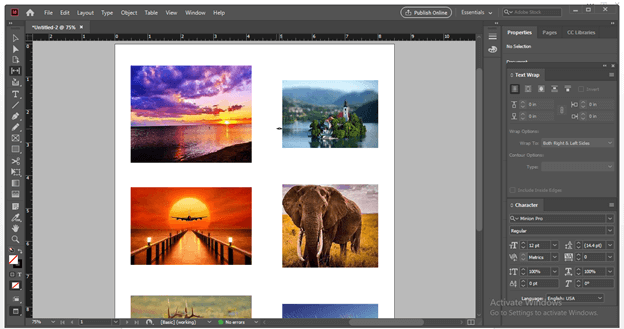
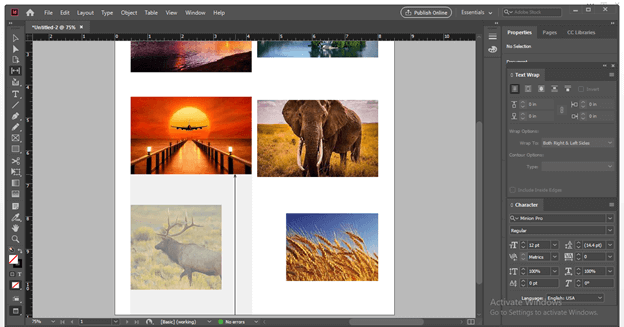
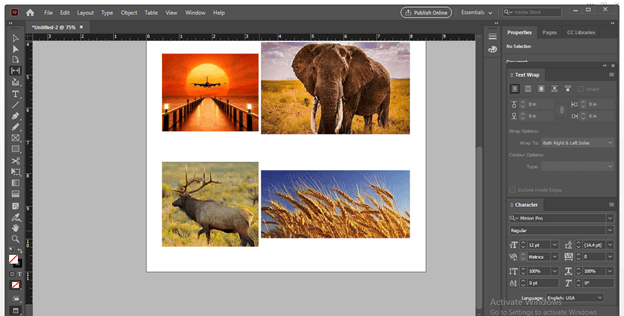
Now I will click on top of the document area and drag the mouse cursor to draw a rectangular space for placing the image. I will hold the shift button of the keyboard then press the up arrow key for adding rows in this rectangular space, I will press the up arrow key two times for adding two rows and then press the right arrow key for adding the column. I have 6 images so for this I have been divided the placing area into 6 frames.
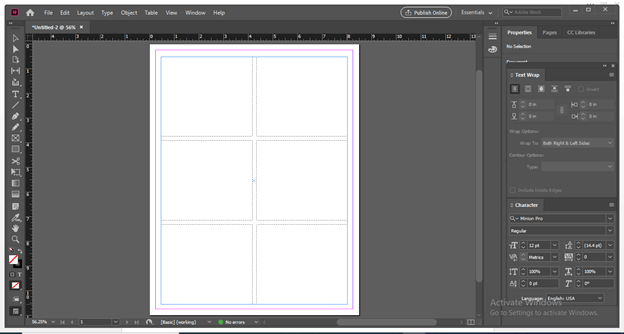
And we will have our image in these frames like this.
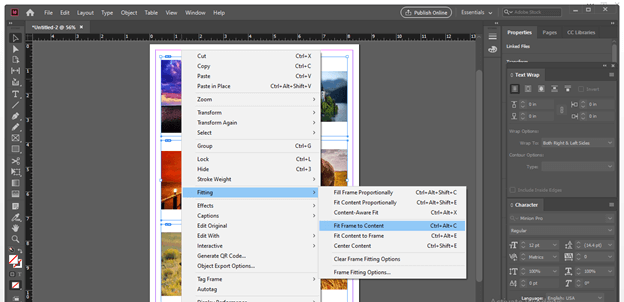
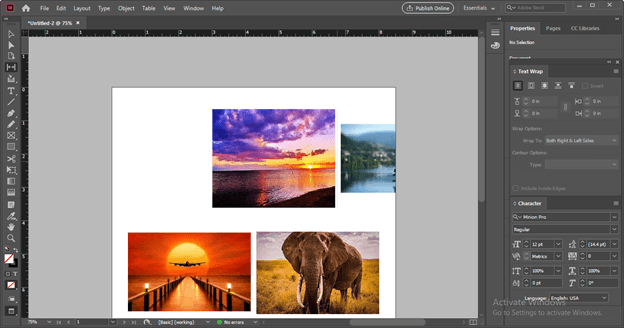
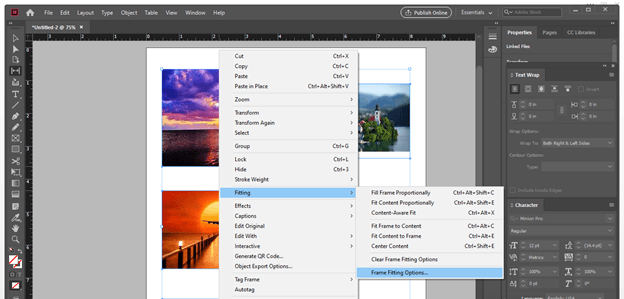
You can see frames are not perfectly fit with the images so for the fitting frame according to the size of the image select all images and make right click then go to Fittings option of scroll down list and choose ‘Fit Frame to Content’ option from the list of Fittings option.
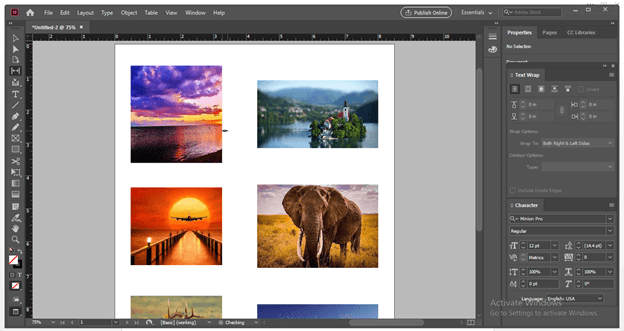
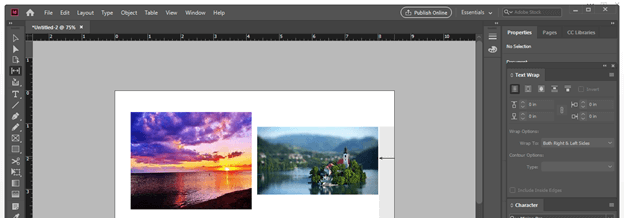
Here in the tool panel sections, you will find the Gap tool with this icon. You can use U as its shortcut key.
Now when you move the mouse cursor between gaps of the two contents you will have this type of double-headed arrow which shows you the current gap between selected content.
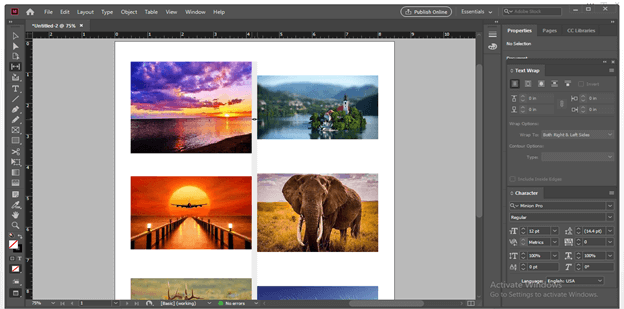
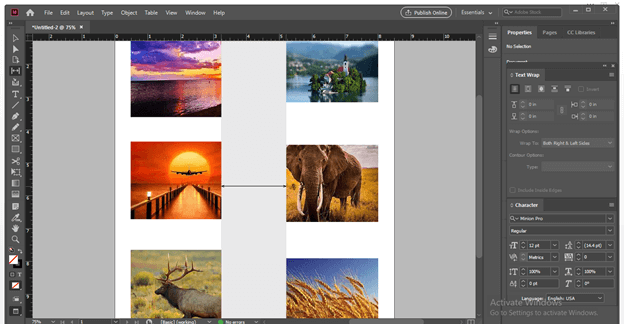
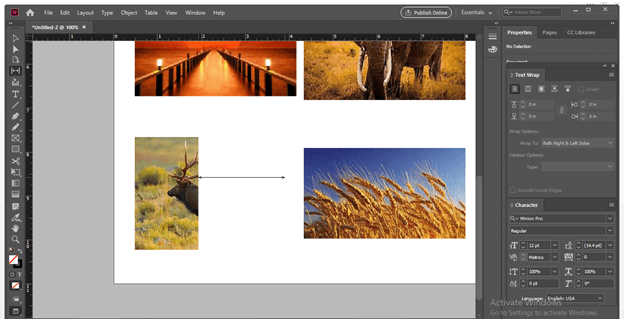
And you can drag the mouse cursor for decreasing or increasing the gap between these two images. If I drag the mouse cursor on the right side then you can see it will decrease the size of the left image for increasing the gap between these two images.
If you draw the mouse cursor in the left direction then it will decrease the left one.
Not only in the horizontal direction you also do the same in the vertical direction for maintaining vertical gaps by the same method.

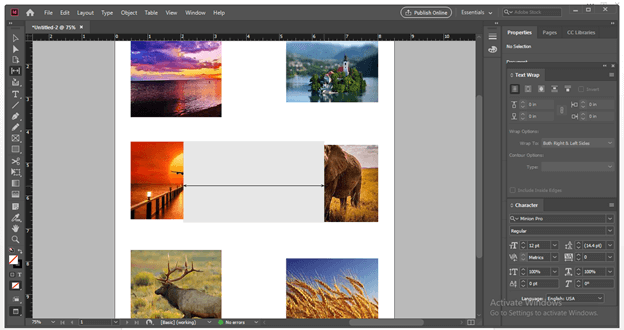
If you hold Ctrl button of keyboard and then drag mouse cursor then it will decrease or increase the gap from both side that means it affects both side contents.
If you hold the shift button of the keyboard then you can change the gap between your desired two content it no matters that there are other images on the same gap with them and if you hold the Ctrl + Shift button of the keyboard at the same time and drag the mouse cursor then it will maintain a gap from both side image and only for your selected images.
Not only gaps between contents but you can maintain a gap of content from the edge of the document page in the same way as we maintain gaps between contents.
Any content gap can maintain from the edge of the document page that has a direct distance from the edge of the documents page.
If you hold the Alt button of the keyboard and then drag the mouse cursor to maintaining a gap between contents then you can actually move select content on the document area like this.
You can notice that during maintaining gaps between content Gap tool distorts the image and objects of that image are cropped like this but we can fix this by doing one setting in this software.
Select all the images and again make a right click and click on ‘Frame Fittings option’ of the Fittings option of scroll down list.
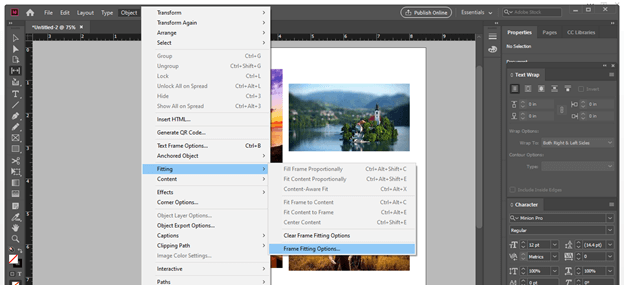
Or you can find the same option in the scroll-down list of Object menu of the menu bar.
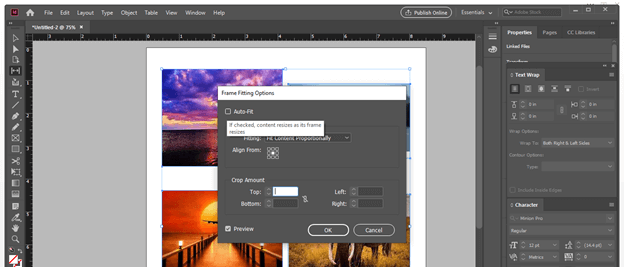
And a Frame Fittings dialog box will be open here in the Frame Fittings dialog box make the Auto Fit option enable by click on its check box.
Make sure you have selected Fit Content Proportionally option from the list of Fittings option of this dialog box.
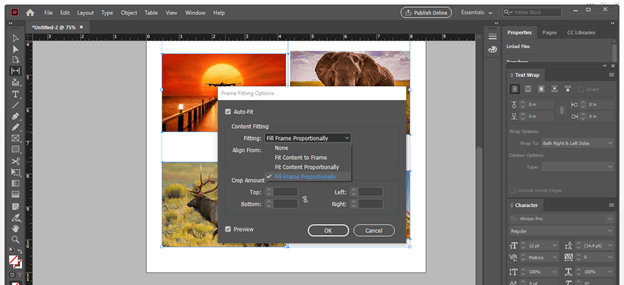
And now when we again use the Gap tool for changing gaps between these images then you can see it will change the gap without distorting the image because the proportion of images are maintained now.
These were some important aspects of the Gap tool about which you must know before start using it in your project work and you can use this gap tool with any content of InDesign.
Conclusion
I am sure you find this tool very useful for doing good gap adjustment between two or more contents of the document pages in InDesign. You can use this gap tool in different ways for having effective layout design and if you start practicing on this tool then you can develop gap adjustment techniques for your work easily.
Recommended Articles
This is a guide to the InDesign gap tool. Here we discuss how we can use this tool for maintaining gaps in the content of any document page. You may also have a look at the following articles to learn more –
