
Introduction to InDesign Highlight Text
InDesign Highlight text can understand as creating a background for text or character or letters of text frame for indicating that selected text or character or letter for a specific purpose. By highlighting text we can differentiate that text from other text of text frames or use that highlighter as a design element. We can use any color of highlighter for text but there is no specific tool named with Highlight text in fact we do this by adjusting some features of text parameters. Here in this article, I will tell you how to highlight text and use that highlight on your desired text of different pages.
How to Highlight text in InDesign?
We highlight text in this software for providing a special indication to that text or use a highlighter as a design element. So let me tell you all the important aspects of the highlight text feature in this software.
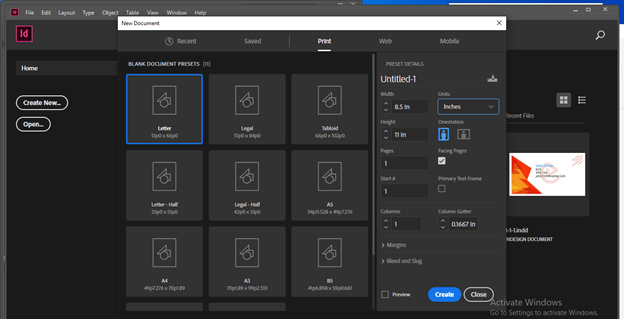
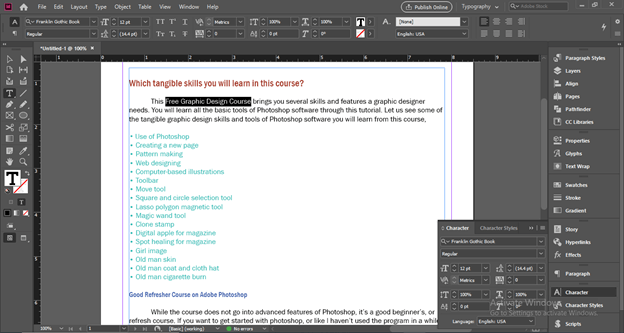
I will create a new document first from the New Document dialog box.
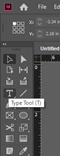
Now I will take a Type tool and draw a text frame here.
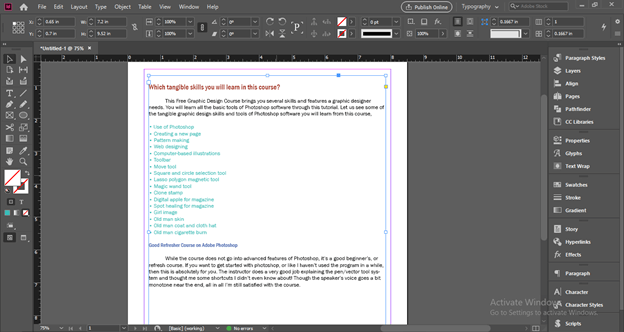
I will paste some text content in this text frame and do some formatting with it.
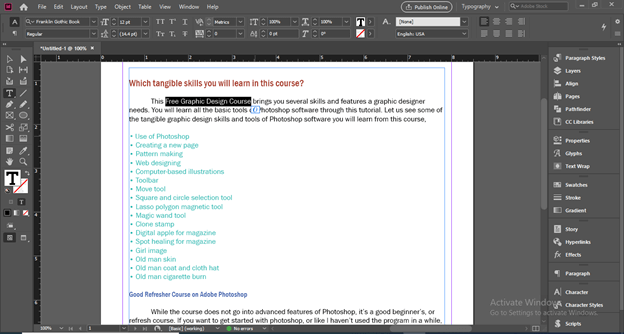
Now I will select this text and want to highlight it. You have to select first that text or character or letter which you want to highlight.
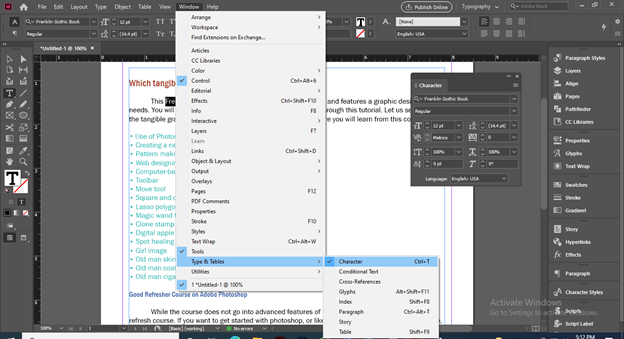
Now navigate the character panel in your user screen of InDesing. I have a Character panel here in the panel’s section of this software.
If there is no Character Panel in your user screen then you can go to the Window menu and in the scroll down list you will find the Type & Tables option. In the new scroll-down list of Type & Tables, there is a Character panel or you can press the Ctrl + T button of the keyboard as its shortcut key.
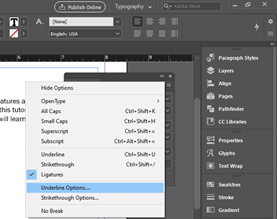
Make a click on the top right corner button of this panel and you will have a popup list. Here in the list click on ‘Underline Options’.
Once you click on it a dialog box of Underline Options will be open. Here in this dialog box ‘Underline On’ option is disabled.
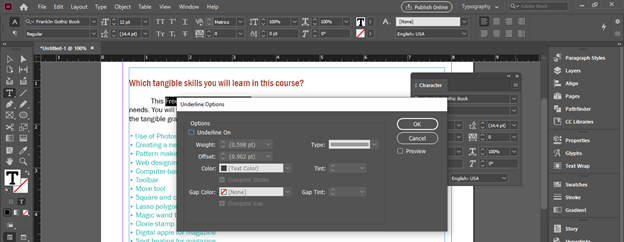
Click on the check box for enabling it. Once you click on it an underline will come on your selected text.
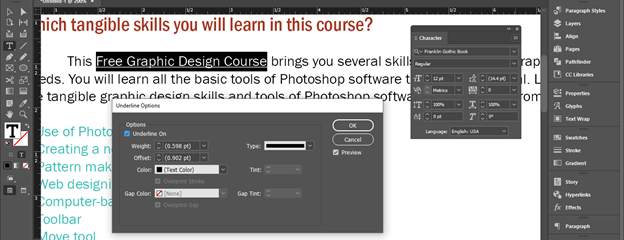
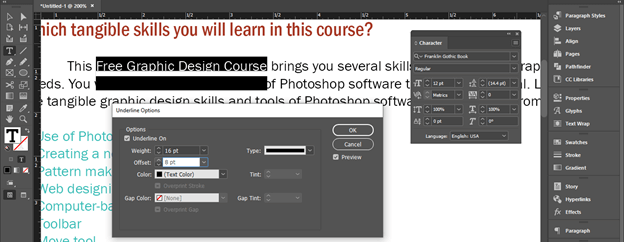
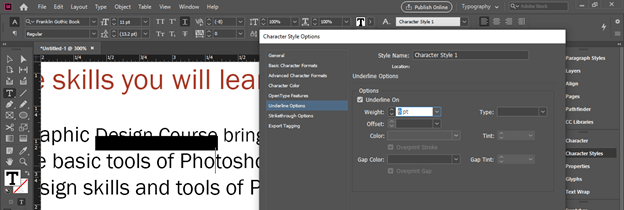
I will increase the value of the Weight option and you can see if we increase the value of this option, the width of the underline also increasing.
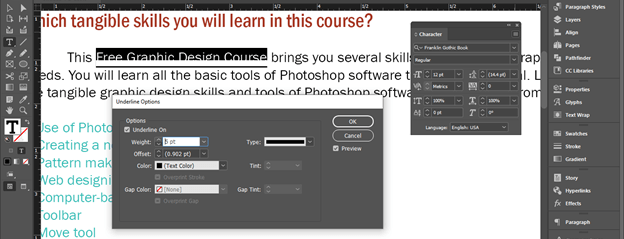
My font size is 12pt so I will take the Weight value higher than this so that my text covers completely. You can set the underline width as per your requirement. It need not be necessary to cover text completely.
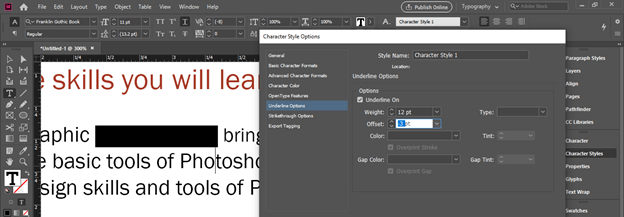
Now I will start to change the Offest value. By changing the offset value we can move to underline in an upward or downward direction. If we increase the offset value in a positive direction it will move into the downward direction.
Or if we go in a negative value of it then it will move in an upward direction.
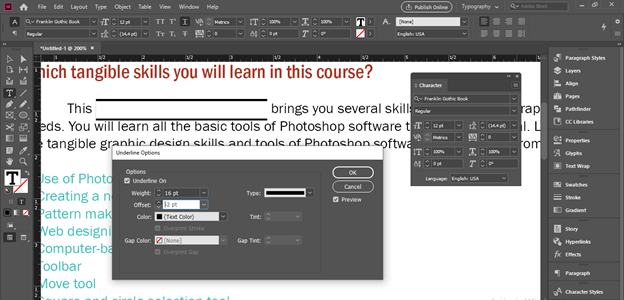
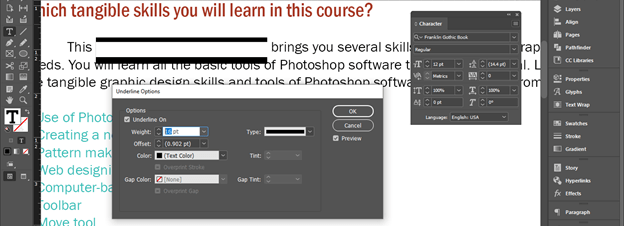
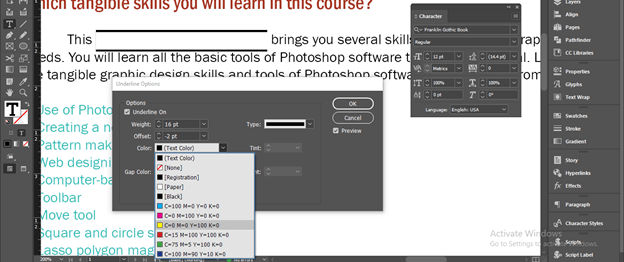
Now from the Color option, we can choose the color for underline which will be the color of our highlighter. I will choose the yellow color and then click on the Ok button.
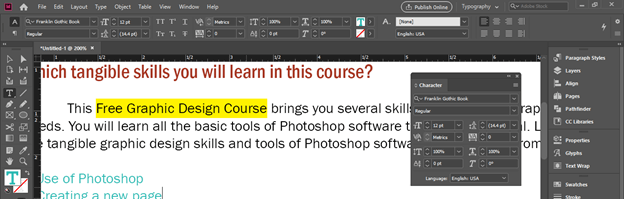
Now you can see we have highlighted our selected text.
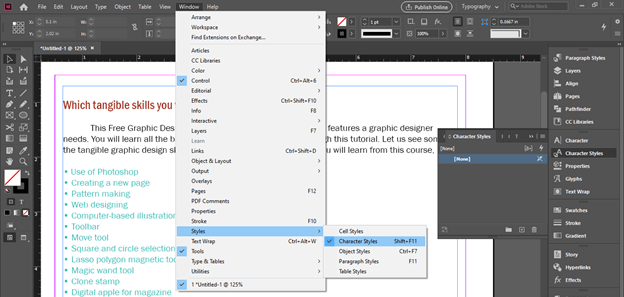
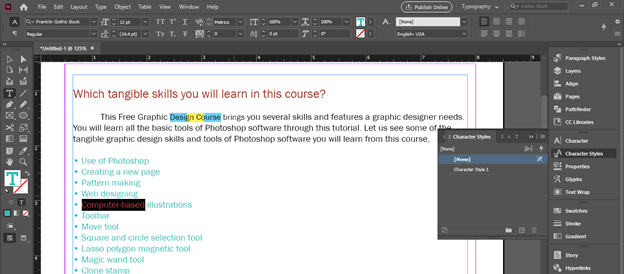
What if you want to have some type of highlight text effect on other text of document also? It may be on the same page or on any other page of the document. For this purpose, I will go with the Character Style panel. So I will open this panel from the same panel’s section of this software.
You can find this panel in the Window menu of the menu bar also. So go to this menu and then go to the Styles option of scroll down list. From the new scroll-down list of Styles menu, you will find the Character style option. You also press the Shift + F11 functional button of the keyboard as its shortcut command.
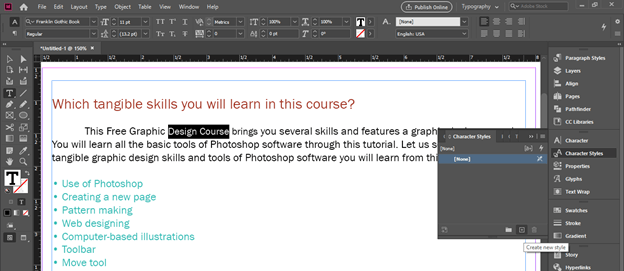
I will select this text and click on Create New Style button of this panel. You will find this button at the bottom right corner of this panel.
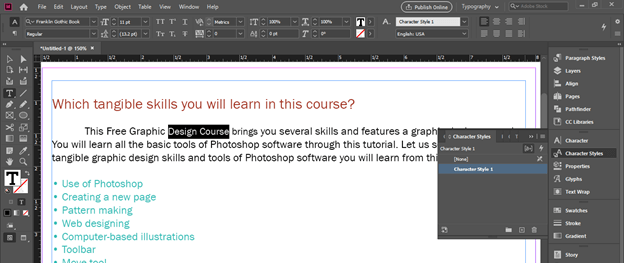
Once a new character style layer is added in the layer section of the panel, click on it and make sure your text is selected. Now this character style layer will be assigned to selected text.
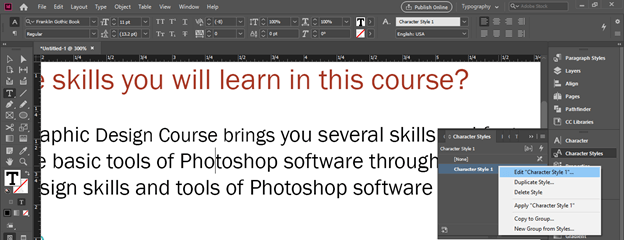
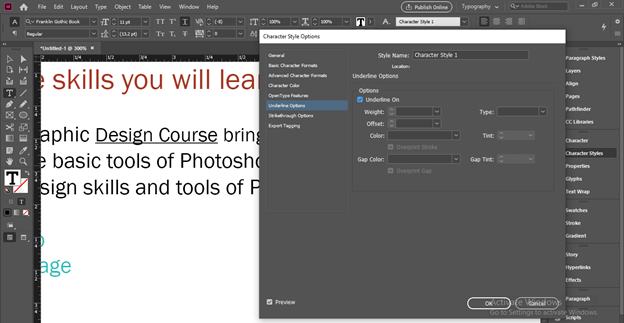
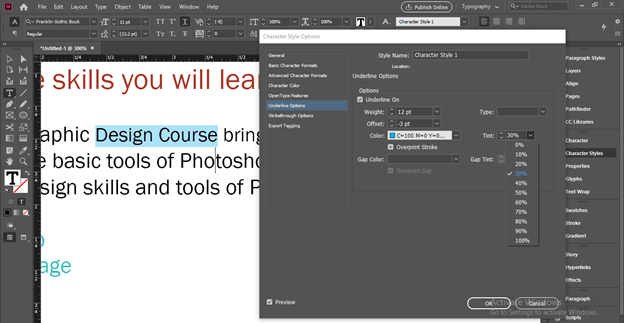
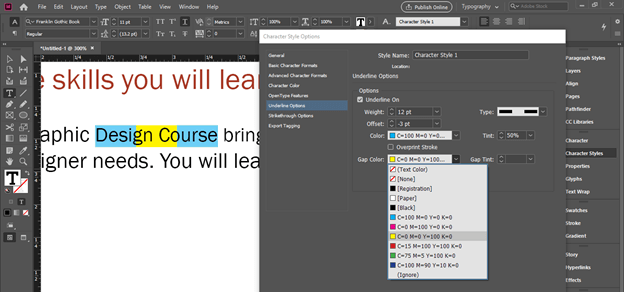
Now make right-click on this Character Style 1 layer being selected and choose the ‘Edit Character Style’ option from the scroll-down list. This time you need not select text.
Once you make click on this option, a Character Style Options dialog box will be open. Here from the list of it choose ‘Underline Options’ and enable ‘Underline On’ option by clicking on the check box of this option. You can see once we enable this option an underline will add to our text of this character style layer.
Here I will increase the underline width in the same way as we did in above-discussed step.
I will also set the offset values as per my font size.
Then assign a color to it. Make sure the preview button of this dialog box is on so that you can see live changes.
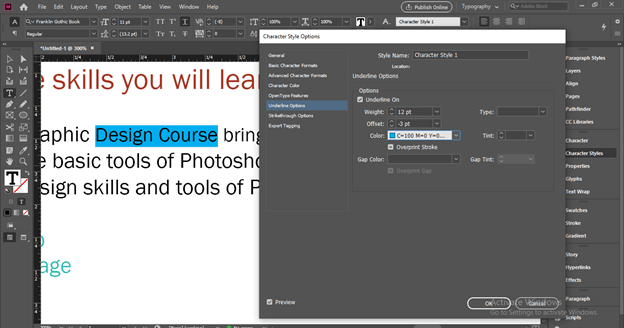
Here is the Tint percentage option also and by changing its percentage we can increase or decrease the opacity or lightness of the chosen color.
From the Type of stroke, we can choose different styles from this list.
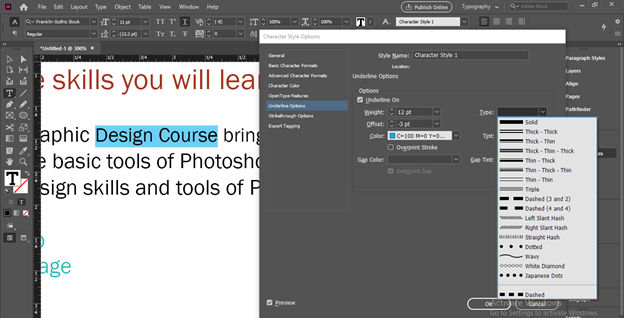
You can see if I choose this style then the highlighter will change like this.
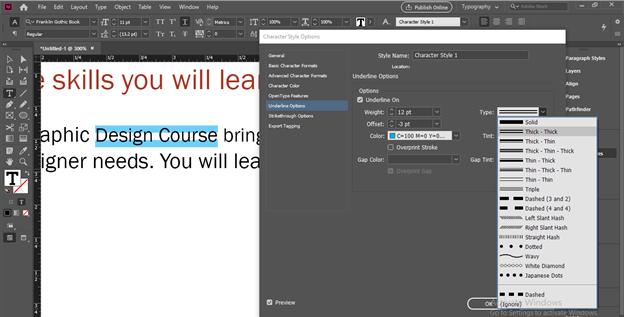
You can choose this dot stroke also for creating a good highlight effect or design.
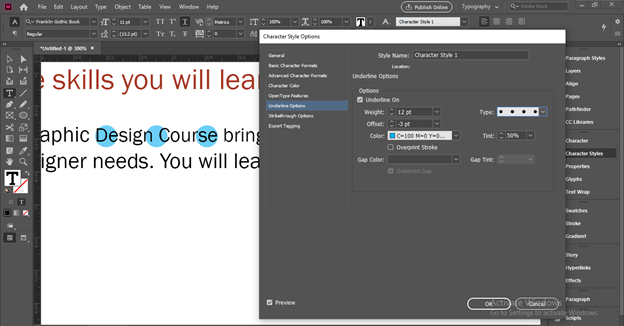
If you go with the dashed line you can add gap color also like this.
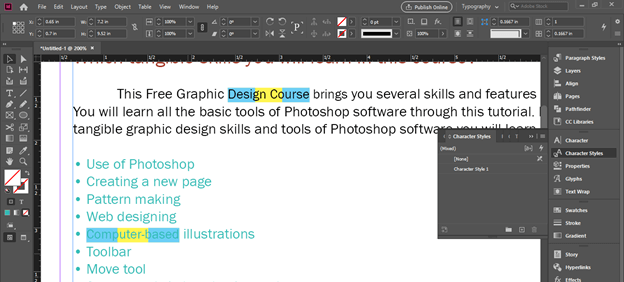
Now you can apply this highlight text effet to other text just select that text.
And click on the Character style layer of Character panel.
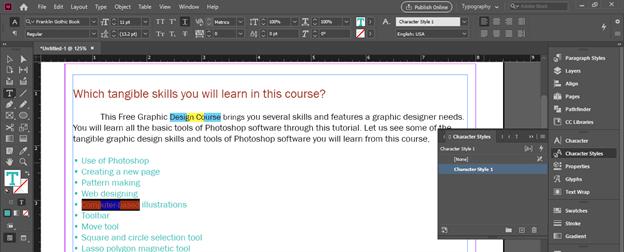
And it will apply to selected text also.
Conclusion
This way you can create a highlight text effect for your desired text for different purposes and apply the same effect to other texts of different pages of your document. You can analyze different parameters of the Underline panel of this software for having more commands on this highlight text feature.
Recommended Articles
This is a guide to InDesign highlight text. Here we discuss how to highlight text and use that highlight on your desired text of different pages. You may also have a look at the following articles to learn more –
