
Intorduction to InDesign Grid
InDesign Grids can understand as guidelines through which we can align our work properly according to our requirement because during working on InDesign we have to manage a number of images with text for having a good composition of them. Here in this software we have two types of grid one is a Document grid and the other is a Baseline grid. We use both of the grids for different types of purposes and both grids have their parameters panel from where we can make adjustments in them according to our work requirement. So let us go through both grids one by one.
How to Use?
We can use a grid in InDesign for having a perfect alignment among the texts and images of our project work. So I am going to tell you about the grid so that you can use it for having effective layout design in this software.
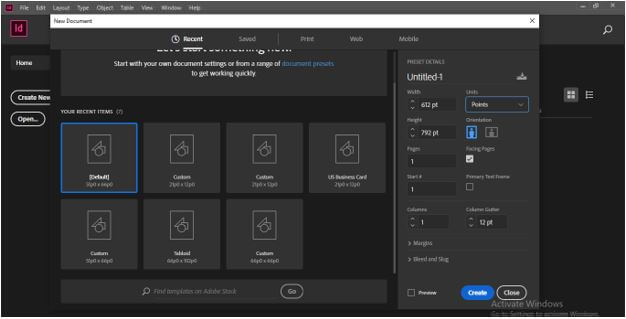
First, I will take a new document of default size from the Create New button of this welcome screen of this software.
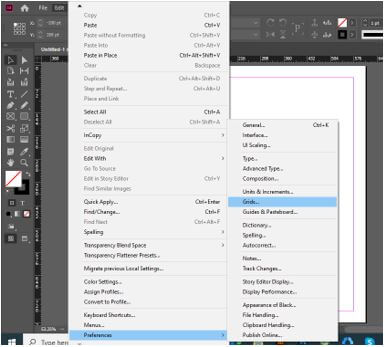
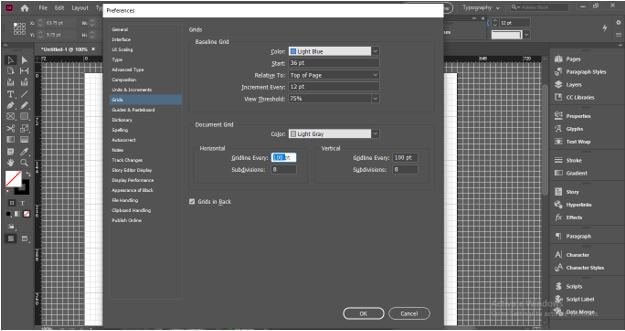
And you can have a Grids panel from the menu bar so go to the Edit menu and then go to the Preferences option of the drop-down list of it then in the new drop-down list of Preferences option click on the Grids option.
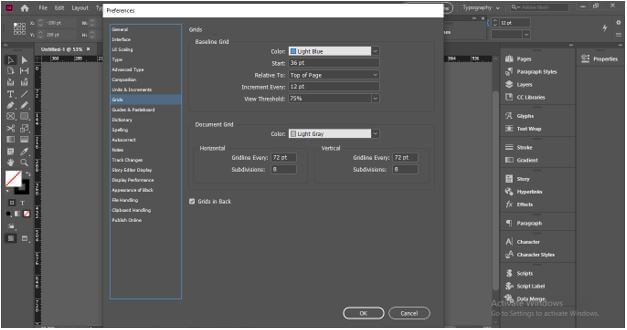
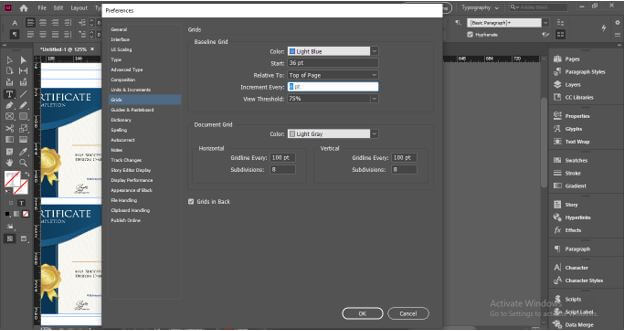
Here in the dialog box of Grid, we have parameters of Baseline Grid as well as Document Grid which we can manipulate as per our requirement. I will go with the default parameters settings of both grids right now and click on the Ok button of this dialog box.
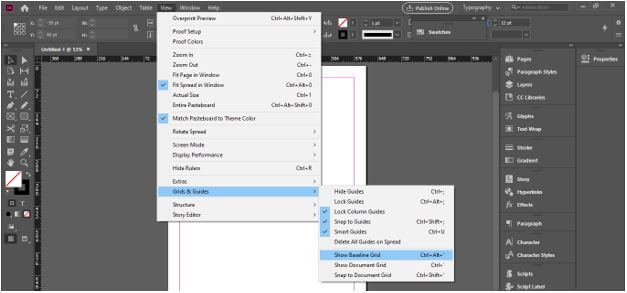
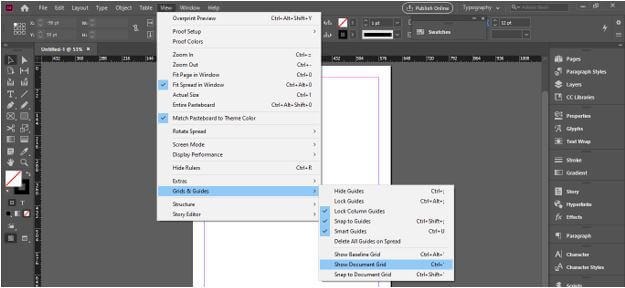
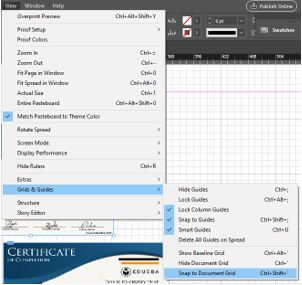
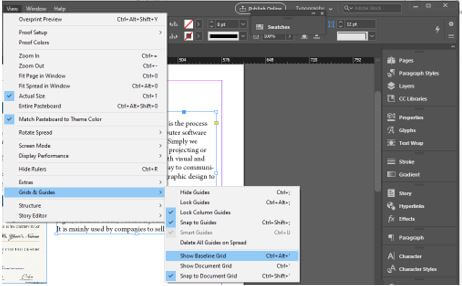
And for seeing grids on your document page, go to the View menu and go to the Grids & Guides option of the drop-down list then in the new drop-down list we have options for both grids that are ‘Show Baseline grid’ and ‘Show Document grid’ with their shortcut keys.
I will enable the Document grid first by click on the ‘Show Document Grid’ option.
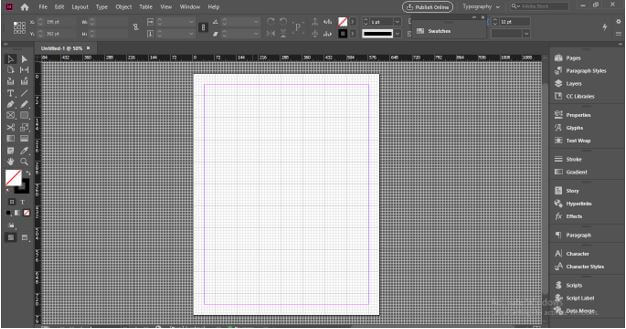
And we have our grids on the document page like this.
How to use a grid with Images in InDesign?
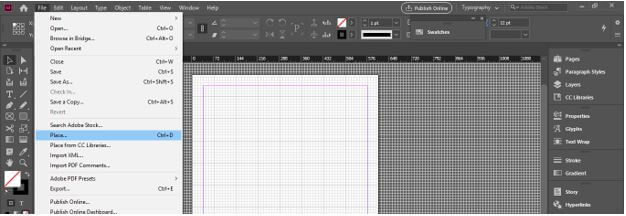
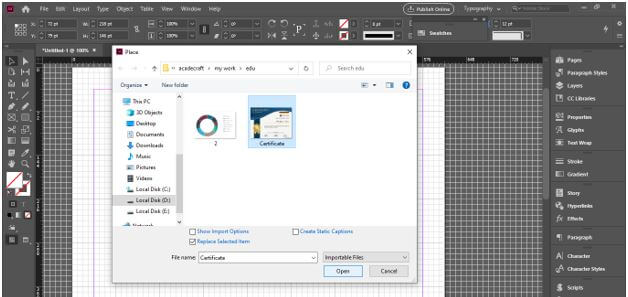
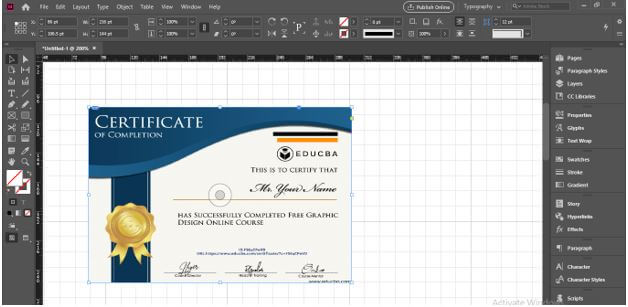
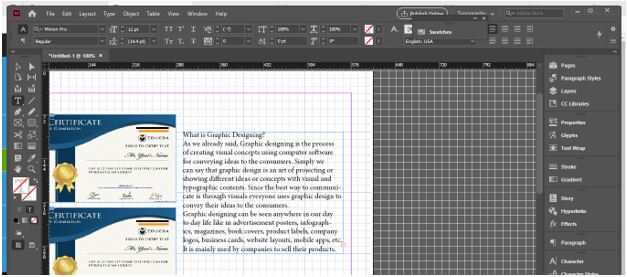
Now let us have an image to understand the purpose of the grid with an image. I will go to the File menu and click on the Place option of the drop-down list for placing images in this software.
And I will select this EDU certificate format image.
And I will place it like this.
Before working with the grid make sure you have enabled the Snap to grid option and for enabling it go to the View menu again and click on the ‘Snap to Document grid’ option of Grids & Guides.
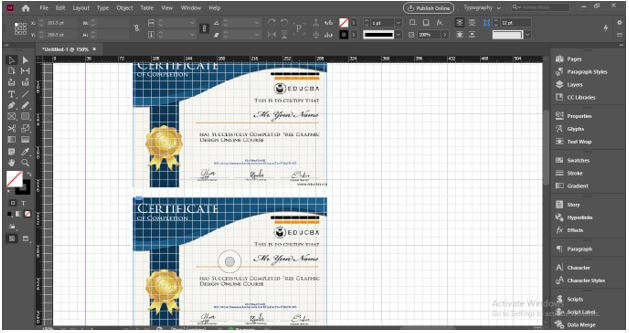
I have made a copy of this Certificate and we can easily align this image with the grid corners. For example, I want to align the right edge of this image with these blocks of the grid and when I move it here it will automatically snap with them.
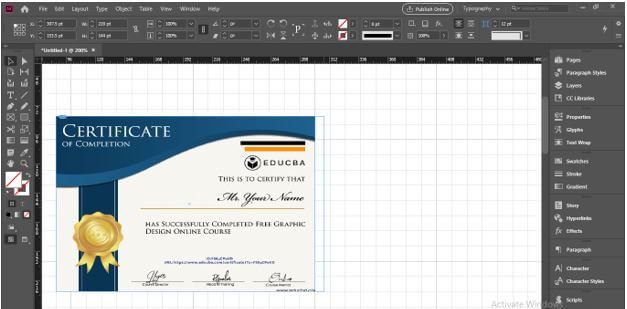
Because this grid has an equal distance between all blocks of it, so we can maintain spacing between two or more images very easily considering blocks.
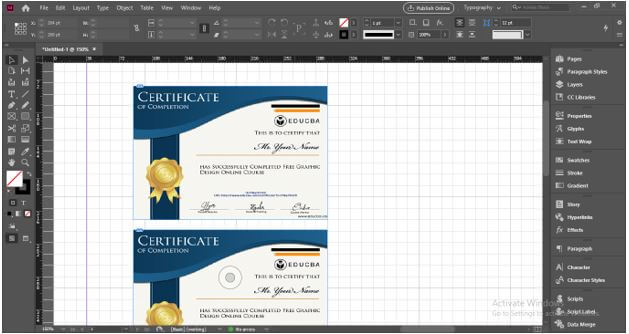
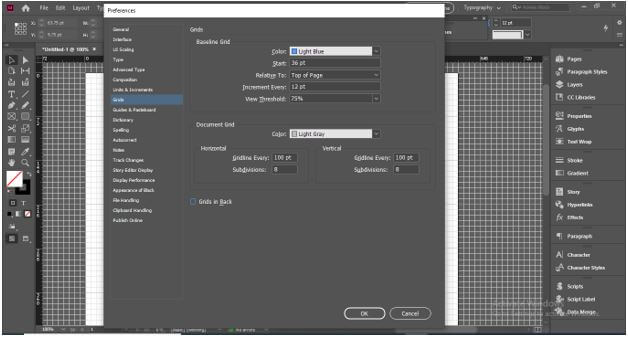
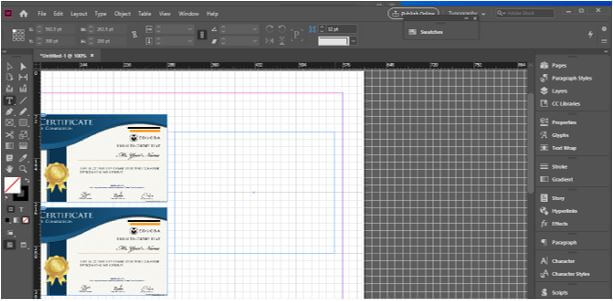
If you want you can increase or decrease the size of blocks of the grid. Currently, blocks are 72 x 72 pt.

And if I change it to 100 pt x 100 pt.
And also disable ‘Grids in Back, an option of the dialog then click on the Ok button of it. If we disable this option then the grid will come on the top of all the content of the document page.
Here now you can see the sizes of blocks are increased and the grid is now on the top of images. So as per your suitability, you can place the grid on top of content or back of content.
How to use Grid with text in InDesign?
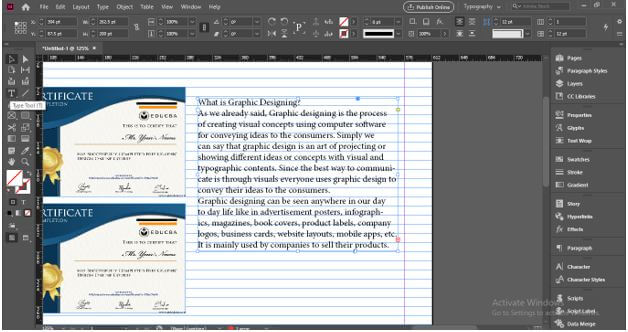
Now I will take the text tool and create a text box. Now we understand how grids work with text?
Now I will paste some text here in this text box.
You can move the text frame along with grid lines to align it properly with the image at your desired place.

Now let us go through another type of grid that is Baseline Grid. I will first disable this Document grid from the same menu of the menu bar by clicking on the ‘Hide Document Grid’ option.
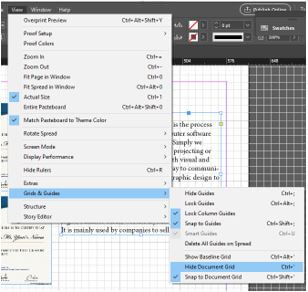
Now from the same options, I will enable Baseline Grid by clicking on the ‘Show Baseline Grid’ option.
And we will have this type of horizontal grid line on our document page. We use a baseline grid generally for aligning texts.

You can see the text I not perfectly align with the baseline so you need not align it manually by moving it.
Just take the text tool from the tool panel and select this text. You need not select the whole text, just make a click so that the blinking mouse cursor of text will be there on the text box. Then go to the Paragraph Formatting Controls panel. You can find this panel at the top of the working screen. If there is no such panel on your working screen then you can change the workspace of this software into Typography mode.
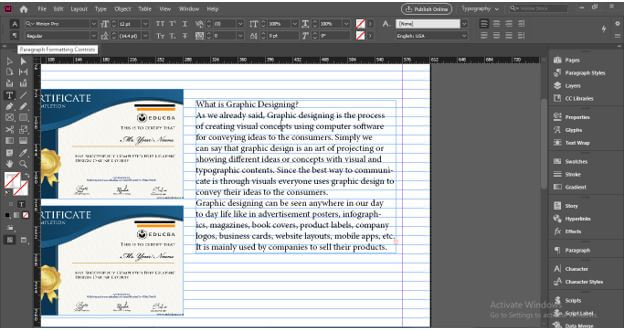
And click on the ‘Align to baseline grid’ tab of this panel.

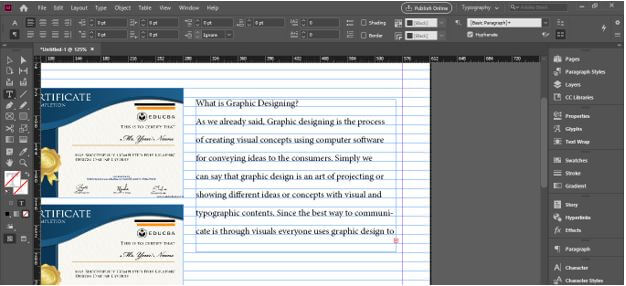
Once you click on this option it will automatically align our text with the baseline but you can see it aligns our text at the difference of one baseline. If you want to align your text with each baseline.
Then you can again go to the Grids panel of the Preferences option and here in this dialog box change value of the Increment Every option of the Baseline Grid section. I will change it to 8 pt. and click on the Ok button.
And you can see it aligns my text closely in comparison to previously aligned. So you can go with the parametrical setting of the grid’s panel as per your choice.

Conclusion
So today we discussed grids and their type in InDesign and you will find it useful during working on any creative design layout in this software. The plus point of grids in this software is that both types of grids have their own panel for making several adjustments in their parameters for having different results with them.
Recommended Articles
This is a guide to InDesign Grid. Here we discuss how to use the grid in InDesign along with text and images step by step in detail. You may also have a look at the following articles to learn more –
