Introduction to GIMP Text Outline
Text outlines are the stroke of the text fill that means we can create an outline around our written text for a different type of manipulation work as well as in typography. In gimp, we can create an outline around our text in many ways, but here today, in this article, we will do this in two ways and learn how we can make changes in these ways to get the best rest in this work. Using these ways, you can create an outline of the text of any width and any color. So let us have a good discussion on it.
How to create a Text Outline in GIMP?
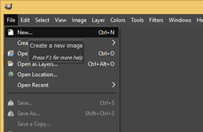
Today we use two methods through which we can create an outline of the text of our desired color and desired width. We learn them one by one. So let us first create a new document on which we set our text. For a new document, go to the File menu of the menu bar and open it by clicking on it. Then Choose the ‘New’ option of the drop-down list of this menu.
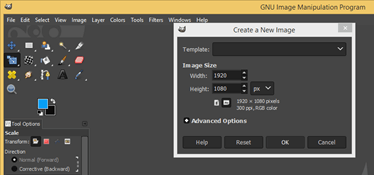
Now set the size of your document according to you in this dialog box. I use these default settings and hit on the Ok button of this box.
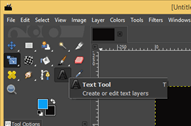
Now take the Text tool from the tool panel, which is on the left side of the working screen, or you can press the letter T from the keyboard for quick access to this tool without going to the tool panel.
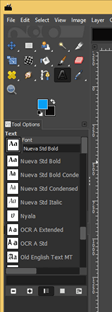
Now choose your desired text style from the parameters’ panel of the text tool.
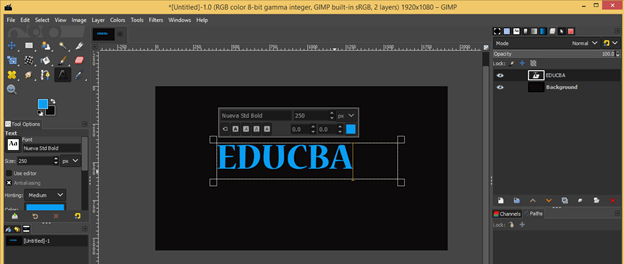
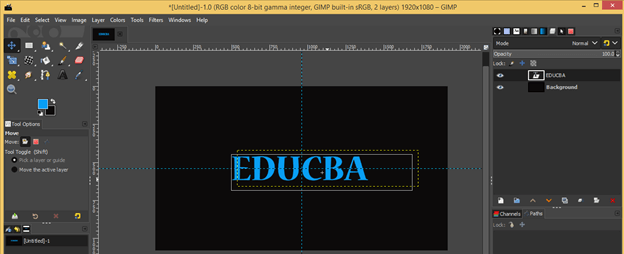
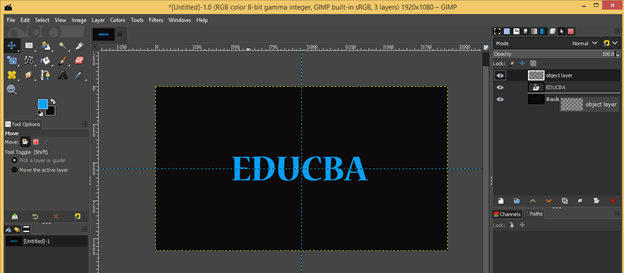
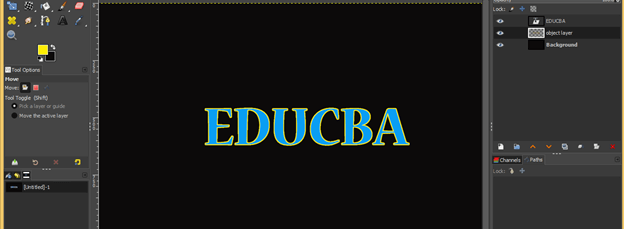
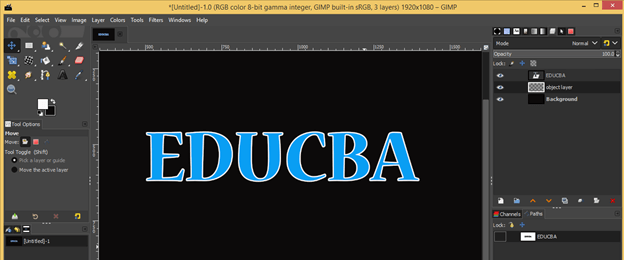
And type your text here. I will type EDUCBA, which is our official name. You can choose any color for your text. I will choose this sky blue color.
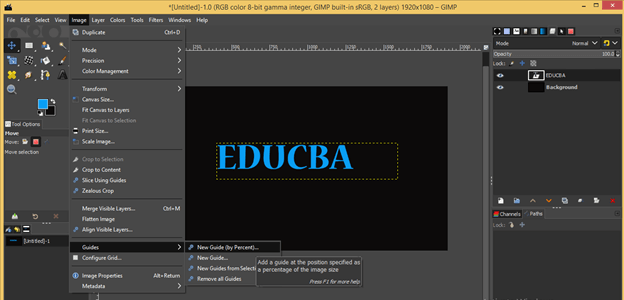
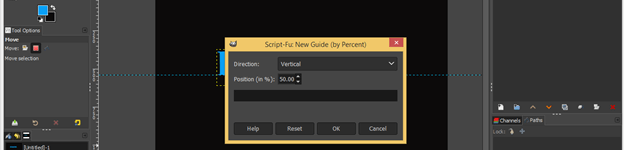
Adjust this text at the center of the document. For this, go to the Image menu of the menu bar and go to the Guides option of the drop-down list, then click on the New Guides (by percentage) option of the new drop-down list.
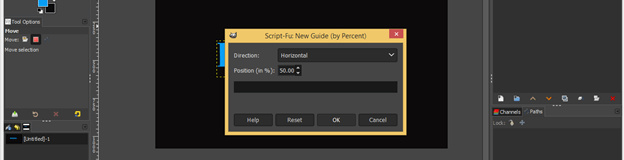
Set horizontal guide at 50 % by giving 50 value in the Position option of this dialog box, then hit the Ok button of this dialog box.
Do the same for the vertical guide.
Now move this text at the center of the document with the help of the move tool.
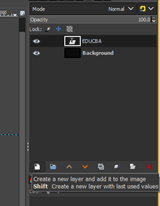
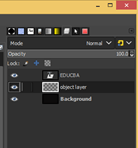
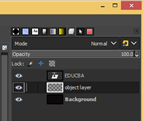
Now click on Create new layer button of the layers panel, which I at the right side of the working screen for creating a new layer.
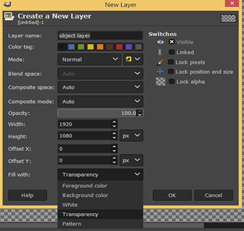
I will create a transparent layer by choosing the Transparency option in the ‘Fill with’ option of this dialog box and hit on the Ok button of this box.
Move this layer below to the layer panel’s text layer with the help of the mouse left button.
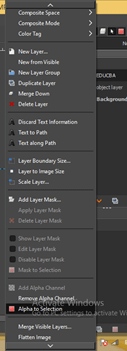
Now make right-click on the text layer and choose the ‘Alpha to Selection’ option from the drop-down list.
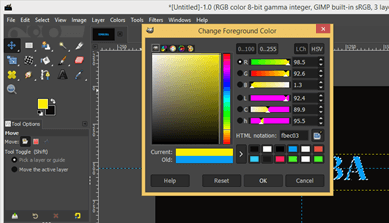
Choose the color in the foreground color box of gimp as per your choice, and your chosen color will be the color of the outline of the text. I will choose a yellow color from this box and hit on the ok button of this color box.
Now select the transparent layer in the layers panel by click on it.
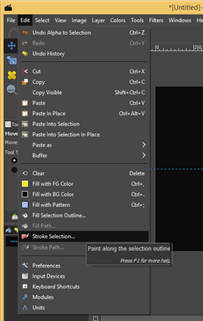
And go to ‘Edit menu’ of the menu bar, then click on the ‘Stroke Selection’ option of the drop-down list.
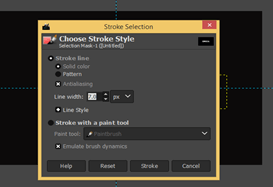
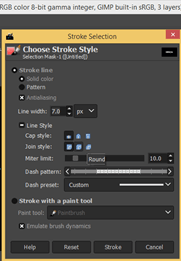
The stroke selection dialog box will be open. Enable the Stroke Line option of this dialog box by clicking on the radio button of this option.
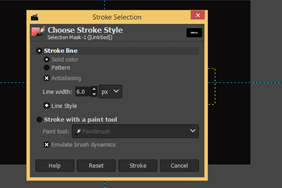
Input your desired value in the Line Width option according to the width of outline you want.
Click on the plus button of the ‘Line Style’ option of this dialog box for seeing more option. Here you can choose cap style and joint style for the outline. I will choose the round option for a smooth outline in joint style. You can go with any option in cap style.
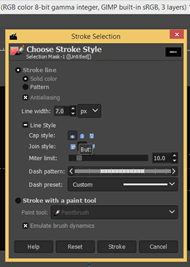
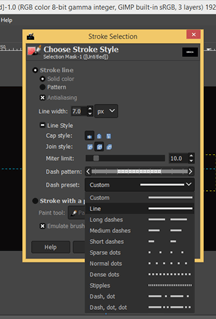
You can choose the pattern of the line for an outline, such as you can go with a dashed line, dots and many others from this list.
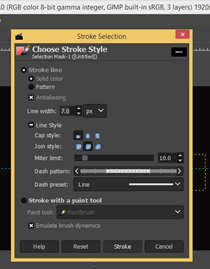
Now hit on Stroke button of this dialog box after doing your desired settings.
And you will have this stroke around your text. Now disable selection around the text by clicking on the ‘None’ option of the Select menu of the menu bar.
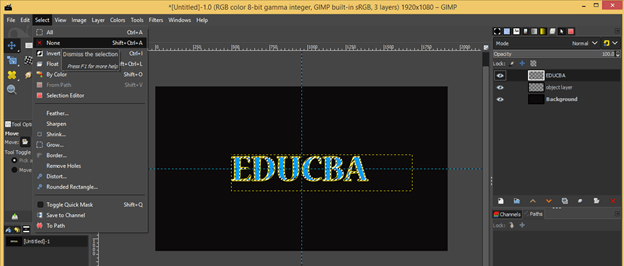
And you will get this type of outline around your text.
Disable the text layer by clicking on the eye button of this layer for seeing the outline stroke of text.
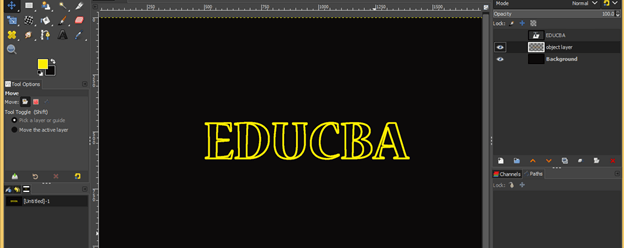
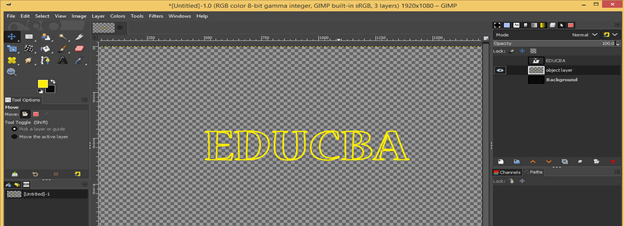
You can also disable the background layer by clicking on the eye button of this layer for seeing a text outline with transparent background.
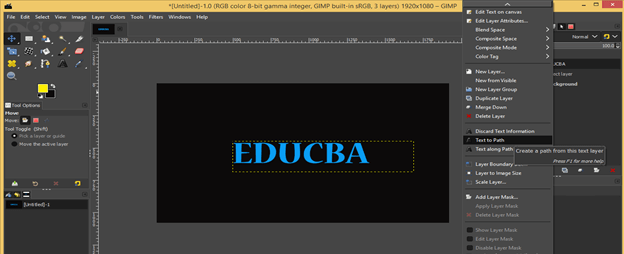
Let us discuss other way for creating an outline of the text. Go to the Layers panel and make right-click on the text layer, then choose the ‘Text to path’ option from the scroll-down list.
Now select a transparent layer in the layers panel.
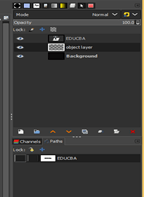
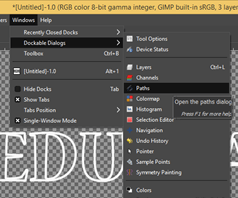
Go to Path’s tab, which is below to layers panel in my user interface. You can navigate it in your user interface. If there is no any this type of tab, then go to the Window menu of the menu bar, then go to the Dockable Dialog box, then choose the Paths option from the scroll-down list.
And make right-click on the Path layer of the text layer in the Paths tab, then choose the Stroke Path option from the scroll-down list.
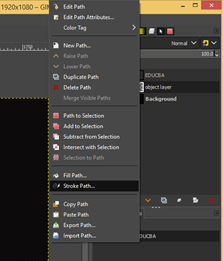
And you will have this same dialog box as we got in the first method. All the settings are the same in this dialog box as previous. Do settings in this dialog box as per your choice and hit on Stroke button of this dialog box.
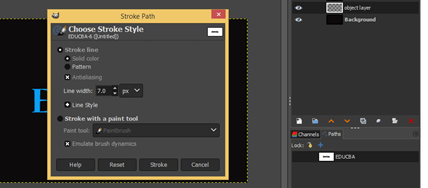
Before hitting on the Stroke button of this box, I will change the foreground color to white for my text outline, and when I hit on stroke button, I will get this type of outline around my text.
Now off text layer as well as a background layer for seeing your outline text.
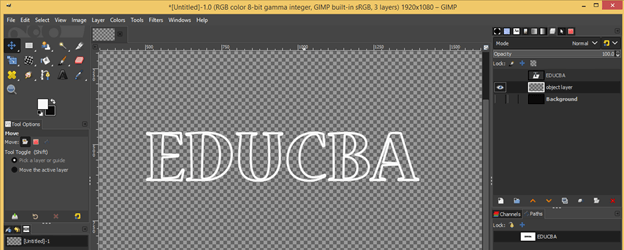
You will get a smooth outline of the text by the second method.
Conclusion
There are more other ways through which you can create an outline of the text of any text, but we discussed two of them, which are the easiest and quickest way of doing this. Now you can easily create an outline of text with your desired parameters after this article.
Recommended Articles
This is a guide to the GIMP text outline. Here we discuss How to create a Text Outline in GIMP and How you can easily create an outline of text with your desired parameters. You may also have a look at the following articles to learn more –
