Introduction to GIMP Pattern
Patterns can be understood as repeated from any specific design arranged in rows or columns or in a specific sequence. Pattern may be any design according to your idea or any image, such as different custom shapes, or shape of any logo and many different things may design it. Here in this article, we will learn how to create a pattern design using custom shapes of gimp software and how to use our saved pattern later in other designing work of gimp. So let us understand this by an example.
How to Create and Save Patterns in GIMP
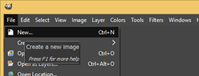
Today we will learn this topic by creating a pattern with the help of the Ellipse select tool of the tool panel of gimp. First, take a new document that will become a reference background for our pattern. So click on the New option of the File menu of the menu bar.
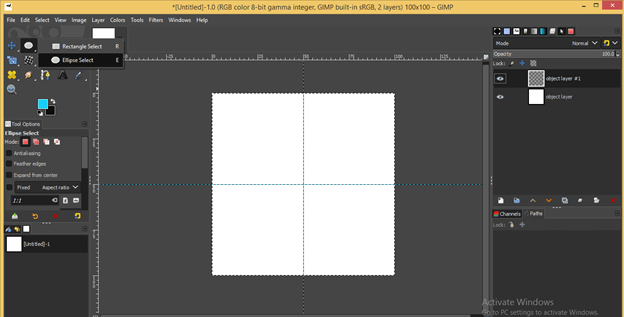
Now set the size of the document according to the size of your pattern. For example, I will take 100 x 100 pixels as my document size.
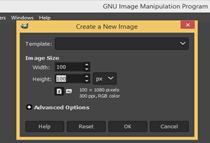
This is my document size.
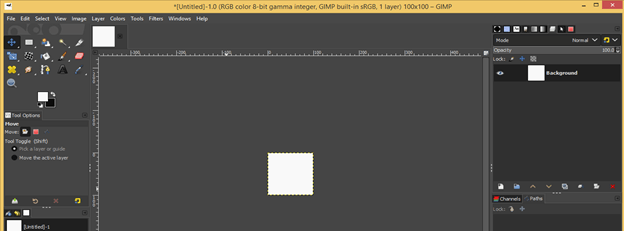
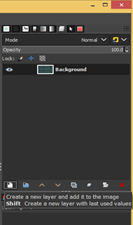
Now create a new layer by clicking on the ‘Create new layer’ button of the layers panel.
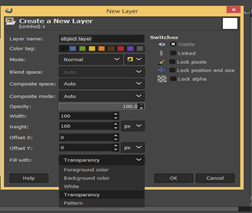
Create a transparent layer by clicking on the transparency option in this dialog box.
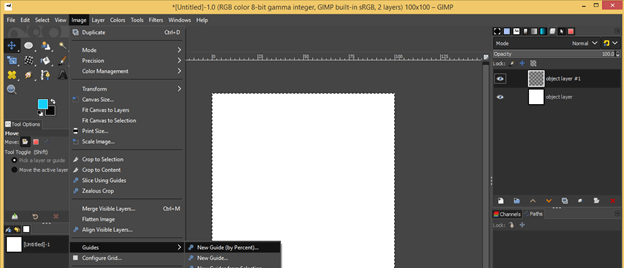
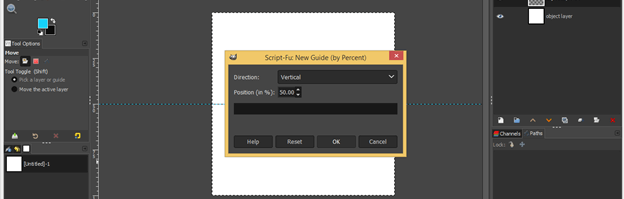
Now let us have guides for pointing out the center of this document. So go to the Image menu of the menu bar, go to the Guides option, and click on the New Guide (by Percent) option to scroll down the list.
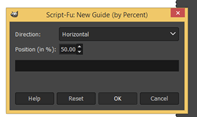
Now set the position value as 50% to get a guideline as half of this document. This will be a horizontal guide because the horizontal option is selected in the Direction option of this dialog box.
Do the same for the Vertical guideline.
Now you will get this type of guidelines.
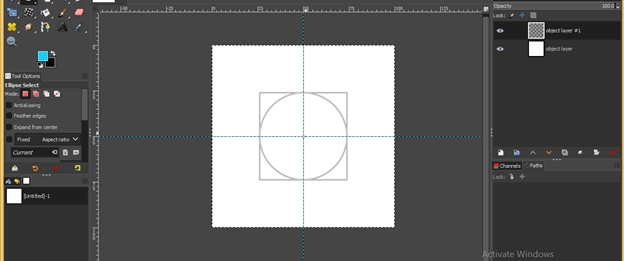
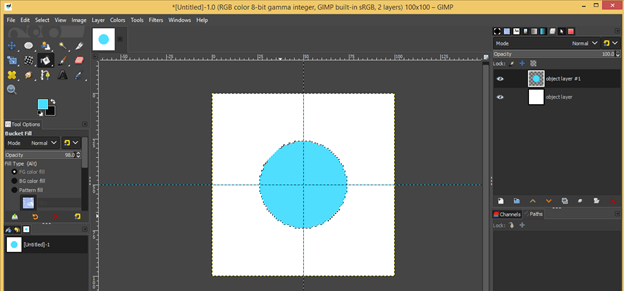
Now take the Ellipse Select tool from the tool panel and draw a circle by holding the Shift + Ctrl buttons of the keyboard, then move it to the crossing point of both guides so that we have this circle at the center of this document.
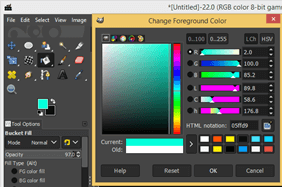
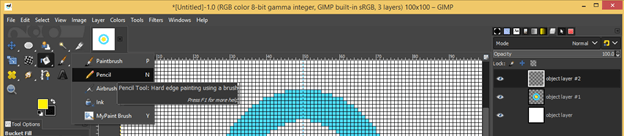
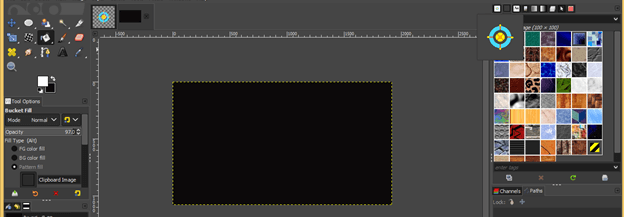
Now take the Bucket Fill tool from the tool panel.

And choose your desired color in the foreground color box of the tool panel. For example, I will choose this cyan color.
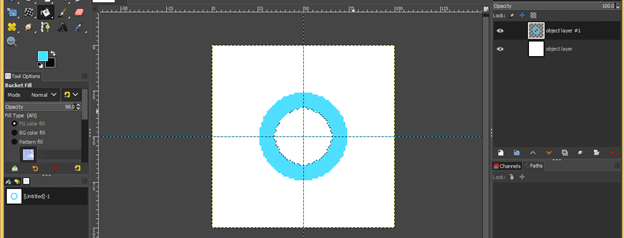
Make a click with the bucket tool inside the circle to fill your selected color into it.
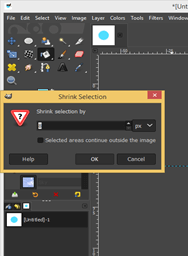
Now go to the Select menu of the menu bar and click on the Shrink option to scroll down the list.
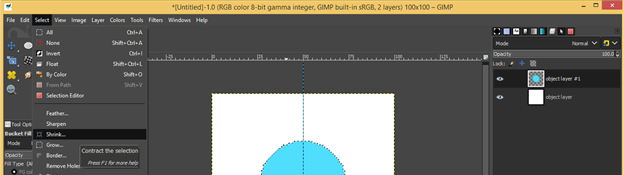
I will shrink this circle by 8 pixels, which means the shrink option will make a copy of this circle smaller by 8 pixels compared to this circle.
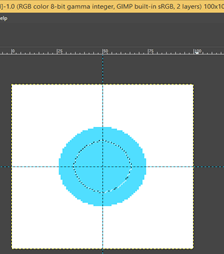
Now press the delete button to delete this selected smaller circle.
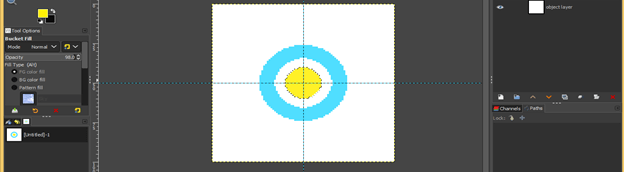
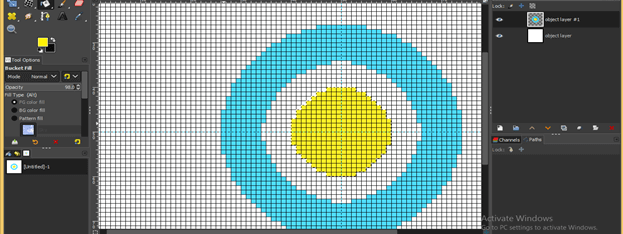
Again shrink it by 5 pixels using the same method and fill the color using the bucket tool. I will fill the yellow color in it.
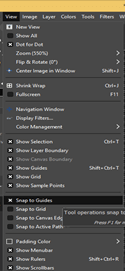
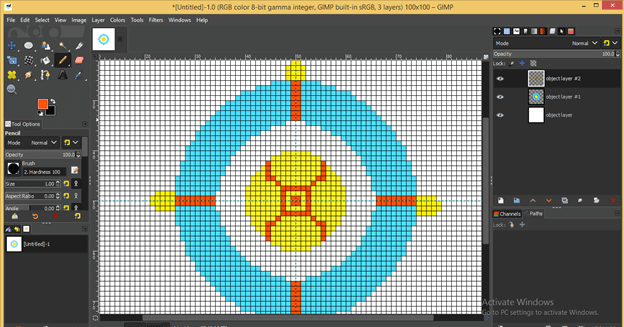
Now go to the View menu of the menu bar and click on the Show Grid option for having gird on our document area.
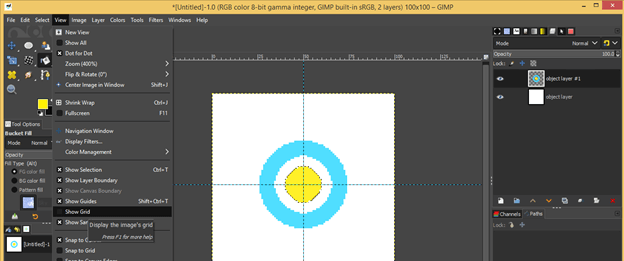
We will have this type of grid in our document area.
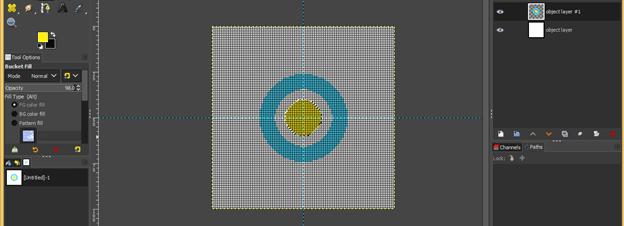
This is a 1 x 1-pixel grid; you can see it by zooming in.
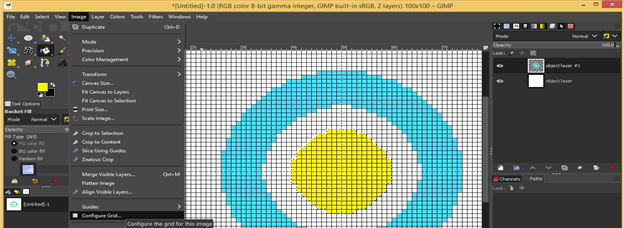
If you do not have this grid type, you can go to the Image menu of the menu bar and click on the Configure Gird option.
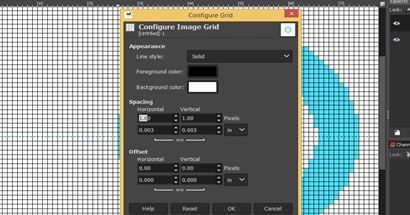
And set 1 x 1 values for horizontal and vertical grid lines from this dialog box, then hit the Ok button.
Now go to the Select menu to disable selection around this yellow circle and hit on the None option of the scroll-down list.

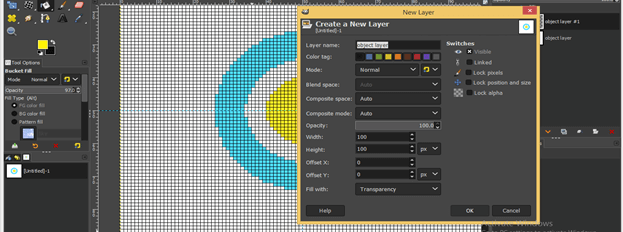
Again, create a transparent layer using the same method we created previously.
Select this transparent layer and take the Pencil tool from the tool panel.
Enable the Snap to Grid option from the View menu of the menu bar so that when we draw anything on this document, it will automatically snap with the grid, and we get an accurate result in our work.
Now Zoom in and draw anything with the pencil tool. The pencil tool will fill one by one block of this grid if you take 1 x 1 brush size in the parameters panel. So I will fill these four blocks with the pencil tool.
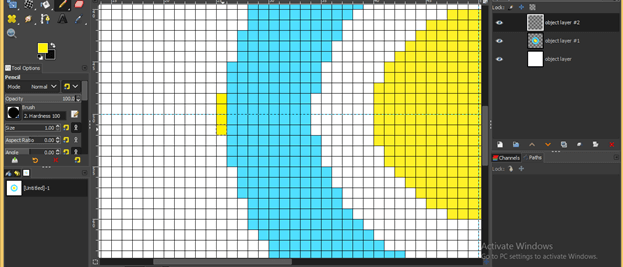
And I will change the foreground color of the color box then make this shape in the center of our pattern with the help of a pencil tool.
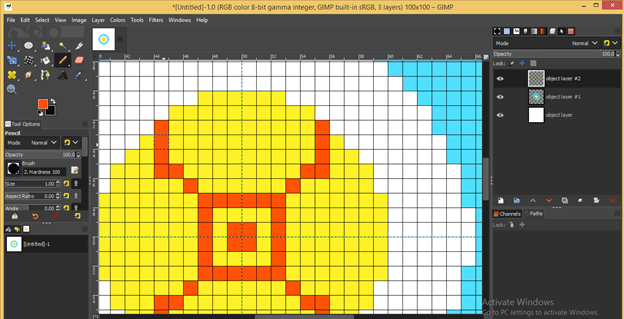
A pattern should be symmetrical, so I did the same on the opposite side of this circle and designed this type of pattern.
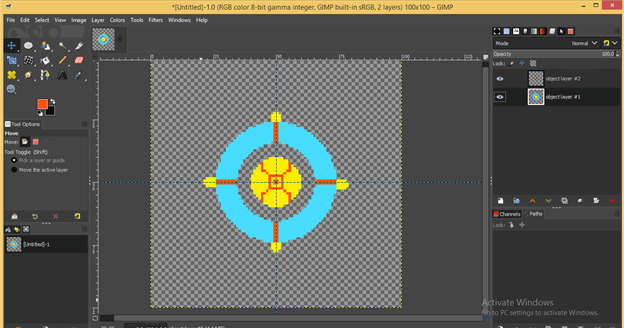
I want a transparent pattern so that I will delete the background layer. You can save it with a background of your desired color as per your choice. Now off the grids by disabling them from the View menu.
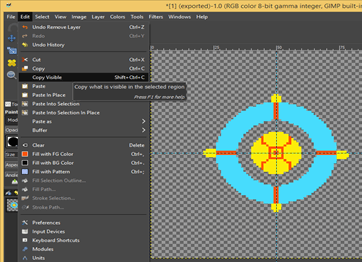
Now copy it by clicking on the Copy Visible option of the Edit menu.
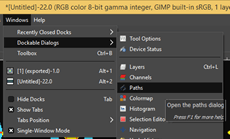
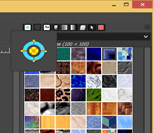
Open the Pattern panel from the Dockable Dialogs option of the Window menu.
Create a new document of 1920 x 1080 size, and you will have your copied pattern in the pattern’s panel like this.
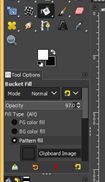
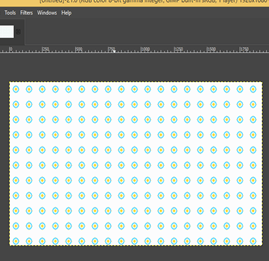
Take the Bucket tool and enable the Pattern fill option in the parameters panel of it.
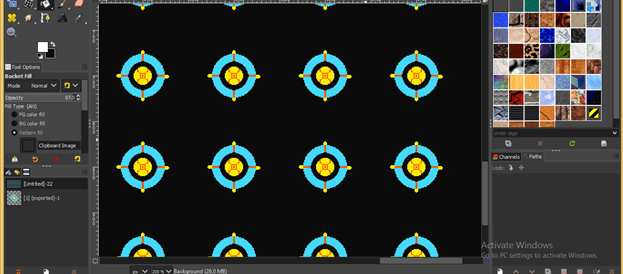
Now click on the document area with the bucket tool, and you will have your pattern like this.
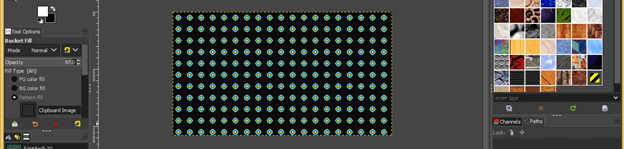
You can see it by Zoom in.
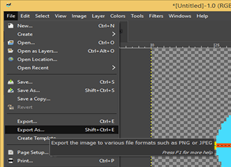
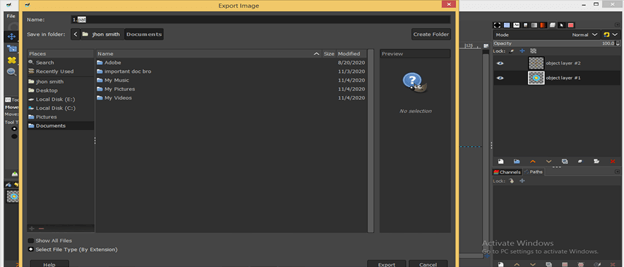
To save this pattern for future use, go to the Export As option in the File menu.
And save it as a ‘.pat’ extension at your desired location.
Now open the folder where you have saved it and copy it.
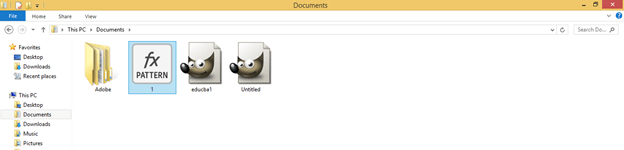
Then paste it into the Patterns folder of GIMP. You can find the patterns folder as C drive > Users > your PC name (as my is jhon smith) > AppData > Roaming > GIMP > 2.10 > patterns.

Now refresh the Patterns panel.
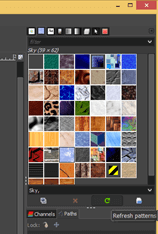
And you will have your pattern here with your saved name.
And you can use it on any document like this.

Conclusion – GIMP Patterns
This was the simplest way to create patterns in the gimp of your desired design by using different tools of the tool panel. Of course, you can also use any image in place of this design, but you have to make some parametrical changes, and you will get a nice pattern with that image.
Recommended Articles
We hope that this EDUCBA information on “GIMP Patterns” was beneficial to you. You can view EDUCBA’s recommended articles for more information.
