
Introduction to GIMP opacity
In this article, we are going to learn how to use opacity in GIMP. Suppose you are starting a business or creating a website or any firm you might need to create an authentic logo image that could give meaning to your work. This is where GIMP comes in, which provides an excellent tool to create semi-transparent images that can be used as a logo or a watermark. Opacity is basically just how much transparency you want to include in your image, and it is not generally considered a blending mode, but the concept of opacity is that it takes a certain percentage of foreground and then adds a complementary percentage of background to create the desired opacity. Apart from that, opacity can also be controlled in the painting functions.
Steps of GIMP opacity
Here are the following steps mention below
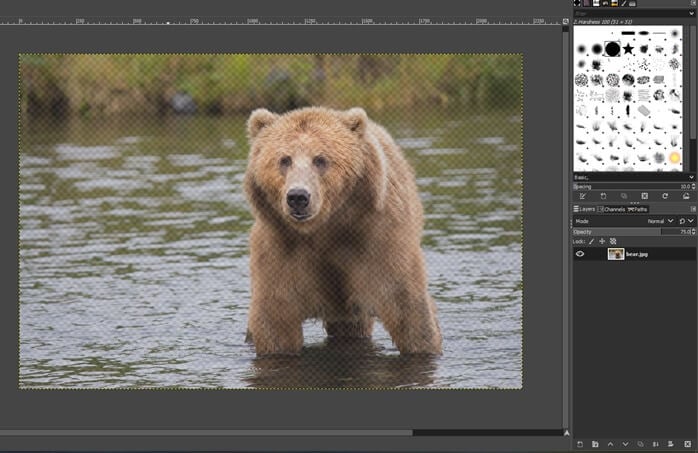
Step 1: First, we will start by using an image. Go to the following url and download the required images from pixels, or you can feel free to use your own assets – https://www.pexels.com/photo/brown-bear-in-body-of-water-during-daytime-158109/.
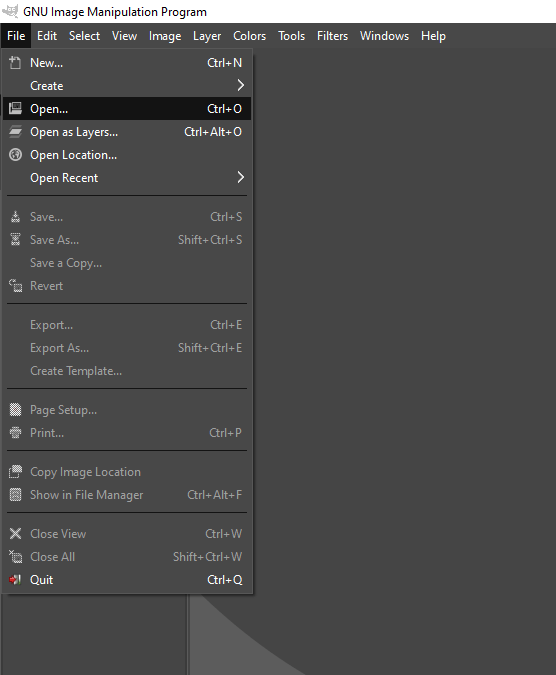
Step 2: Let’s start by opening an image by going in the File menu, then open or press Ctrl + O.
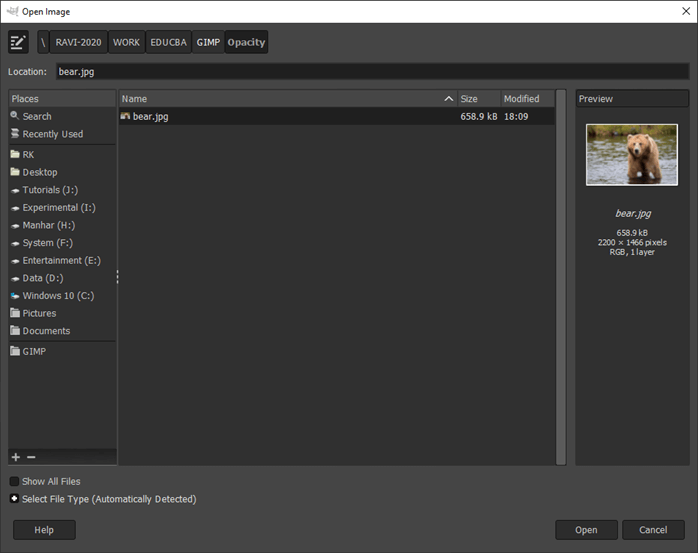
Step 3: Then navigate to the downloaded image and open it in GIMP
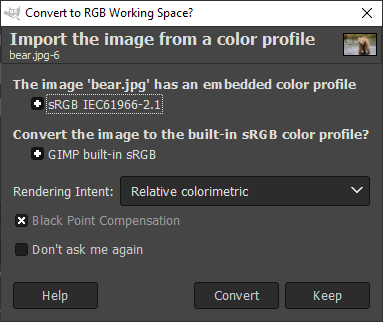
Step 4: If asked to convert to RGB Working space, then convert it. In this case, this image already has a color profile embedded in it which will be mapped to GIMP built-in sRGB space.
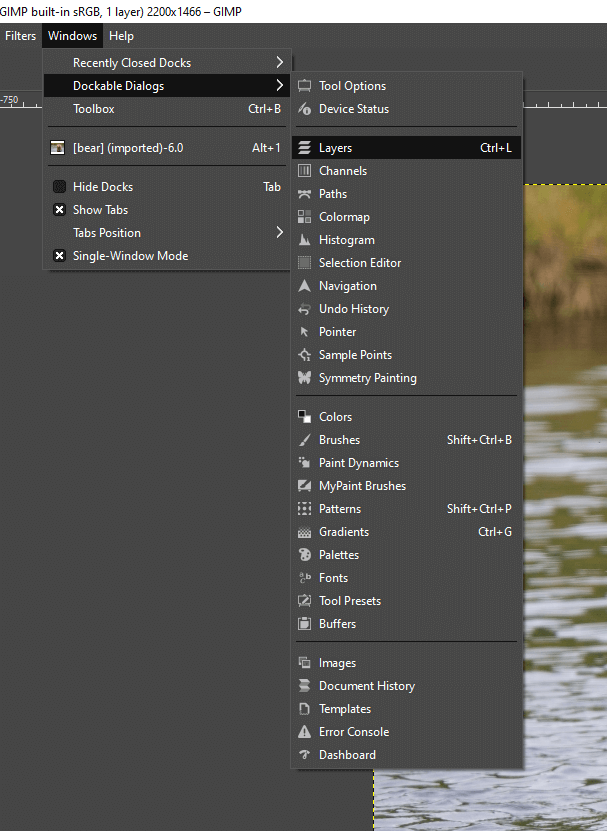
Step 5: Now, let’s go to the Layers panel at the bottom right corner or if it is not open, then go to Dockable Dialogs -> Layers or press Ctrl + L to open it.
Step 6: As we can see that the opacity of the bear layer is 100%, and it is not ideal if we want to use it as a watermark, so the first use of opacity is that we can increase the transparency of the entire images so we can see the contents behind it and the images do not obscure the actual content you want to display.

Step 7: Now, let’s say we changed the opacity of the bear layer to 75, which can be done by either dragging the slider or you can double click on the slider to enter the value you want. Now we can see the checkerboard pattern is displayed. Let’s make opacity to 50, which makes it obvious.
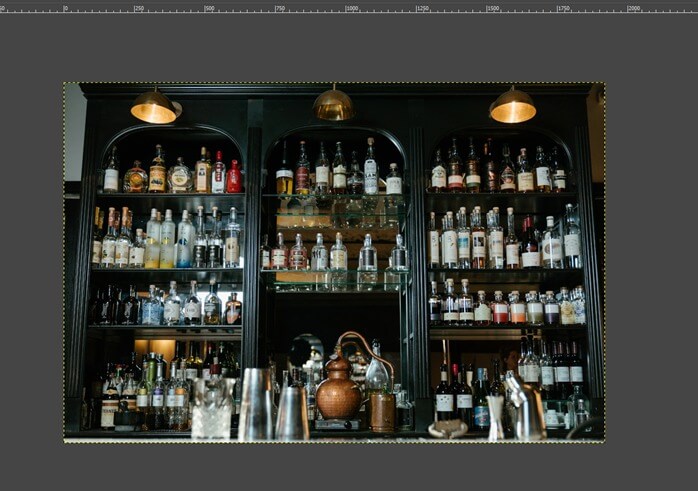
Step 8: Now, we have opened the image on which we have to apply the watermark; in our case, this is the image of a bar.
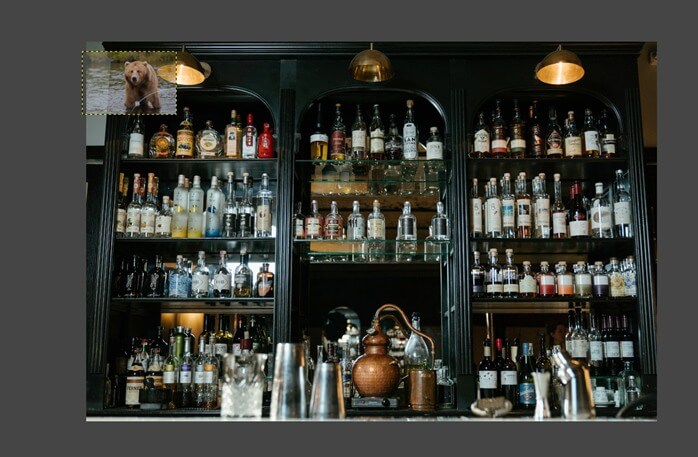
Step 9: Now, just drag the image from the explorer on top of our bar image.

Step 10: Now, use the scale tool or press Shift + S to resize and then move to the location you want, and we can see through the background image.
Step 11: Now, let’s see how opacity can be used with layers. Create a new layer from the layer panel and set fill with transparency.
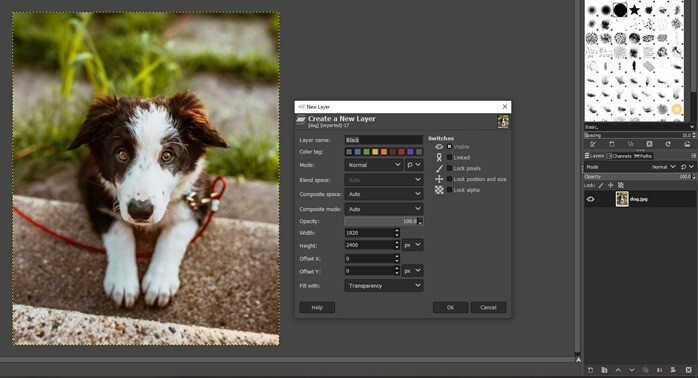
Step 12: Now, use the bucket fill tool or press Shift + B to fill the layer with the black foreground color.
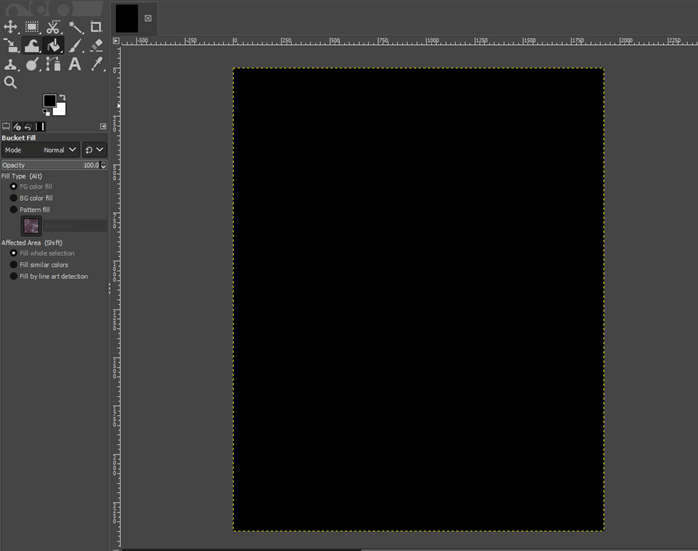
Step 13: Again, we can change the opacity of the layer to 50 as we have done previously, which will just make the image darker, and it is applied to the entire image, which is now what we might want.
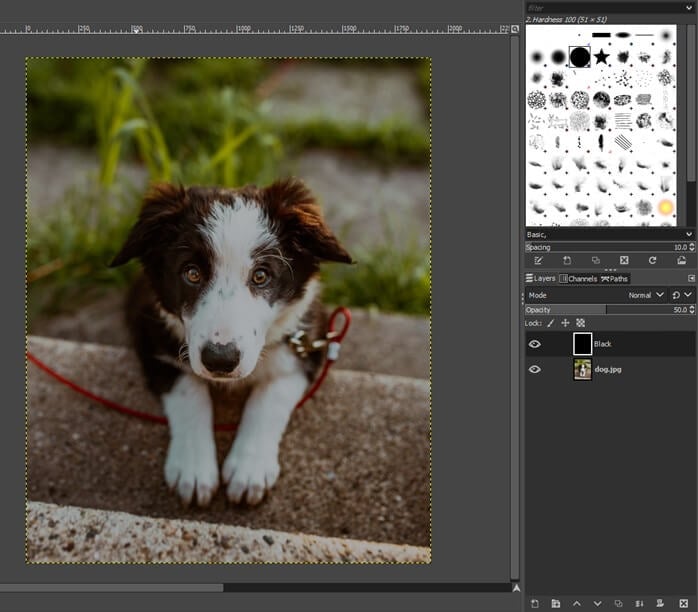
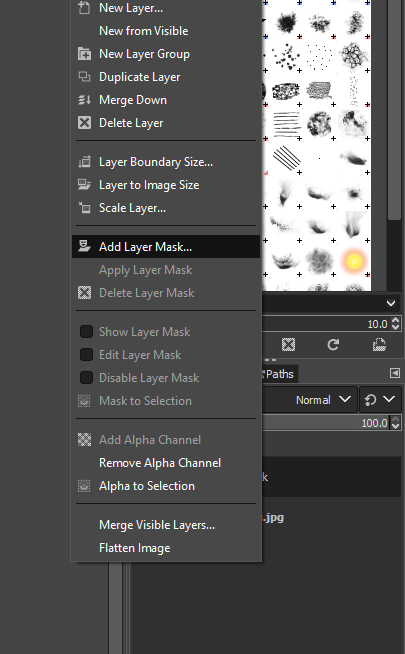
Step 14: Next, we want to add a layer mask to control the part of the image which we darken by right-clicking on the black layer.
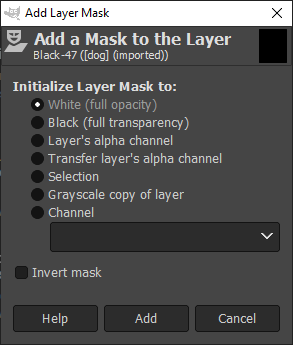
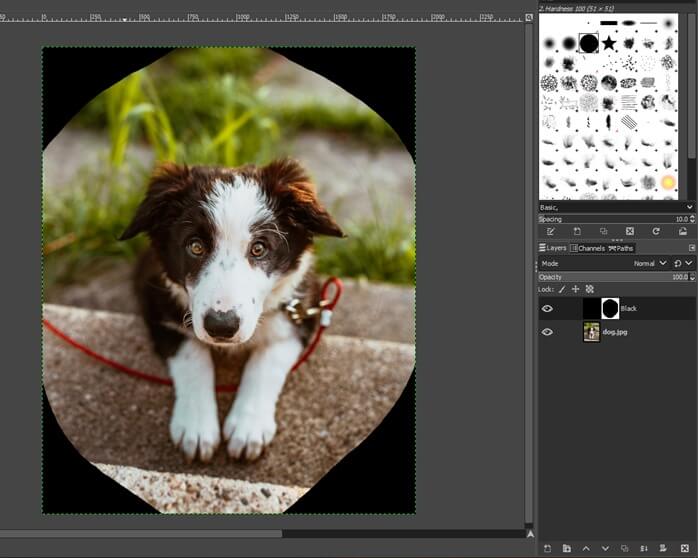
Step 15: We will initialize the layer mask to white which will be fully opaque, and so we get the image full black.
Step 16: Now that we have added a white mask, we can draw on it using black with a paint tool or press P and then make a shape as shown, which will reveal the image behind.
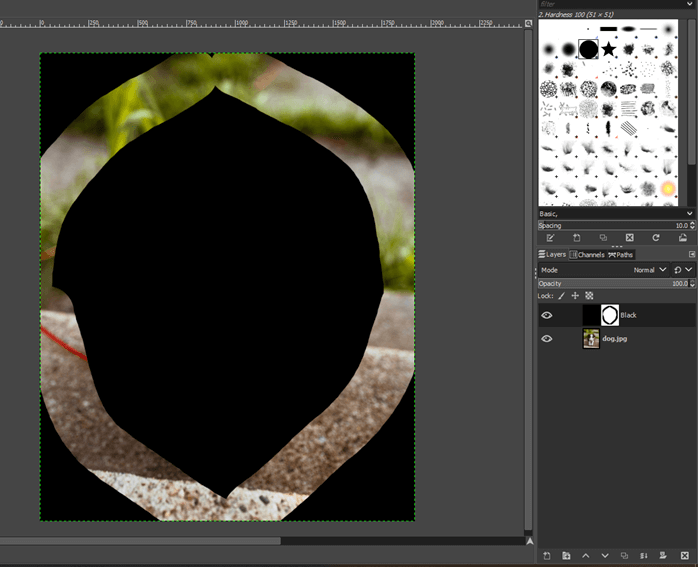
Step 17: Now, use the Bucket fill tool or press Shift + B and click in the center, which will fill it with black, and it will open the mask to show the dog. You can polish further if you want with a paint tool. We can see that we have some harsh black line which is not giving a good effect which we will mitigate in the next step.
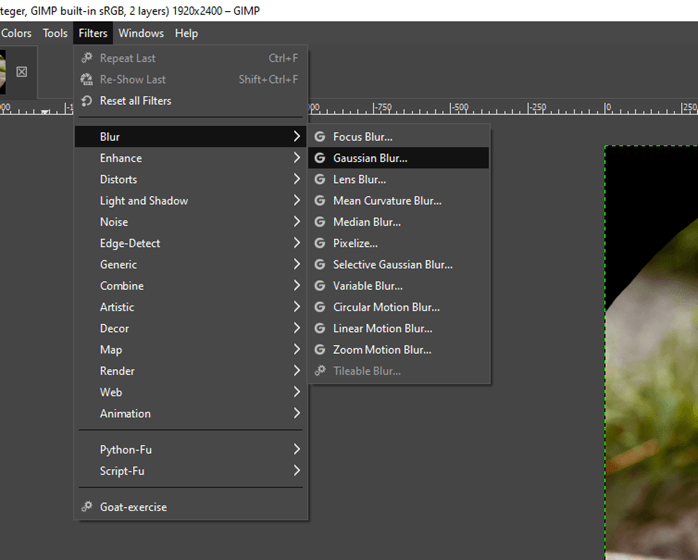
Step 18: We will use Gaussian Blur, which is in the Filters -> Blur menu on the mask.
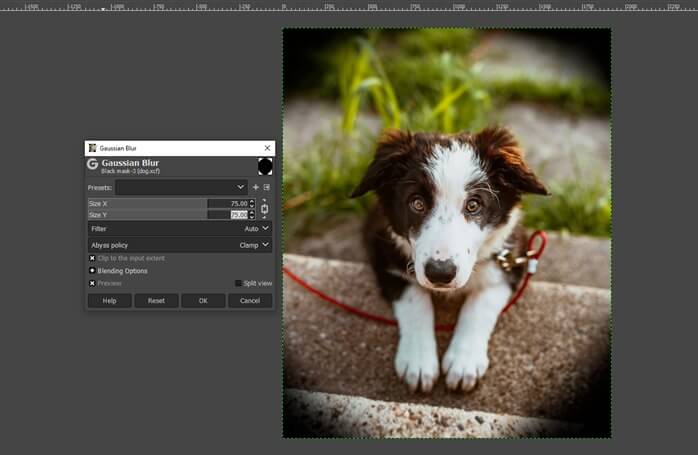
Step 19: We will set size X and size Y to 75, and you can see the preview of how you want to adjust
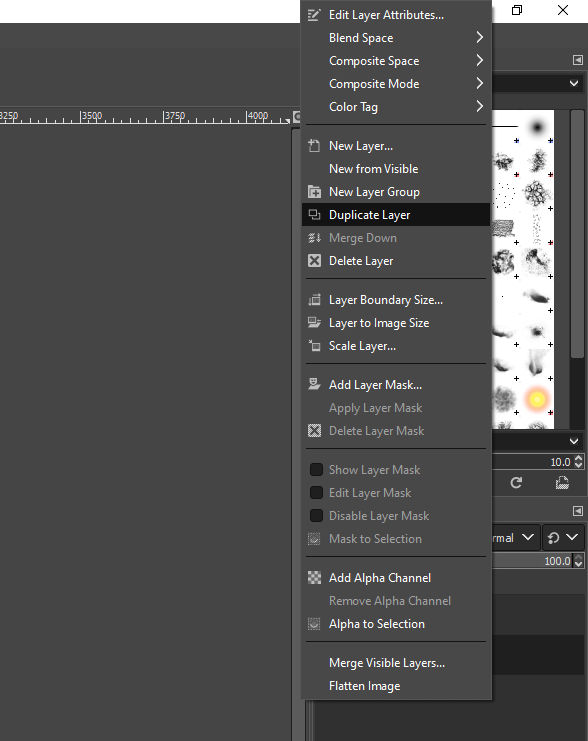
Step 20: Now, we will duplicate the image layer.
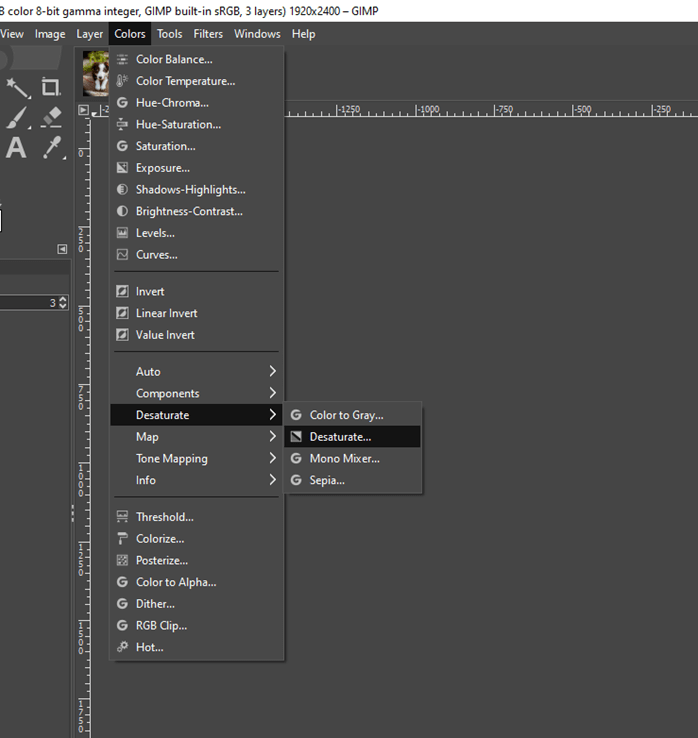
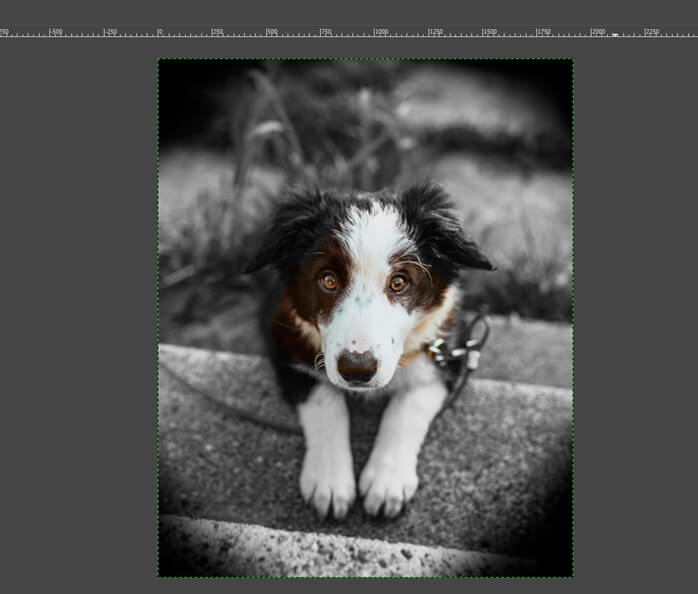
Step 21: Select the bottom layer and Desaturate it from the color menu.
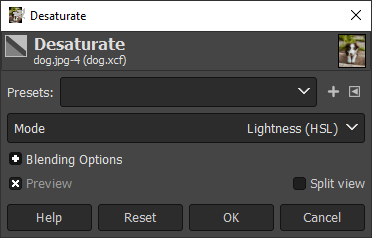
Step 22: Set the mode to Lightness (HSL), and now we get a black and white layer.
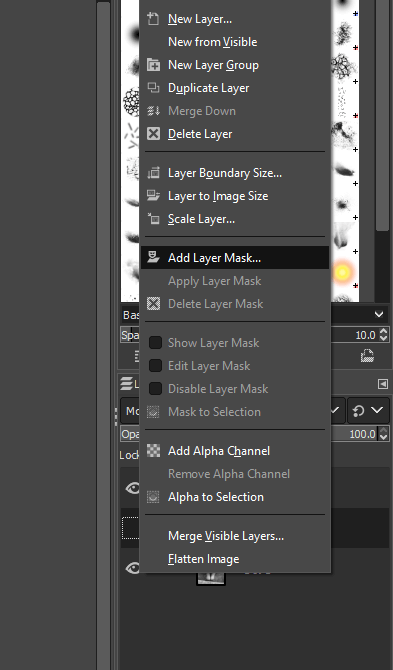
Step 23: Now, we will add a layer mask to the duplicated layer as we are using the selective coloring technique.
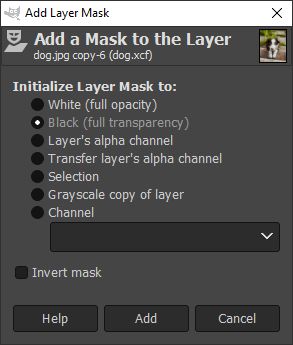
Step 24: Initialize layer mask to Black, which will block the entire layer
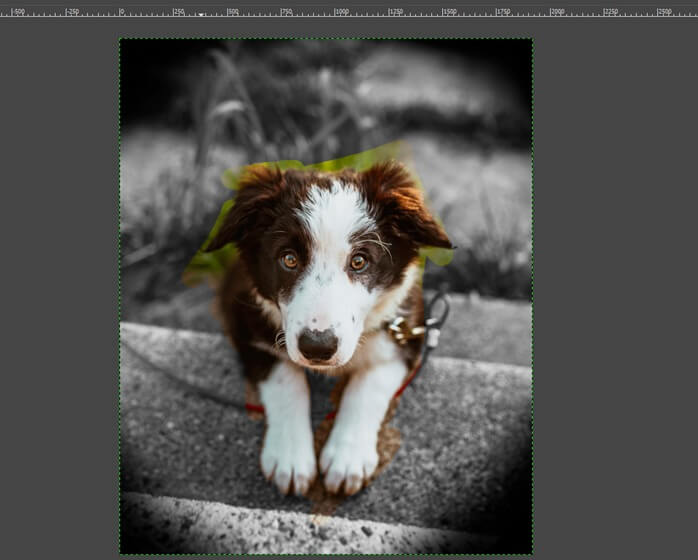
Step 25: Now, using a paintbrush, we will paint white on the dog to reveal it. As we can see that using the paintbrush, the part of the dog is revealed, and now, we will continue it till we paint the entire dog. You can vary the size of the brush to paint some small areas.
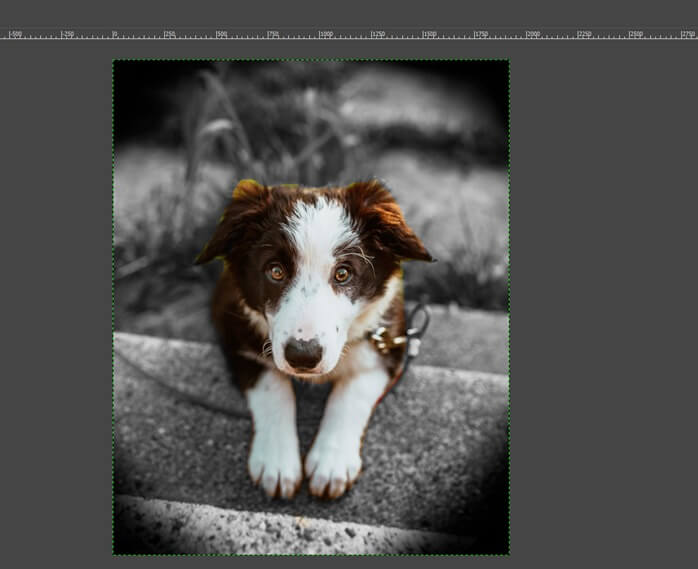
Step 26: As we can see that we have some extra parts removed from the background, which we can easily bring back using the eraser tool. Also, make sure that the mask is selected.
Step 27: As we can see, we have removed the mask as close to the dog’s outline as possible
Conclusion
In this article, we have seen how to use opacity in GIMP. First, we have seen how to reduce the opacity of the entire image, which has an application like used as a watermark, and we have seen how to use it in an image as a watermark. Then we have seen how to use the layer mask and use its opacity to control the part hidden and the part that we need to display to get a vignette effect and selective coloring in action.
Recommended Articles
This is a guide to GIMP opacity. Here we discuss how to use opacity in GIMP and how to reduce the opacity of the entire image. You may also have a look at the following articles to learn more –
