
Introduction to GIMP Import Image
Import image is a process of GIMP software through which you can place any image on the user interface of GIMP software for different types of image editing and image manipulation work. There are many ways through which you can import image in gimp. Some ways of them are very quick and effective. You can also use short cut keys for using these ways. Today in this article, we will learn all possible ways of importing or placing any image in gimp with some of their necessary parameters. So let us start our learning.
How to Import Image in gimp in different ways?
Before going through the topic of this article, I think you must have good knowledge about the User interface of gimp software so that you can catch easily all term which we use throughout this article.
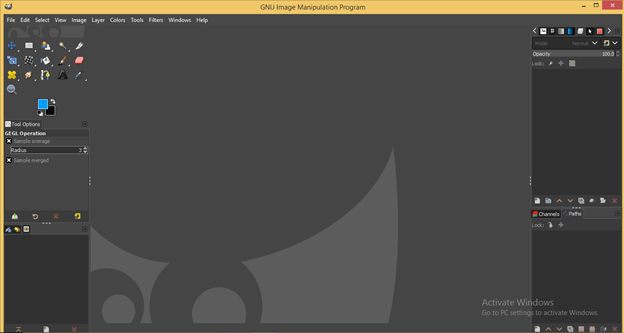
At the top of the user interface of gimp, there is a Menu bar which has a number of menus such as File, Edit, Select and many more. Below this, we have a Tool panel on the left side, a Display window at the center in which we can see our working, at the right side of this window, we have a Layers panel with some other import panel.
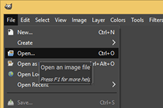
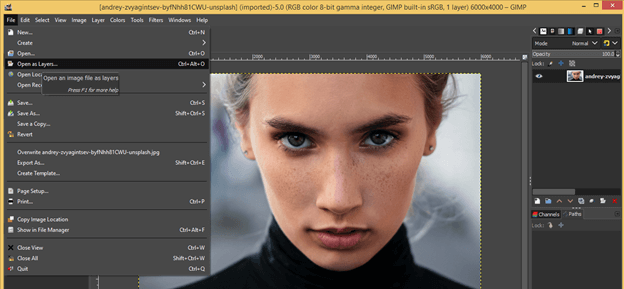
The very first and basic way of importing an image in gimp is the File menu of Menu. You will have an Open option here through which you can open an image. So go to the File menu and click on it. Once you click on this menu, a scroll-down list will be open. Click on the Open option of scroll down list, or if you don’t want to go to File menu, then you can press Ctrl + O as the short cut key of this options.
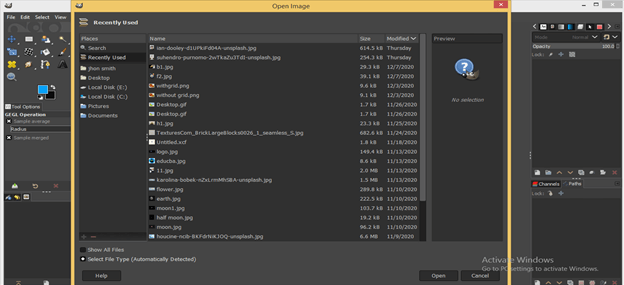
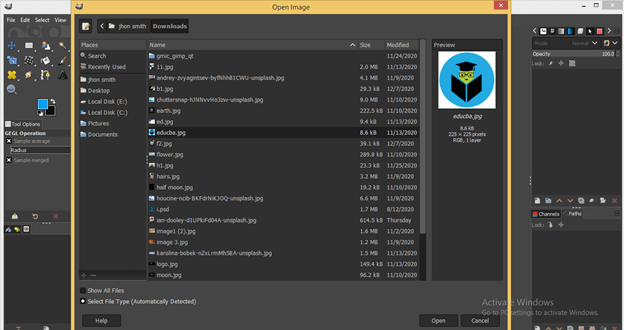
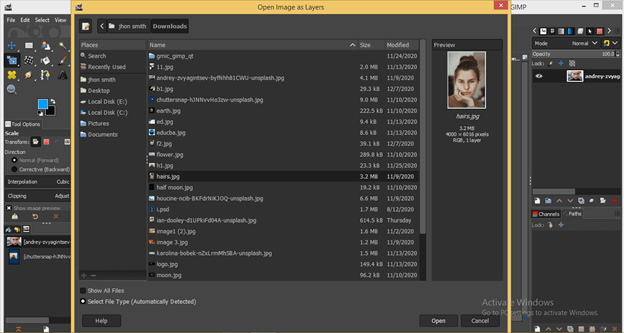
Once you click on this option, a dialog box will open, named ‘Open Image’. Here in this box, you will have a list of your recently opened images of gimp; if you want to any previously used image, then choose that from this list and hit on Open button of this dialog box.
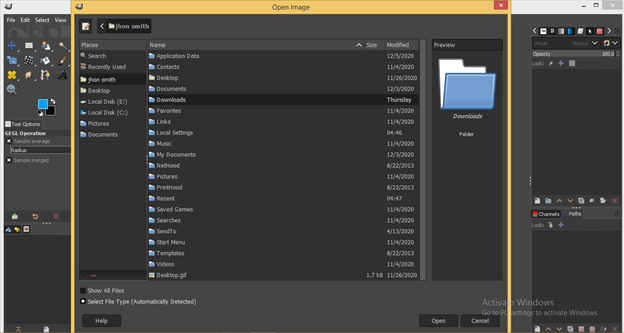
If you want to open a fresh image, then go to the location or folder where you have saved it on your computer.

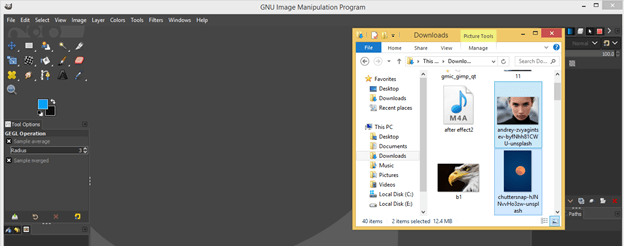
I will click on the Downloads folder for having my image open. For the opening, any folder makes a double click on that.
Now choose your desired image from the list of images of your selected folder. I will choose this EDUCBA logo image which is our official logo. Once you have chosen, then hit on Open button of this dialog box for opening it.
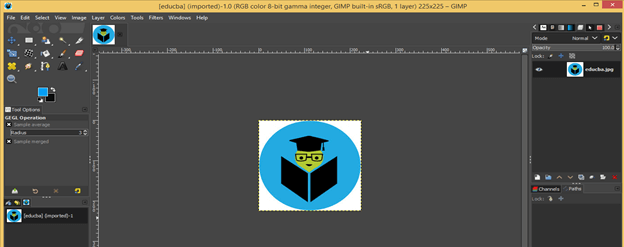
And it will import on the new tab of gimps’ user interface.
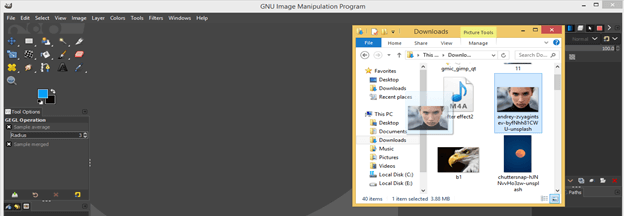
You can do this by other way, that is just open the folder where you have saved your image and pick it from there with the help of mouse left button and don’t release mouse button then drag it into the display window area of gimp and release mouse button.
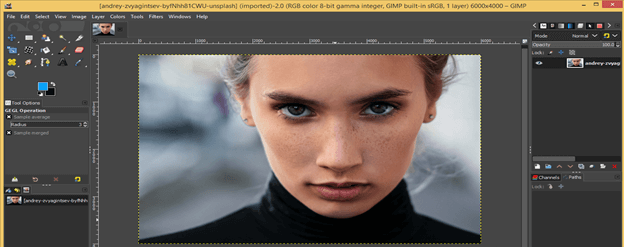
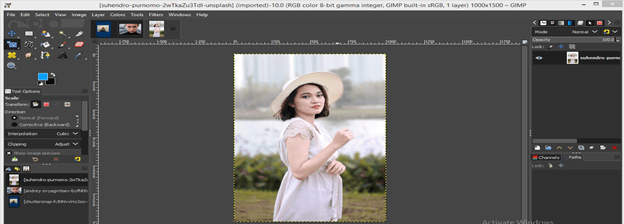
Your image will open on a new tab of gimp like this.
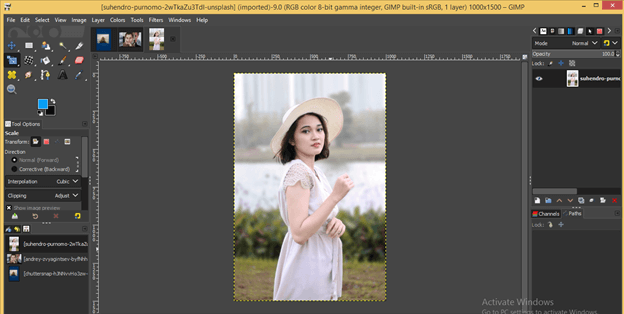
You can open more than one image at the same time. Just select images by holding the shift button of the keyboard from your desired folder and use the same drag and drop method.
All images will open in each different tab like this. I have selected two images, so I have two images opened in gimp on two different tabs.

Now, if there is one image opened in gimp already and you use the Open option of the File menu to import a new image, it will open in a new tab again like this.
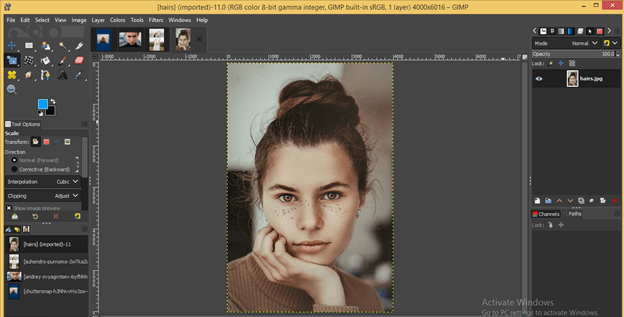
But if you drag a new image on an already opened image by the drag and drop method, it will open on a different layer but the same tab as this.
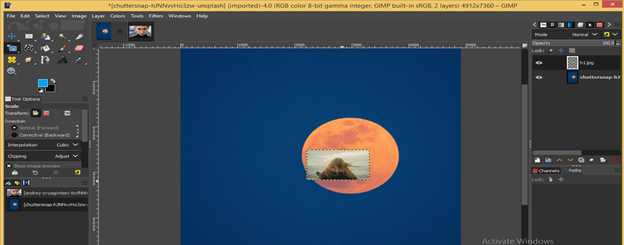
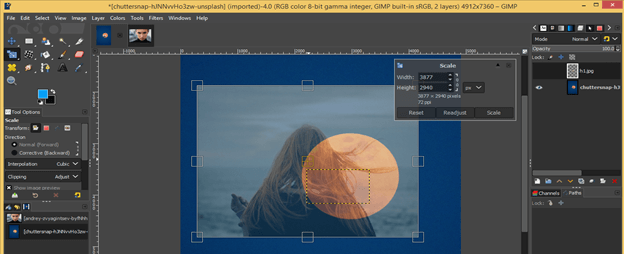
You can use the Scale tool for adjusting the size of the new opened image.
There is one more way through which you can open any image on a layer of the same tab. Just go to the File menu again and click on it, then choose the ‘Open as Layers’ option of the scroll-down list, or you can remember the short cut key of it for quick access which is Ctrl + Alt + O.
Now the same dialog box will be open as we got in the Open option. Please choose your desired image from its saved location and hit on Open button of this dialog box.
And it will open like this. You can scale it or can do any manipulation work according to you.

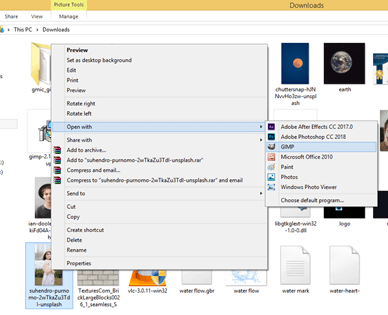
We have one more way for importing any image in gimp. For this, just go to the folder of your computer where you have your image and open that folder, then select your desired image by clicking on it and make right-click on it. A pop-up list will be open. Go to the ‘Open with’ option of this list and choose GIMP from the new drop-down list.
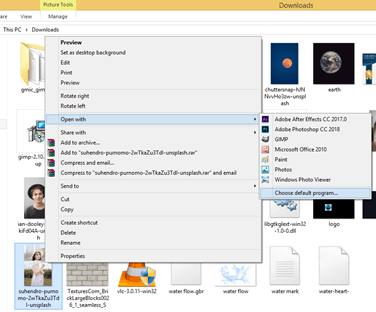
If you can see the GIMP option, click on the ‘Choose default program’ option for having all possible software that can open an image, and there you will find GIMP also.
And it will open on a new tab of gimp as we did by the previous options.
If you want to open your recently used image of gimp, then go to the File menu of the menu bar again one more time and click on it, then go to the ‘Open Recent’ option of the scroll-down list of this menu. Once you go on this option, it will show you all your recently opened or used the image of gimp. You have to just click on your desired image with the mouse button.

And it will open in the new tab of gimp like this.
Here we discussed all possible way of importing of the image in gimp.
Conclusion
Going through this article now, you have learned a number of ways which you can use for importing or placing an image in gimp and can handle some of the parameters of it during placing them. You can go with any one of the above-discussed ways which you find most suitable for you.
Recommended Articles
This is a guide to GIMP import image. Here we discuss how you can use it for importing or placing an image in gimp. You may also have a look at the following articles to learn more –
