Introduction to GIMP clone tool
The Clone Tool in GIMP is used to make a clone of any object of any particular image, or you can remove any unwanted object from your image by cloning another area in place of that object that matches the background or pattern of that image. In GIMP, we have two types of clone tools: the Simple Clone Tool and the Perspective Clone tool. Both also have most same parameters but different working techniques. We can do a lot of things of cloning with these two clone tools by making changes in their parameters. So let us play with their parameters for getting something exciting.
How to use the Clone Tool in GIMP?
We can use the clone tool on all types of raster images because it scans pixels of a selected area of the object and then pastes those pixels to your desired place on your image for cloning that object. Isn’t it a very exciting and fun giving thing? So what are you waiting for? Let’s get started with our learning about this topic?
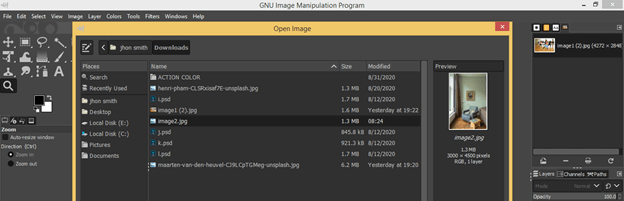
We need an image for this task in GIMP. So go to the File menu and click on it, then click on the Open option of scroll down list.

A dialog box for choosing your image will be open. Go to your image’s saved location, then select it after selecting hit on the Open button of this box. You can see a preview of your selected image in this box also.
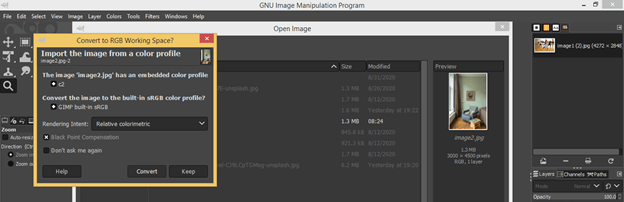
Now click on the Convert button of the new dialog box for placing your image in GIMP.
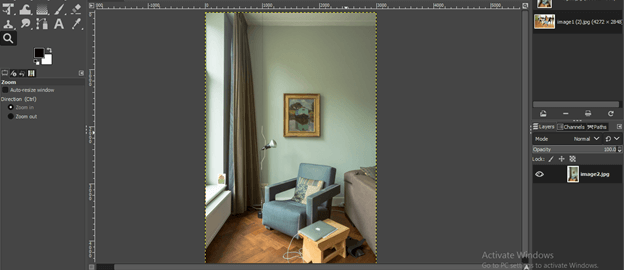
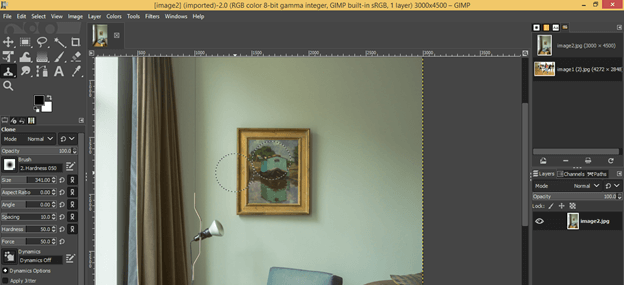
This is our chosen image.
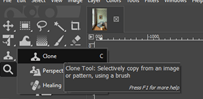
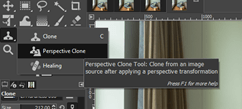
This is an icon of the clone tool. Here we have a Clone tool along with the Perspective clone tool.

Now take the Clone tool first by click on it, or you can press the C button of the keyboard as a shortcut key.
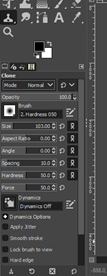
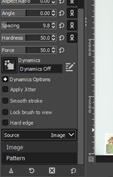
Once you click, the parameters of this tool will be open in the parameters section of tools.
First select layer in layer panel on which you want to use clone to. Now let us assign an area to this tool which we want to select as the cloning area. For selecting a place, this circular curser of the brush of clone tool on that area then make click by holding Ctrl key of the keyboard and when you satisfy with your selection release the Ctrl button and click.
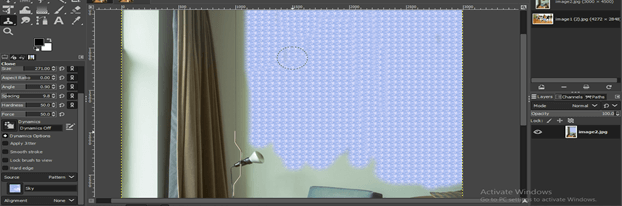
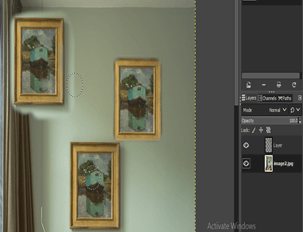
I will select this area on this scenery of these images.
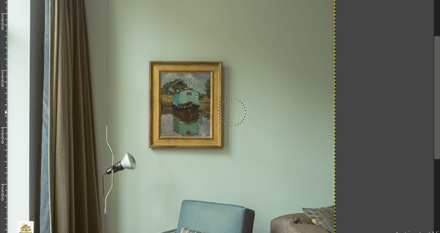
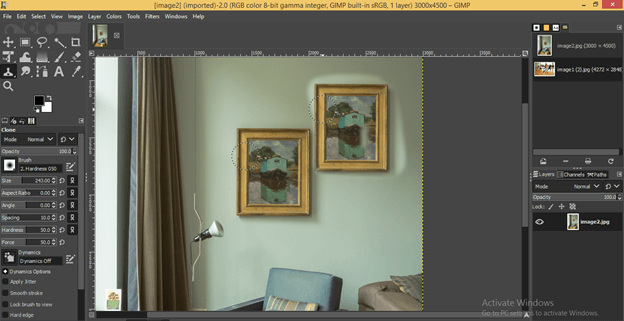
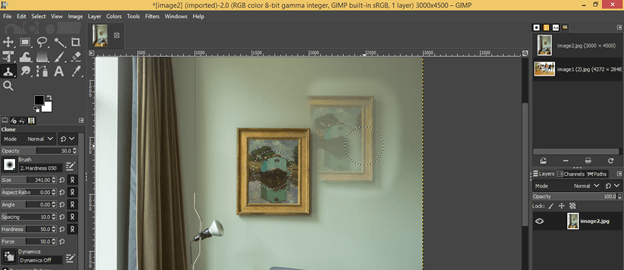
Now go to that place on your image where you want to clone it and make a click with the left button of the mouse and drag around the desired place by holding the left click. When you move the cursor, you will notice the cursor of your selection will also move around your selected area, so during cloning, mind this game of clone tool for proper cloning.
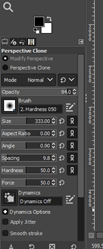
Now let us analyze some important parameters of this tool for better handling on this tool. You can increase and decrease the size of the brush according to the size of the cloning object from the Size option of its parameter.
You can decrease the opacity of the cloning object layer by opacity option, and when you clone your object, it will clone with your chosen opacity value like this. Here I have chosen the opacity value as 50%.
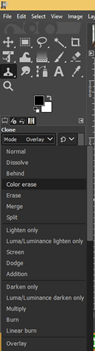
You can choose the mode of the cloned layer from this list also. For example, I choose Color to erase mode then see what will happen after cloning?
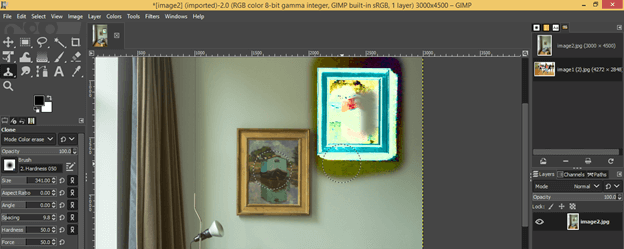
You can see the effect of mode.
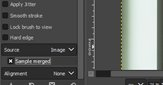
Now come to the bottom of the parameters’ box. Here we have a Source option in which you can choose the source for the clone tool that means the clone tool considers the selection area from the image if you select the Image option in Source or if you select Pattern option, then you can choose any pattern as considering selection area for clone tool. We have seen the Image source option above, so now let us look at the pattern.
Select the Pattern option, then click on the icon of the pattern box, and you will have some pattern here. Choose your desired one by click on it.
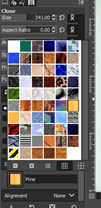
Now just move the cursor around your desired area on which you want to clone this pattern. I choose this pattern, and I want to add this pattern to the wall, so I move the clone cursor on this wall like this.
Now for understanding the next option, let us have a new layer, so click on the New layer button.
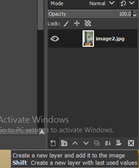
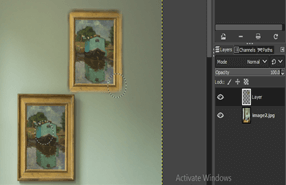
Now Check On Sample Merged option of clone tool.
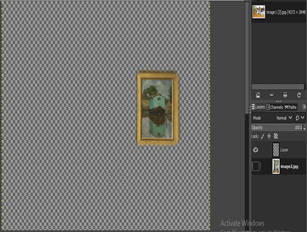
Now make a clone with the clone tool, and you will see your cloned object is also clone on a new empty layer.

Now uncheck the Sample Merge option and clone again on a new place, and check this new clone object on the new layer. You can see it will not be cloned, so you can clone the object on a new layer by using Sample Merged option.
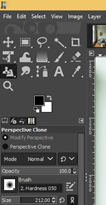
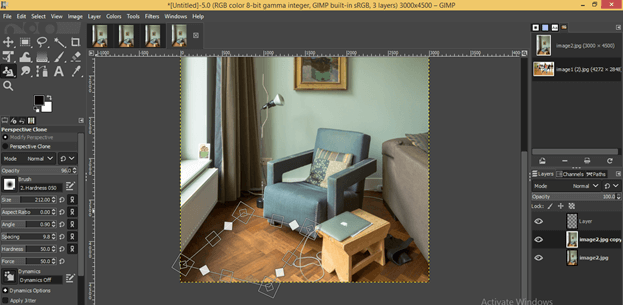
Now let us look at the Perspective Clone tool, so take this tool from the tool panel by clicking on it.
Now click on the radio button to Modify Perspective option of parameters of this tool.
And make click on the image, and you will get this type of perspective bounding box around your image.
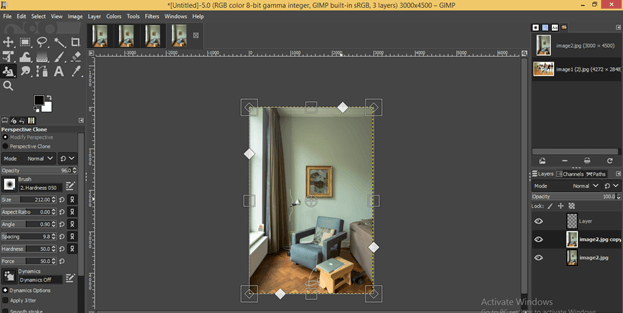
By moving anchor points of this bonding box, set a plane for your perspective clone tool. I will set it like this.
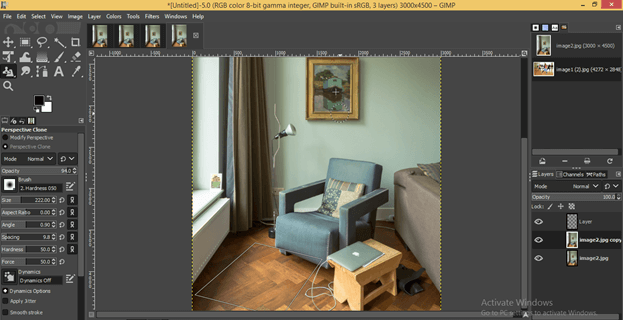
Now go to the Parameters section and click on the radio button of the Perspective Clone option of parameters of this tool.
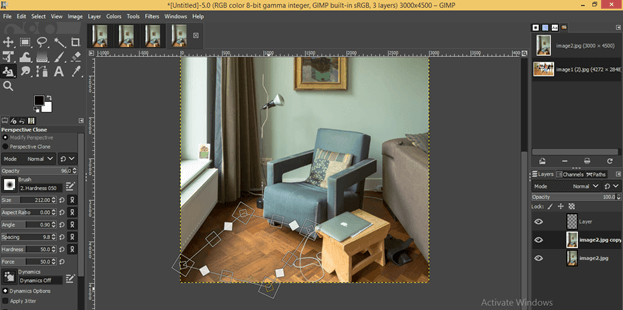
And you will get a perspective plane selection like this. Now select the area in which you want to clone with this tool.
And start cloning anywhere on your image where you want to clone this object. This will clone on your chosen perspective plane like this.
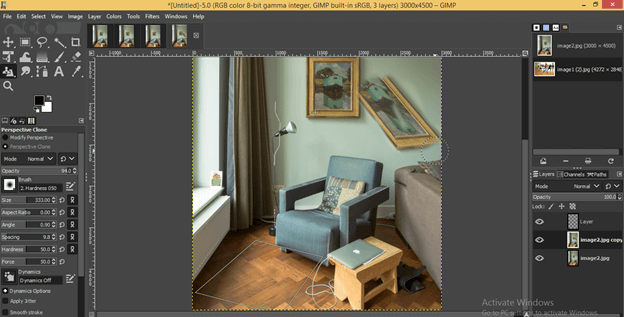
Other parameters of the Perspective Clone tool are the same as the Clone tool, so take a look at them and try them for better handling.
This was all about learning of Clone tone and Perspective Clone Tool of GIMP.
Conclusion
I think it was a good talk about the Clone tool of GIMP software, and you gained a lot of important things about handling of parameters of this tool. Now you are free to use this tool in your professional work without any hesitation and can get lots of benefits from it.
Recommended Articles
This is a guide to the GIMP clone tool. Here we discuss How to use the Clone Tool in GIMP along with the parameters or getting something exciting. You may also have a look at the following articles to learn more –
