Introduction to Figma fonts
In this article we are going to learn how to use fonts in Figma. Now the first step of using fonts is to know how to install font and for that you should know where to find them. So first we will look at various websites where we can download the fonts and then how to install in Windows which will be used in Figma. Figma has a robust set of tools which can be used for proper type settings according to the output format which are present in popular text editing programs along with effects and customization options.
Steps of Figma fonts
Here are the following steps to mention below
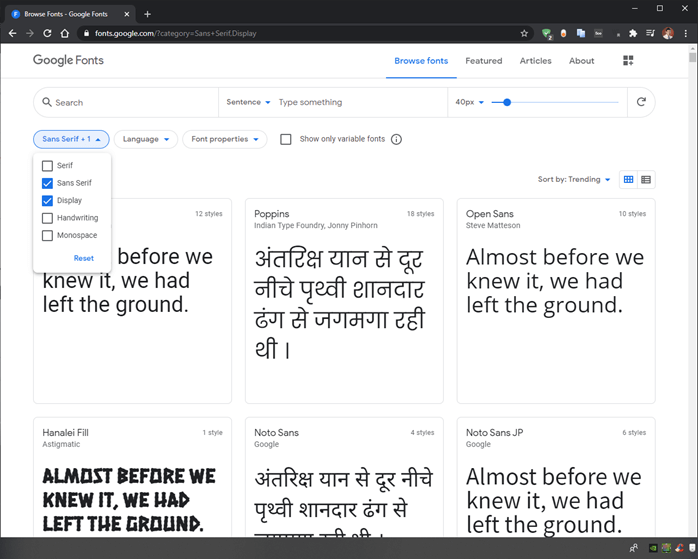
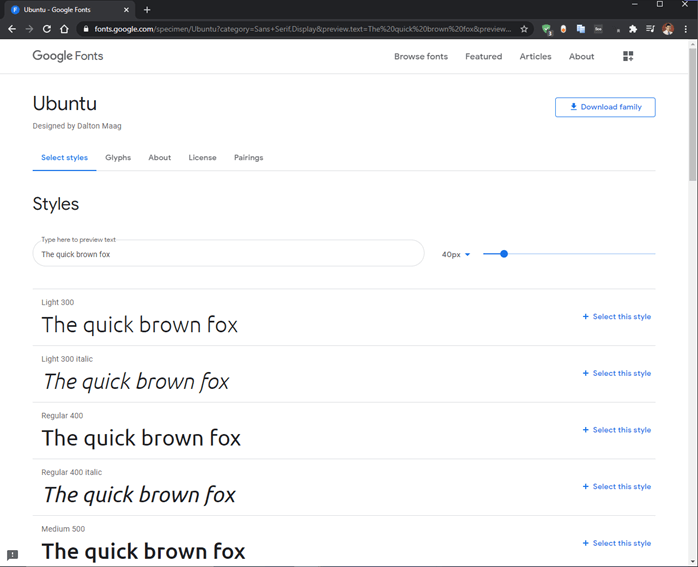
Step 1: Let’s us start by first downloading fonts. There are many free and paid fonts sites from where you can download fonts. Some free websites are google fonts, dafont, urbanfonts, fontspace etc. We will see how to download from google fonts website as shown. First, we will change the filters to display on sans serif and Display which will reduce the search result. We do not want serif which puts flare on top of letters. Also, we do not want handwriting which will be more like cursive and not the monospace which are the coding fonts.
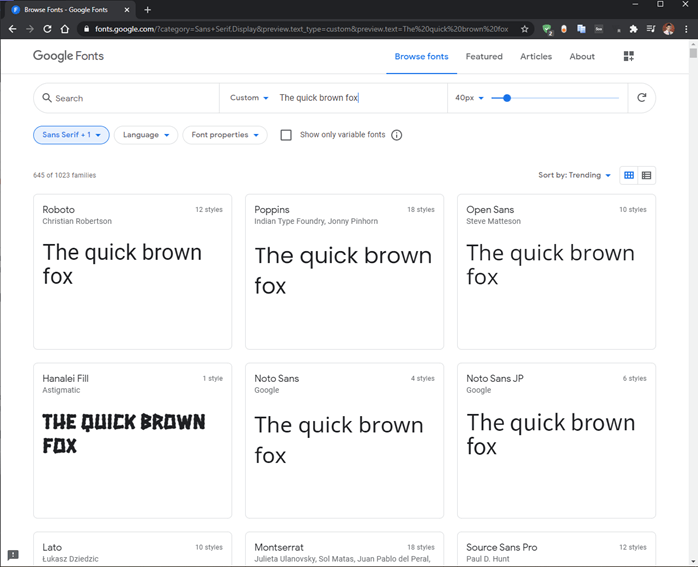
Step 2: Then we can customize the text if we want or we can select from the drop down for sentence, alphabet, paragraph or numerals.
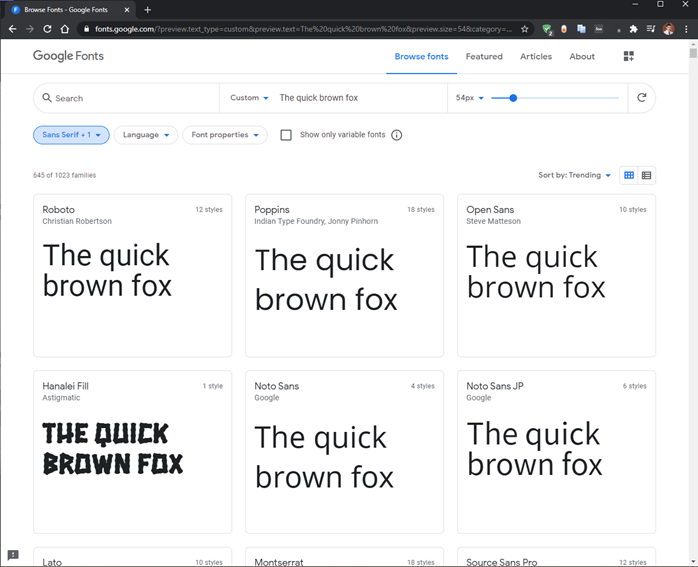
Step 3: Next, we can change the size of the fonts using the slider
Step 4: Then we have selected a font named Ubuntu and we can see multiple options or styles are available. You can also see the type of glyphs the font has if you are looking for characters which are not standard. In About section you can get bit of a history of the font and authors or designer information. Also, there is a licencing option if you are looking fonts for commercial purpose and the last option is pairings which is suggested by google if you want another font in combination with this font.
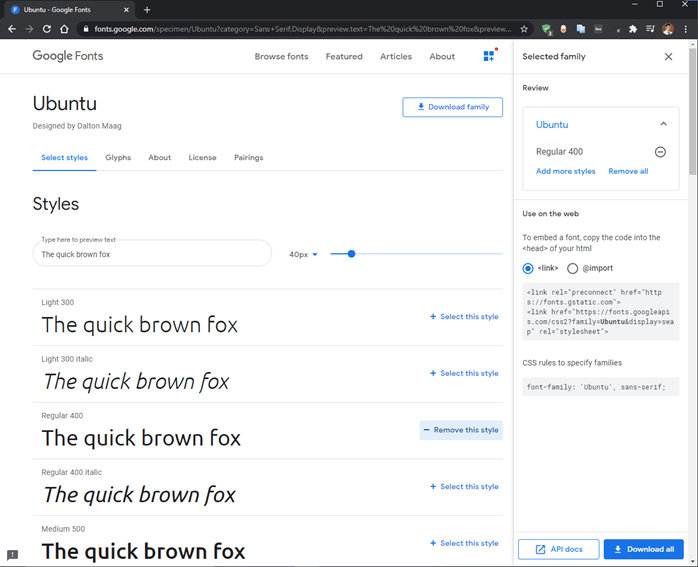
Step 5: Now we have selected the regular style. Here we have option the review the fonts we have selected and an option to embed the font if you are using on a website or for our purposes if we want to use with Figma then we select download all. Also, there is an option to download family if you want to download all the font styles in this particular font.
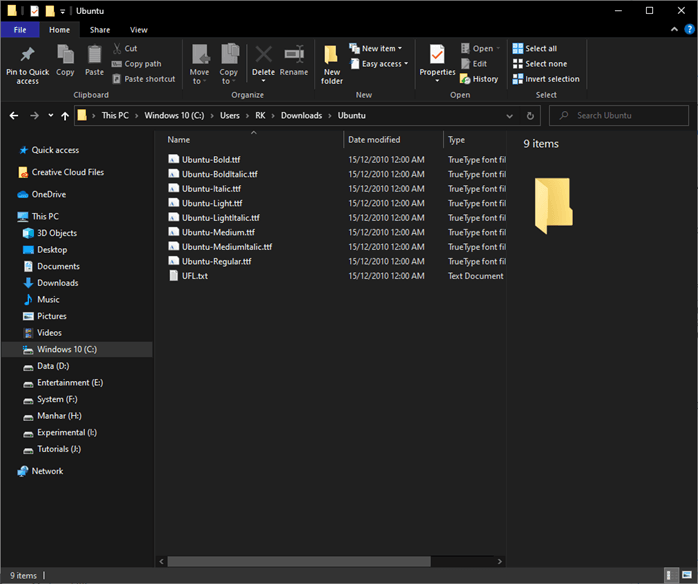
Step 6: A zip file will be downloaded on your computer which can be extracted by right clicking it and all the fonts will be inside the extracted folder. This procedure will work on windows.
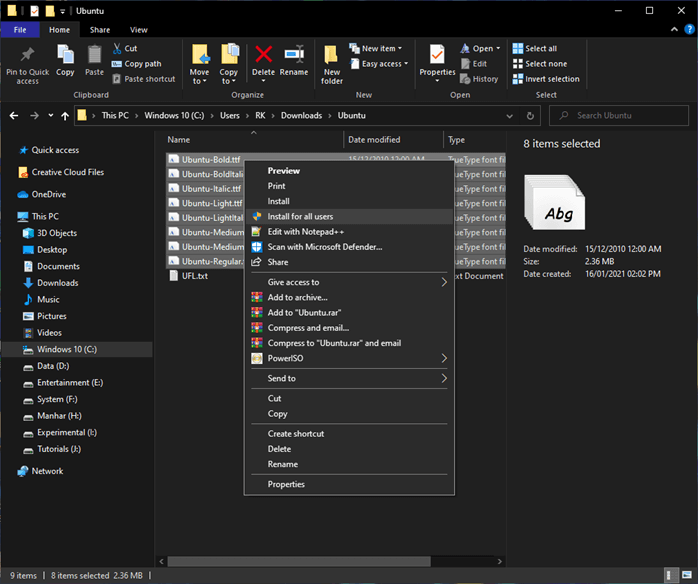
Step 7: Next we will right click on all the fonts and select install for all users.
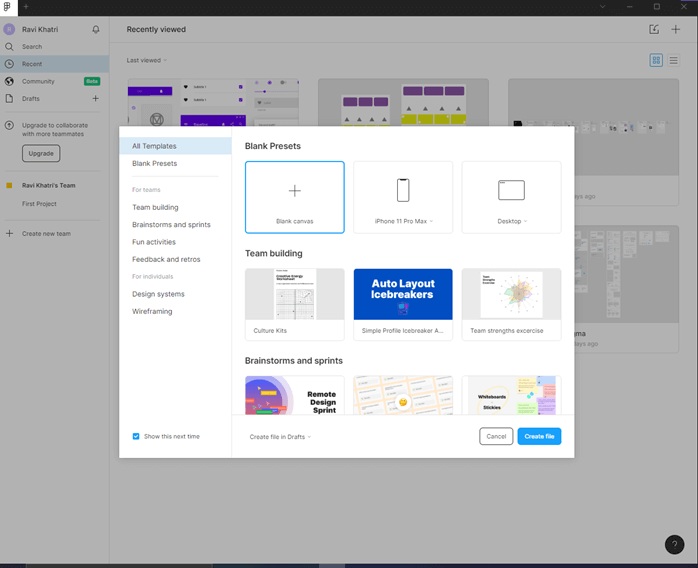
Step 8: Then open Figma and start with a blank canvas from the presets.
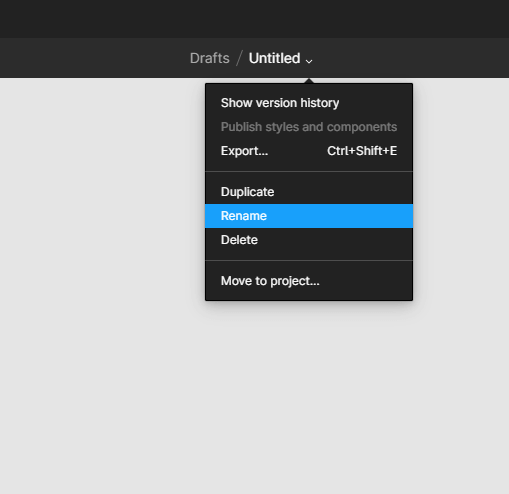
Step 9: You can rename your document from the center of the toolbar
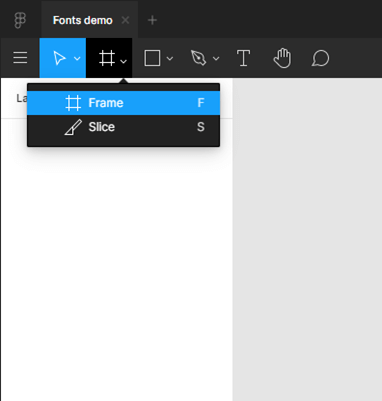
Step 10: Let’s start with a Frame or press F and select the design of iPhone 11 Pro.
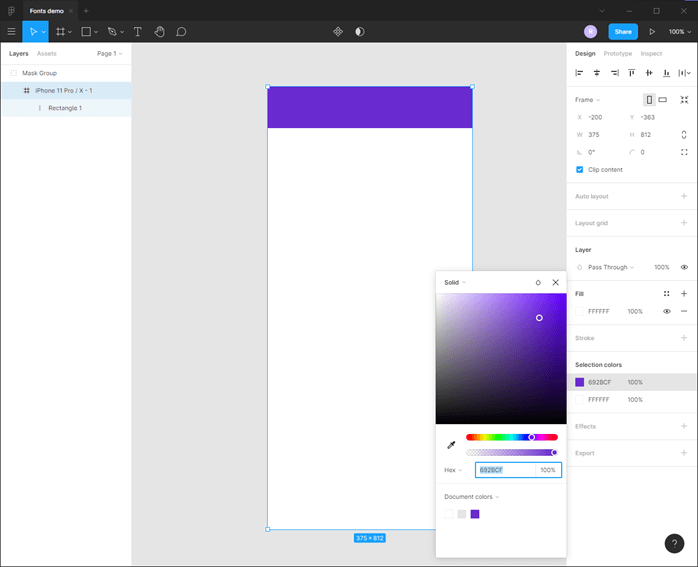
Step 11: Then use rectangle tool or press R and make a rectangle as shown.
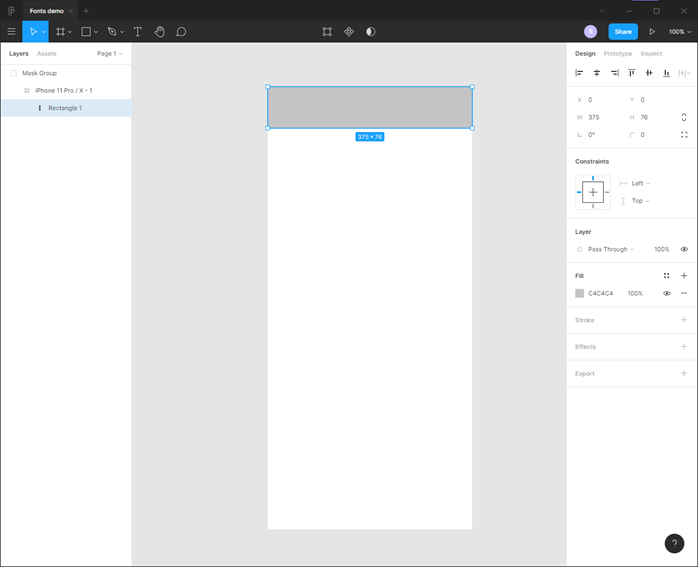
Step 12: You can change the fill color from the design panel.
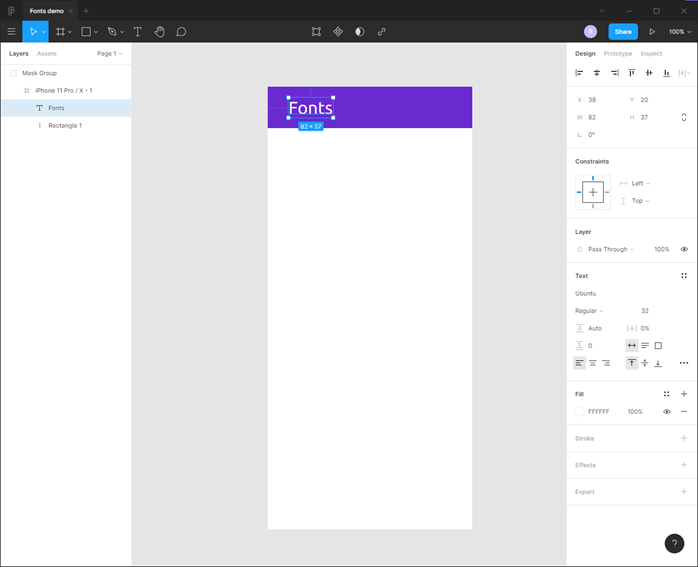
Step 13: Now use the text tool or press T and click on the rectangle which will create a text box, then add the text, change the font fill color to white and size to 32 and the font style to Ubuntu which we just installed.
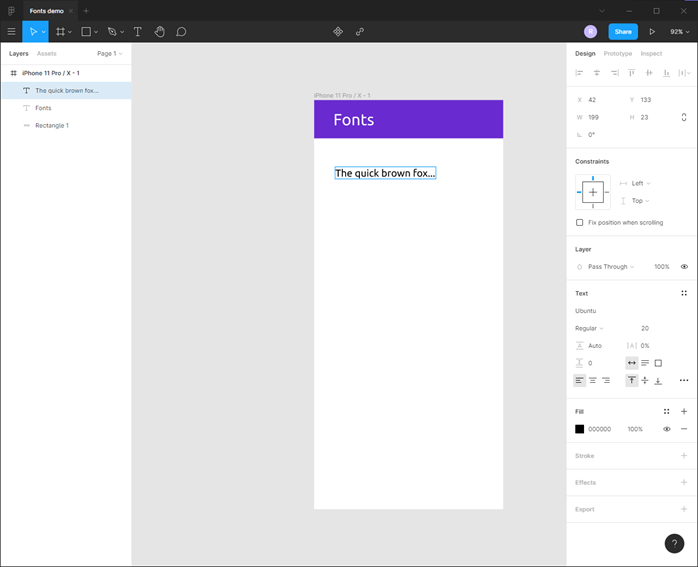
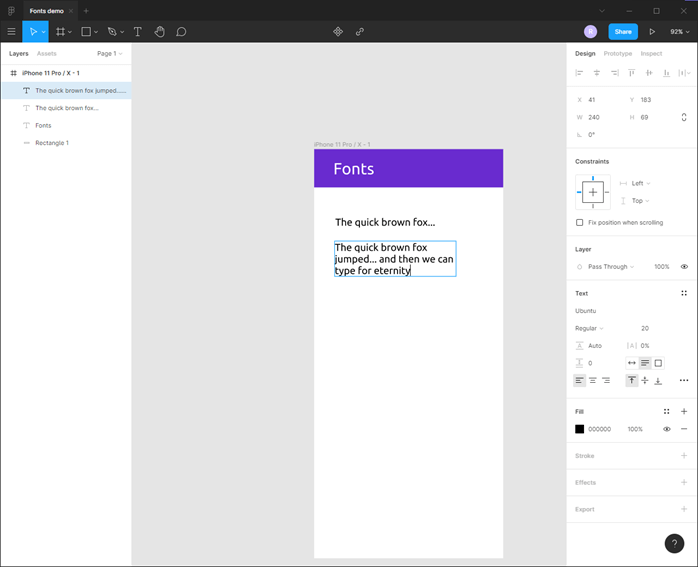
Step 14: Again, use the text tool set the size to 20 other options should be same as the last text except the fill which is black and click once and type this create text box with auto resize attribute to width which allows the width of the textbox to grow along with the text.
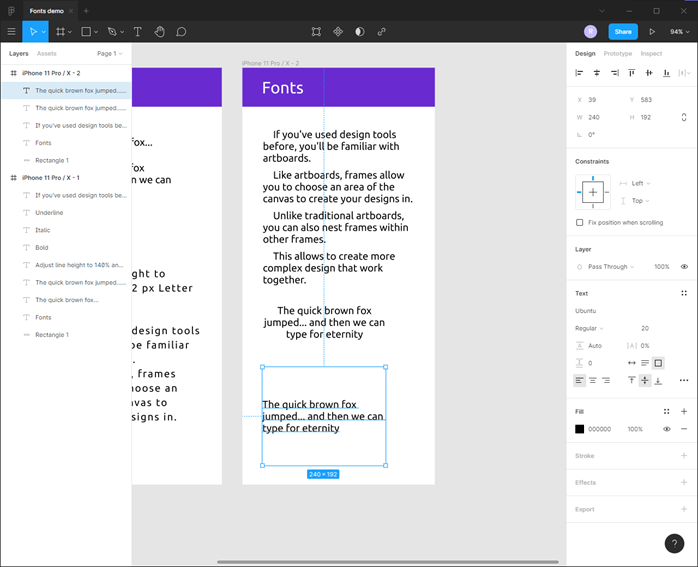
Step 15: Next let’s click and drag a text box which creates a fix sized text box and the auto resize is fixed, once the text reached the end of the text box the box will not resize vertically.
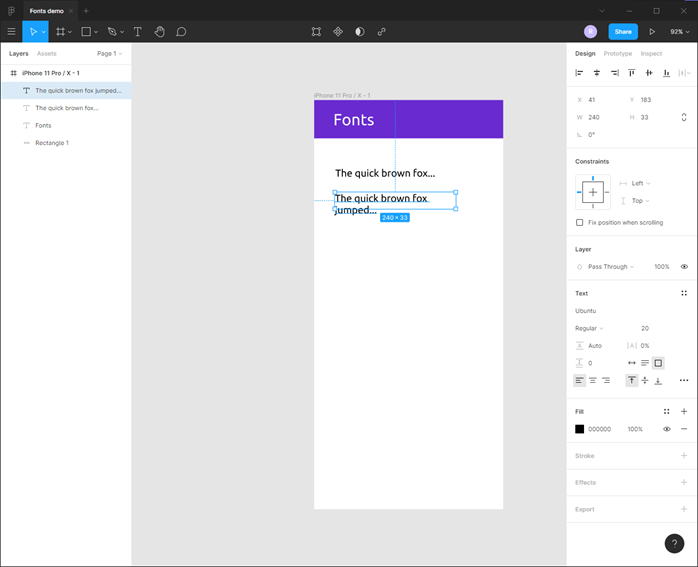
Step 16: So, in the design panel in text section, we can set auto height for this text box and now we can type more and the height will be adjusted according to the text.
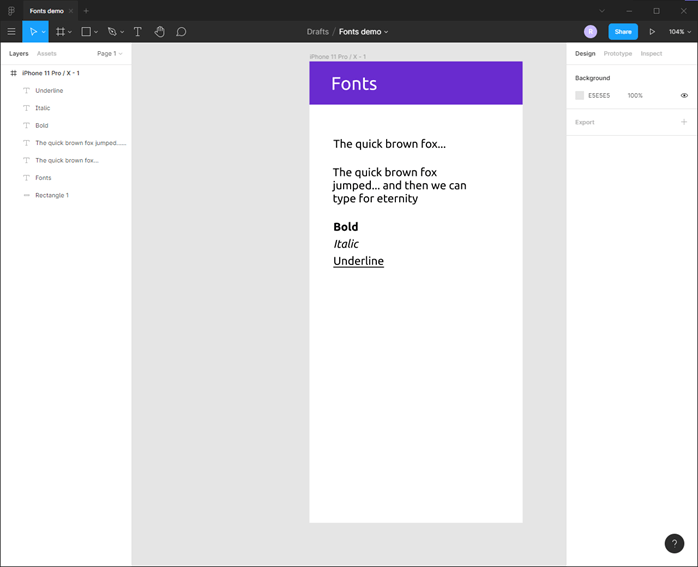
Step 17: Next we create three text field to demonstrate Bold using Ctrl + B, Italic using Ctrl + I, Underline using Ctrl + U.
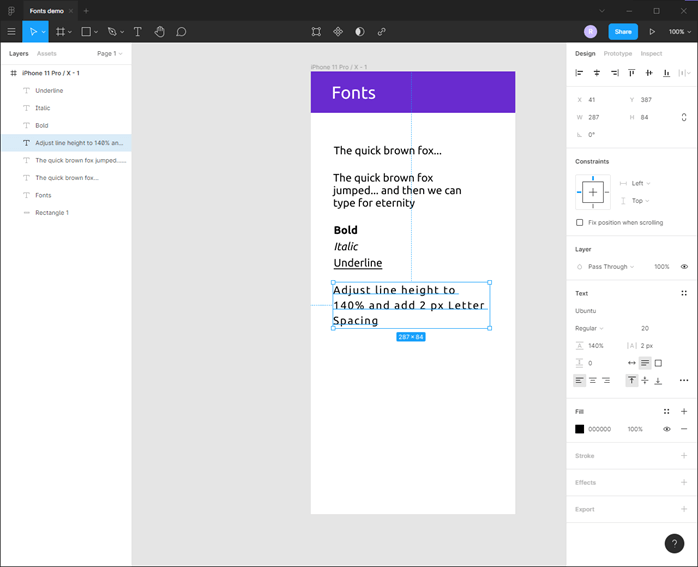
Step 18: Then we adjust the line height to 140% which is 100% by default and it changes the space between the lines. So, by holding shift and tapping up arrow key we can increase line height in increment of 10% and set letter spacing to 2px which is in percent by default and it changes the space between the characters.
Step 19: Create another frame or duplicate the existing frame by copy and pasting and keep the header. Then create a text box by dragging and put some random text. Create paragraphs by hitting enter at the end of the sentences.
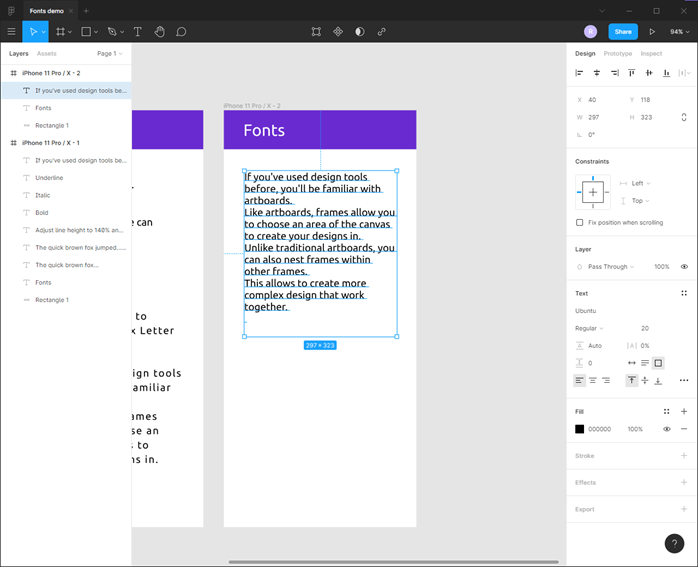
Step 20: Now we set the paragraph spacing to 10 and paragraph indentation to 20 so at the start of each paragraph there is some space.
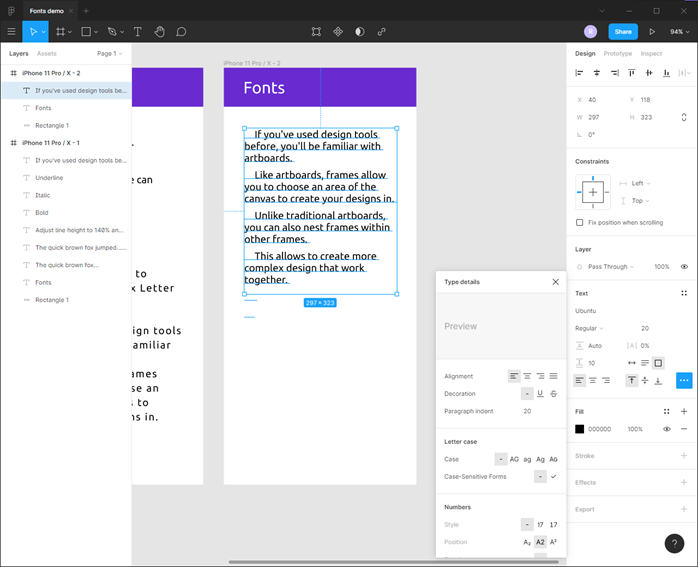
Step 21: Now we have created another two paragraphs, in first we can change the horizontal text alignment to left, center or right. In the second larger textbox we can change the vertical text alignment to top, middle and bottom.
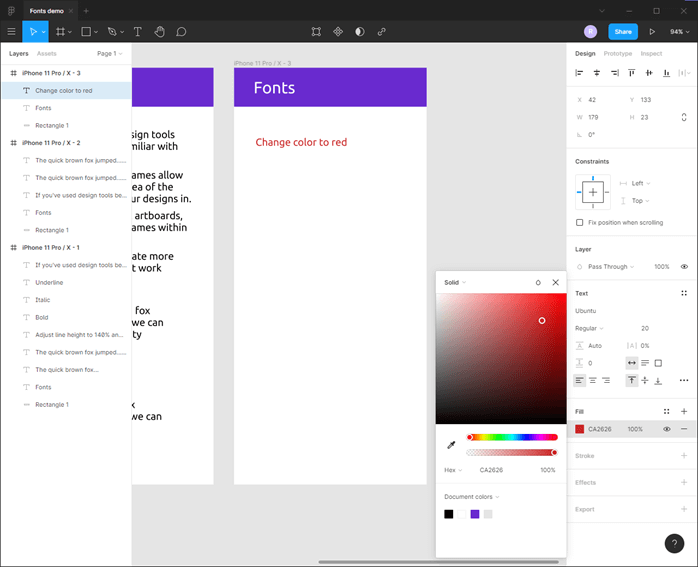
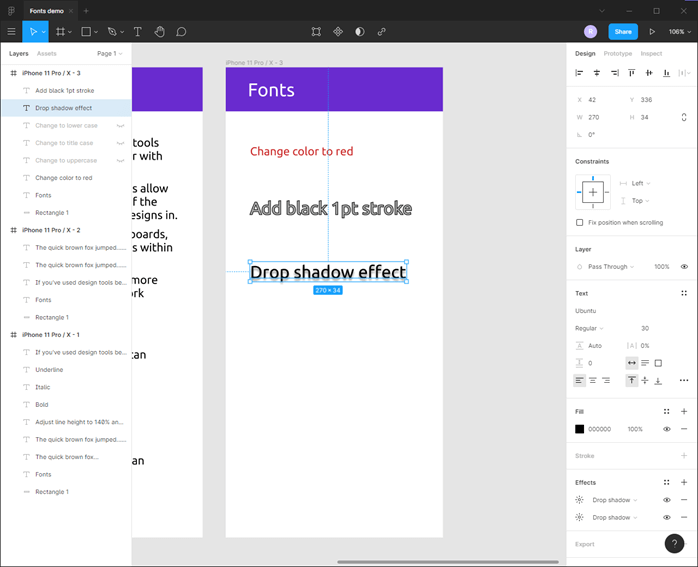
Step 22: Next we will look at some text effects. First, we can change the fill of the text to red as shown.
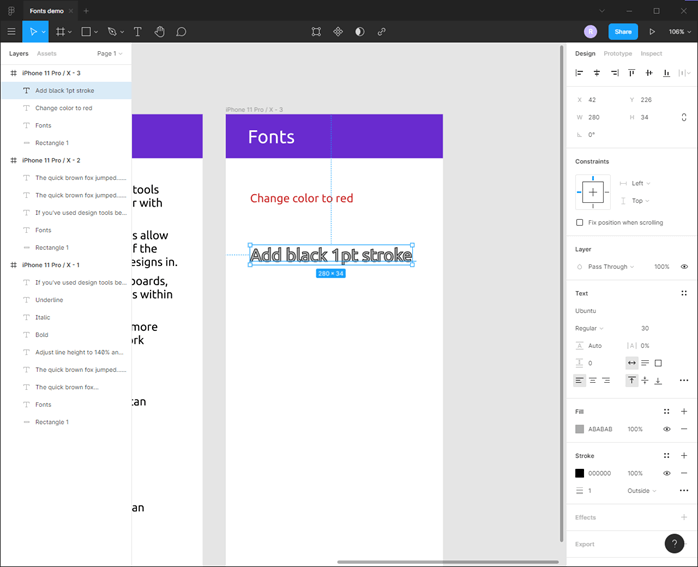
Step 23: Next we add some text and make the fill to grey. Then we use the stroke property to add a stroke of 1pt on outside.
Step 24: Lastly, we can add drop shadow effect. We can stack multiple drop shadows to accentuate the effects.
Conclusion
In this article, we have seen how to use fonts in Figma. First, we have seen how to download fonts from google fonts and customize them to our needs. Then we have seen how to install it in the window. Then we have seen the basics of text tools to make use of fonts that we have downloaded.
Recommended Articles
This is a guide to Figma fonts. Here we discuss how to download fonts from google fonts and customize it our needs and how to install them in the window. You may also have a look at the following articles to learn more –
