Updated August 28, 2023

Introduction to Crop in After Effects
Adobe After Effects is an animation and video editing software and, in this article, we are going to learn how to crop our composition depending on the area of interest. There are obvious benefits of cropping, as if there are empty spaces, it would take more time for rendering the output. But if we crop, then it will reduce both the render times and the file size. Another option to remove parts is to do masking, which will keep the file size the same but remove just the part you do not want to show. Apart from that, you can also add crop effects, so let’s see the crop in action.
How to Use Crop in After Effects?
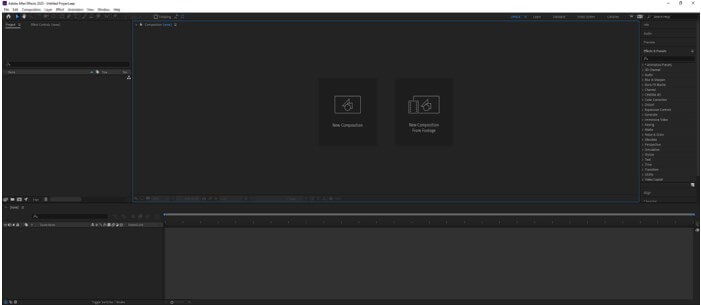
Step 1: Let us first familiarize ourselves with the interface before starting to get a better understanding. At the top is the menu bar like File, Edit, etc., and each has its own submenu. Next, just below it, we have a tool panel and their properties. On the left side, a project panel consists of the project files and effects control panel, which shows the effects applied on a particular layer. Then there is the composition panel which shows the preview of the animation or video. At the top right, we have various layout presets, which will arrange according to the type of work. We can even create our own custom layout. At the right, there are various sections used to edit the video. At the bottom, there are layers and a timeline panel used to add media and add animation keyframes.
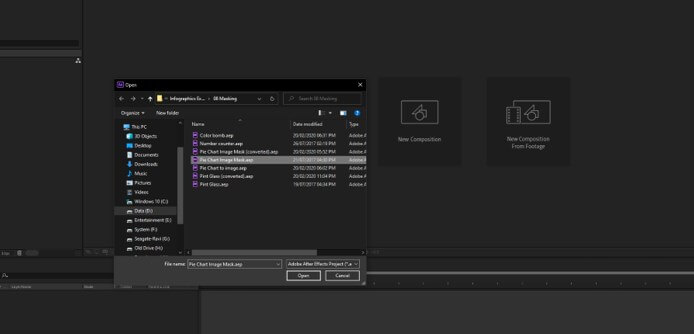
Step 2: I have opened an existing composition. If you have an existing composition, then you can open it from File -> Open Project. If you do not have an existing comp, then you can create a new composition and start from fresh. In this article, we are looking at how to use the crop functionality, so we have opened an existing composition.
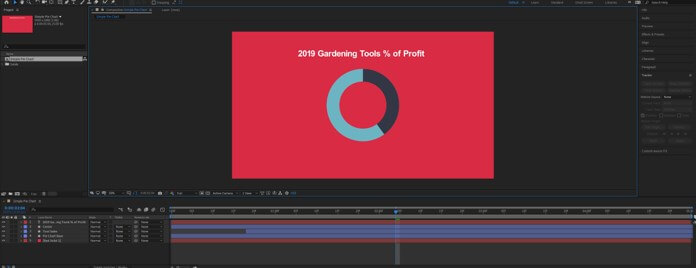
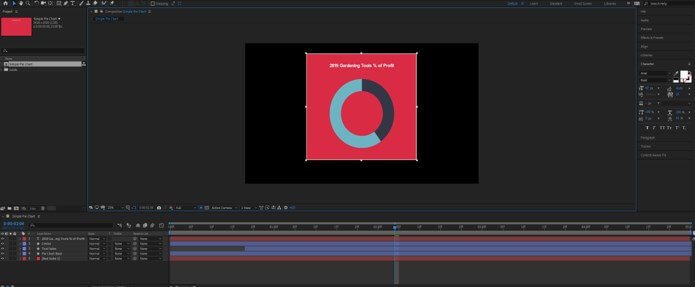
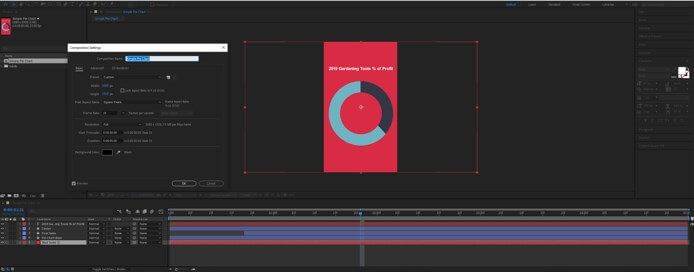
Step 3: Now following is the dimensions of the composition, which are in the desktop format. We will look at the first method of cropping in which we will make a mobile version of this desktop version. For this, we need to crop and adjust a couple of things.
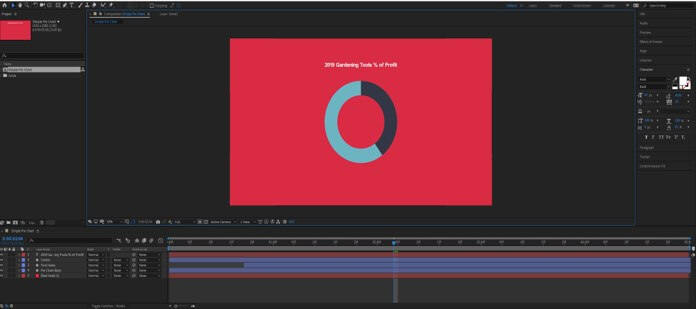
Step 4: Go to the character panel and decrease the font of the text, so it fits in the mobile version. You can either click on the pixels field if you know a specific number, or you can drag on the number if you want to eyeball and get the proper size.
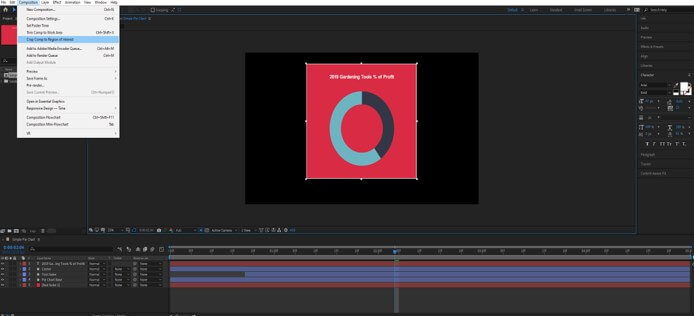
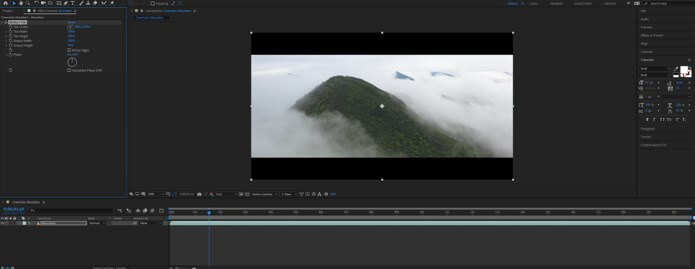
Step 5: There is a button called Region of Interest beside the resolution selector; click that and then drag the area which you want to keep in the composition panel.

Step 6: Drag the area you want to keep in the comp.
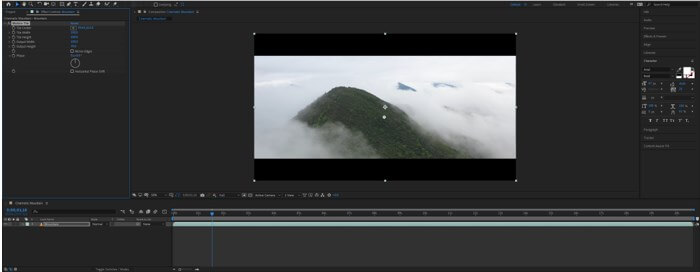
Step 7: After finalizing the area, go to the Composition menu -> Crop Comp to Region of Interest.
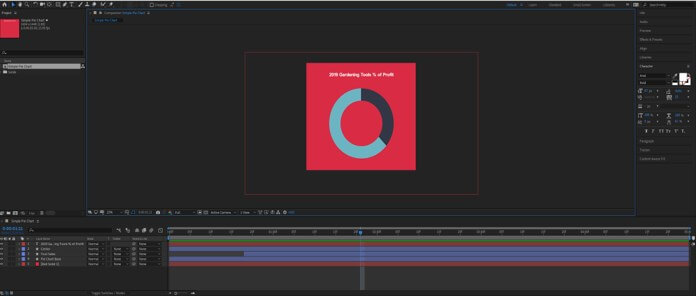
Step 8: This will resize your comp appropriately.
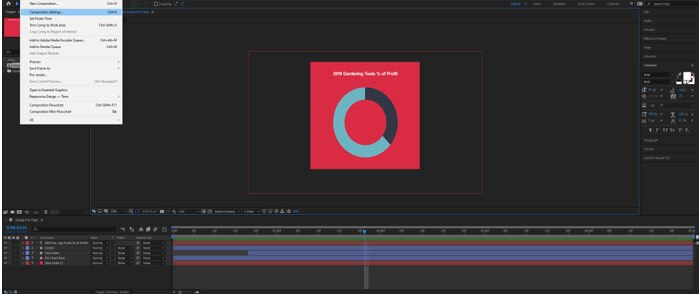
Step 9: Now, if you want to check what are the original dimensions of your comp, go to Composition -> Composition Settings or press Ctrl + K.
Step 10: We can see the width and height. If you want to adjust the comp size, then drag the width and height by keeping the preview on.
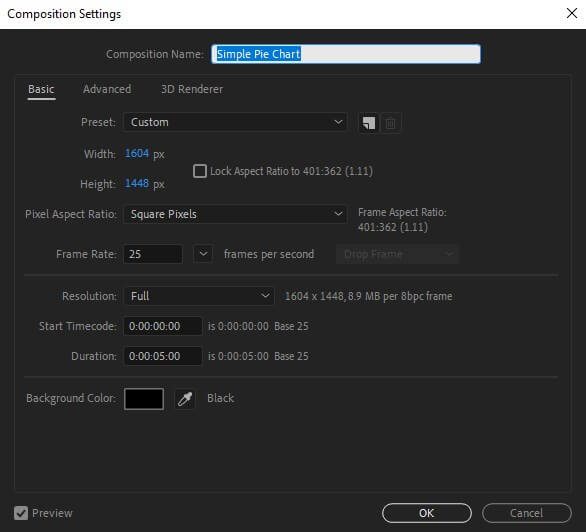
Step 11: Now, we have adjusted the width of 1080 px and the height of 1920 px. This will convert the desktop composition to a mobile composition.
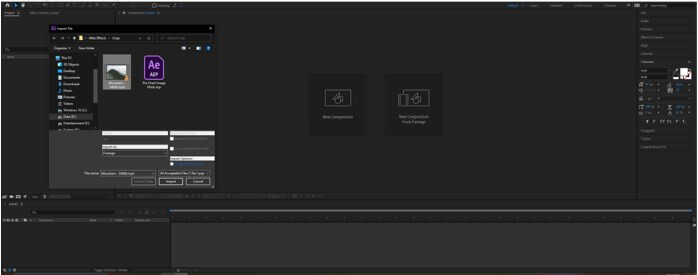
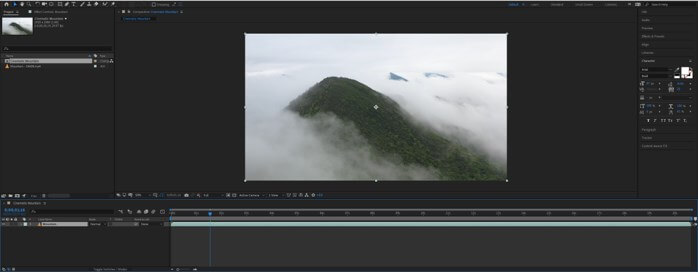
Step 12: Now, suppose if you do not want to crop the actual comp, but you want to part of the animation or video to create a stylistic or cinematic effect. Let us start with a new composition this time. Double click on the Project panel to import the footage, or you can go to File -> Import -> File.
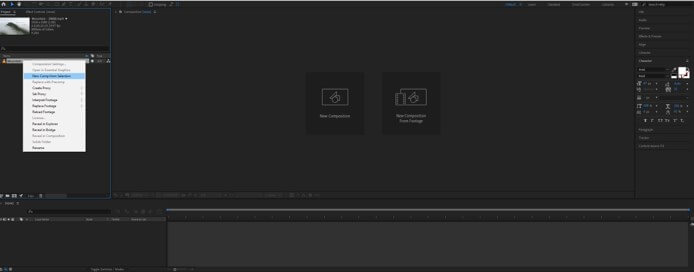
Step 13: After importing the footage, we will create a new comp from the selection as shown, or you can drag the video in the layers panel, which will create a comp.
Step 14: I have changed the name of the comp to Cinematic mountain by right click on the comp name and rename or just hit enter. Similarly, I have changed the name of the layer to Mountain.
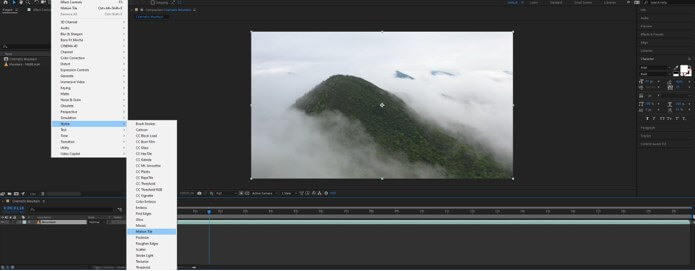
Step 15: To add the effect go to Effects -> Stylize -> Motion Tile. This will activate the Effects control panel.
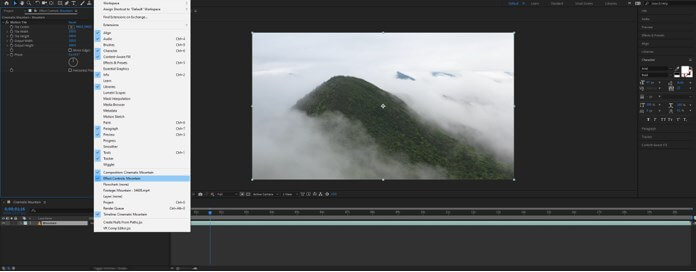
Step 16: If the Effects control panel is not shown, then go to Window -> Effects Control.
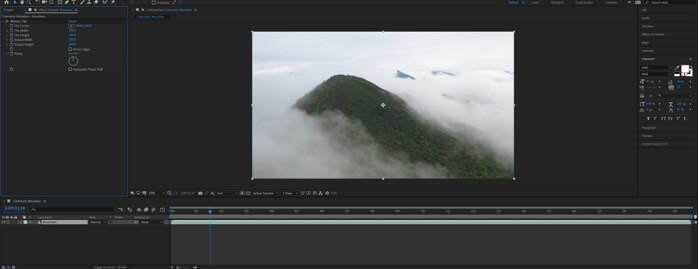
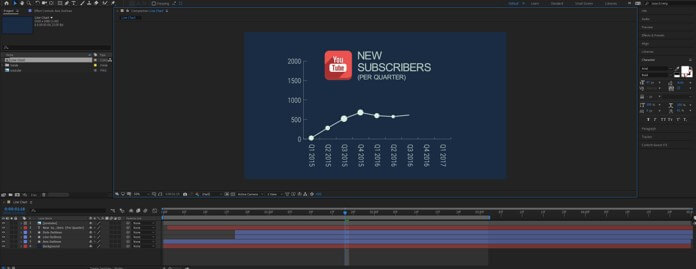
Step 17: Now to output height and change the value to 70. This step will hide the strip at the top and bottom and give us a cinematic effect. We can even play with Tile center to get the proper view.
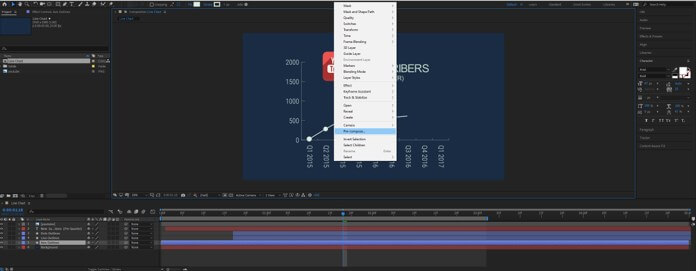
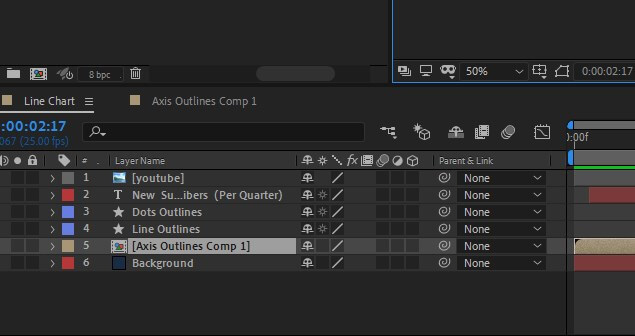
Step 19: To increase the efficiency, we will to crop functionality on the x and y-axis of this sample file shown. To do that, we will make a pre compose.
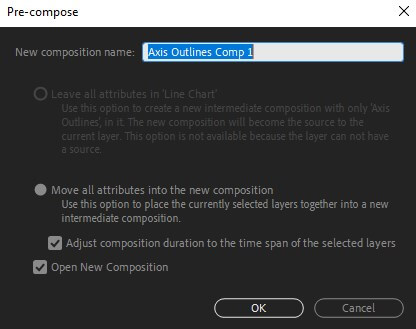
Step 20: Right-click on the axis and select pre compose.
Step 21: Make sure adjust composition is selected, and it will create a new comp.
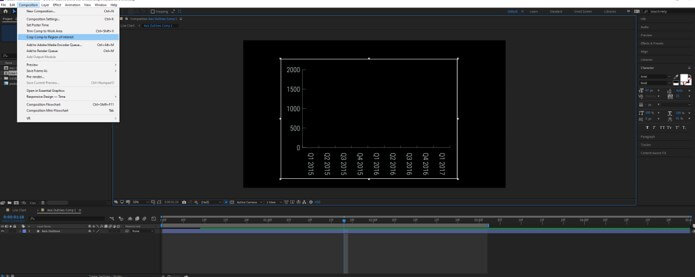
Step 22: Next, we will crop the region of interest.
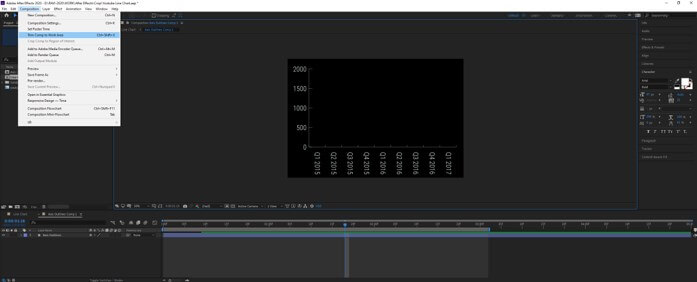
Step 23: We will also trim the comp to the work area.
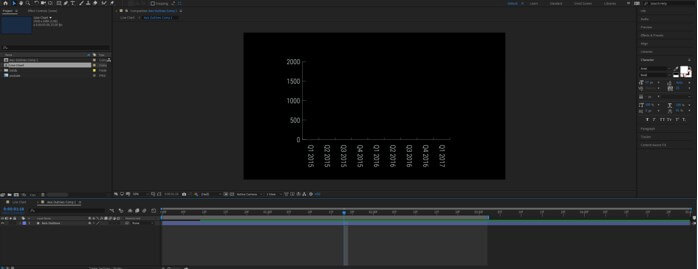
Step 24: As we can see that the x and y-axis are converted into a comp. You might need to adjust the position of the axis if they are not properly aligned.
Useful Tips
- Use quick shortcuts like “a” for anchor, “p” for the position, etc., which you can find keyboard shortcuts in the help menu.
- Change the preview resolutions for faster previews. If you keep it to full, depending on your resolutions, it would take some time to render, so you can keep it to thirds or quarters for better performance while previewing.
- Organizing the Project panel can be helpful as you can create a folder according to the type of media you are using, which is helpful to find your kinds of stuff.
Conclusion
In this article, we have learned to crop area of interest in Adobe After Effects, and apart from that, we have also seen how to apply stylistic effects to get the crop without actually changing the size of the comp. The overall crop is pretty useful to if you have heavy comps and needed some optimizations.
Recommended Articles
This is a guide to Crop in After Effects. Here we discuss the introduction, how to crop in after effect in a step by step manner. You can also go through our other related articles to learn more –
