Updated May 12, 2023
Introduction to Create Database in Excel
If you want to create a database, MS Access is the tool you ideally should look for. However, it is a bit complicated to learn and master the techniques therein as MS Access. It would help if you had ample time to master those. In such cases, you can use Excel as a good resource to create a database. Enting, storing, and finding specific information in the Excel Database is easier. A well-structured, well-formatted Excel table can be considered a database itself. So, all you have to do is create a proper format table. If the table is well-structured, you can sort the data differently. Moreover, you can apply the filters to well-structured data to slice and dice it per your requirements.
How to Create a Database in Excel?
We’ll be creating an employee database for the organization. Let’s see how to create a database in Excel by following the below process:
Data Entering to Create Excel Database
Data entering is the main aspect while creating a database in Excel.
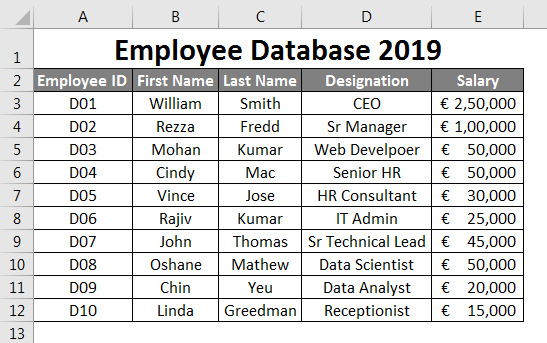
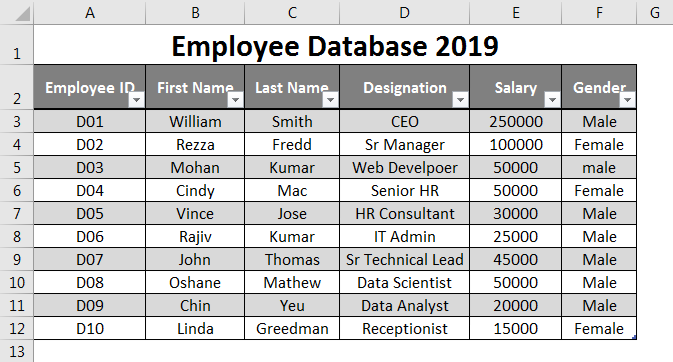
Suppose this is the data thatq1 you will use as an employee database.
I have added the first few Employee IDs. Say D01, D02, and D03, then drag the remaining until row 12 using Fill Handle. Column second onwards contains the general employee information like First Name, Last Name, Designation, and Salary. Fil this information in cells manually as per your details. Ensure the Salary column format is applied to all the cells in the column (Otherwise, this database may cause an error while using it).
Entering Correct Data
It is always good to enter the correct data. Make sure there is no space in your data. When I say no other blanks, it covers the column cells, which are also not blank. Try to the utmost that no data cells are blank. If you don’t have any information available, you prefer to put NA over a blank cell. It’s also important to make the right input to the right column.
See the screenshot below:
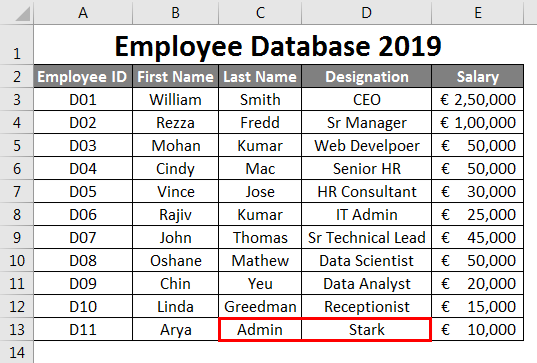
Suppose,uy as shown in the image above, you wrongly interchanged the column inputs. i.e., you have mentioned Designation under Last Name and Last Name under Designation, which is a serious drop-back when you think of this as master employee data for your organization. It may mislead some of your conclusions.
Suppose you have added a correct entry, but at the 2nd row after the last row (i.e., one row is left blank). It is also not recommended to do so. It is a breakdown of your data. See the screenshot given below:
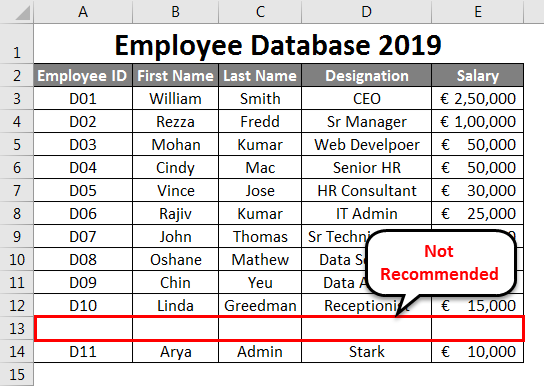
As you can see, one row is left blank after row no. 12 (the second last row of the dataset) and added one new row, which is not recommended. Similarly, it would be best to leave no blank columns in the database.
Let’s see the screenshot below:
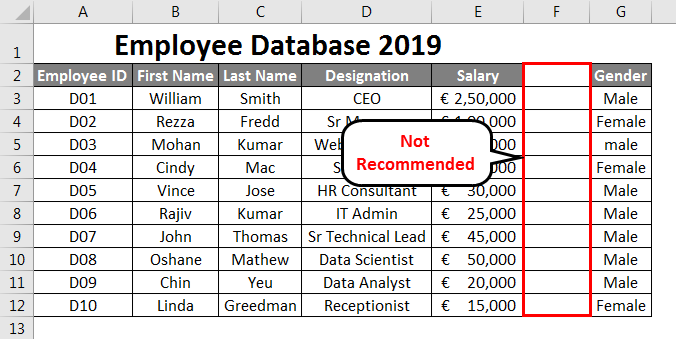
As you can see, column F is left blank. Which causes Excel to think there is a split of data. Excel considers that a blank column is a separator between two databases. It is misleading, as the column after the blank column is a part of your original database. It’s not the start column of a new database.
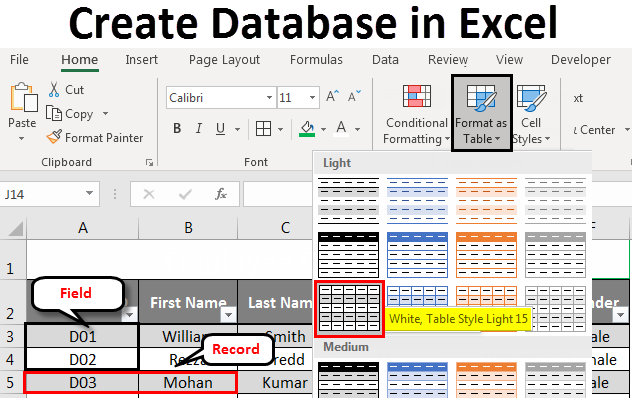
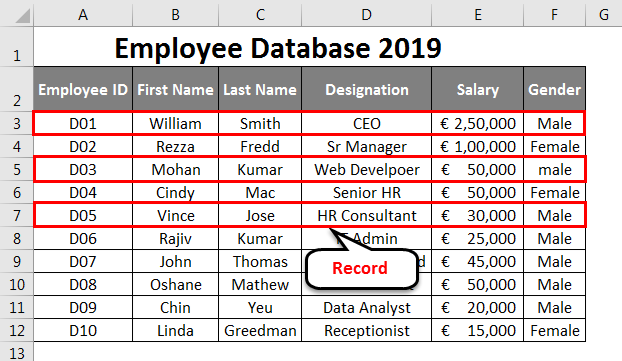
All the Rows are called Records in Excel Database.
It is a kind of basic knowledge we should have about the database we are creating. Every single row we create/add is called a Record in the database. See the below screenshot for your reference:
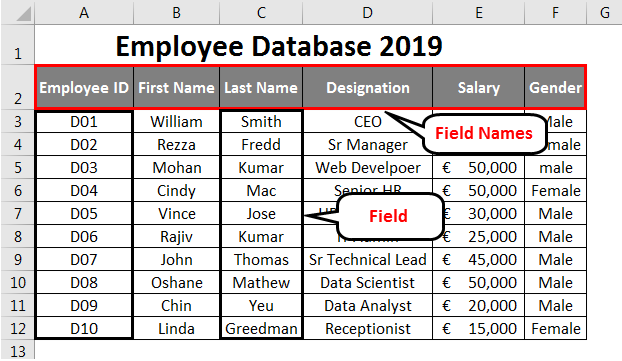
Every Column is a Field in Excel Database
Every column is called Field in the Excel database. The column headings are called Field Names.
Format Table
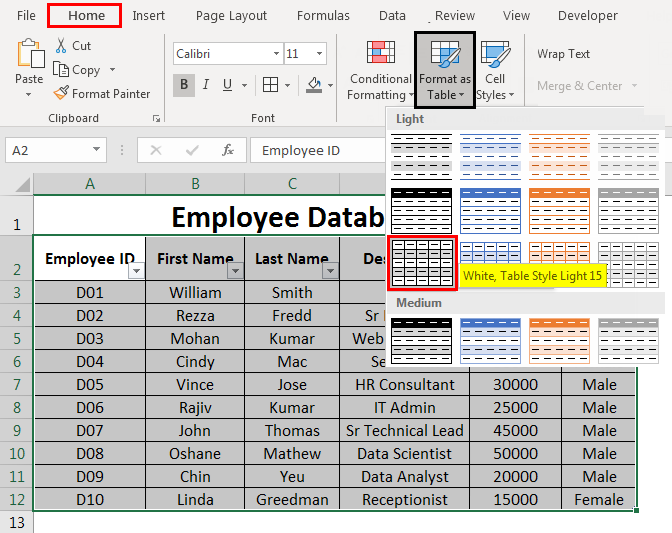
Once you input the data, it should be converted into a better visualization table.
- Select cells A2 to F12 from the spreadsheet.
- Go to the Home tab.
- Select Format as Table drop-down menu. You can choose a table layout of your own.
Once you click a particular table format, a table window will pop up with the selected data range, and a dotted line will surround that range. You can also change the range of the data in the table dialog box.
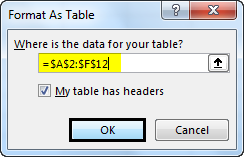
Once you are happy with the range, you can choose, OK. You can see your data in a tabular form now. See the screenshot given below:
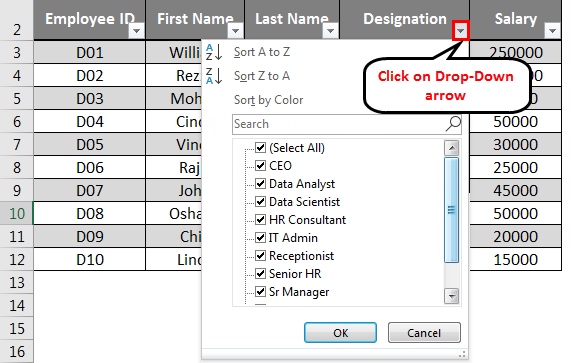
Use Excel Database Tools to Sort or Filter the Data
You can use the drop-down arrows beside each Field Name to Sort or Filter the data as per your requirement. These options are helpful when dealing with a large amount of data.
Expanding the Database
You can also do it if you want to add more records to your table. Select all the cells from your table.
Place your mouse at the bottom of the last cell of your table. The mouse pointer will turn into a two-headed arrow. You can drag down the pointer from there until you want to add that many blank rows in your database. Subsequently, you can add data under those blank cells as well.
Database Formatting
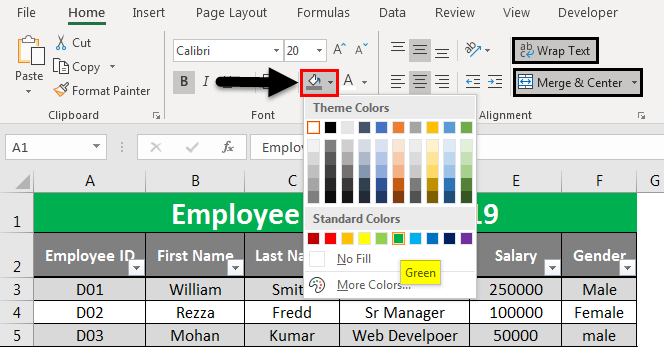
Highlight cells A1 to F1 from the spreadsheet.
- Select Home tab
- Under the Home tab, go to Wrap Text and Merge and Center.
- You can also change the fill color. Select Fill Color. Choose the color of your interest. Here I have selected Green as a color.
This is how we have created our Database in Excel.
Things to Remember About Create Database in Excel
- Information about one item should be populated in one single row entirely. You can’t use multiple lines to add different data of the same item in the Excel database.
- The field should not be kept empty. (Including Column Headings/Field Name).
- The data type entered in one column should be homogeneous. E.g., If you are entering Salary details in the Salary column, there should not be any text string in that column. Similarly, any column containing text strings should not contain any numerical information.
- The database created here is a very small example. It becomes huge in terms of employees joining now and then, and it becomes hectic to maintain the data repeatedly with the standard formatting. That’s why it is recommended to use databases.
Recommended Articles
This is a guide to Create a Database in Excel. Here we discuss how to Create a Database in Excel, practical examples, and a downloadable Excel template. You can also go through our other suggested articles –
