Updated August 25, 2023
Introduction to Clone Stamp Tool
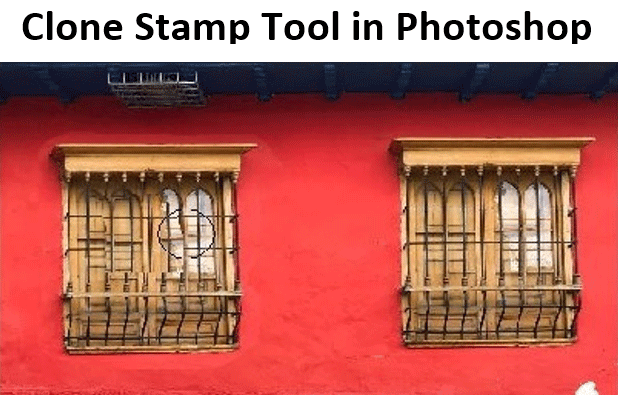
Clone Stamp, as the name suggests, is an image correction tool available in Photoshop that is used for restoring an image back to its original state, removing unnecessary objects in the image, and for creating artistic elements; the clone tool works after defining a target point in the image by the user; however, it requires practice and a lot of efforts initially in order to ace the usage of clone tool completely.
Types of Clone Method
There are three types of Methods which are discussed below:
1. Clone on the Background Layer
Beginners use the first method most often because it is the most evident. It is also the most dangerous, as changes are constant and cannot be undone once they have been saved.
2. Make a Duplicate Layer and then Clone on that Layer
This method should, therefore, NEVER be employed. The second way is better because the background layer is not changed. But undue mistakes are harder to make. The image also takes up more storage space, as two copies of the image are now available. This is, therefore, also not the best way.
3. Clone on a Separate, Empty Layer
The third method offers many advantages in practice and is the only one to use in most cases. When an error occurs, the removal tool can simply delete it from the picture. It takes less room on the drive, and it is easy to click the visibility icon to toggle the changes.
Shortcut Keys of Using the Brush
- Left Brush size reduces.
- Right Bracket size ) increases the size of the brush.
- Left Brush shift[] decreases the feeder size.
- Right Brush shift size reduces shift.
- Right, the Brush size increases.
- Links Bracket size decreases, and the brush size increases.
- Right Bracket (shift).
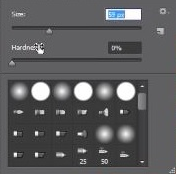
Take your pins to make it smoother, or move the right bracket to increase the hardness by using a swivel left bracket. The increased size depends on the brush size. Brush size increase/decrement sizes • 1-9 1• 10-100 10* > 100 25 Five degrees of hardness occur, and each click changes the hardness by 20%, giving you 100% 80%, 60%, 40%, and 20%, as shown in this figure.

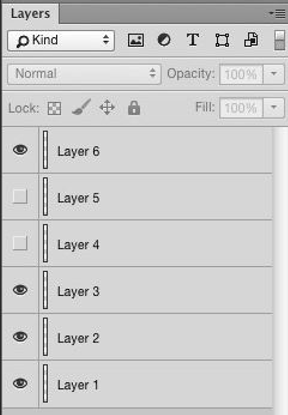
Two important considerations are given in the use of layers for adjustment. The first thing is to always have adjustment layers on top of your clone layers. If the clone layer is put on top of the adjustment layer and the adjustment layer is modified later, changes in the clone layer will not be updated.
Note: The palette layers and not the options menu must do this. The menu options are the same but work only if you clone to the same level. This option won’t work if you use a separate clone layer.
Steps to Use Clone Stamp Tool in Photoshop
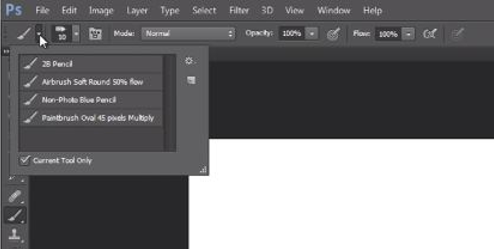
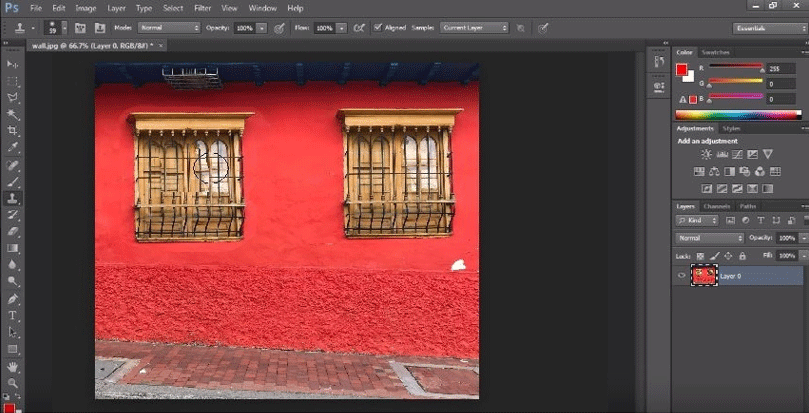
Step 1: Open an image File (.ext, .jpg, .png, .bmp, ….) and apply the Clone Stamp tool from toolbox.
Step 2: Click on the keyboard’s S key.
Step 3: Select a brush in the Brush Preset picker to change its size or hardness to control the cloning area better.
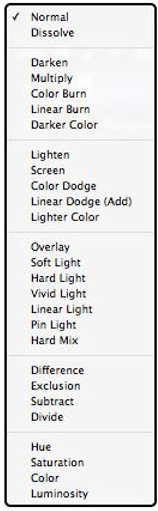
Step 4: On the Options bar, select the Blend mode.
Step 5: Use the Opacity slider or text box in the Options bar to make the clone more or less opaque.

Step 6: Now, see how quickly the clone is implemented by changing the flow rate of the clone stamp tool. If desired, select the Airbrush feature for airbrushing.
Depending on your preferences, select or unselect the Aligned option. When your cursor is moved to a different location, the clone source moves when you have selected alignments. If you’re cloning from the same location multiple times, uncheck Aligned.
Step 7: Select the drop-down option of a sample and select the All layers option to clone section of a multilayered image.
Step 8: This option allows you to specify pixels for the clone in all visible layers. You can opt to ignore any setup layer during cloning if all layers in stage 8 are selected.
Step 9: Select Window alternative Clinical Source to open the Clone Source panel. In the Options bar (Left from the blend mode options), click the clone source’s panel icon. Workout the options below:
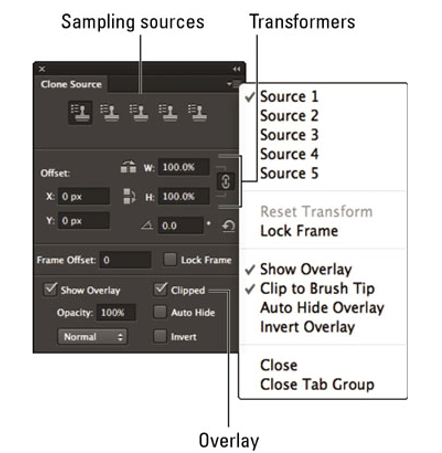
- Sample Sources: In step 8, the Alt-click (Optional Click on Mac) defines the region of your image you’d like to clone. However, in the panel of clone sources, you can select and repeat an alternative clone source button in another area of your image (Click on Mac option).
- Transformations: Change your clone’s position, scale, or rotation. Click the icon link to get the aspect ratio Width and Height. For resetting the transformation, select the small curved arrow under the icon of the link.
Step 10: Alt-click the region of your image you’d like to clone (optional click on Mac).
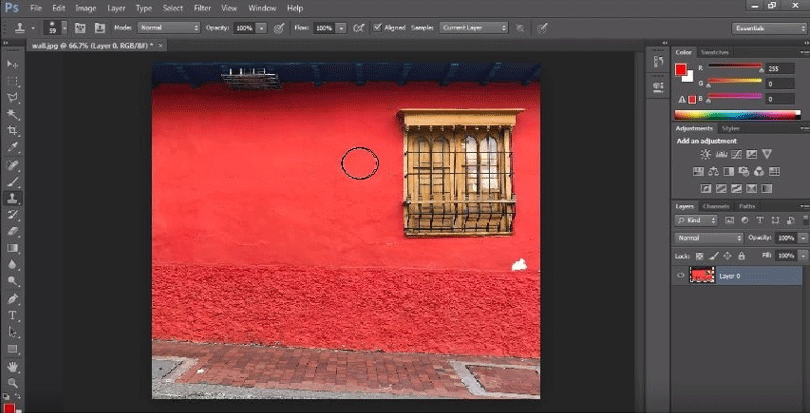
Step 11: Click or drag the area you want to see the clone.
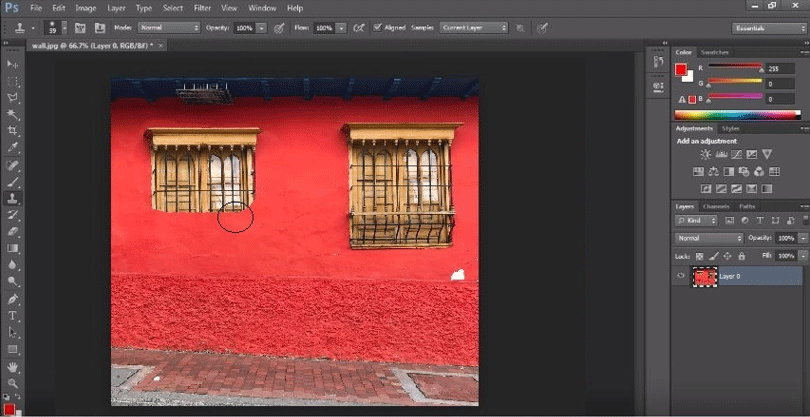
Step 12: Final output of the Clone Stamp Tool in Photoshop.
Conclusion
The Clone Stamp tool is one of Photoshop’s most useful features for photo editors as well as graphic artists. The applications for this magnificent tool have no limits.
Recommended Articles
This has been a guide to Clone Stamp Tool in Photoshop. Here we discuss the concept and how to use the Clone Stamp Tool in Photoshop and examples. You can also go through our other suggested articles to learn more –
