What is 3D Max Models?
3D Max is a professional 3D computer designing software used in making 3D animation, games, models, images, etc. 3D Max Modeling in 3D Max is an interesting and basic part of this software. In this, we will get knowledge about the 3D dimensional visualization effect of any object. After having knowledge about 3D modeling, we will be able to make different types of models such as kitchen interior design, floor design, etc.
How to Set Units in 3D Max?
First of all, we will set units according to our requirements. For setting the units, follow the below steps:
Step 1: Go to the Customize button on the top corner.
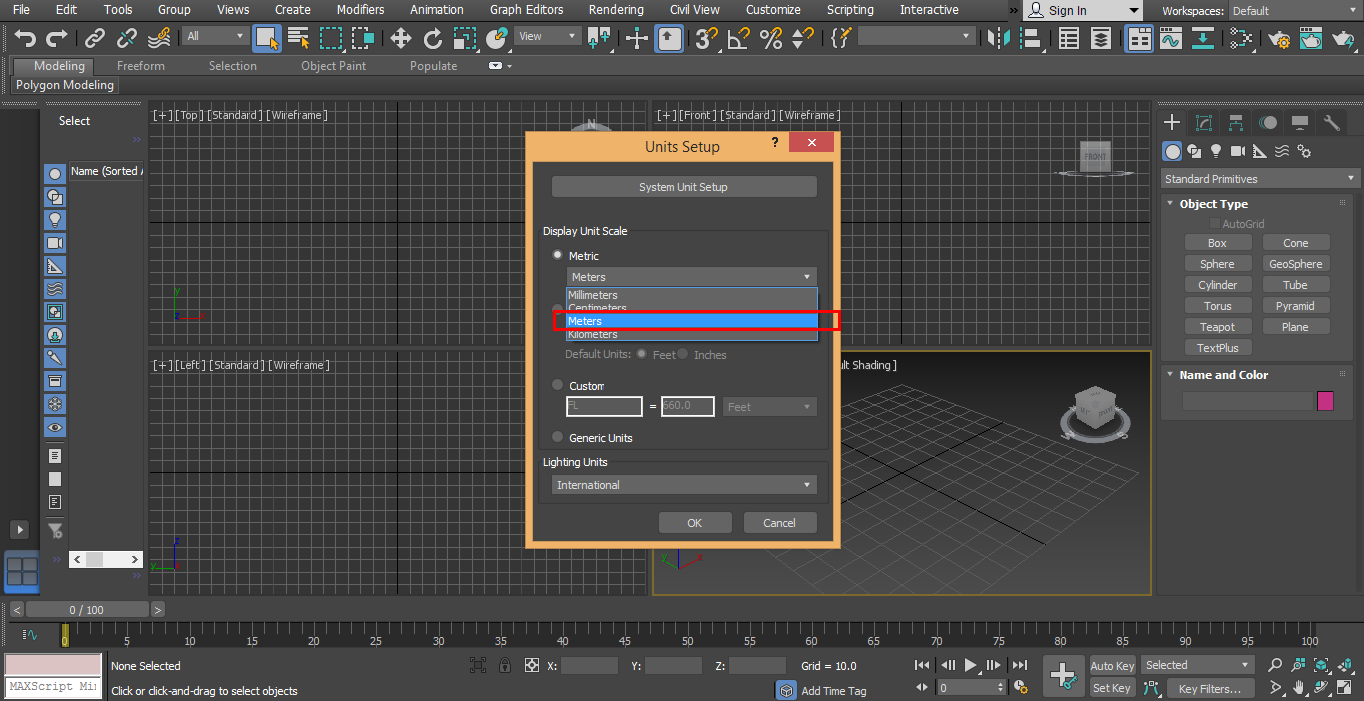
Step 2: Click on the Units Setup option.
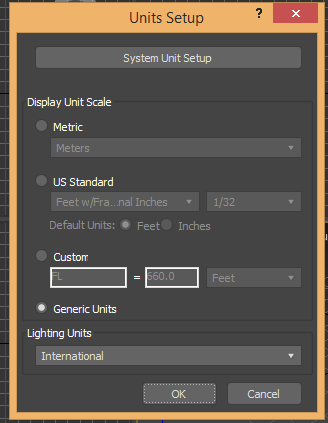
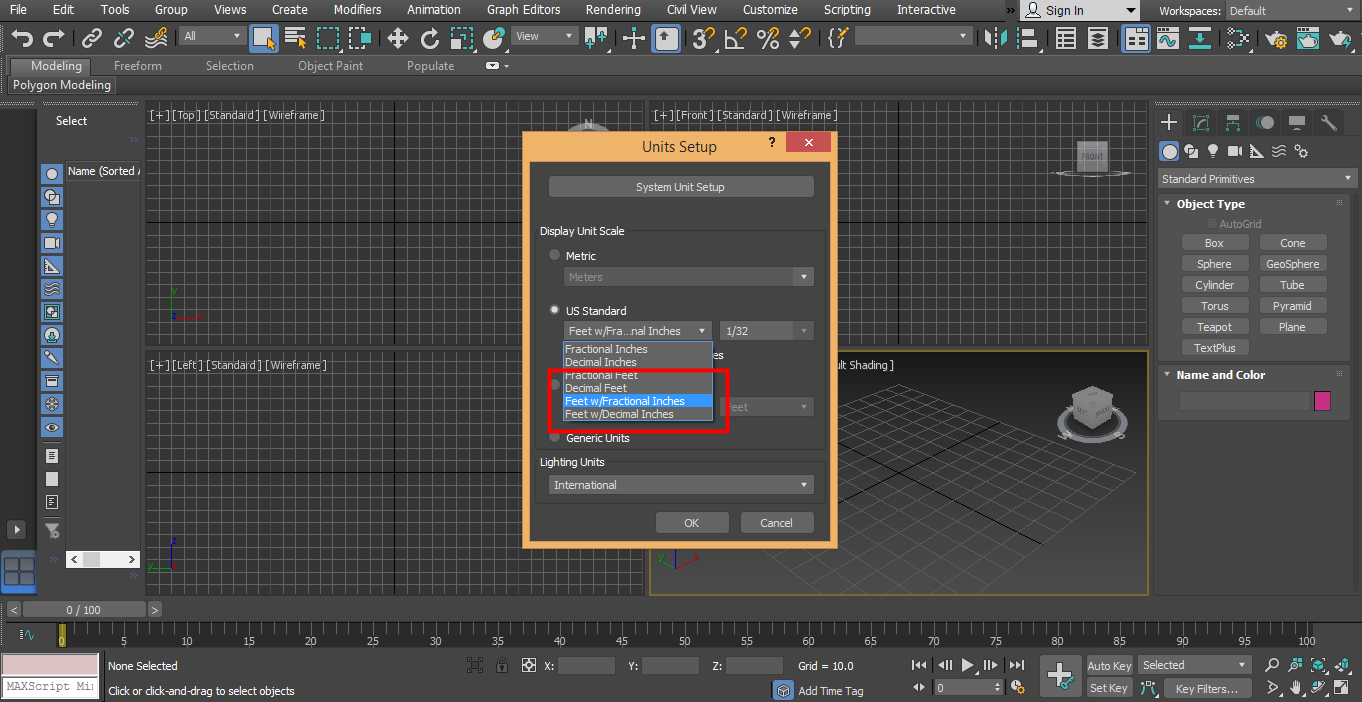
Step 3: A dialog box will open, you will find two options for setting Unit.
Step 4: Metric for Setting unit in Meters, Centimeters, etc.
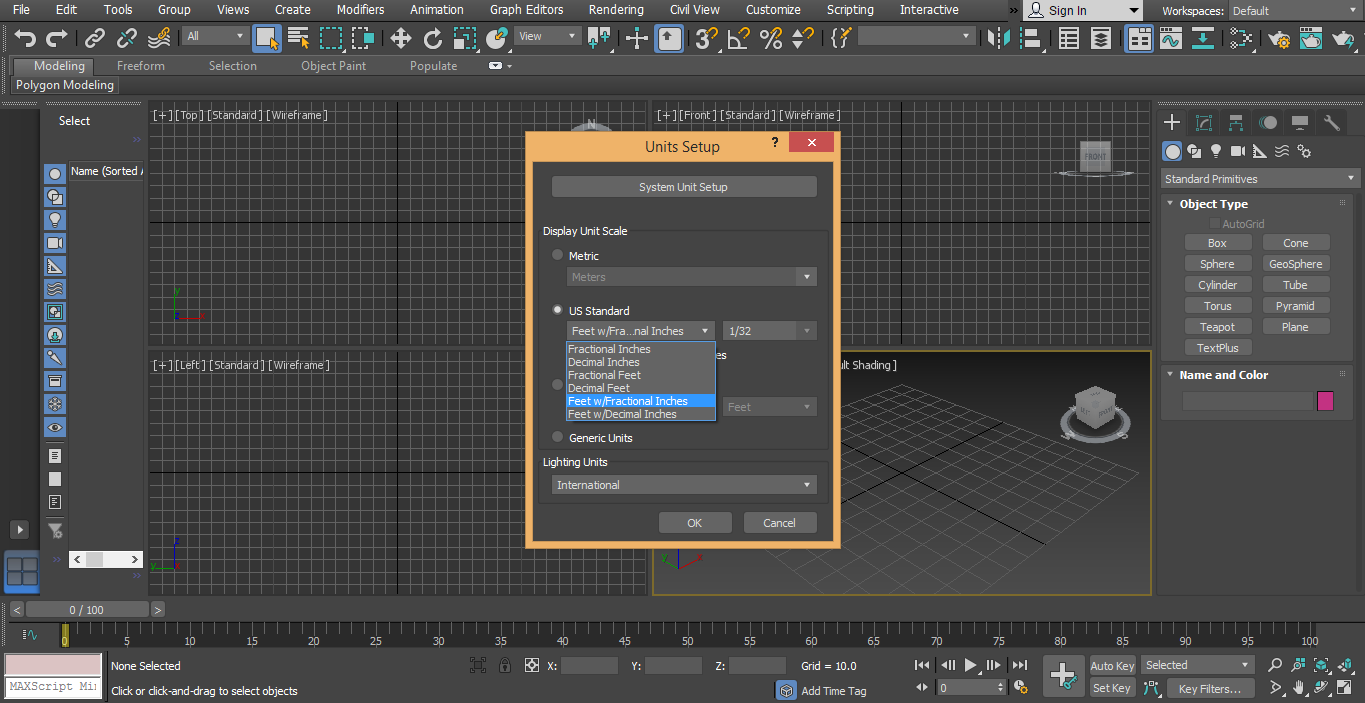
Step 5: And another option is the US Standard for setting units in Feet and Inches.
Step 6: We have a system unit step option here. We generally take its unit in Inches because when we import any other model in or project, there will be no change in the imported model’s unit. Now press ok to set the unit.
Steps for Creating 3D Max Model
Here I will tell you a few simple steps by which you can easily get knowledge about 3D Max Models. Let’s start by learning 3D Max Models in a step by step manner.
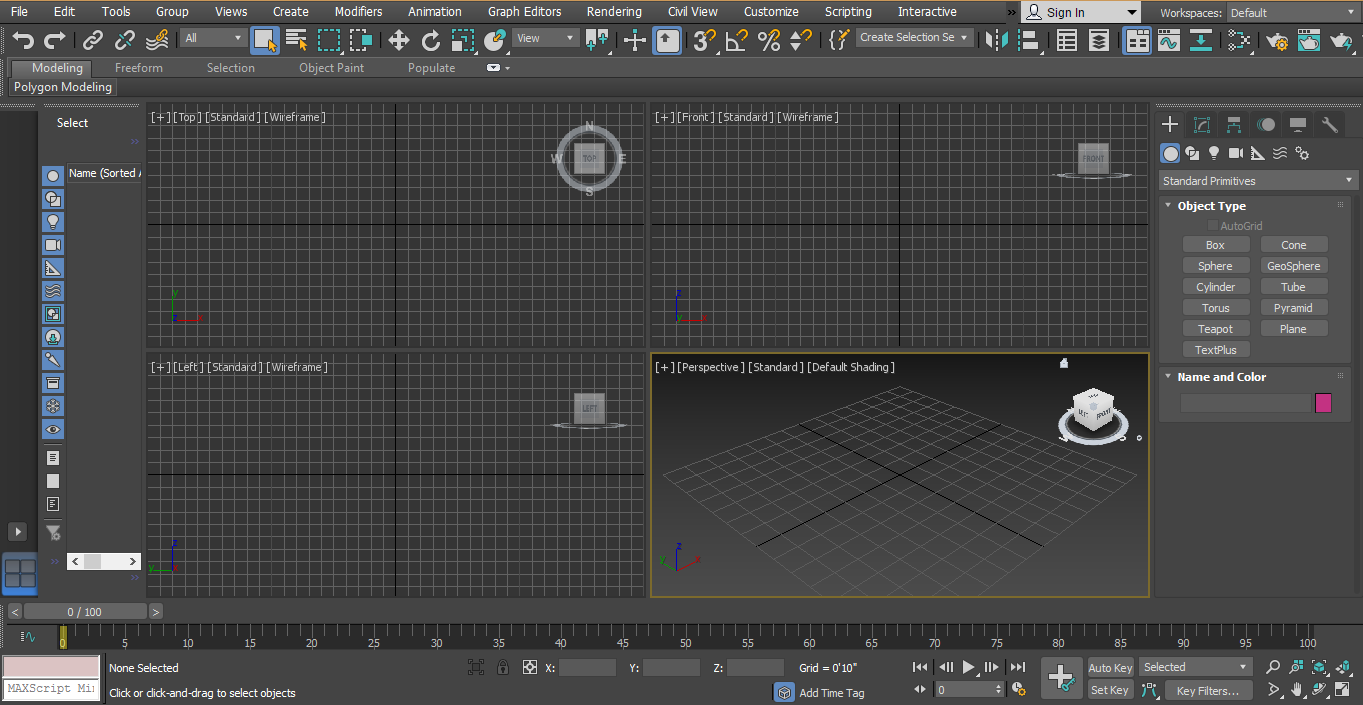
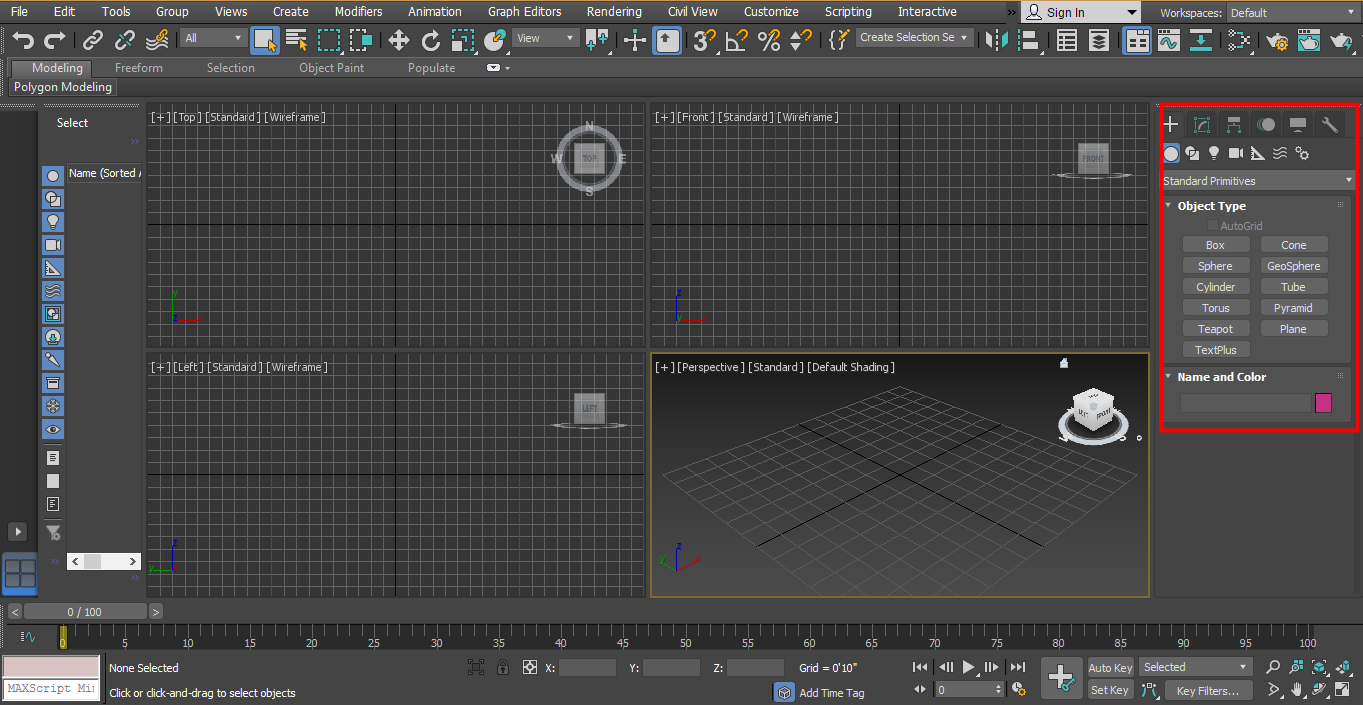
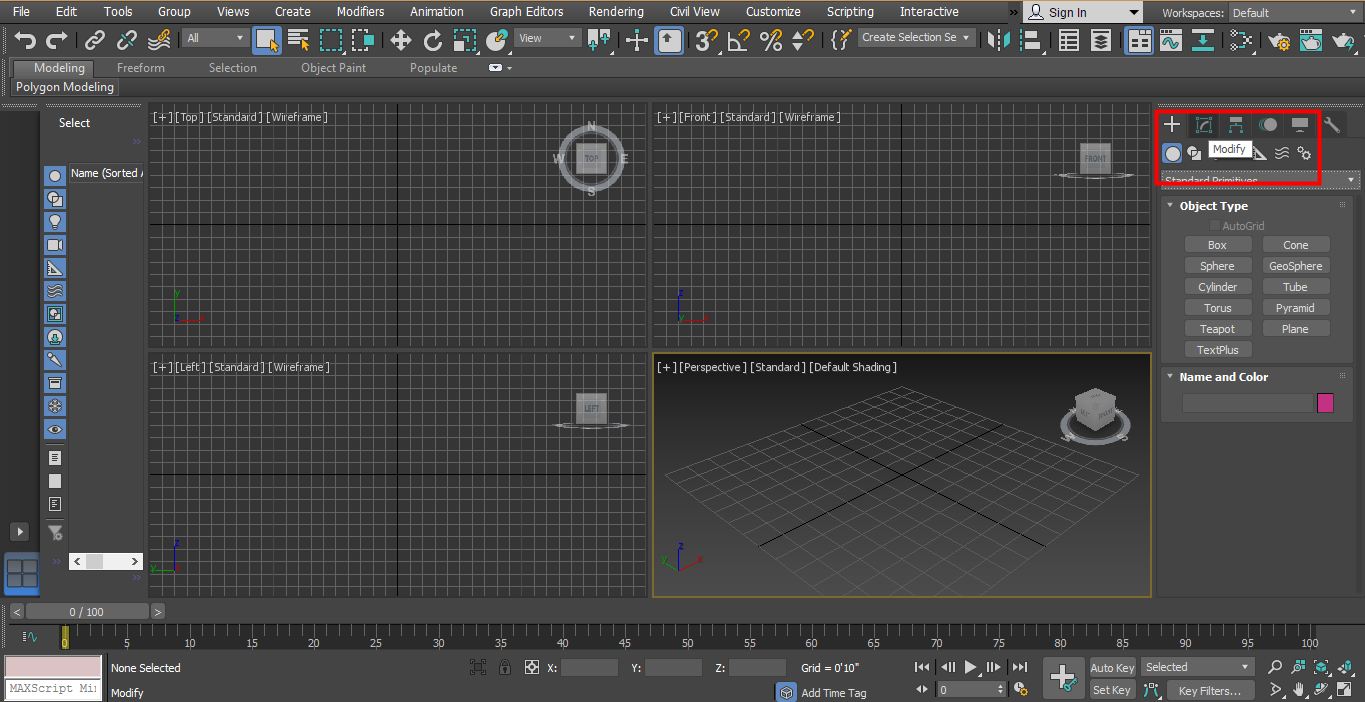
We have here Common Panel in our work area at the right corner.
We have many options in the common panel, such as Create, Modify, etc.
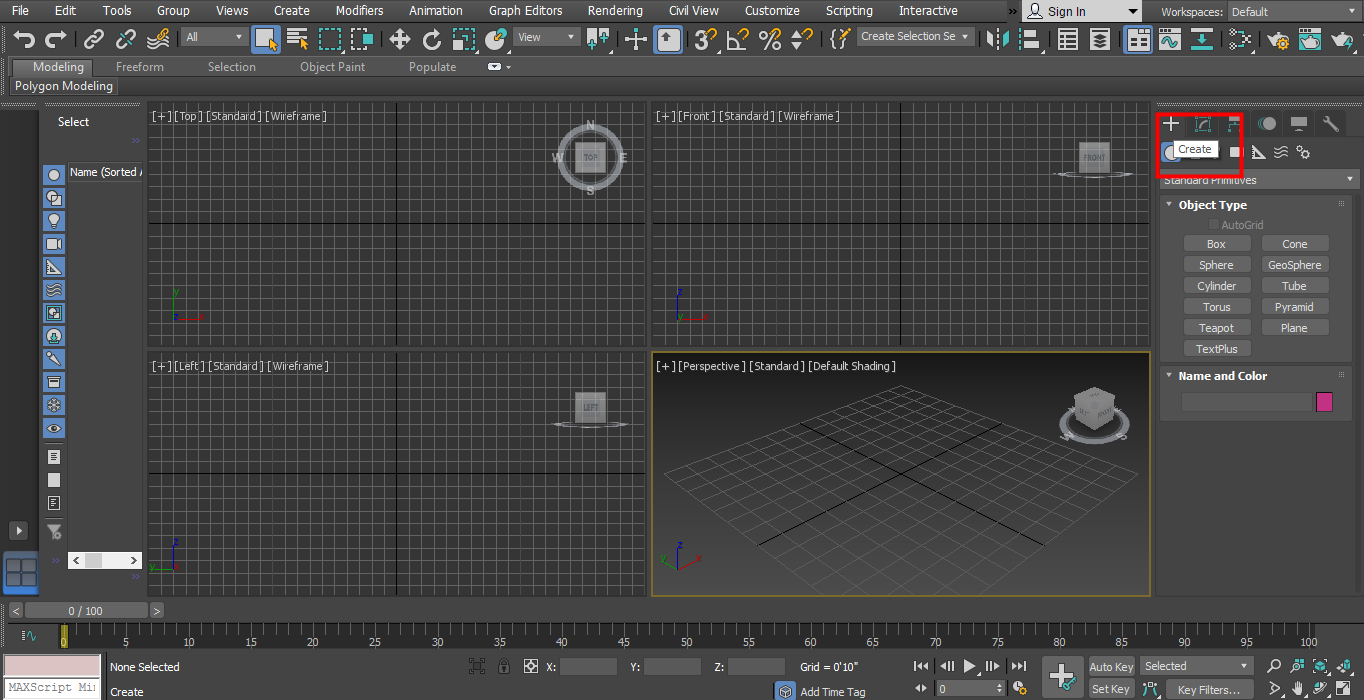
We will use the ‘Create’ option for creating the 3D models.
Methods to Use “Create” Option in 3D Models.
Below are the methods explained to use the “Create” option:
Method #1
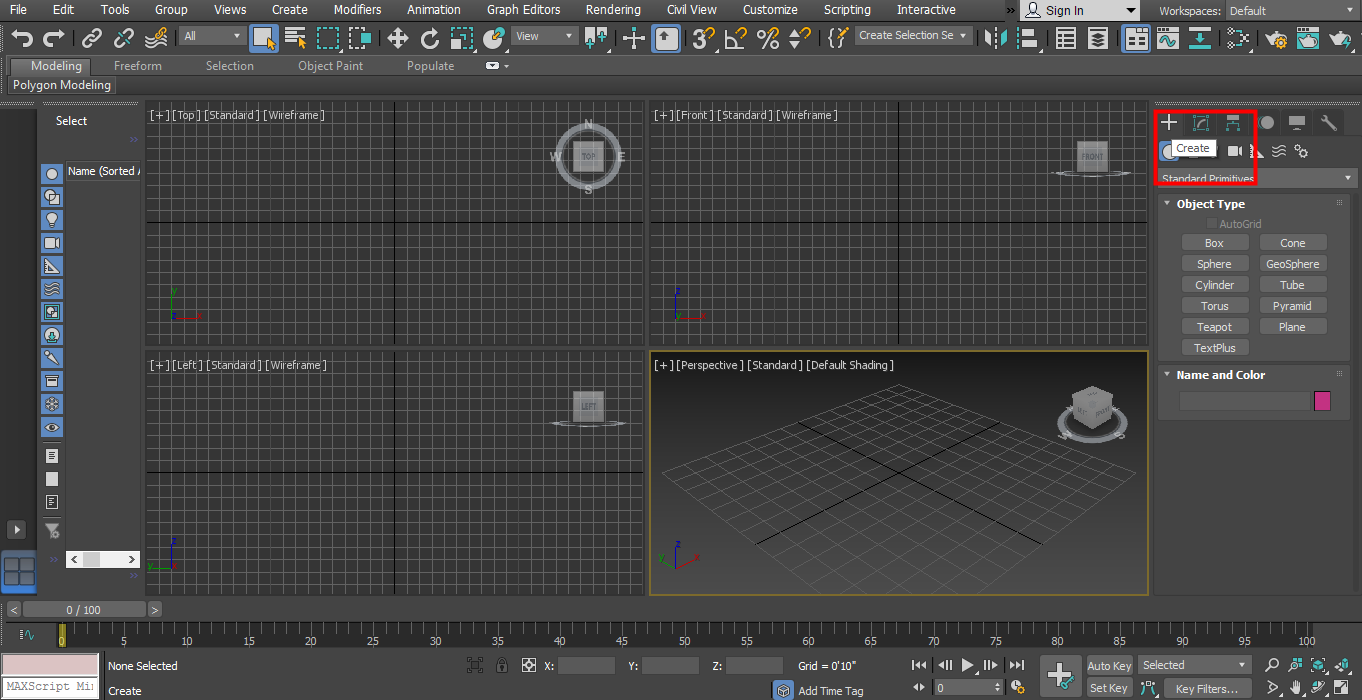
Step 1: Click on the ‘Create’ tab.
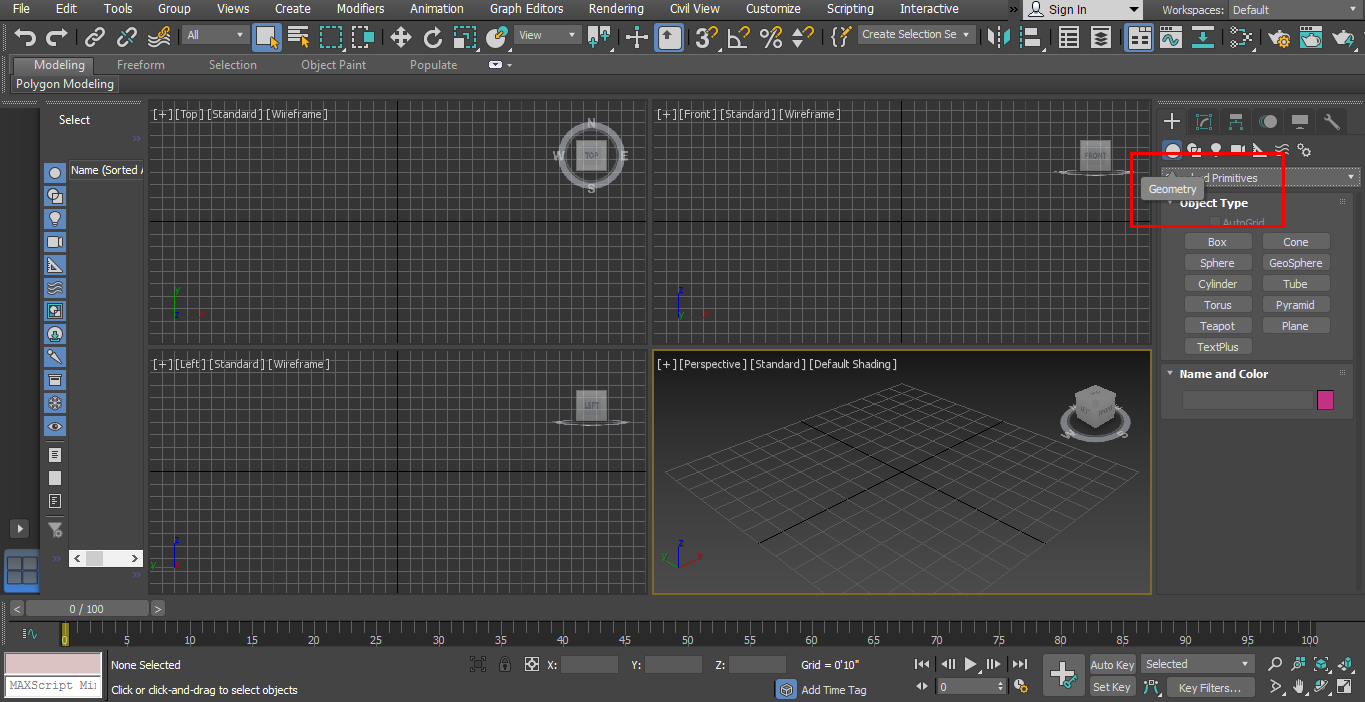
Step 2: Click on the “Geometry” option.
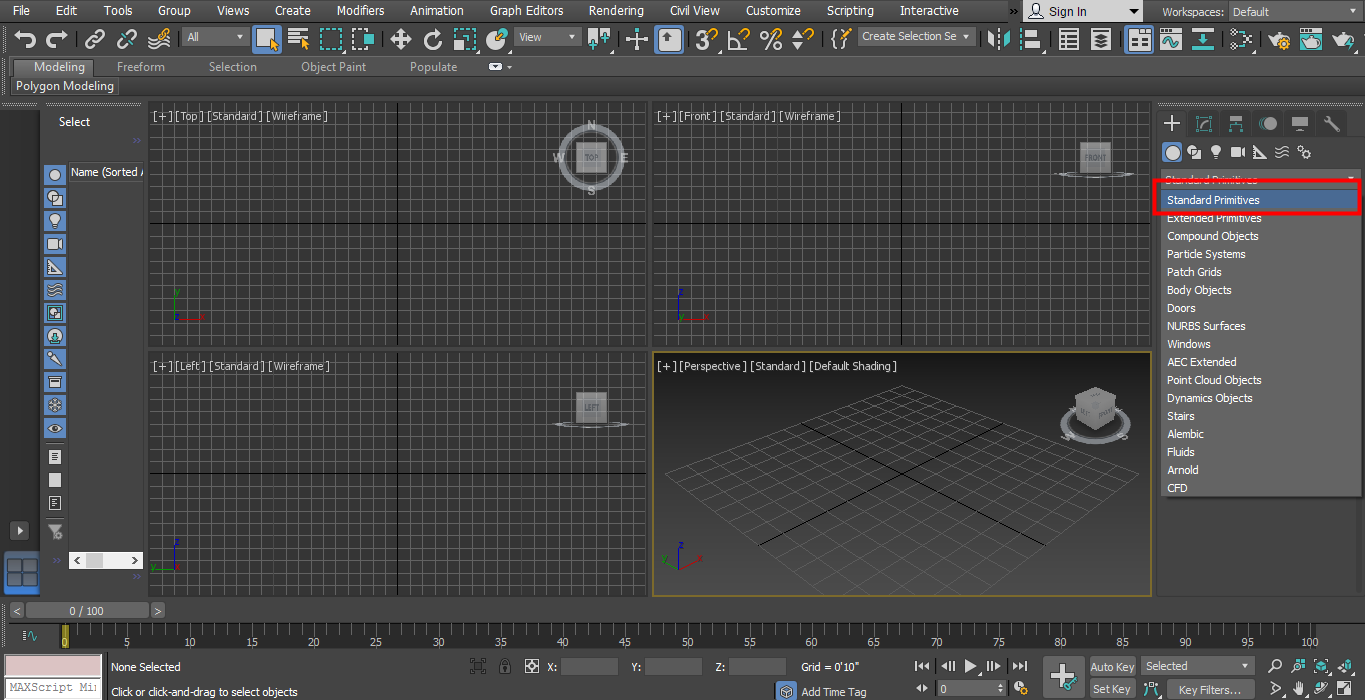
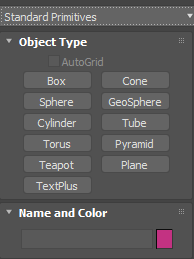
Step 3: We have different options for 3D Modeling Objects here. We will learn from ‘Standard Primitives’.Select the “Standard Primitives” option.
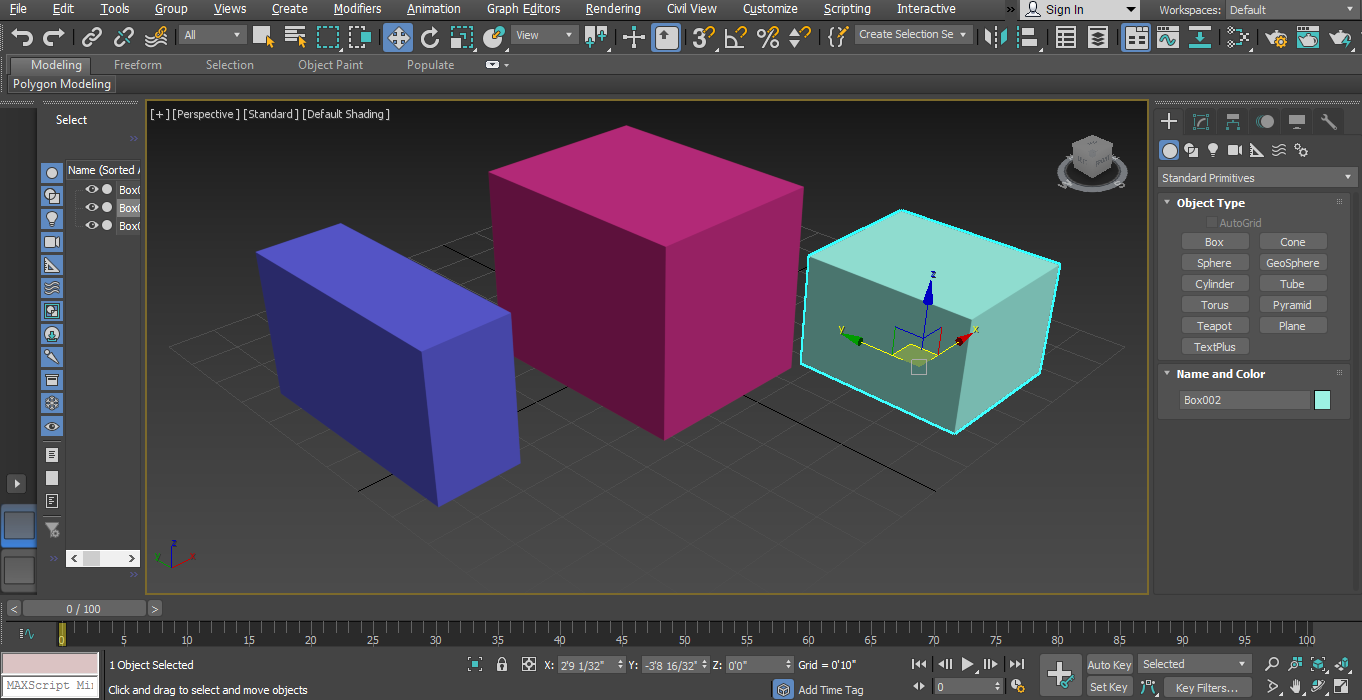
Step 4: We have many shapes here, such as Box, Sphere, Cone, etc.
Almost all shape has some steps for drawing it, and their Parameter setting is also same.
Method #2
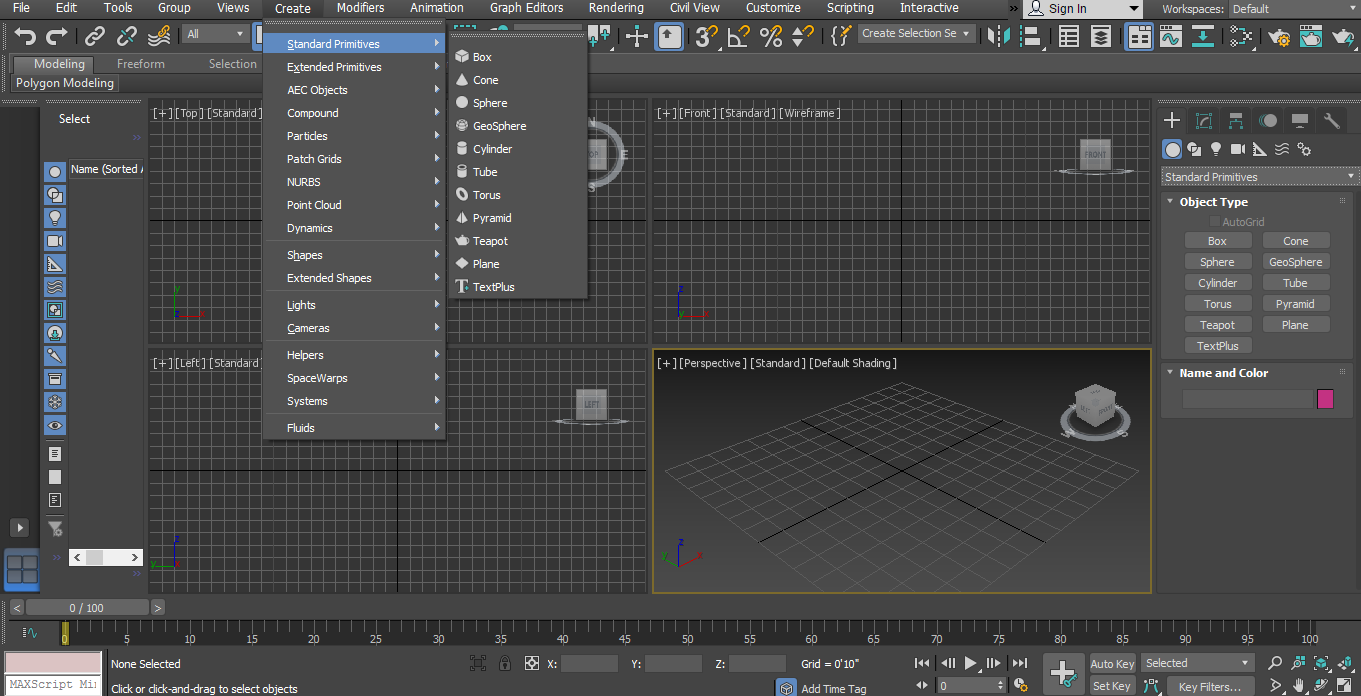
We can also create these shapes from Create option, which is present on the top ribbon. Then, go on the Standard Primitives option and choose the shape from here.
3D Modeling with the Example of Box
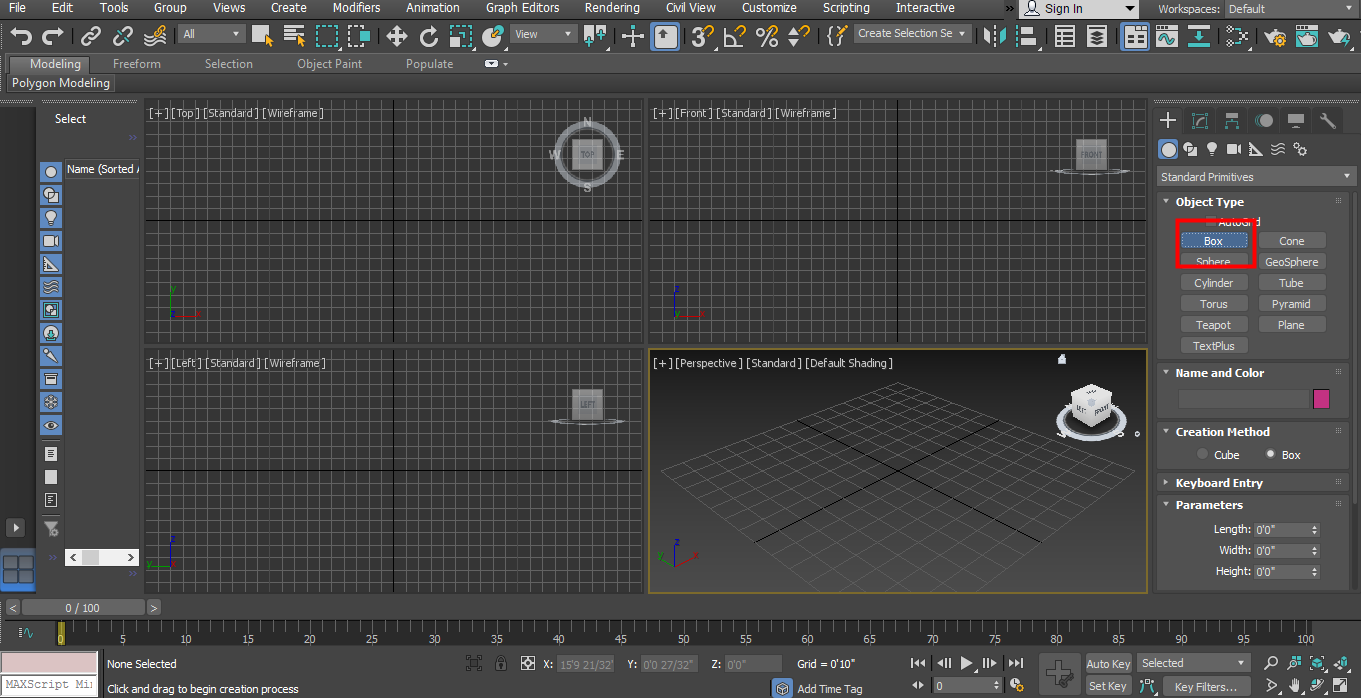
Step 1: Click on the Box shape from Standard Primitives.
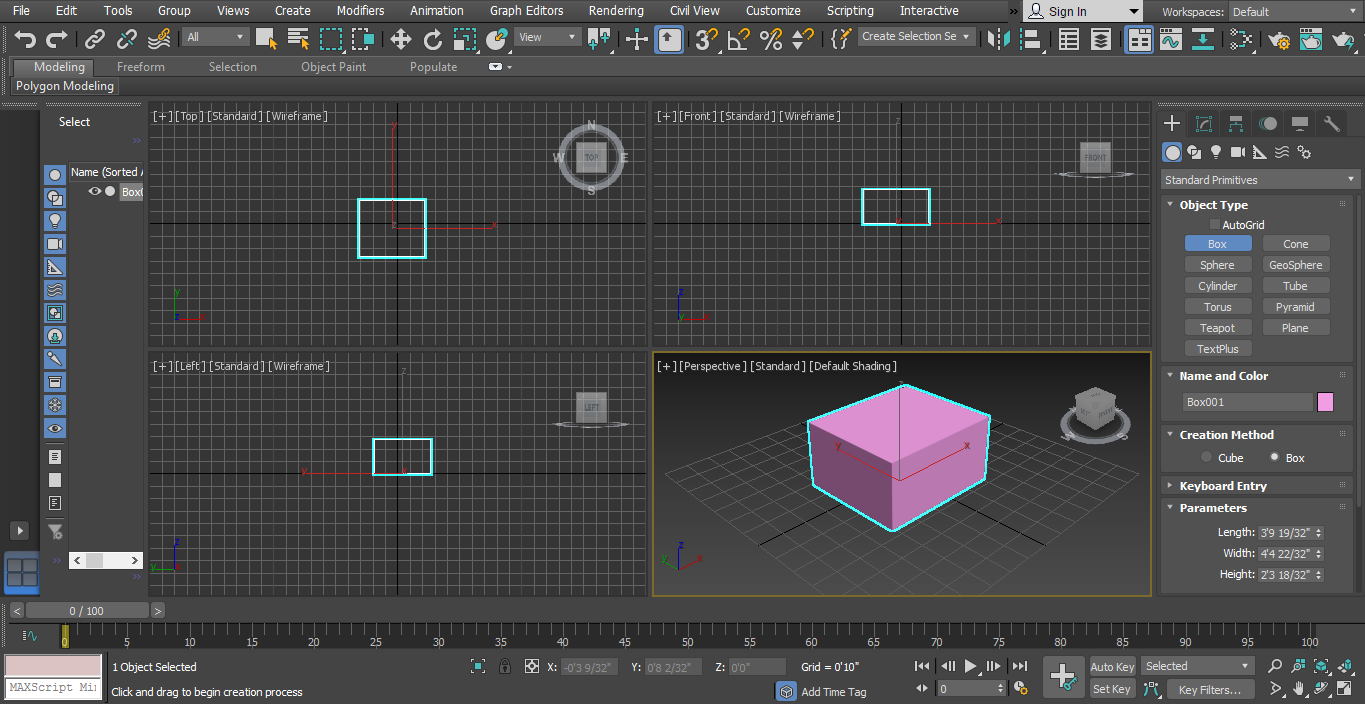
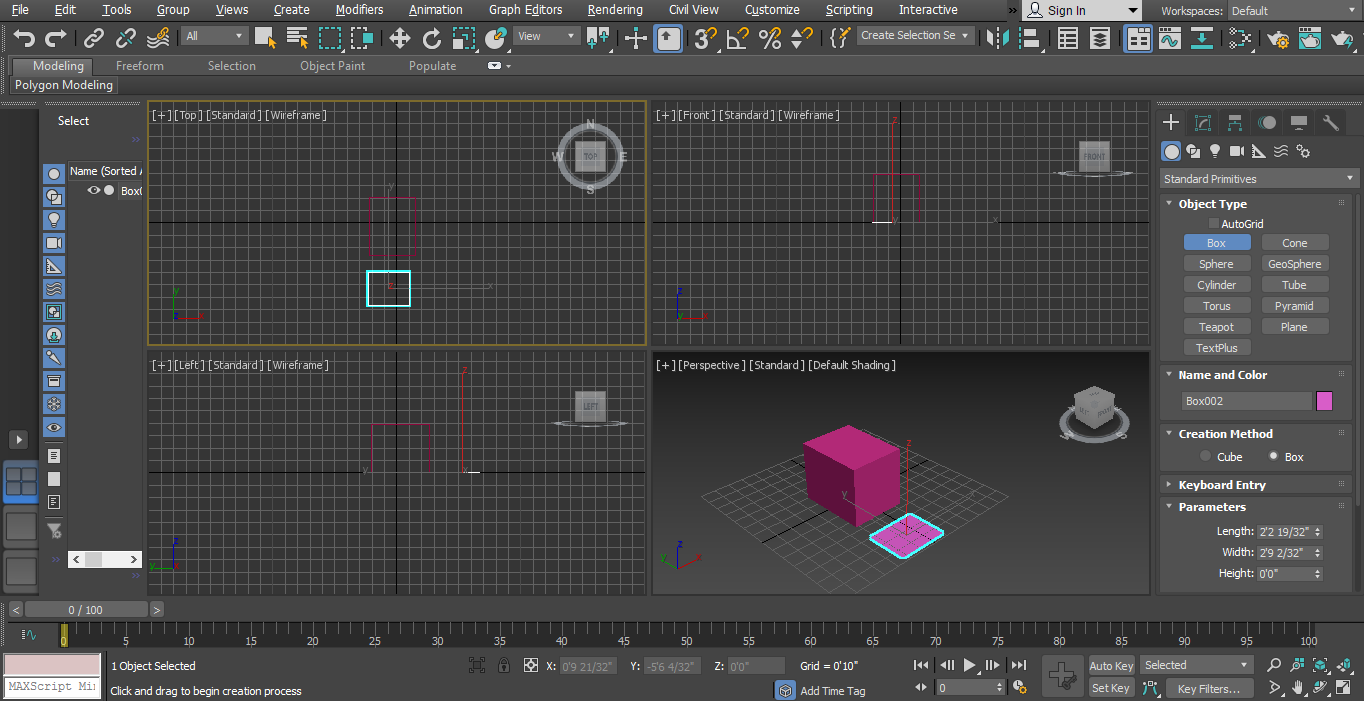
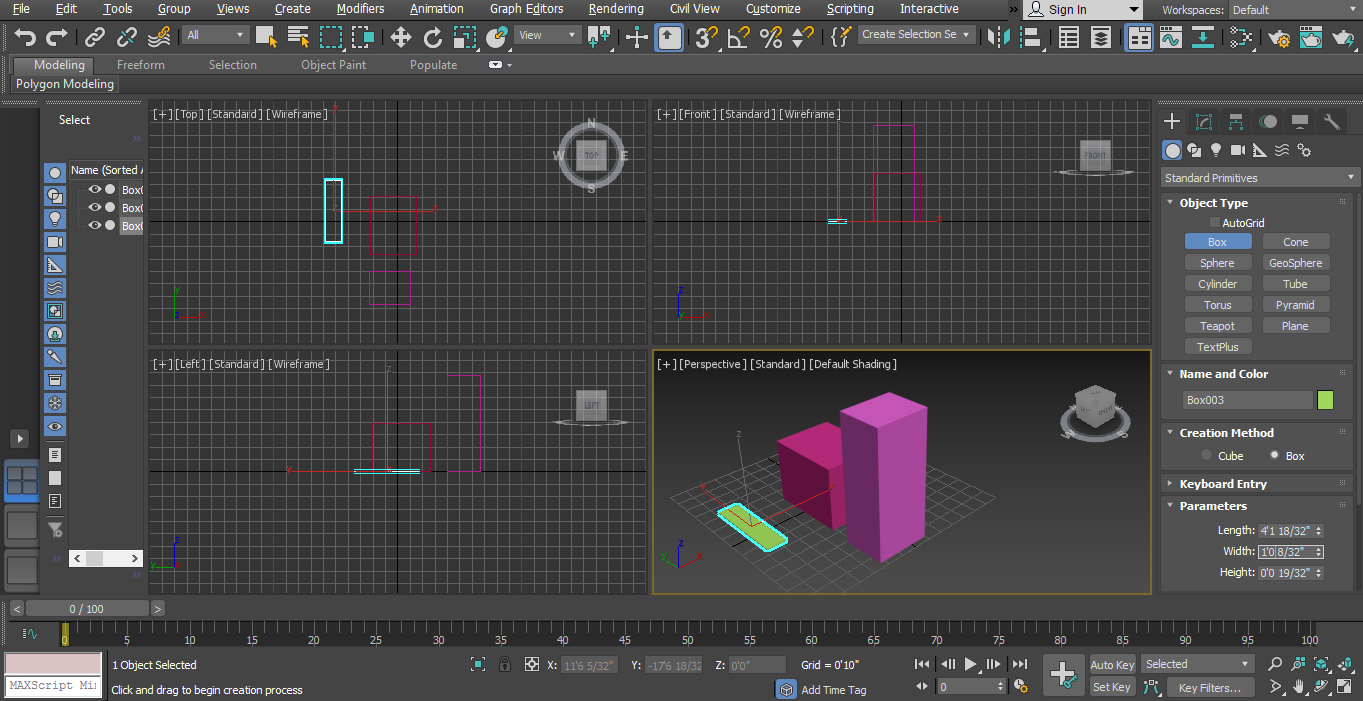
Step 2: Move your cursor on any viewport, i.e. Top view, Front view, Left view and Perspective view. I will take my cursor in Perspective view. Next, click anywhere on the Grid area or out of the Grid area. Now drag the cursor by holding the mouse button for giving the Length and Width of the box and click.
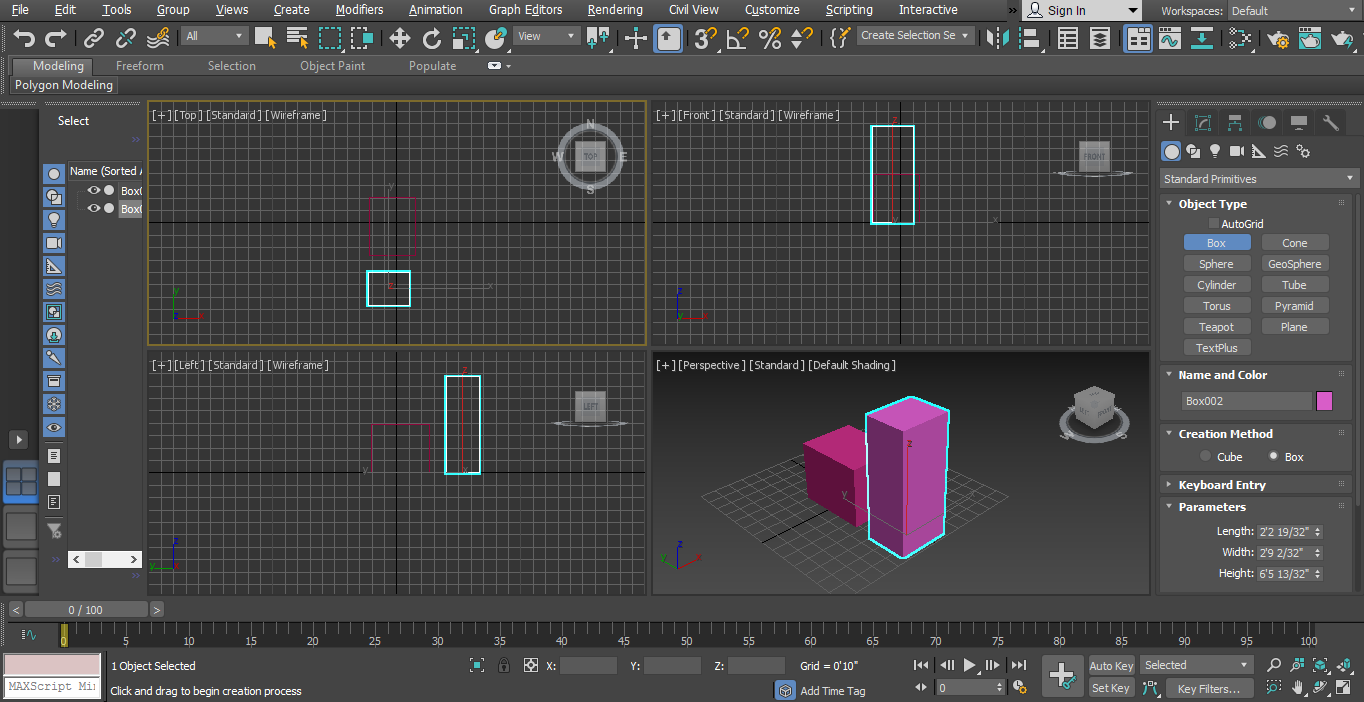
Step 3: Again, drag the cursor in an Upward direction to give the Height of the box.
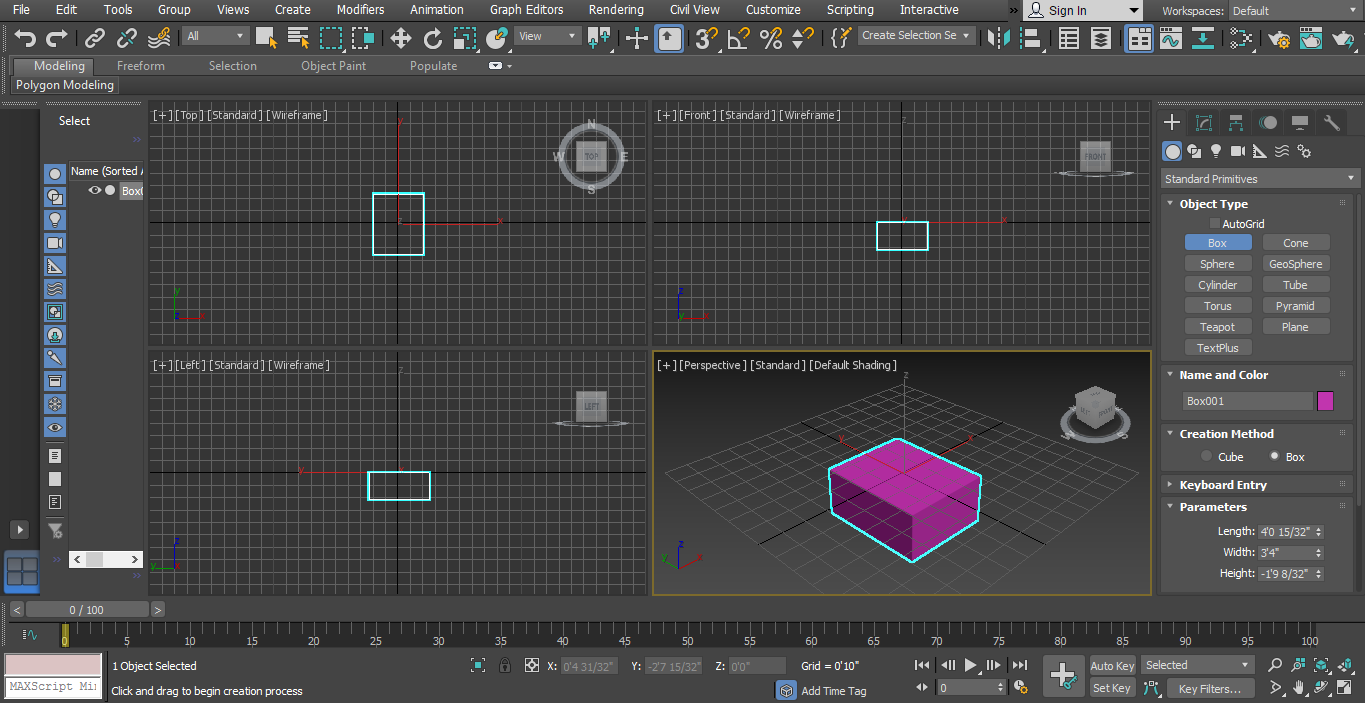
Step 4: Or Downward Direction for giving Depth and click to leave.
Step 5: For exiting for box command, press the right key. Click the button from the mouse.
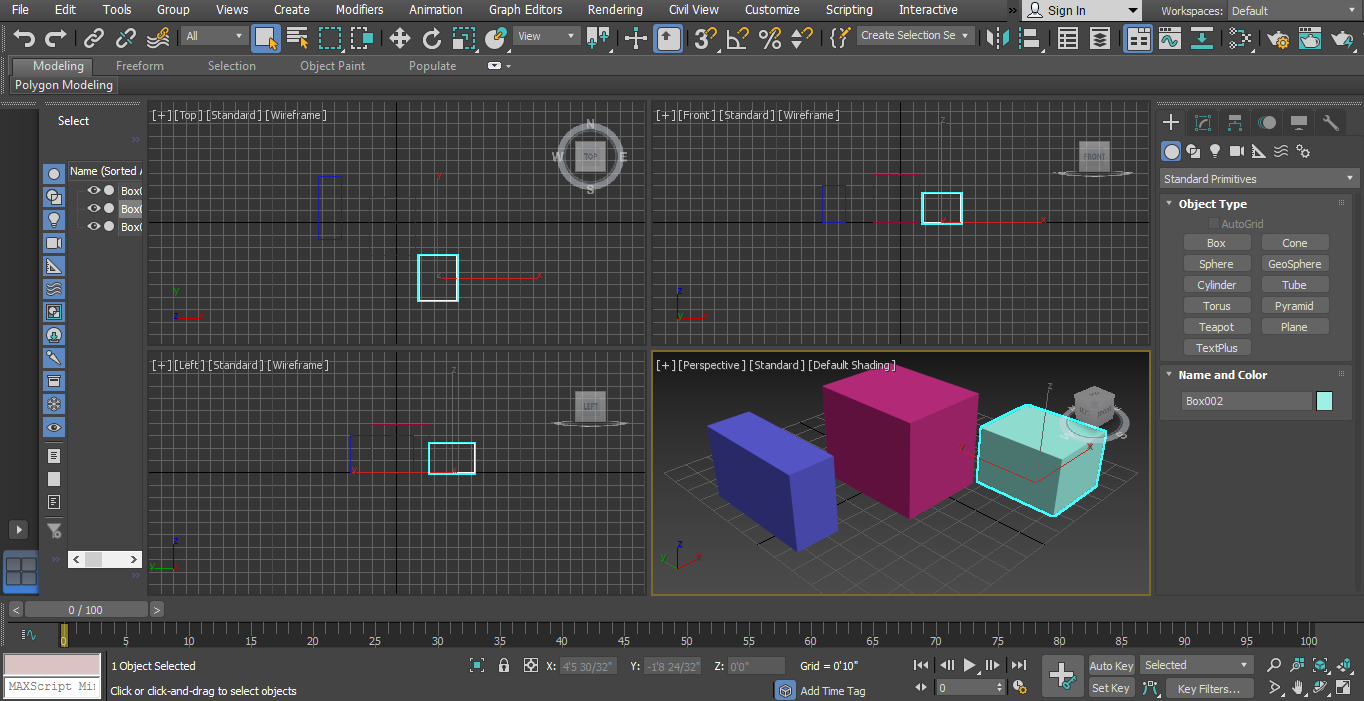
Step 6: We can see the box all view from any viewpoint at any time.
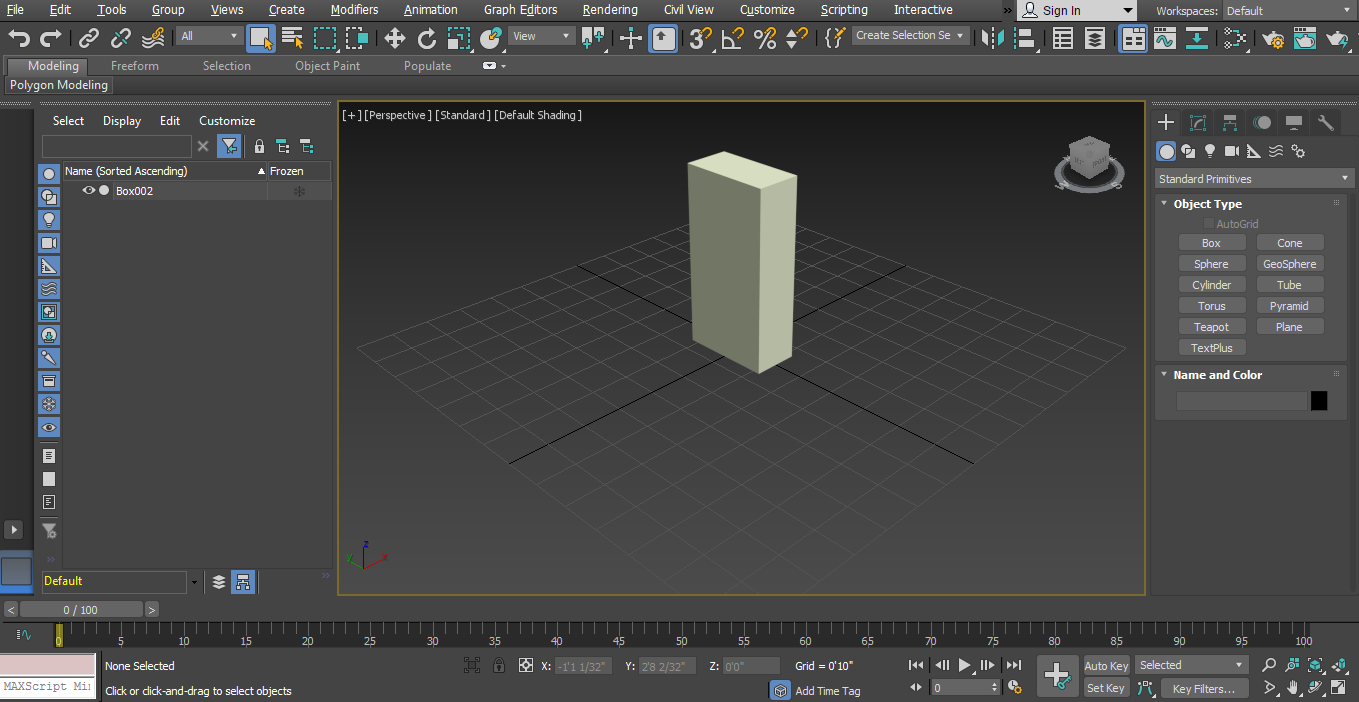
Step 7: Deleting an object, selecting it by clicking on it, and pressing the delete button from the keyboard.
Step 8: We can see any viewport on the Fullscreen by pressing Alt + W from the keyboard.
Step 9: Now, I will show you by doing all these steps in one of the other viewports. I will take my cursor on the top viewport click anywhere in the grid area or out of the gird area. And drag the mouse cursor to give the length and width of the box.
Step 10: Again, drag for Height.
Setting Parameter of the Shapes
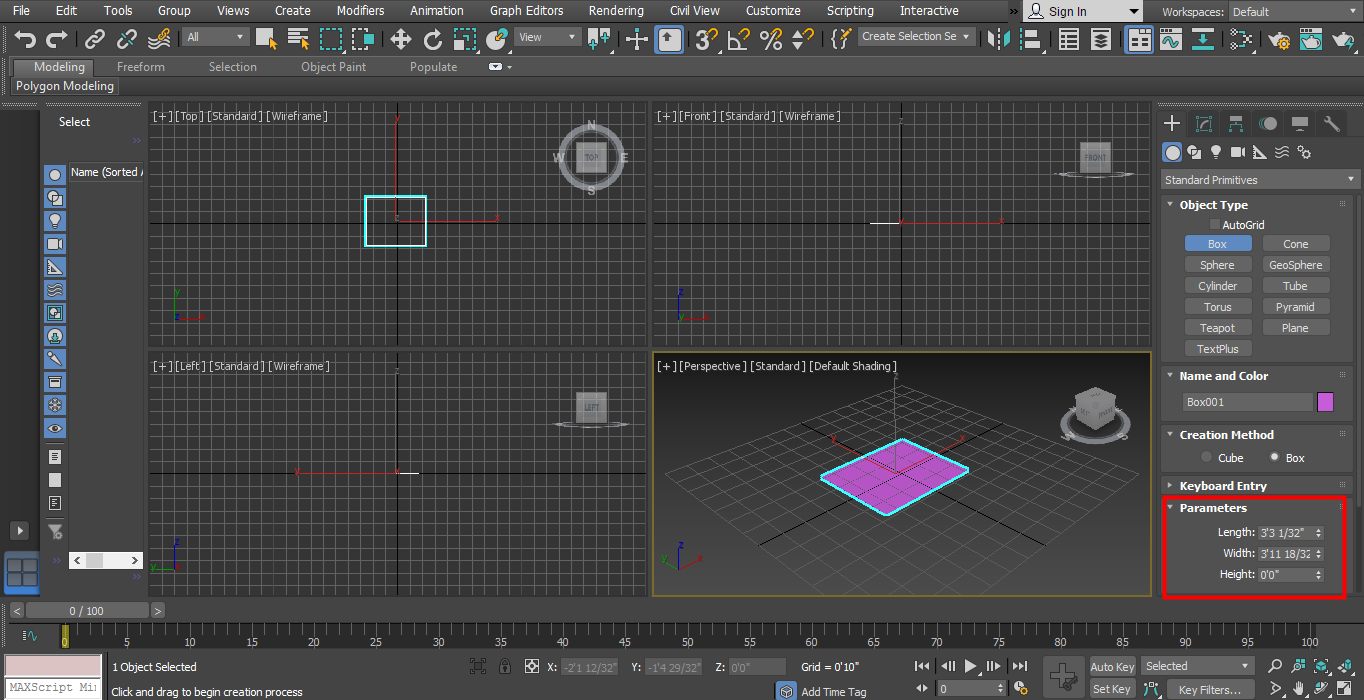
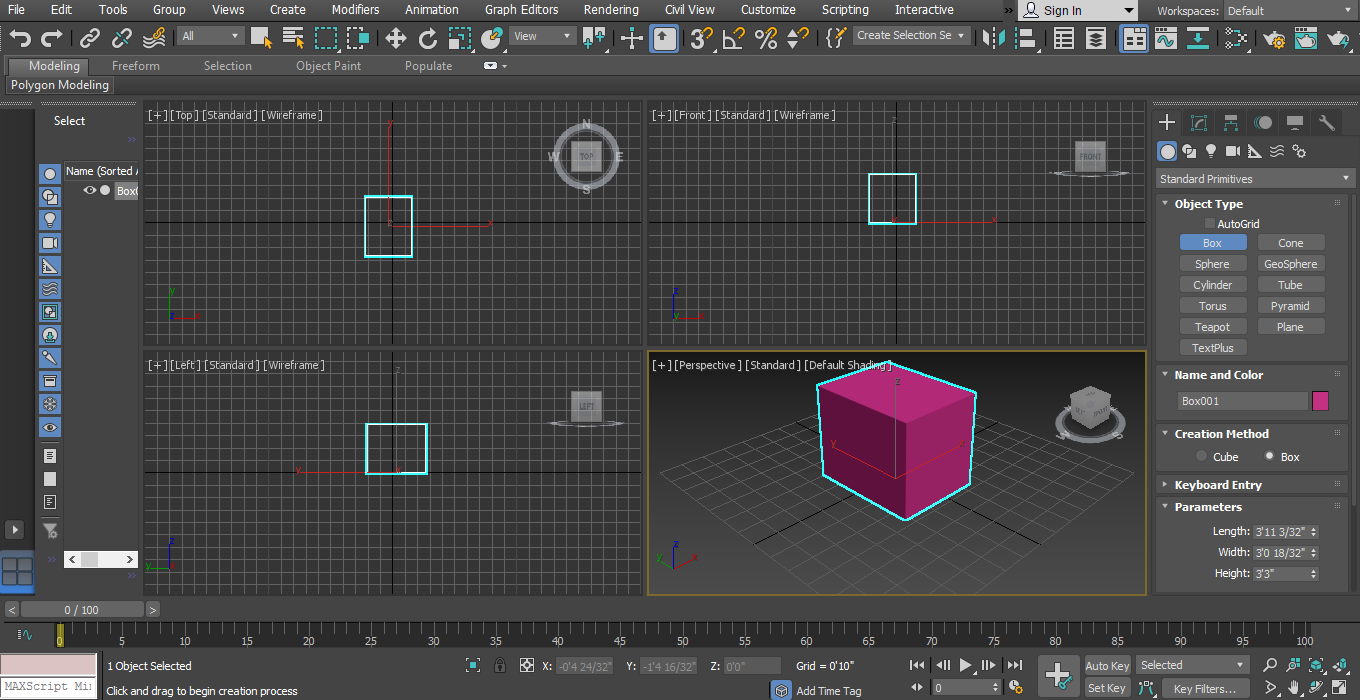
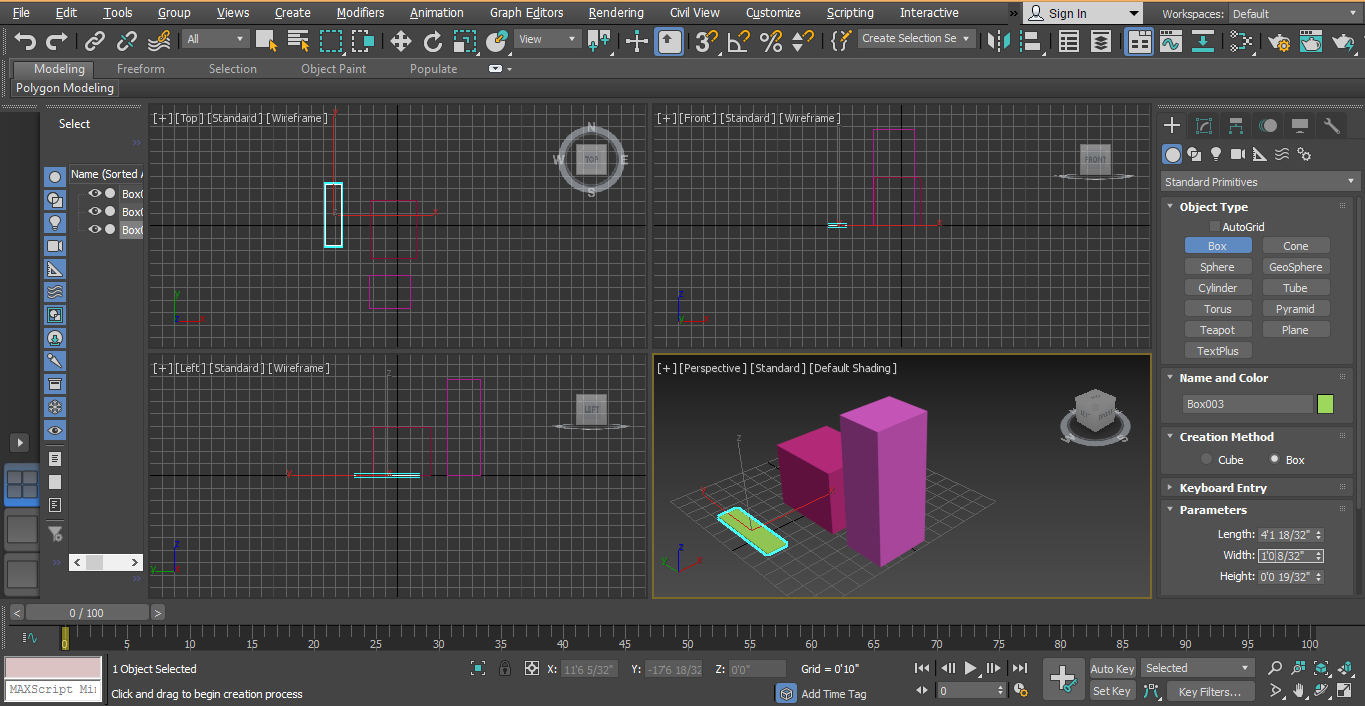
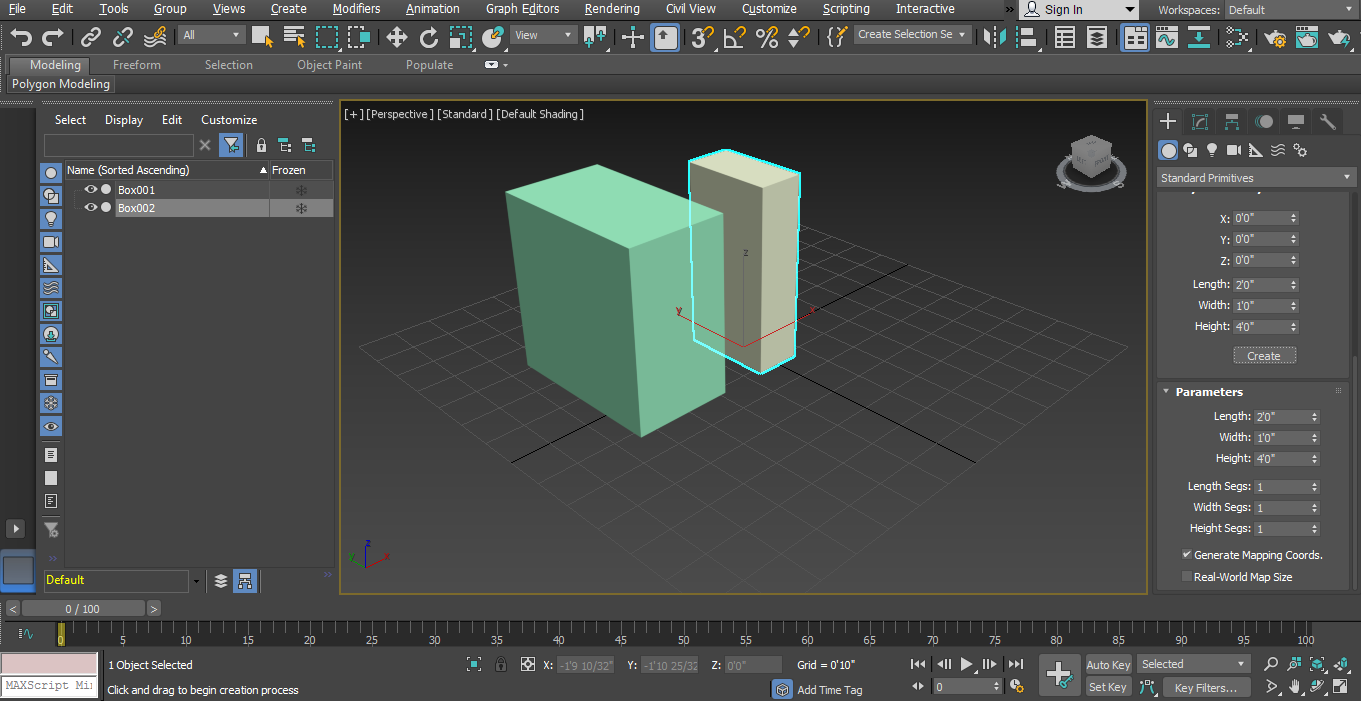
Step 1: We can set the parameter of the drawn shape at any time during or after drawing the 3D models of shape. For setting parameters during the drawing of the shape, follow the same step as taught before for drawing an object and now don’t exit from the command. Instead, go to the parameter option of that shape. Here you can set the length, width, height of the box according to you by type date from the keyboard.
Step 2: By using the Upward and Downward arrow key, which is present in the parameter box area.
Step 3: We can set this data from the keyboard entry option and click on the keyboard entry to set the data. Press the Esc button to exit the command.
Step 4: Delete the previous object by selecting it and press the Delete key.
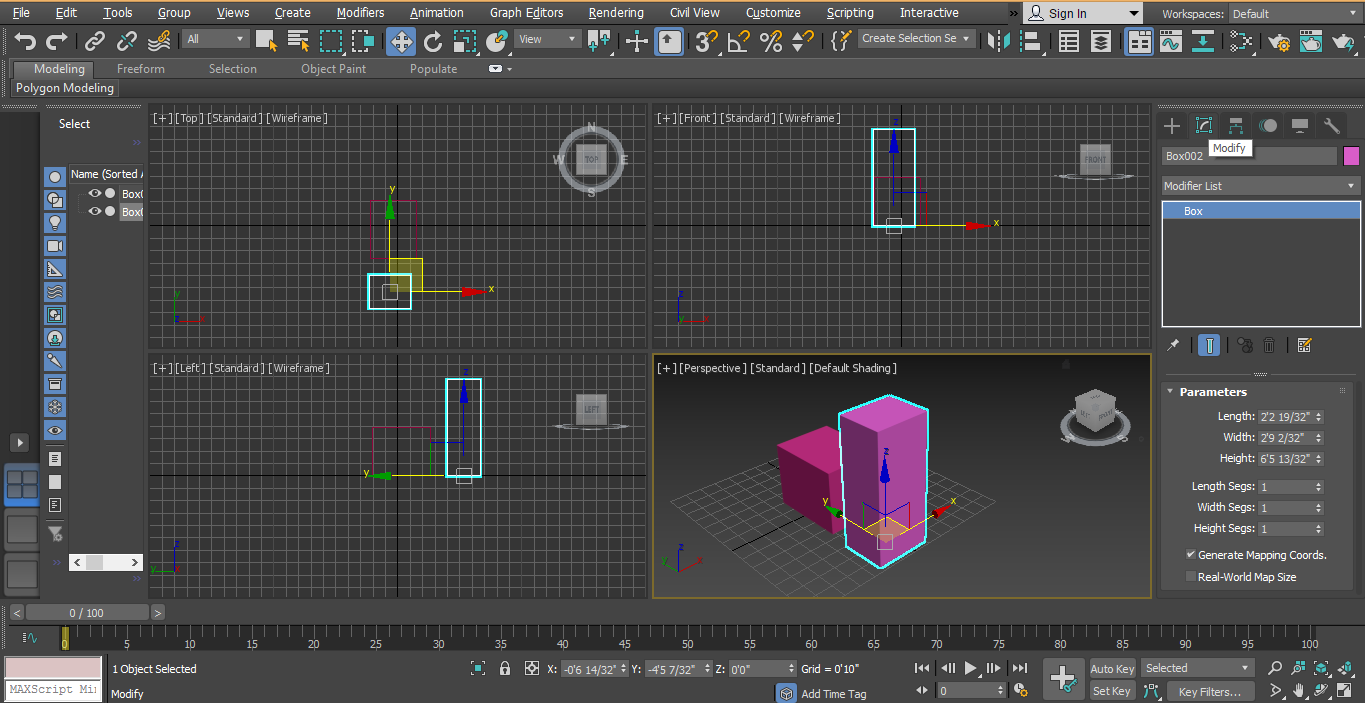
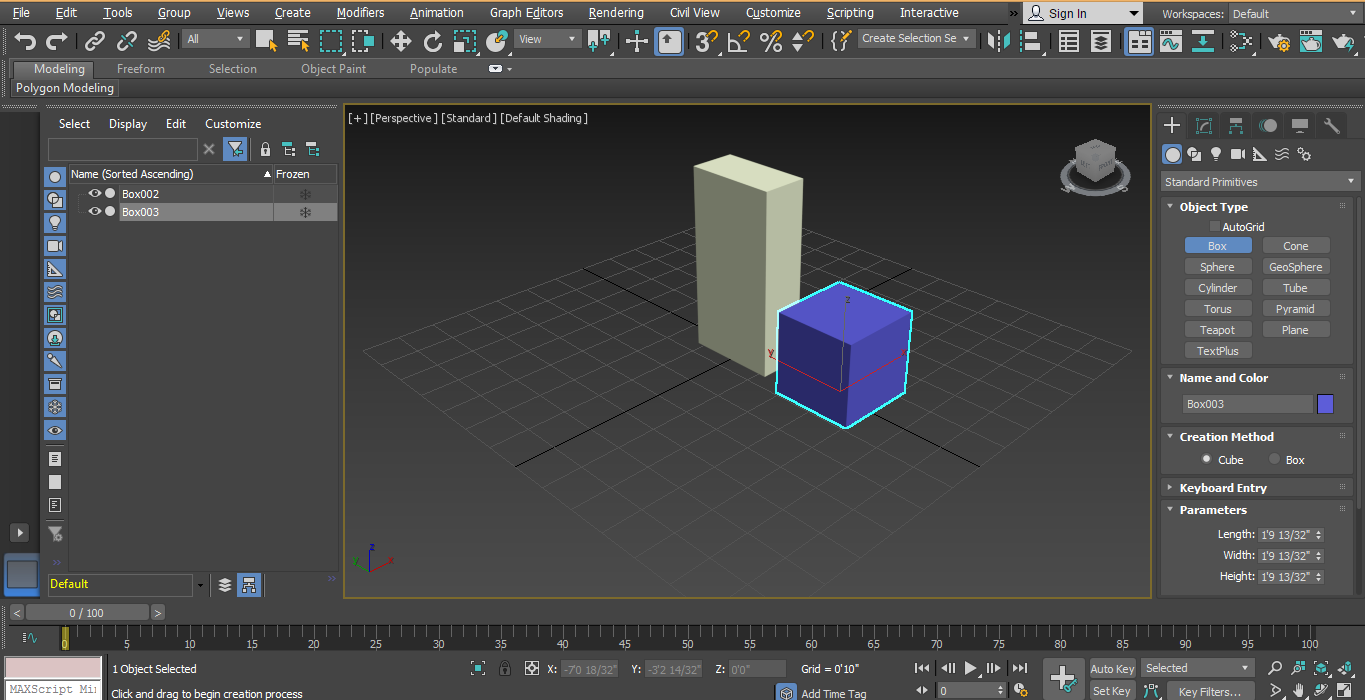
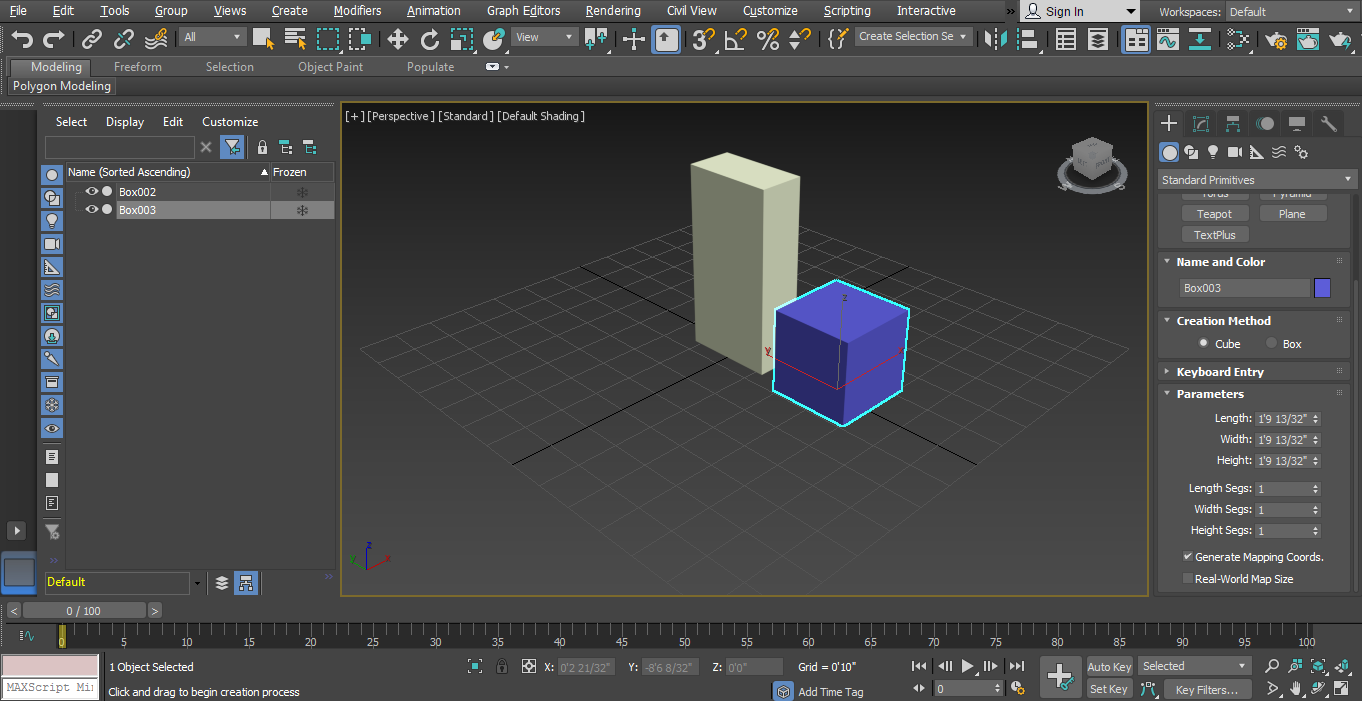
Step 5: We can set the parameter after drawing the object at any time in our project. For set, Select the object by clicking on the box and go to parameter for setting data.
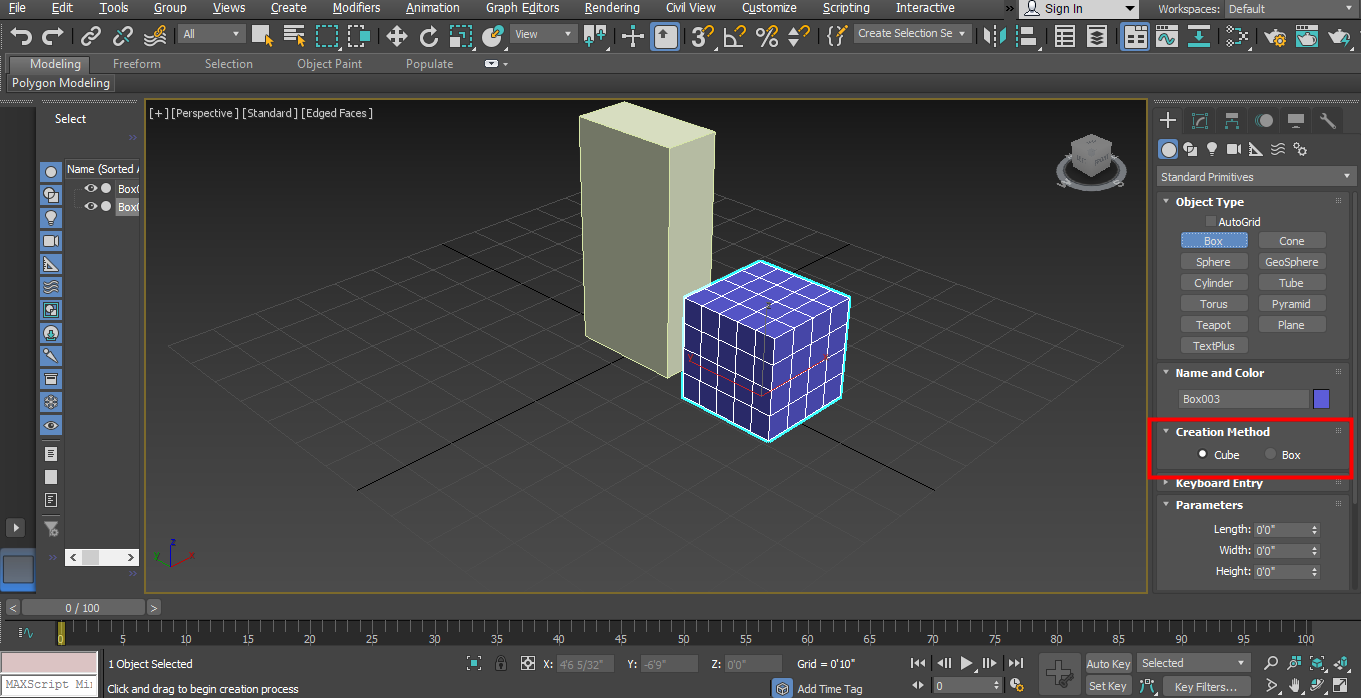
Step 6: Here, we have a creation method option in the box shape option.
Step 7: By the creation method, we can choose the Cube or Box option for drawing our box in cube or cuboid shape.
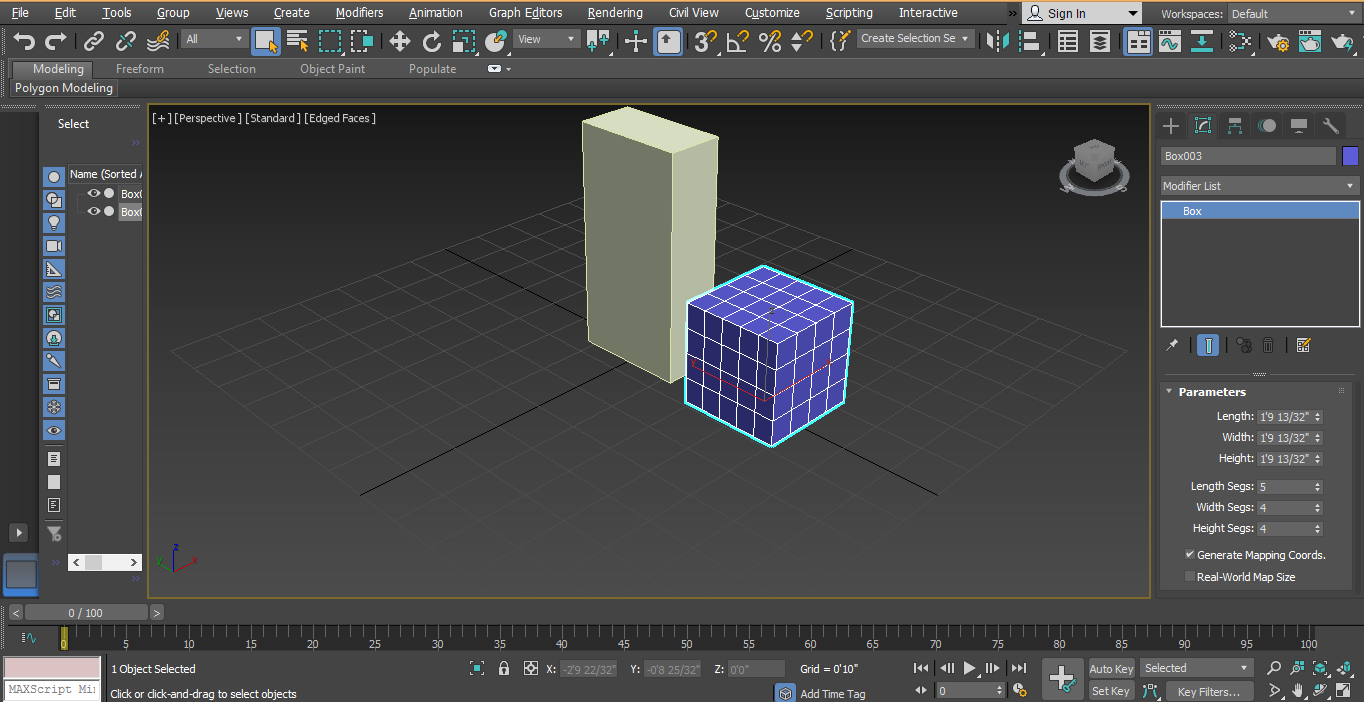
Step 8: The next setting in the parameter is the length segment option.
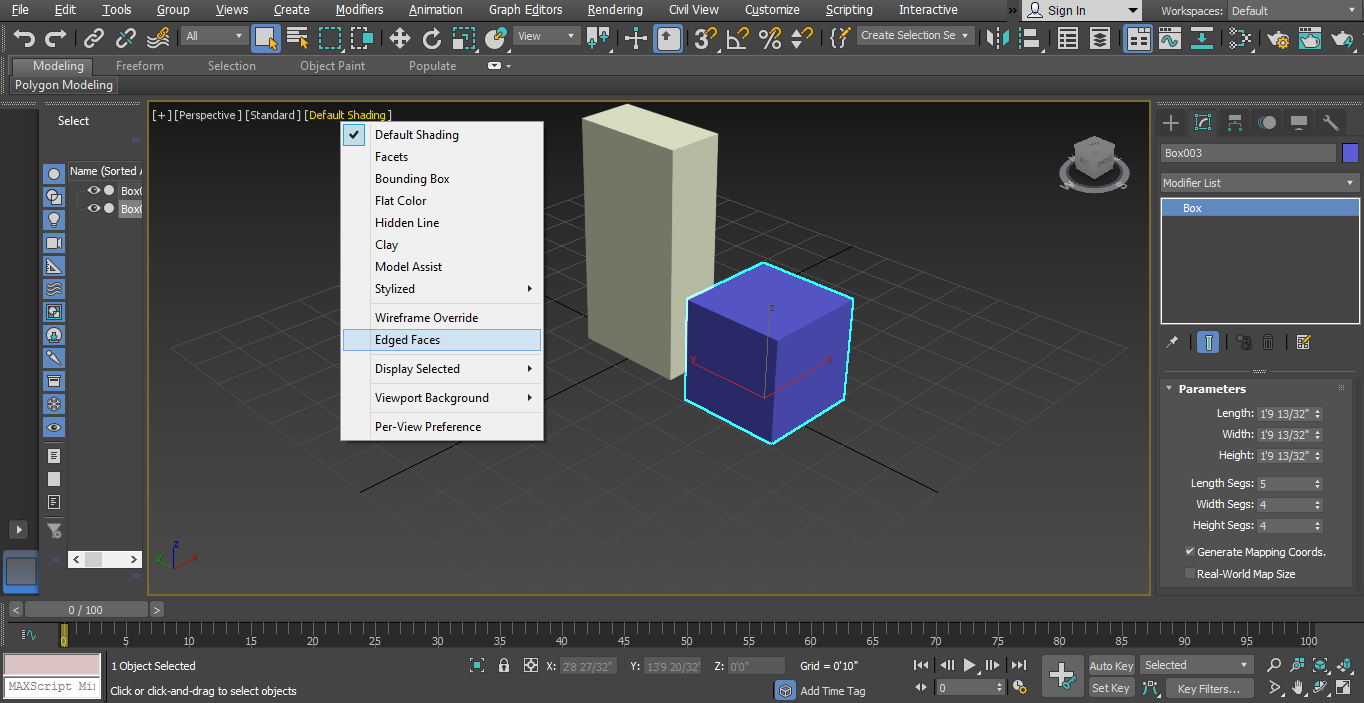
Step 9: By setting this parameter, we can divide our shape into segments. We can divide our object into many segments as much as we like or according to our requirements. To see the effect of the line segment option. go to full screen by pressing Alt + w from the keyboard, then click on default shading and choose edged faces from here.
Step 10: Here, you can see the segment on the box.
Step 11: Now, we can increase or decrease the length, width, and height of the segment by using the parameter option of the box.
We can make the different shapes by following the same steps as I taught you for the making of 3D modeling of the box. There will be few differences in the different object parameters according to their shape and size. You can easily set all the parameters of the different shapes if you have knowledge of that shape. Try all the shapes for enhancing your expertise in making of 3d modeling in 3D max software.
Conclusion
Take a look at you, you have basic knowledge of 3D max modeling, and your base is clear now. You can easily make any type of model after having little practice on it by following our tutorial steps. Now getting expertise in this topic becomes an easy task for you.
Recommended Article
This is a guide to 3D Max Models. Here we discuss Steps for creating 3D max modeling, creating options, and setting parameters of different shapes. You can also go through our given articles to learn more –

