What is Brushes in Illustrator?
Brushes in Illustrator are objects that you color with or register to other objects as strokes. For example, suppose you produce an oval object, you can reserve it as a new brush style to the brushes panel. You could then utilize whichever brush tool you want to color with the oval. Brushes are an exceptional piece of art that, if registered to strokes, appear to be like traditional brush strokes. They are also utilized to register artwork in replicating or dispersed designs along a path. You can utilize the paintbrush tool to sketch with brushes. Any path you produce using the brush tool automatically acquires a brushstroke along its length. Brushes are useful as they are not restricted to the paths produced using the brush tool. The reality is that you can register a brush on any chosen path.
Types of Brushes in Illustrator
Illustrator has five types of brushes. Selecting the correct one requires a small trial and error. Below are the five types of brushes:
- Scatter Brushes: The Scatter Brush acquires the vector art that is already present and disperses it across a path. Brushes like these produce natural textures like grunge brushes or sponge.
- Calligraphic Brushes: The Calligraphic Brush was planned to imitate the look of brushes and pens. This kind of brush is ultimate for work that is hand-lettering in Illustrator.
- Pattern Brushes: The Pattern Brush permits you to manage the working of every angle that includes corner angles and the right and left ending point.
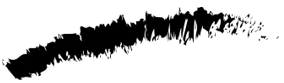
- Art Brushes: Art brushes acquire a vector and extend it across a line. This works genuinely well for watercolor brushes, pencil brushes, pen brushes, etc. If they are extended or flattened too much, you can get unsteady outcomes.
- Bristle Brushes: Bristle brushes imitate the look of actual brushes. When you utilize these brushes, you will observe the distinction in how brush bristles exhibit and how it executes with various angles and pressures.
Application and Sketching with Brushes
Illustrator Brushes can be used in two ways. You can sketch them using the Paintbrush Tool(B) or register them to a already present path.
1. Brush Tool
To sketch utilizing a brushstroke with the Paintbrush Tool(B), choose the Paintbrush Tool (B), select a brush from the Brush Panel and begin sketching.
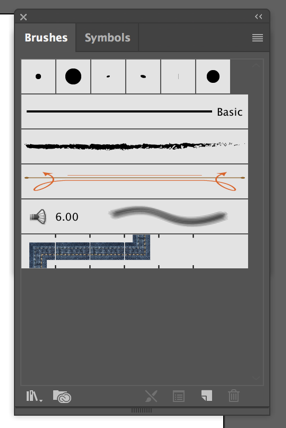
Register to the Path that is already Present: Choose the path and then choose a brush from the Brush Panel. The Brush Panel is the place where you can examine the four types of brushes mentioned before. The Scatter and Calligraphic brushes will be exhibited in a little thumbnail box, while the Pattern and Art brushes are shown in a parallel rectangle as far as the thumbnail perspective is chosen from the drop-down option of the Brush Panel. If your Brush Panel is closed, click on Window and Brushes to unlock it.
2. Brush Panel Options
- Brush Panel Drop-Down Menu: This menu helps you to switch the view of the brushes, choose brushes that are not used, unlock additional brush libraries, and more.
- Brush Libraries Menu Button: Clicking this button opens a drop-down menu to unlock additional brush libraries on your system or reserve a collection of brushes.
- Remove Brush Stroke Button: Clicking this button eliminates the stroke when a path with a brush is chosen.
- Stroke Alternatives: Clicking this button unlocks the Stroke Options button for a specifically chosen brush stroke.
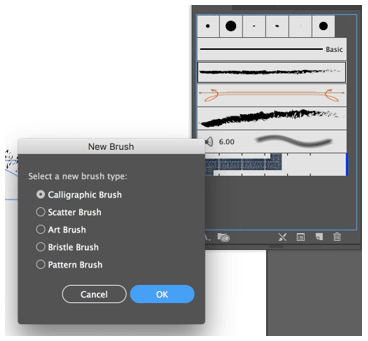
- New Brush: Clicking this button produces a new brush from the New Brush button.
- Delete Brush: Clicking this button deletes a brush from the Brush Panel.
How to Create an Art Brush?
Creating Art Brush is much easier than you have expected. The following steps will guide you on creating an Art Brush.
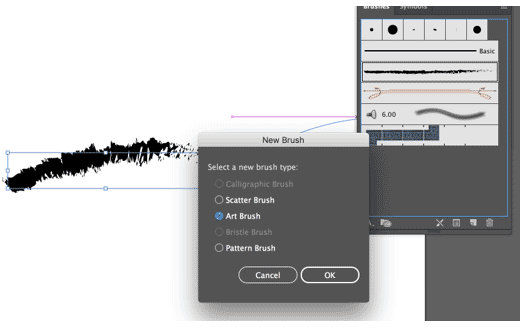
Step 1: Produce some sketch work for the Art Brush. Effects and gradients are not usable when producing an Art Brush.
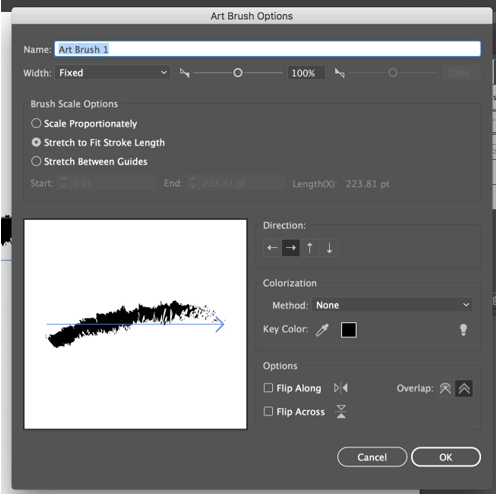
Step 2: Choose all the produced sketch work and drag it into the brush panel. When the new art brush dialog box comes up, choose New Art Brush from the alternatives to get the Art Brush Options.
Step 3:
Direction: The Direction setting settles the inclination of the art in connection to the path to which the brush is registered. Choose any of the four arrows to alter this alternative. The blue arrow that emerges in the preview region permits you to observe how the art will be sketched on a path.
Step 4:
Width: Alter this value to describe how huge the art will exhibit in connection to the path to which the brush is registered. For most of the part, you desire to examine the Proportional box to let the height-to-width ratio not change as you scale the object to which the brush is registered.
Step 5:
- Flip Across and Flip Along: These checkboxes permit you to upturn the art over the vertical and horizontal axis.
- Colorization: The Colorization alternative is similar to the scatter brush alternatives.
Step 6: Click OK to reserve your New Art Brush.
How to Create a Calligraphic Brush?
Below are the steps to create a calligraphic Brush:
Step 1: Hit the new brush from the brush panel and choose New Calligraphic Brush from the new brush dialog box. This will unlock the calligraphic brush alternatives.
Step 2: You can make changes to the angle, roundness, and size depending on your requirement.
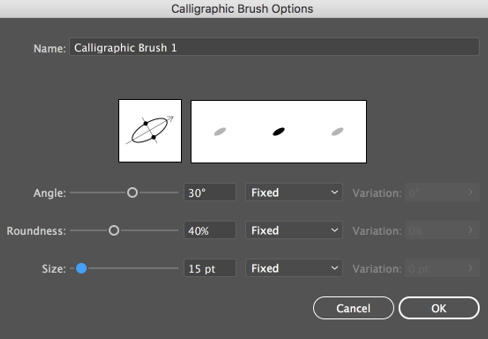
Step 3: Click on OK to create the Calligraphic Brush.
How to Create a Pattern Brush?
Pattern Brushes offers a distinct way to add a finishing touch to your designs easily. Below are the steps to create a pattern brush.
Step 1: Produce some sketch work for the pattern brush. Effects and gradients are not usable when producing an Art Brush.
Step 2: Choose all the produced artwork and put it into the Brush Panel.
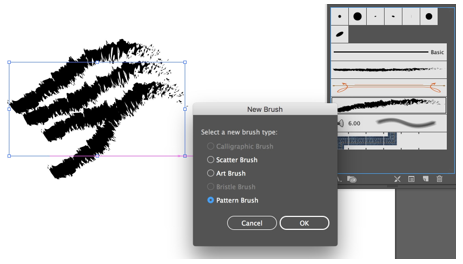
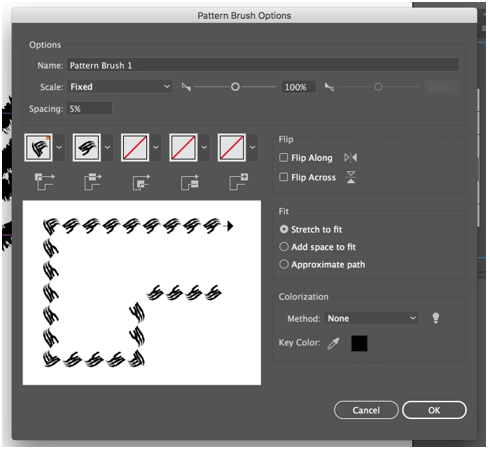
When the new art brush dialog unlocks the preferred new pattern brush from the alternatives, the pattern brush’s alternatives will be used.
- Scale: The Scale decides how small or big the art is sketched on the path, comparative to the dimensions of the art.
- Spacing: The Spacing determines the amount of spacing between the art. Click Ok to create the pattern brush.
Conclusion – Brushes in Illustrator
Brushes come with a lot of benefits. Creating your customized brushes helps you in many projects as it is unique and creative. So creating your own Adobe Illustrator brushes is very essential. Below are the reasons:
- Creating your brushes helps you retain lots of time.
- Custom brushes provide your vector art with a trademark style, and knowing how to create brushes will assist you in utilizing brushes that are already present more productively.
Recommended Articles
This is a guide to Brushes in Illustrator. Here we discuss the types of brushes and how to create our customized brush. You can also go through our other related articles to learn more –
