Introduction to Action in Illustrator
Adobe Illustrator is a vector drawing software, and it is the most preferred graphic designing package for vector art by professionals. In this article, we are going to use the action feature of adobe illustrator 2020, which is used to automate the repetitive tasks with just a click of a button or assigned to a shortcut key.
Steps to Create Action in Illustrator
Here are the following steps mention below
Step #1
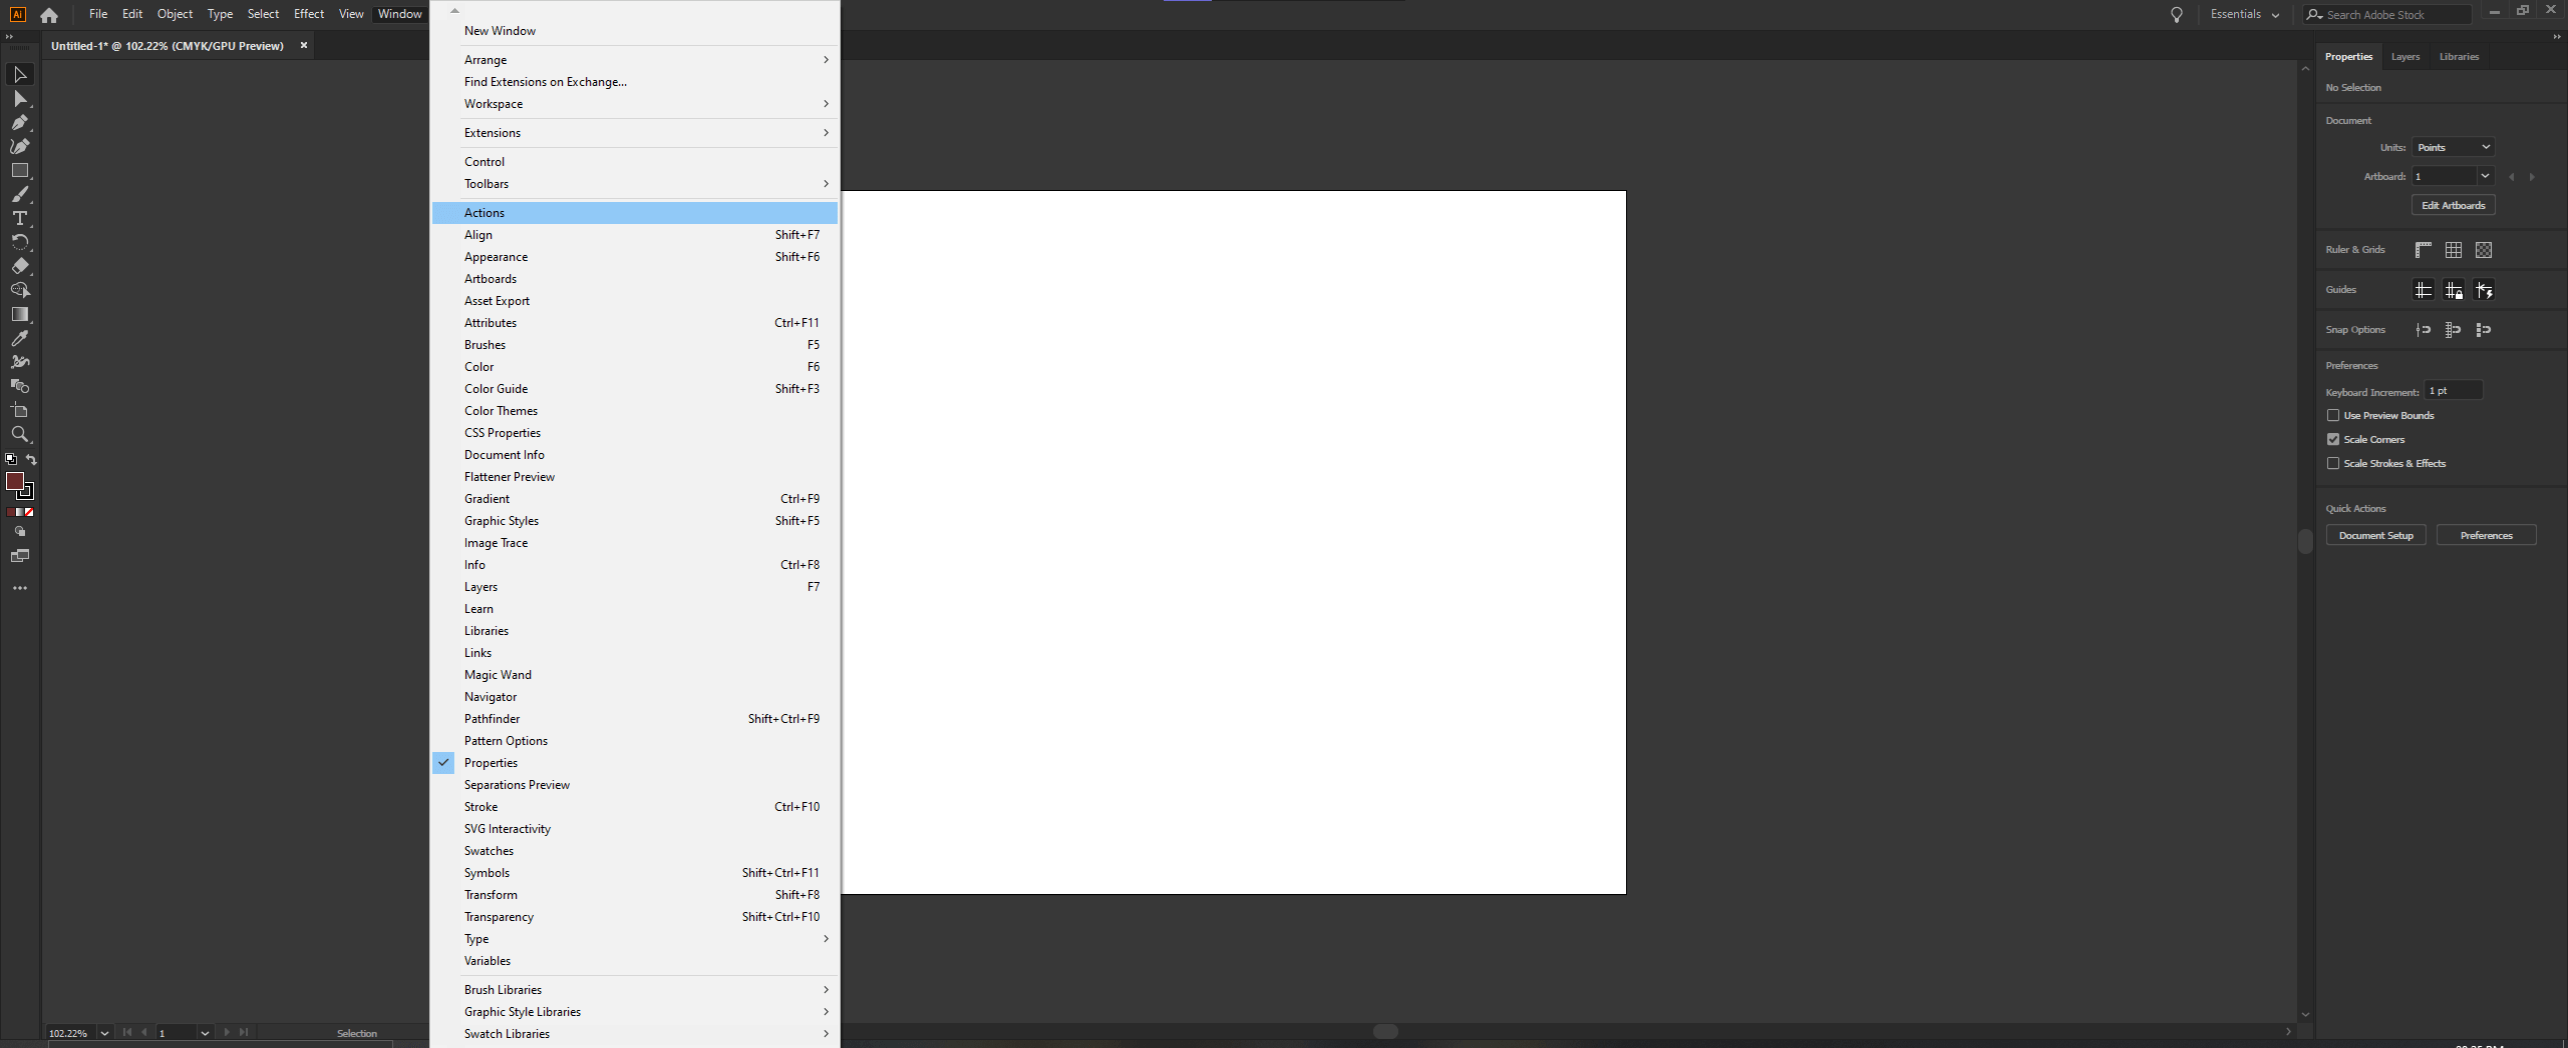
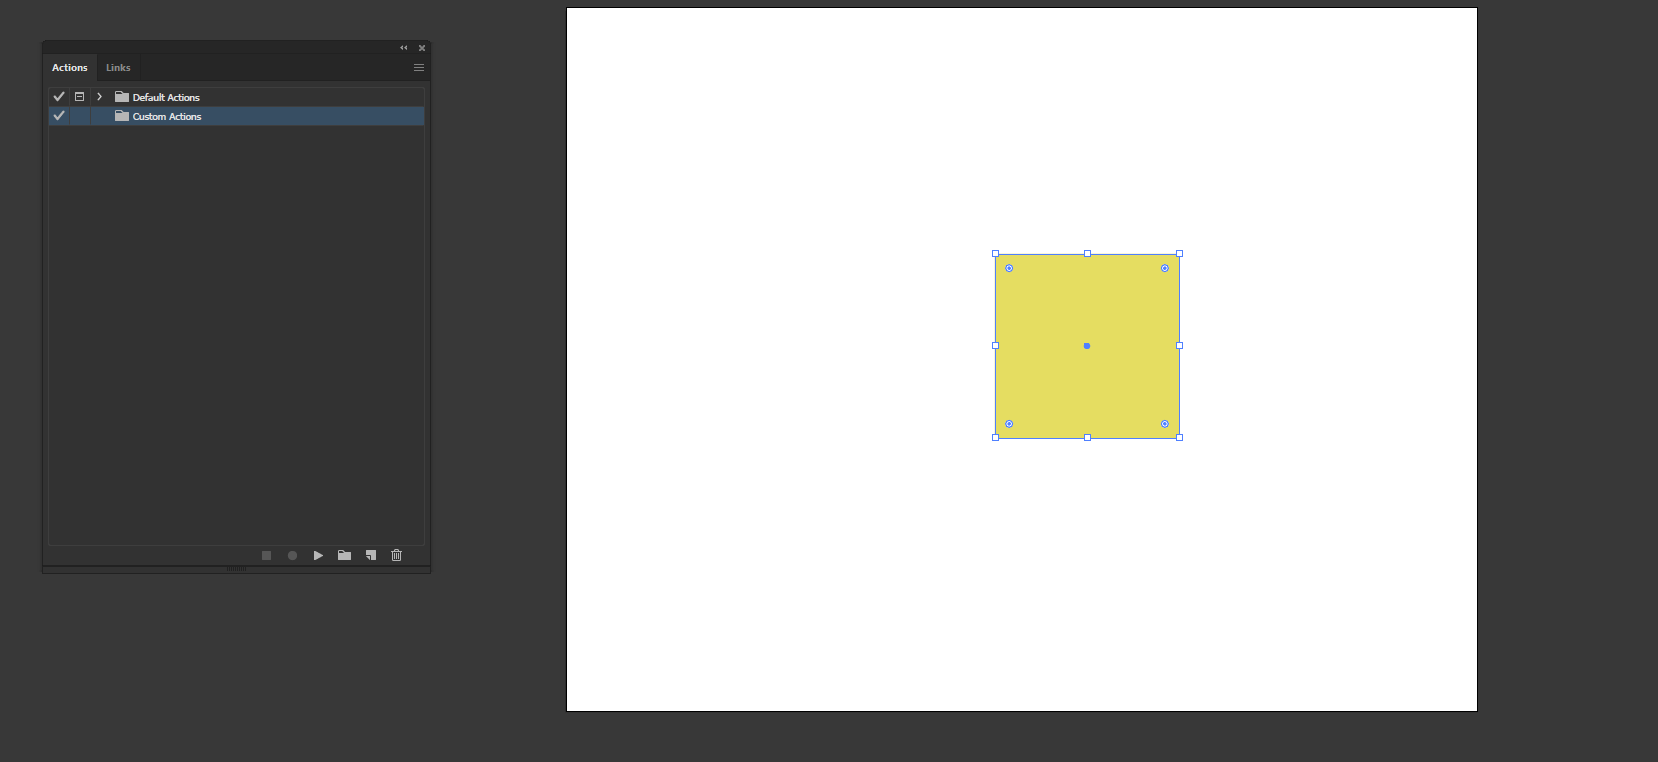
Create a new file in illustrator and open the Actions panel from Windows -> Action.
Step #2
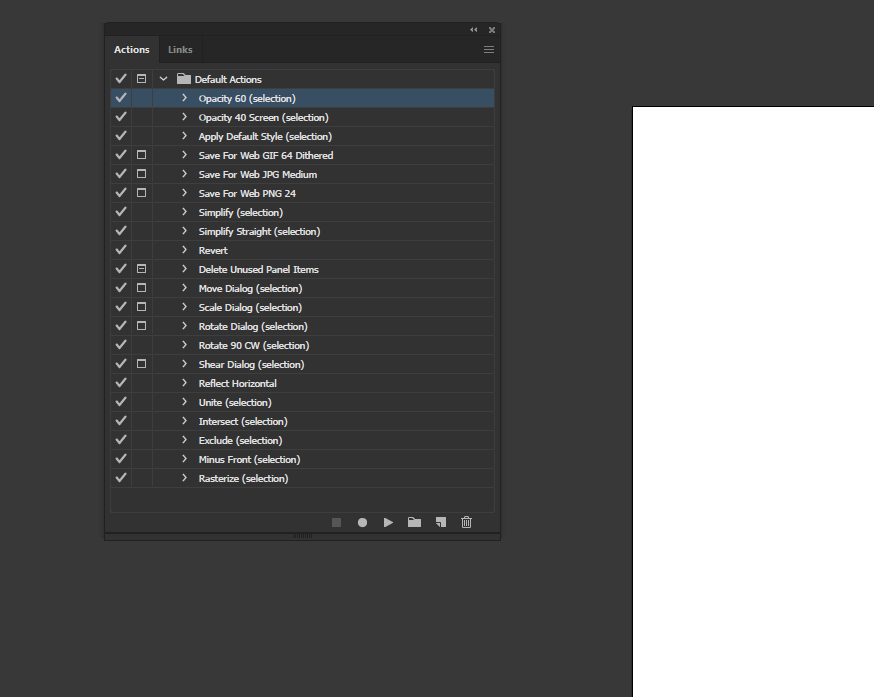
In the Actions panel, a default action set is created for us, which has some basic functionality. First, let’s understand what is present on the Actions panel. The tick on the left enables or disables an action. Next to tick, a box icon enables or disables the dialog popup while applying the action. Select an action and the object and click the play button to apply an existing action. Begin and stop recording a used when creating a new action. If you have multiple actions, then create a new set to group all the actions.
Step #3
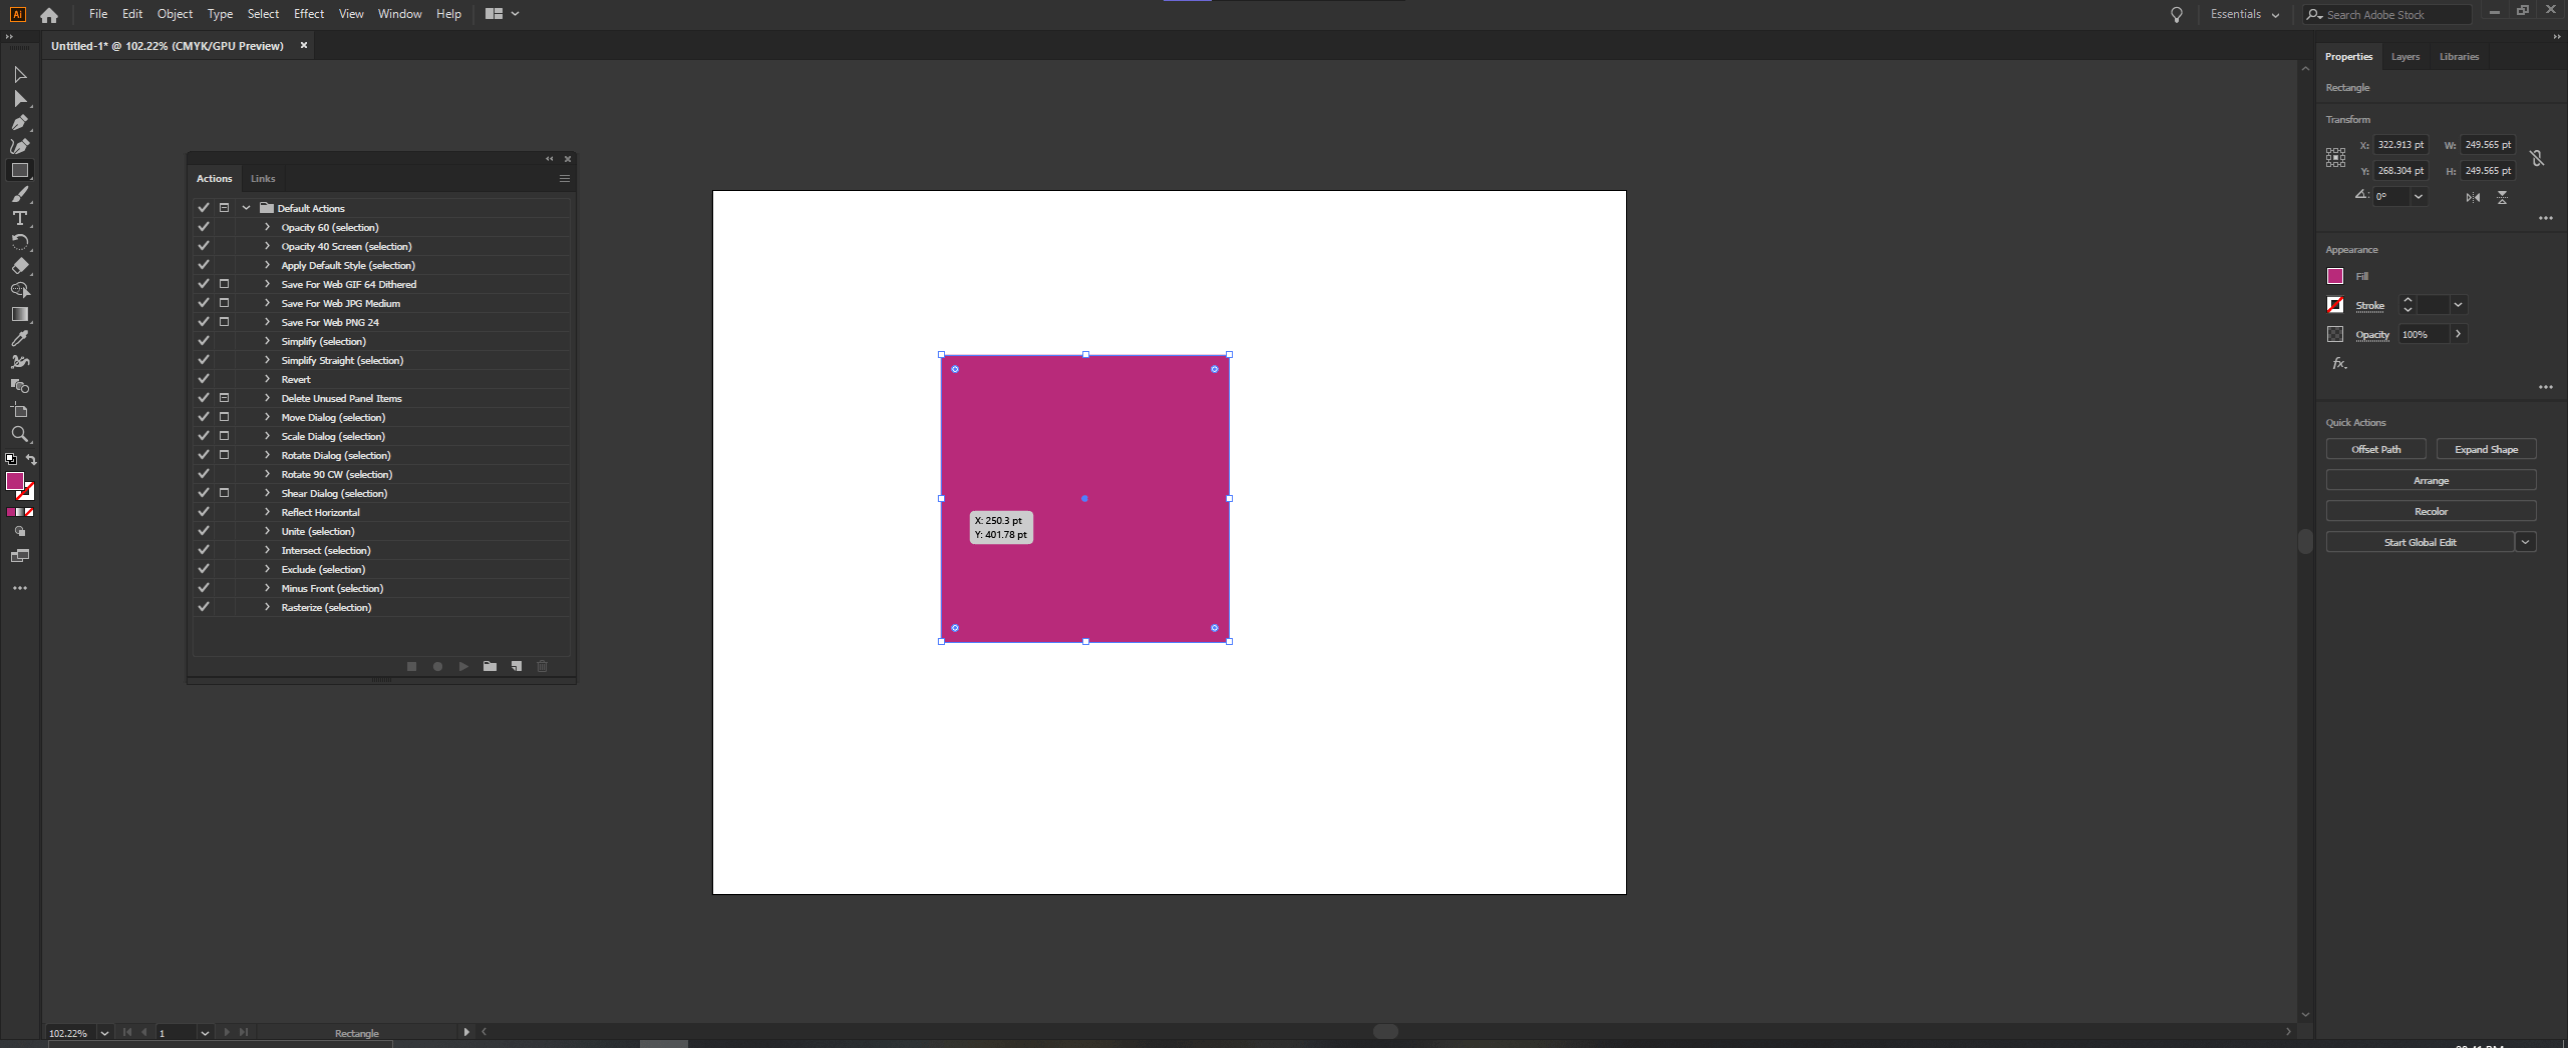
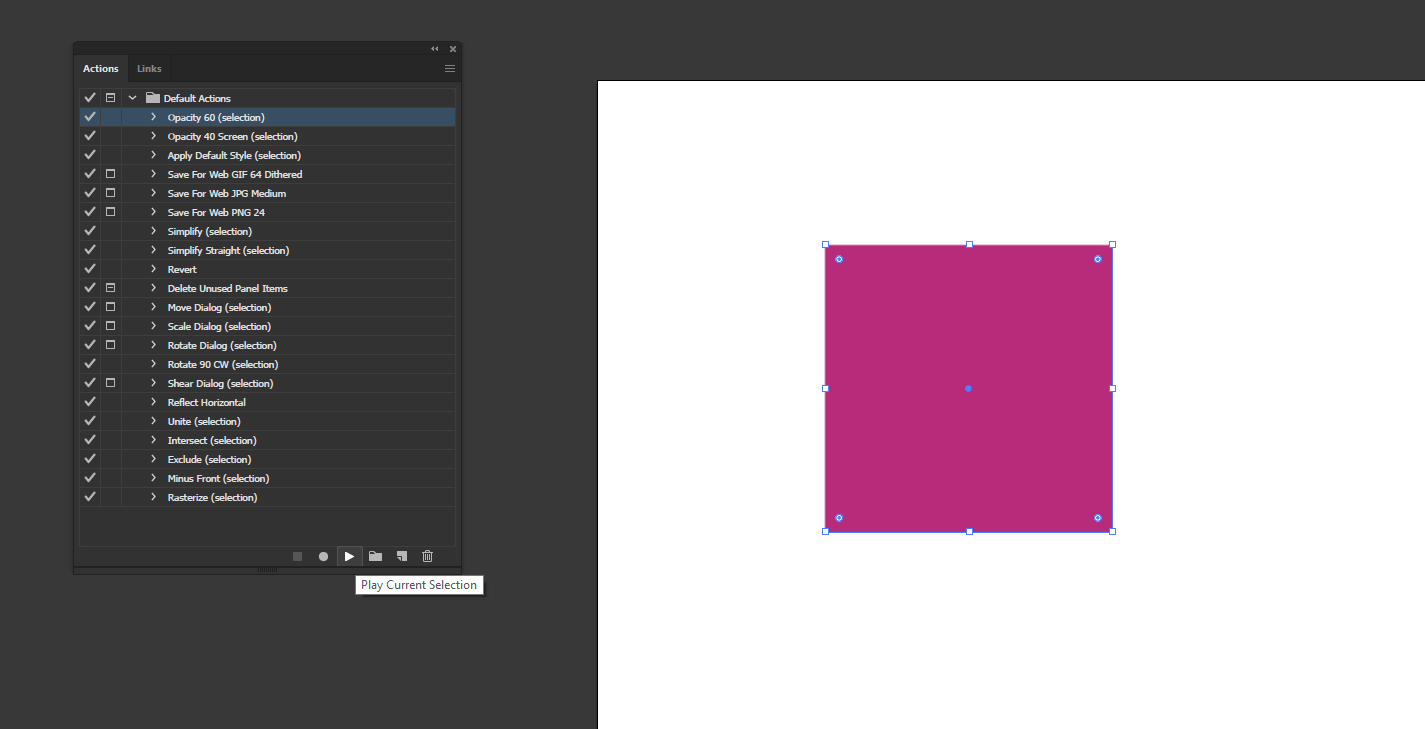
Let’s look at some default actions. Create a square using the rectangle tool and by pressing shift and give it a fill color
Step #4
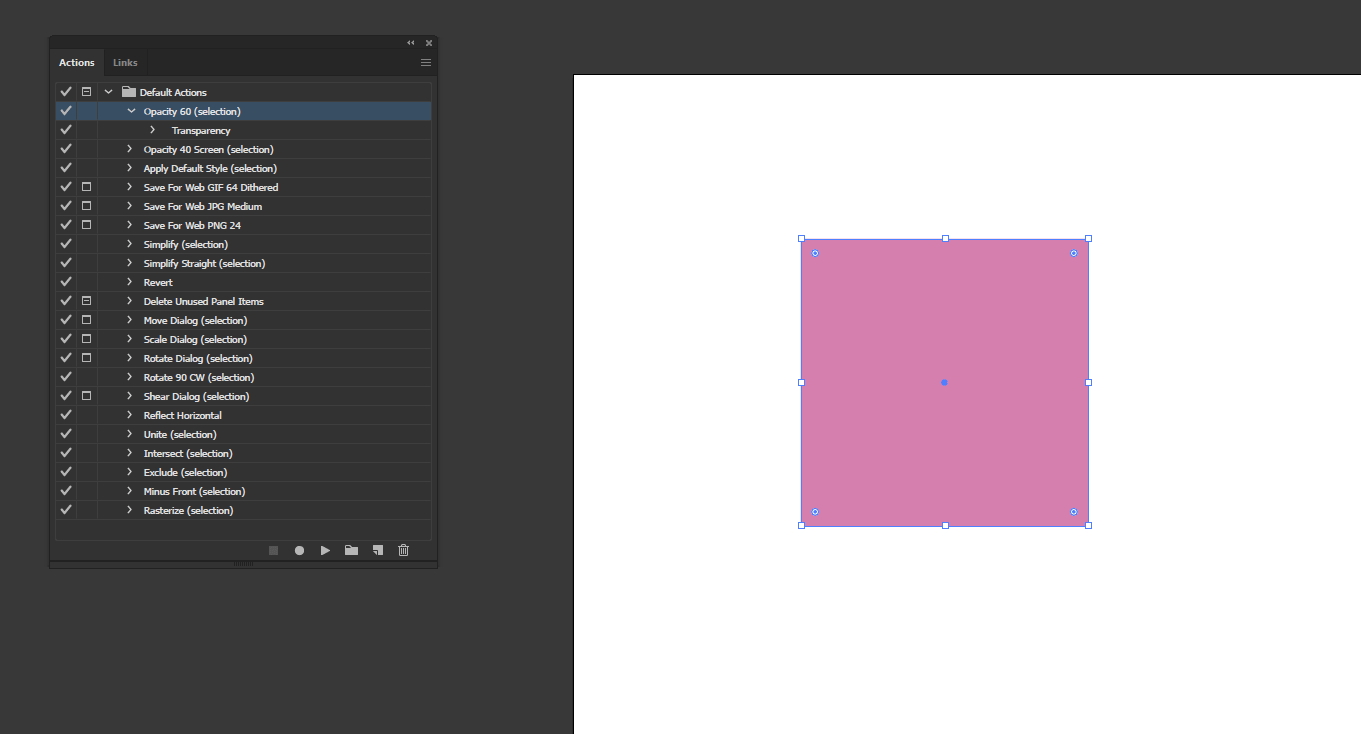
To use the default actions, select the square and then select the action and click on Play Current Selection. In this case, first, we have selected Opacity 60 (selection).
Step #5
This action has set the opacity of the square to 60%
Step #6
Next, we will Apply the Default Style (selection) action, which sets the square to the default stroke and fill color.
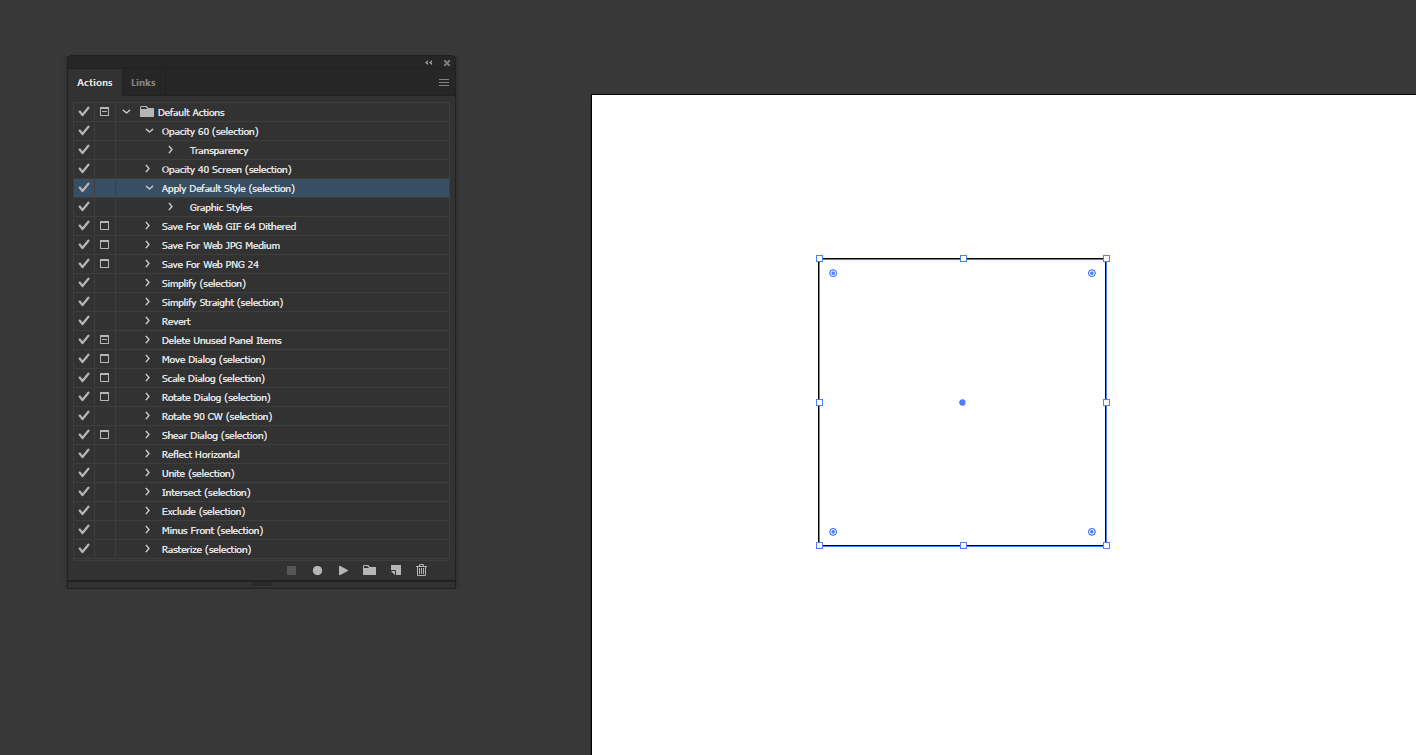
Step #7
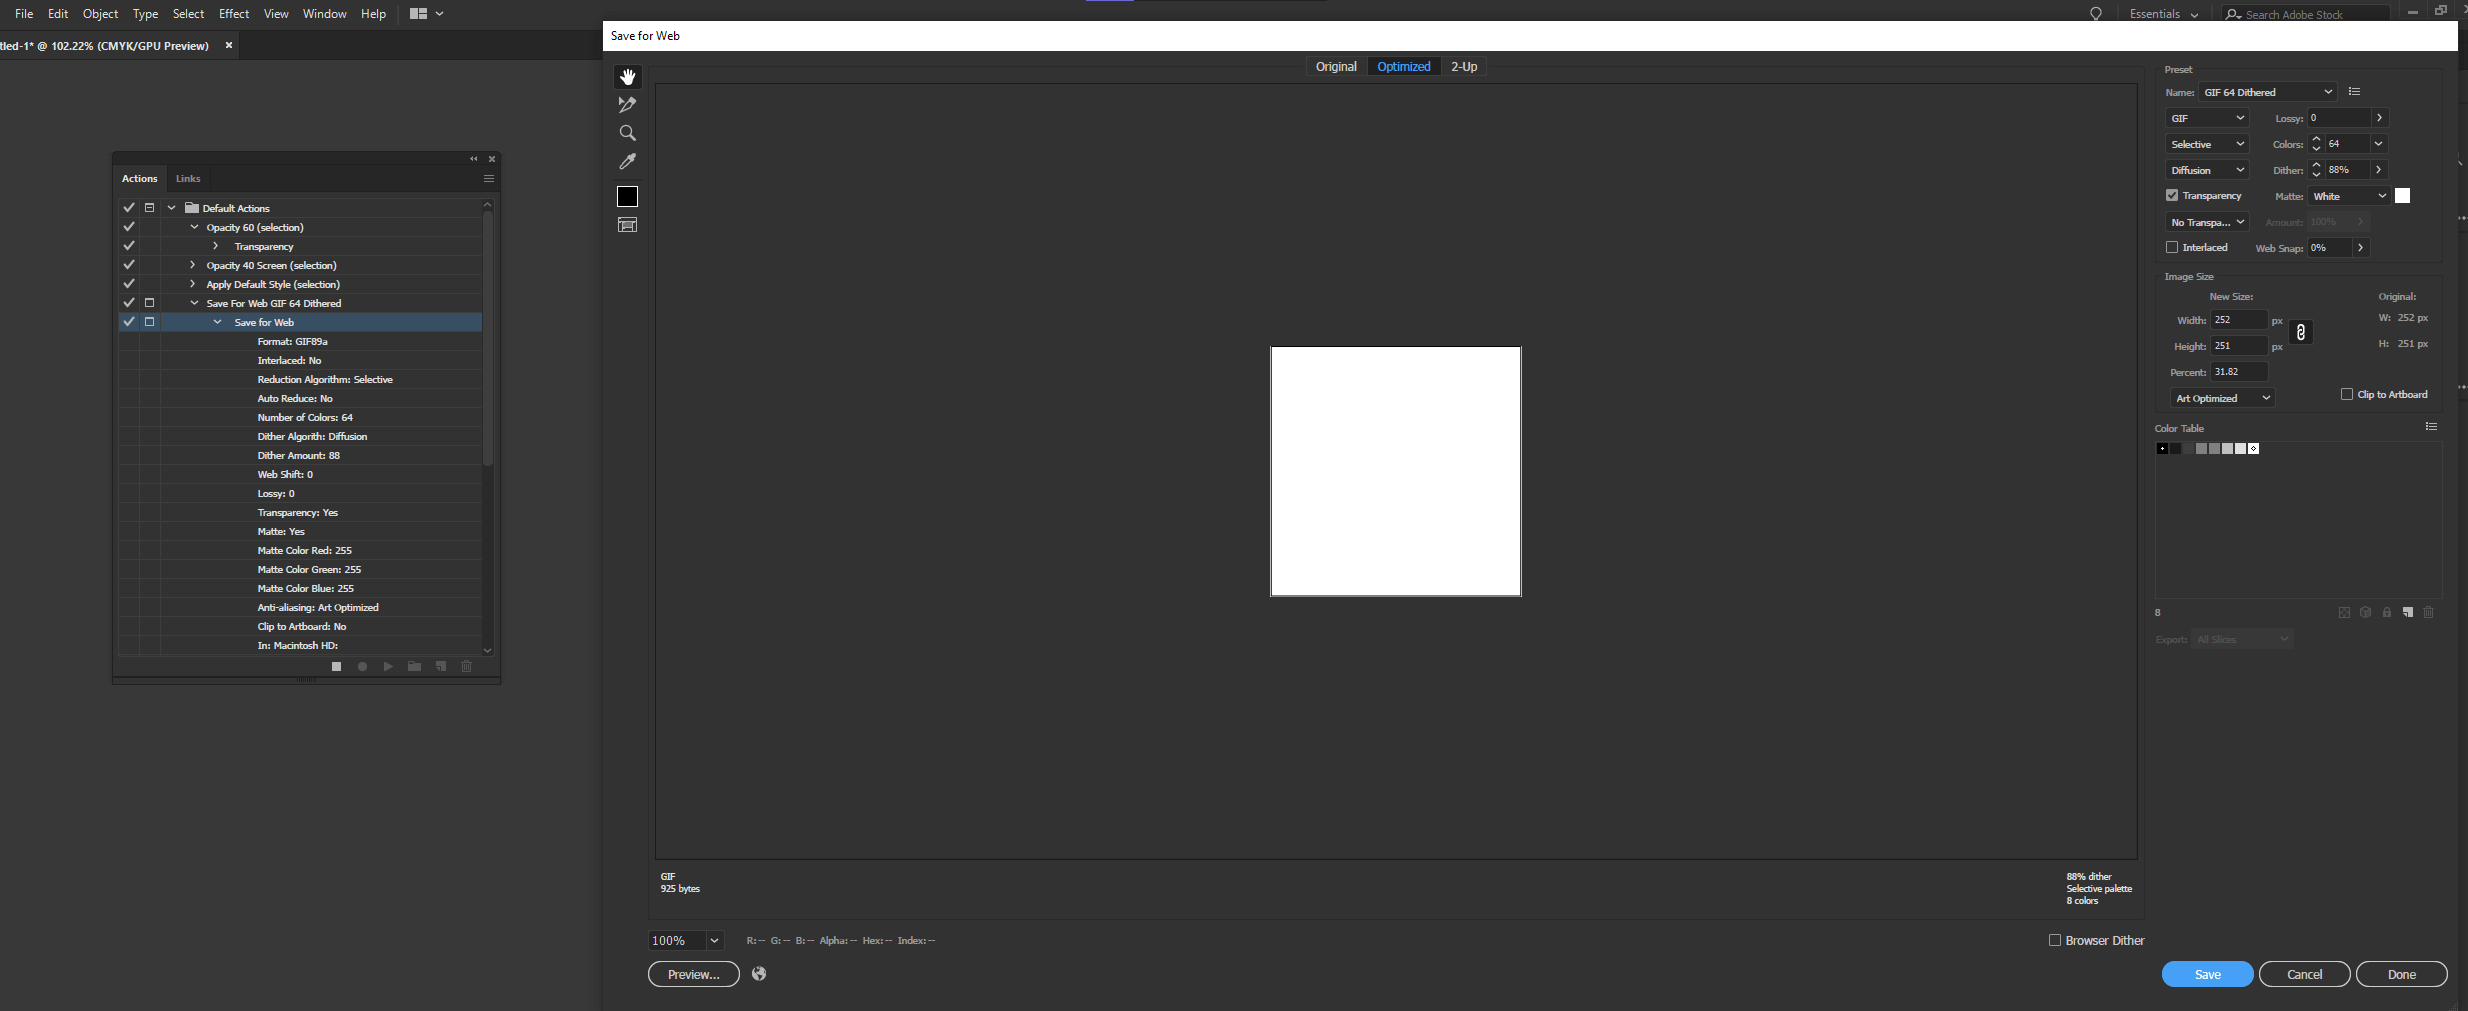
Save for Web GIF will setup the export and optimize according to the actions required. Similarly, there are actions to export in JPG and PNG.
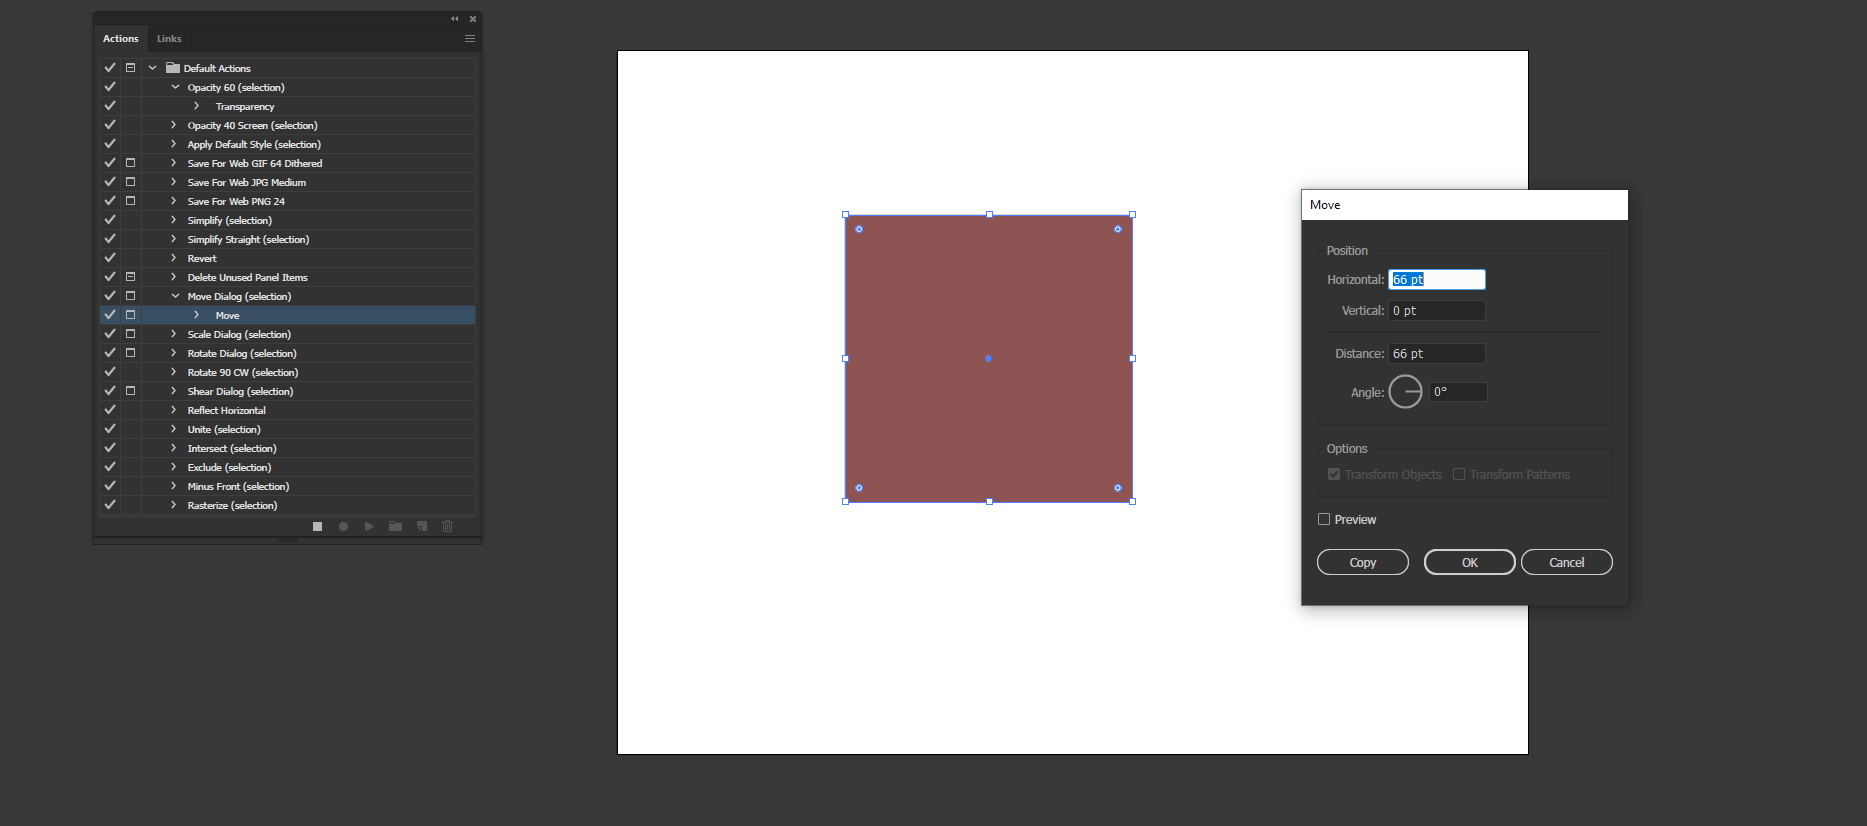
Step #8
There are also options for simplifying the selection, which reduces anchor point. There is also the option to delete unnecessary panel items like brush, styles, and swatches, which are not required. In Move action, since the square button enabled, a dialog popup will appear to set the position.
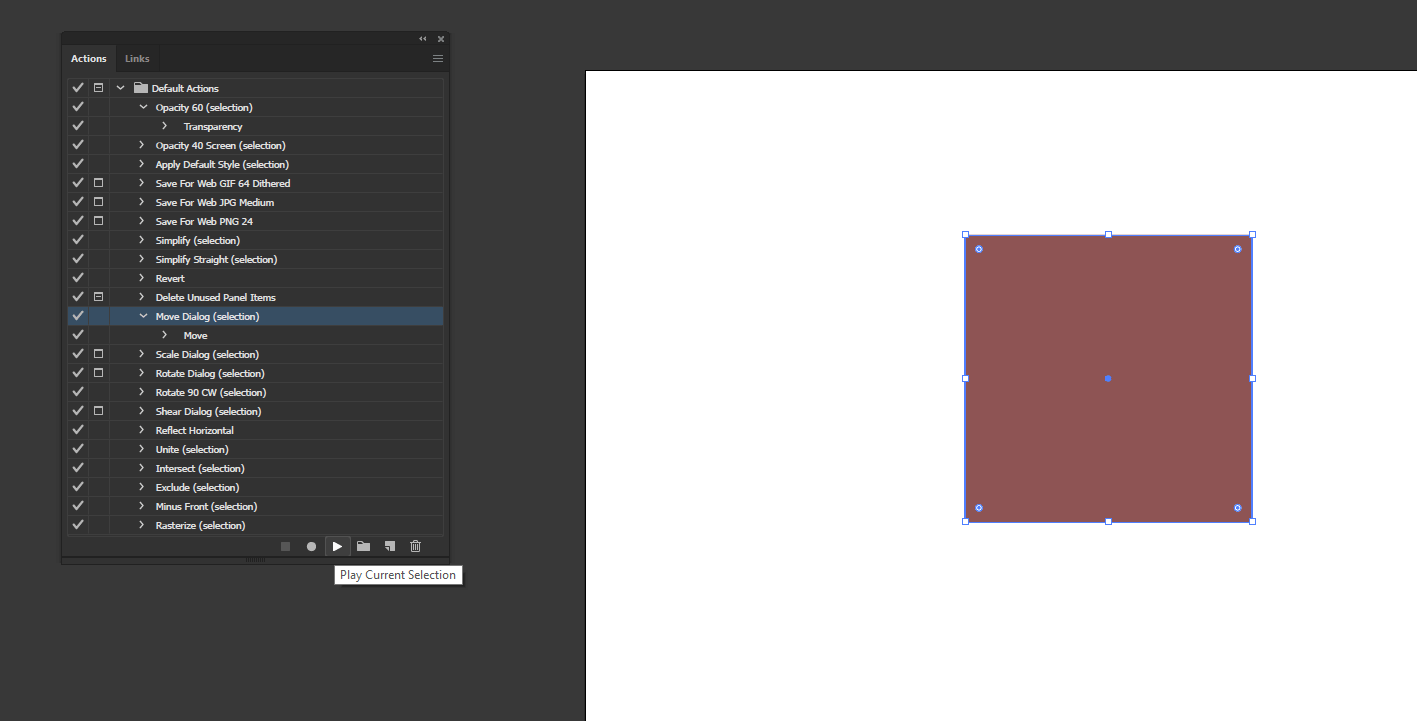
Step #9
If we uncheck the square of the popup dialog and then run the move action, then the square will be moved without a popup dialog. Similarly, we can scale, rotate, shear, reflect using action.
Step #10
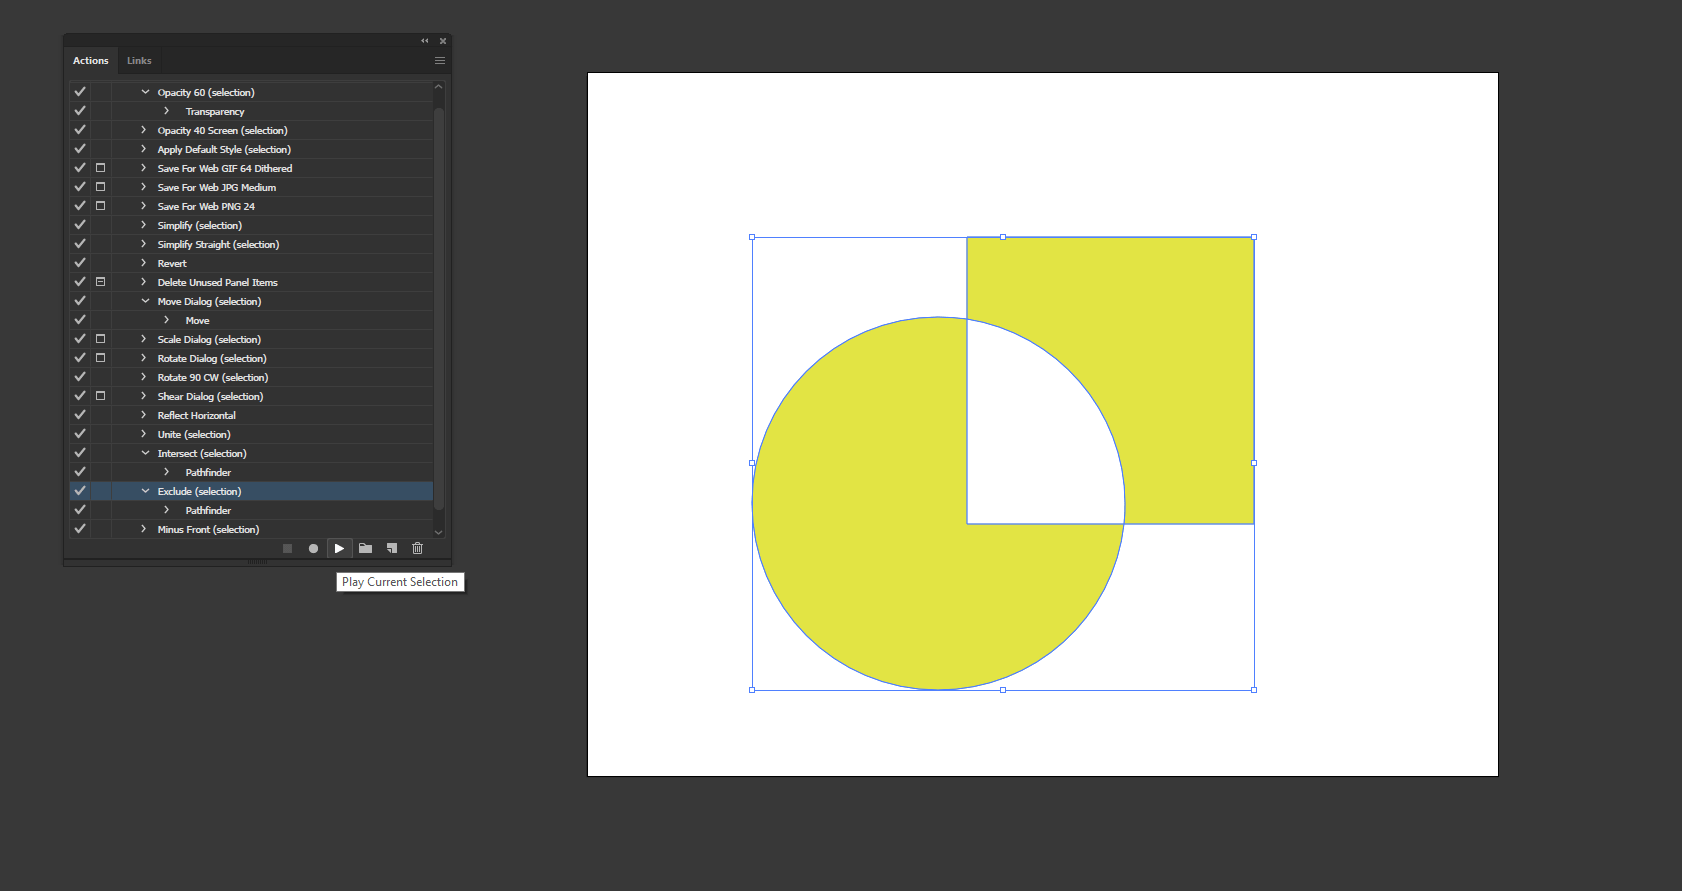
Next, create a circle using the ellipse tool, give it a yellow color, and select both of them. Then select the intersect action from the action panel.
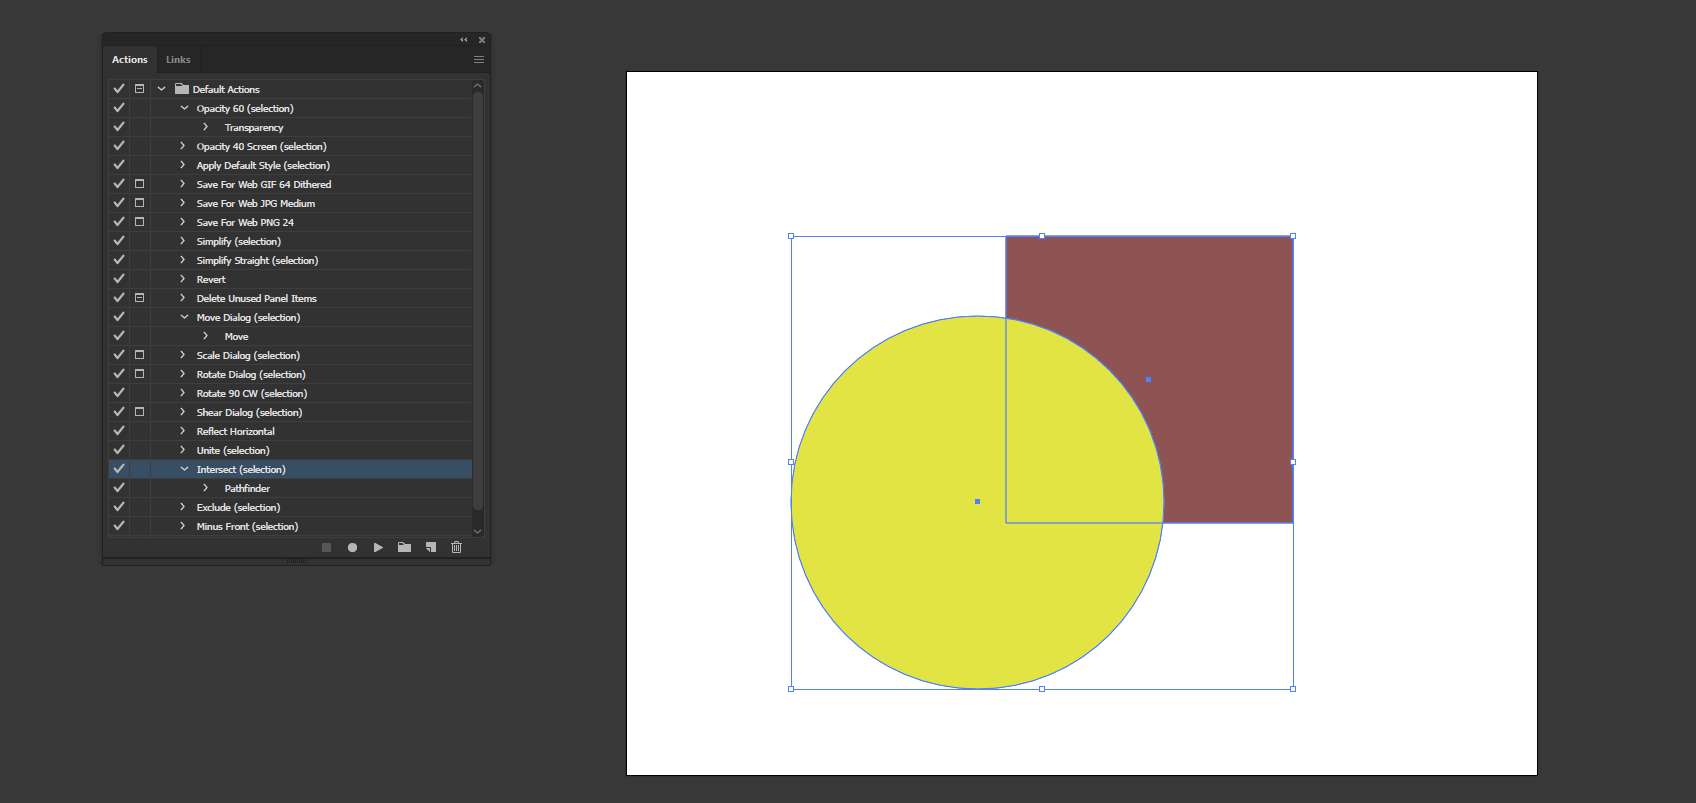
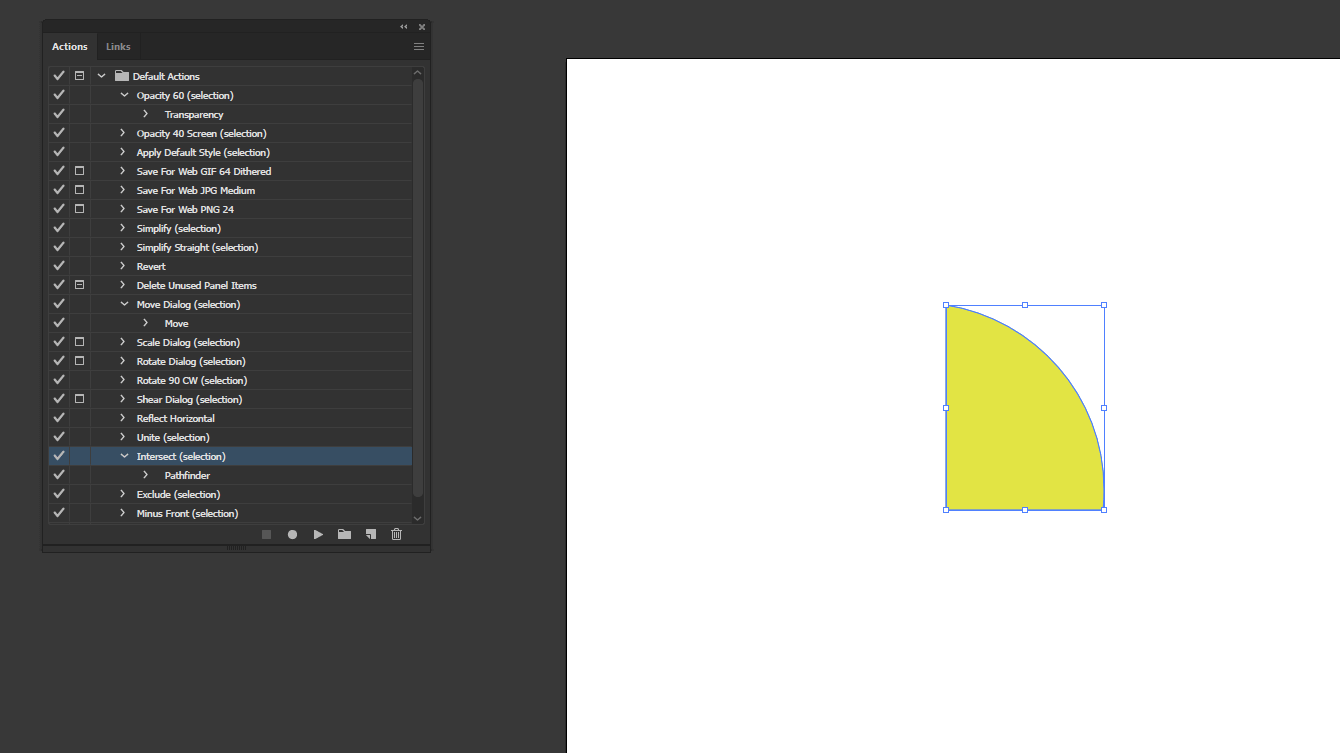
Step #11
Running intersect action will intersect the shapes and keep the top shape.
Step #12
Running exclude will remove the intersecting part.
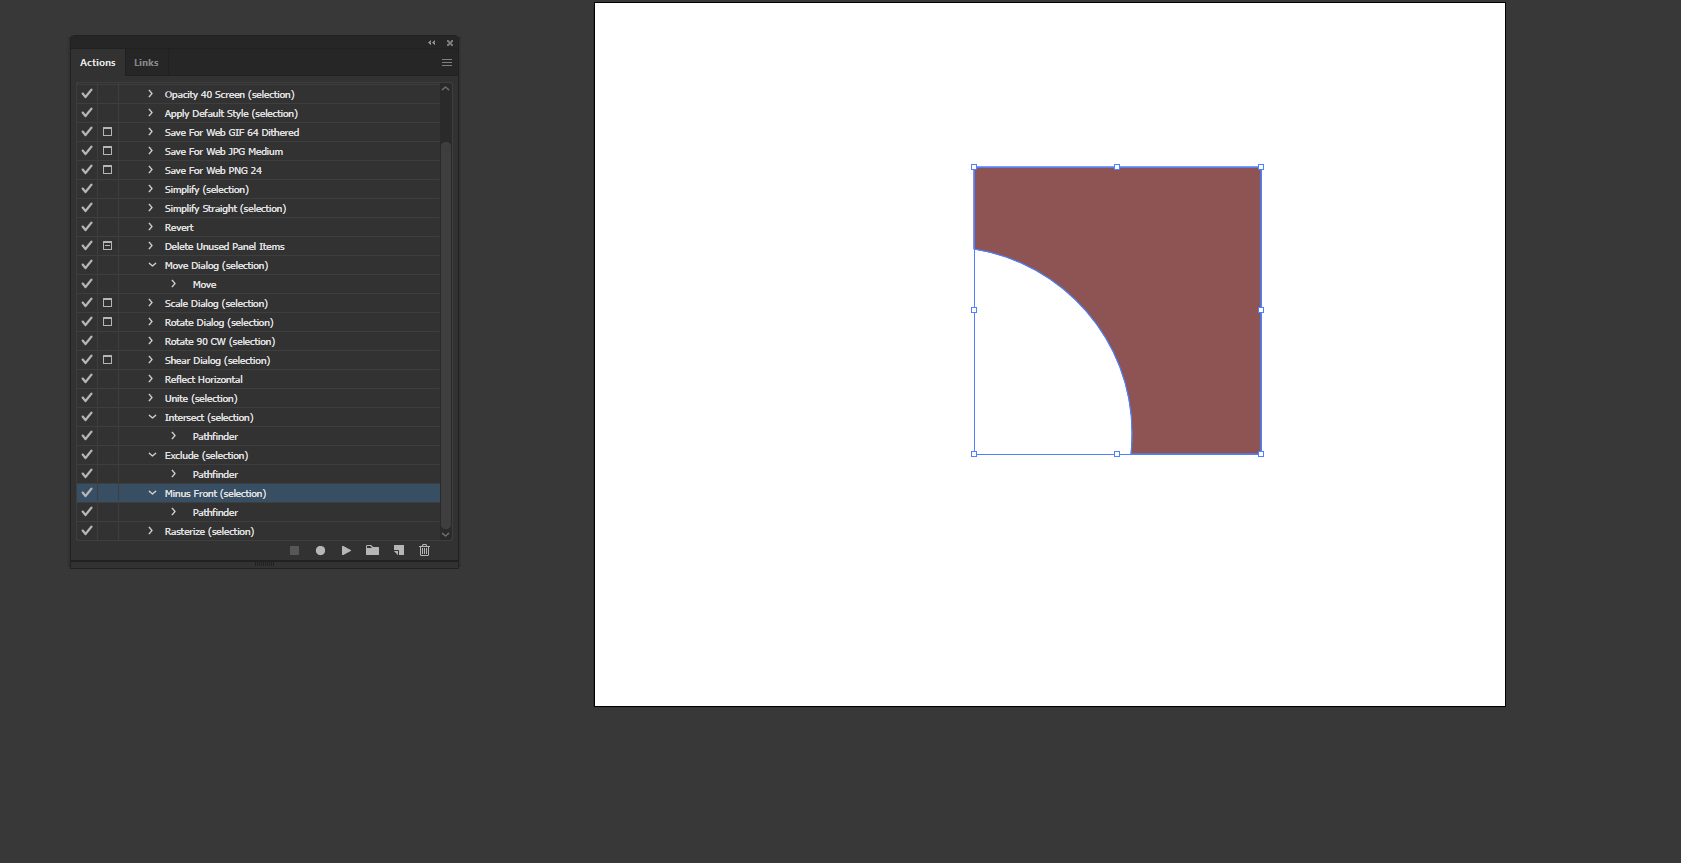
Step #13
Running minus front will remove the shape from the front and the intersecting part of the shape behind.
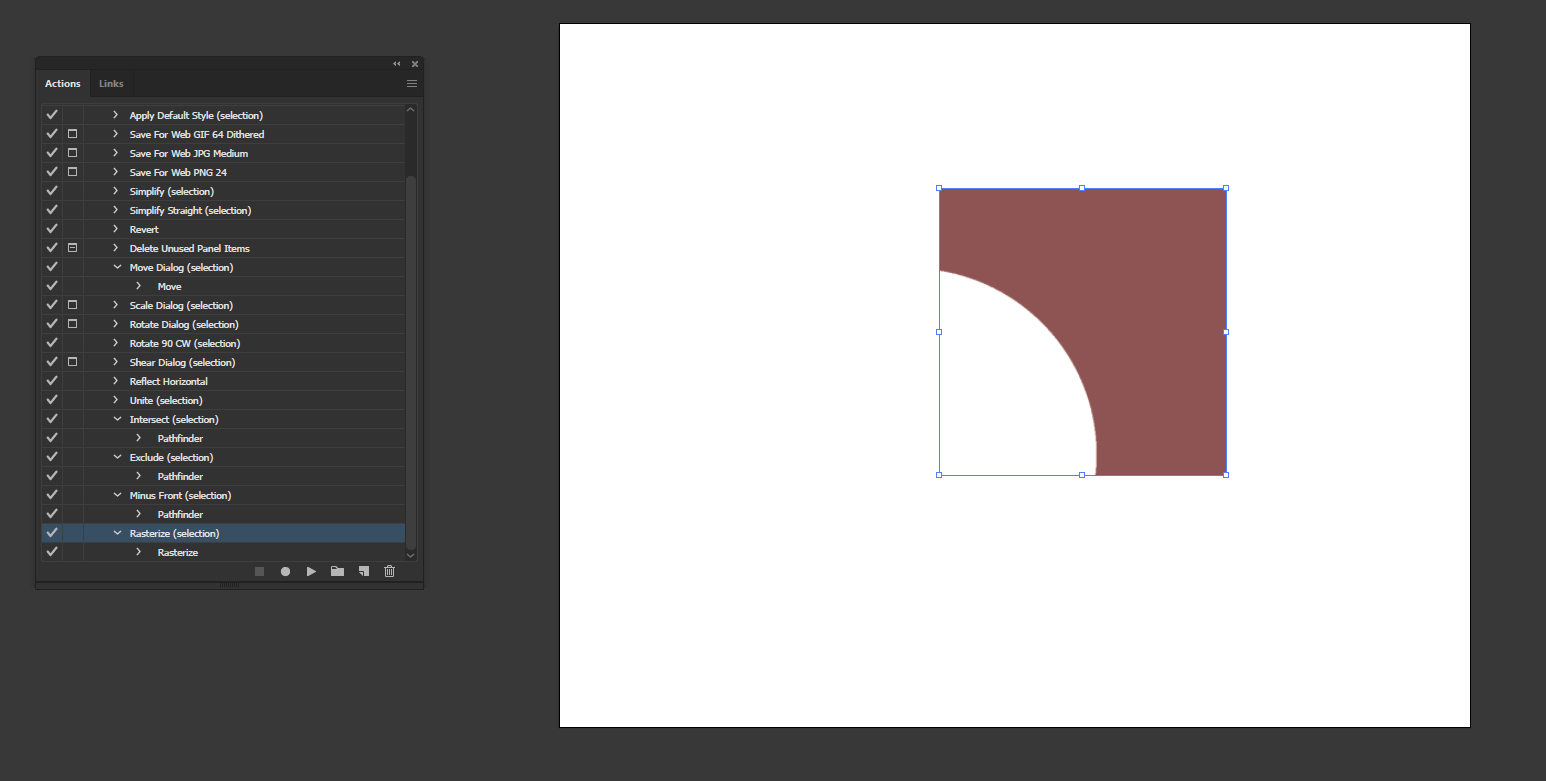
Step #14
Running rasterize will convert a shape to the raster layer.
Step #15
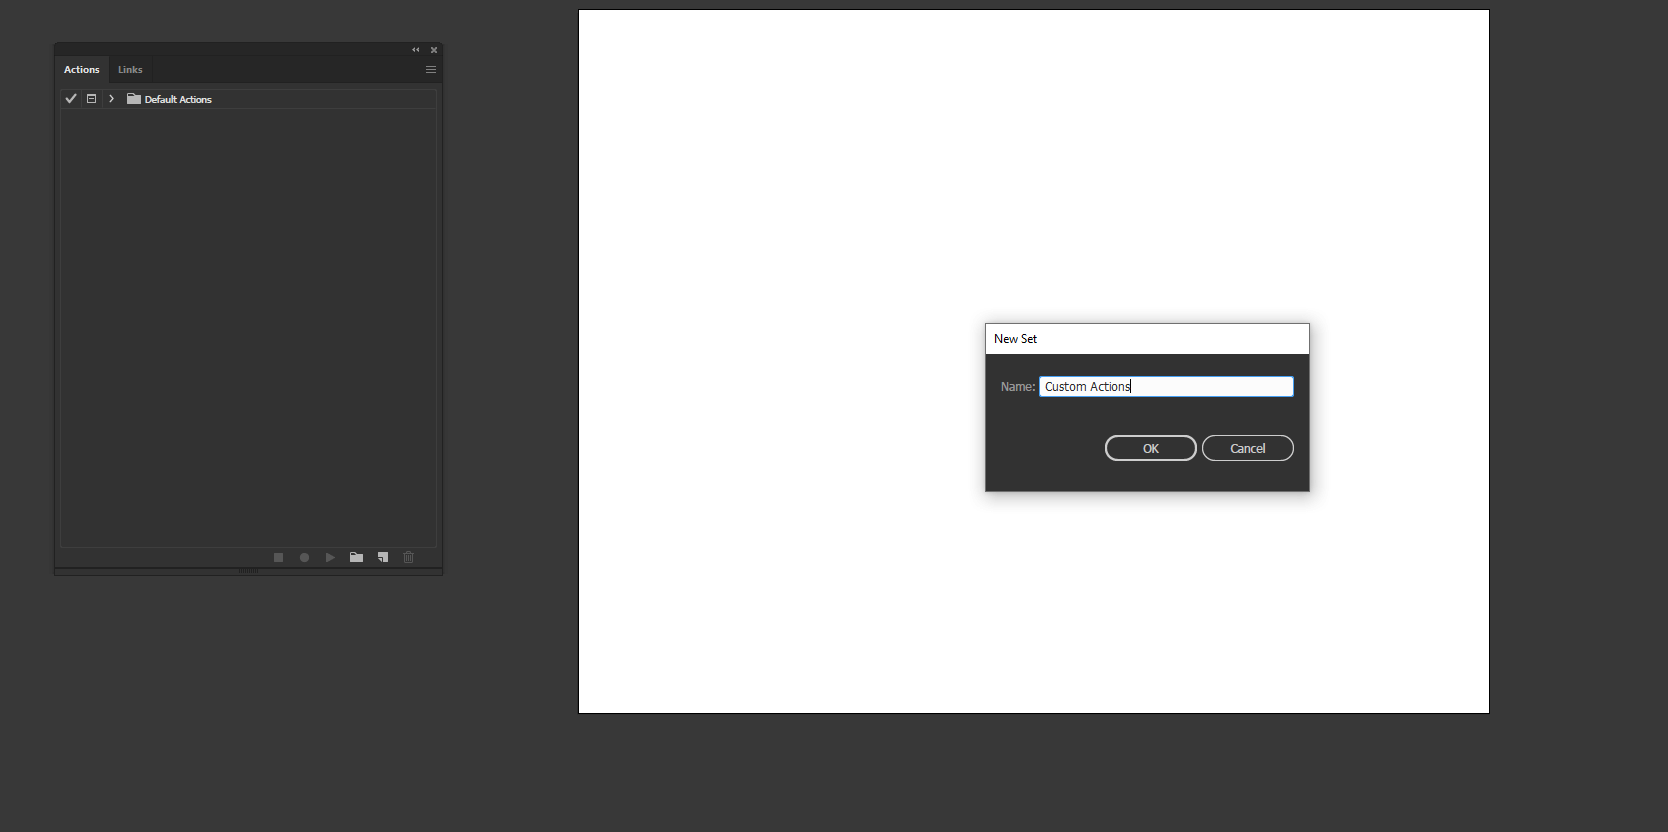
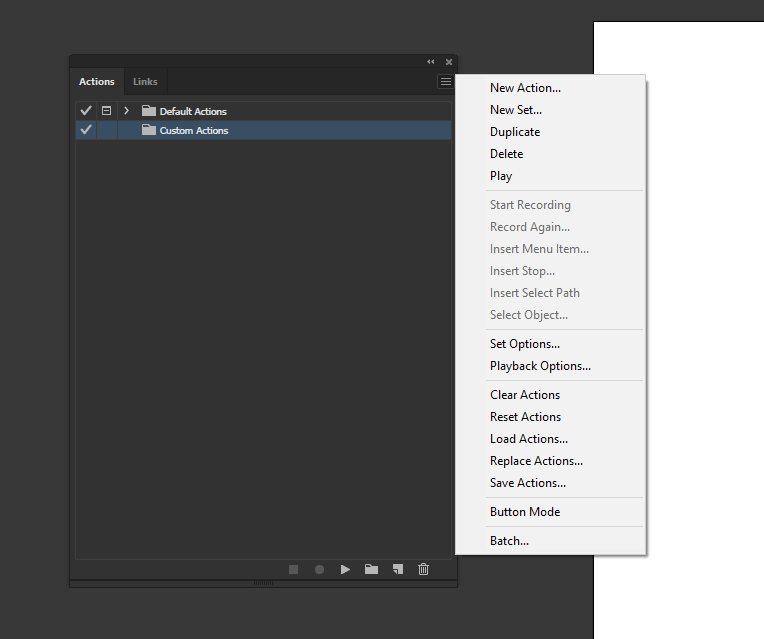
Till now, we have seen the default actions; now, we will see the custom actions. To create an action first, we will create a new set by clicking on the folder icon and giving a name.
Step #16
Next, create a square using the rectangle tool. We will convert it into a Dimond or an isometric view of the square.
Step #17
We can use the hamburger menu or use the button at the bottom corner to create a new action.
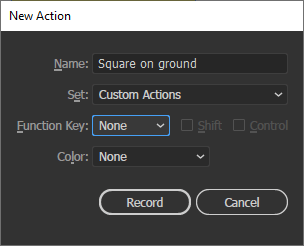
Step #18
There are a couple of options on the new action dialog box. First, give a name, then select the set in which you want to make the action. Shortcut keys or functions keys can be set with the option of shift and control. Color can be set as a label, then click record. In recording actions, time doesn’t matter, but actions are taken or steps taken until the recording is stopped.
Step #19
Go to Object -> Transform -> Scale. Select the Non-Uniform scale and set vertical to 86%

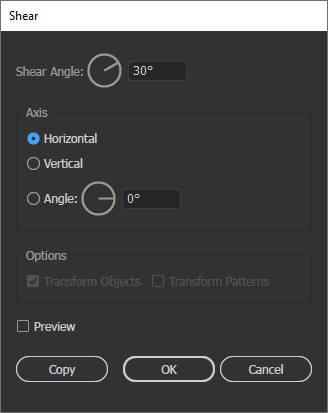
Step #20
Go to Object -> Transform -> Shear and set the shear angle to 30 degrees.
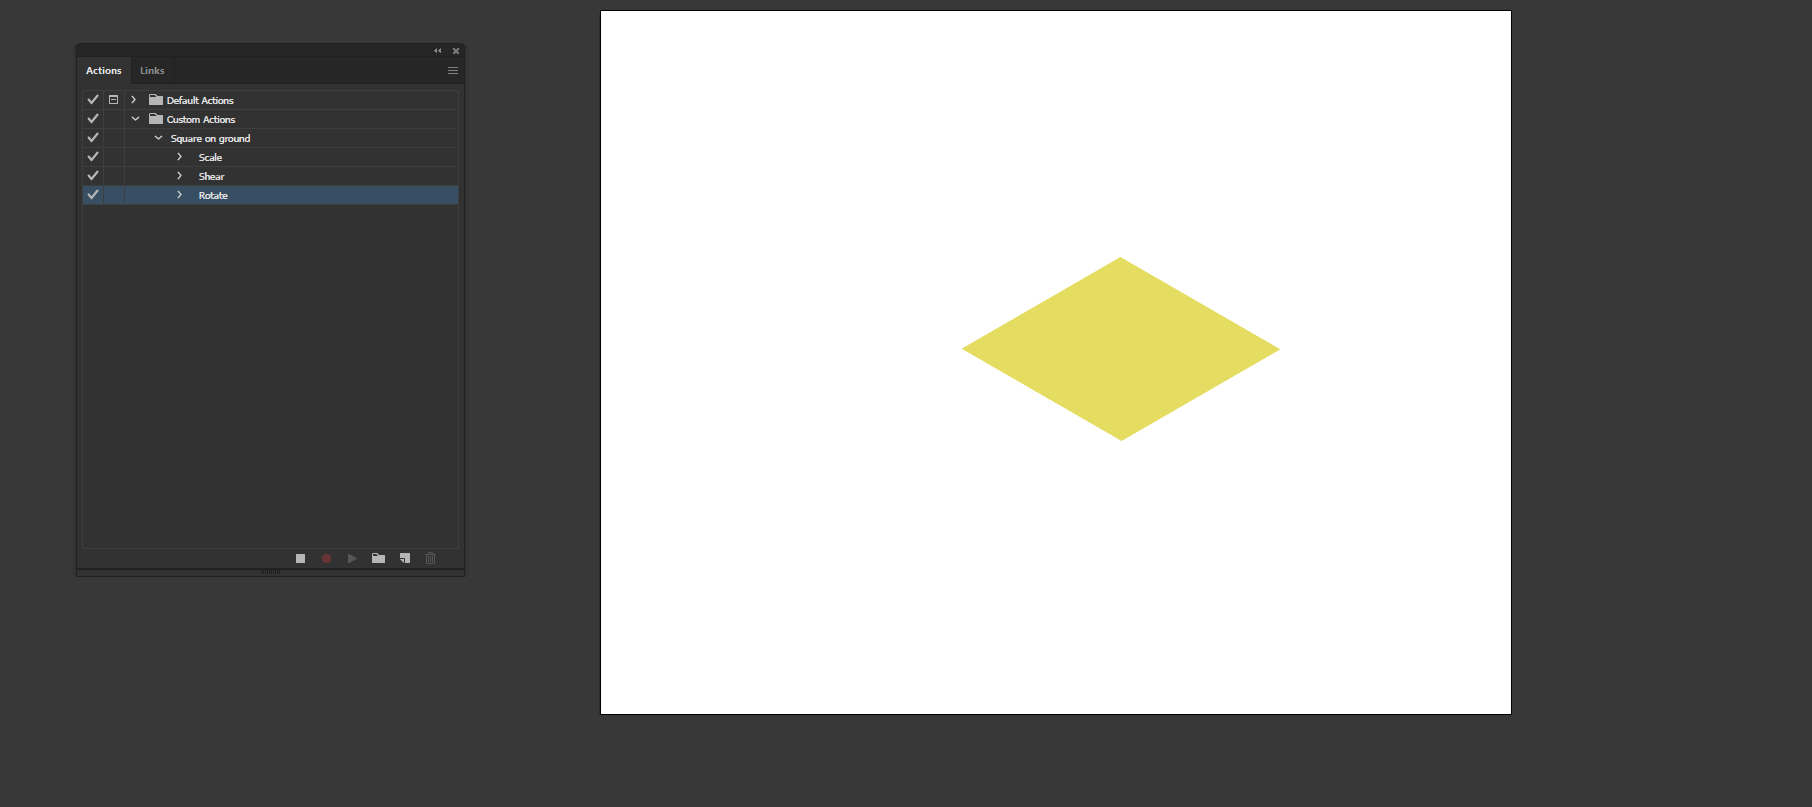
Step #21
These steps will make the shape as shown below now, we will stop recording, and the action will be completed by clicking the stop playing or recording button.
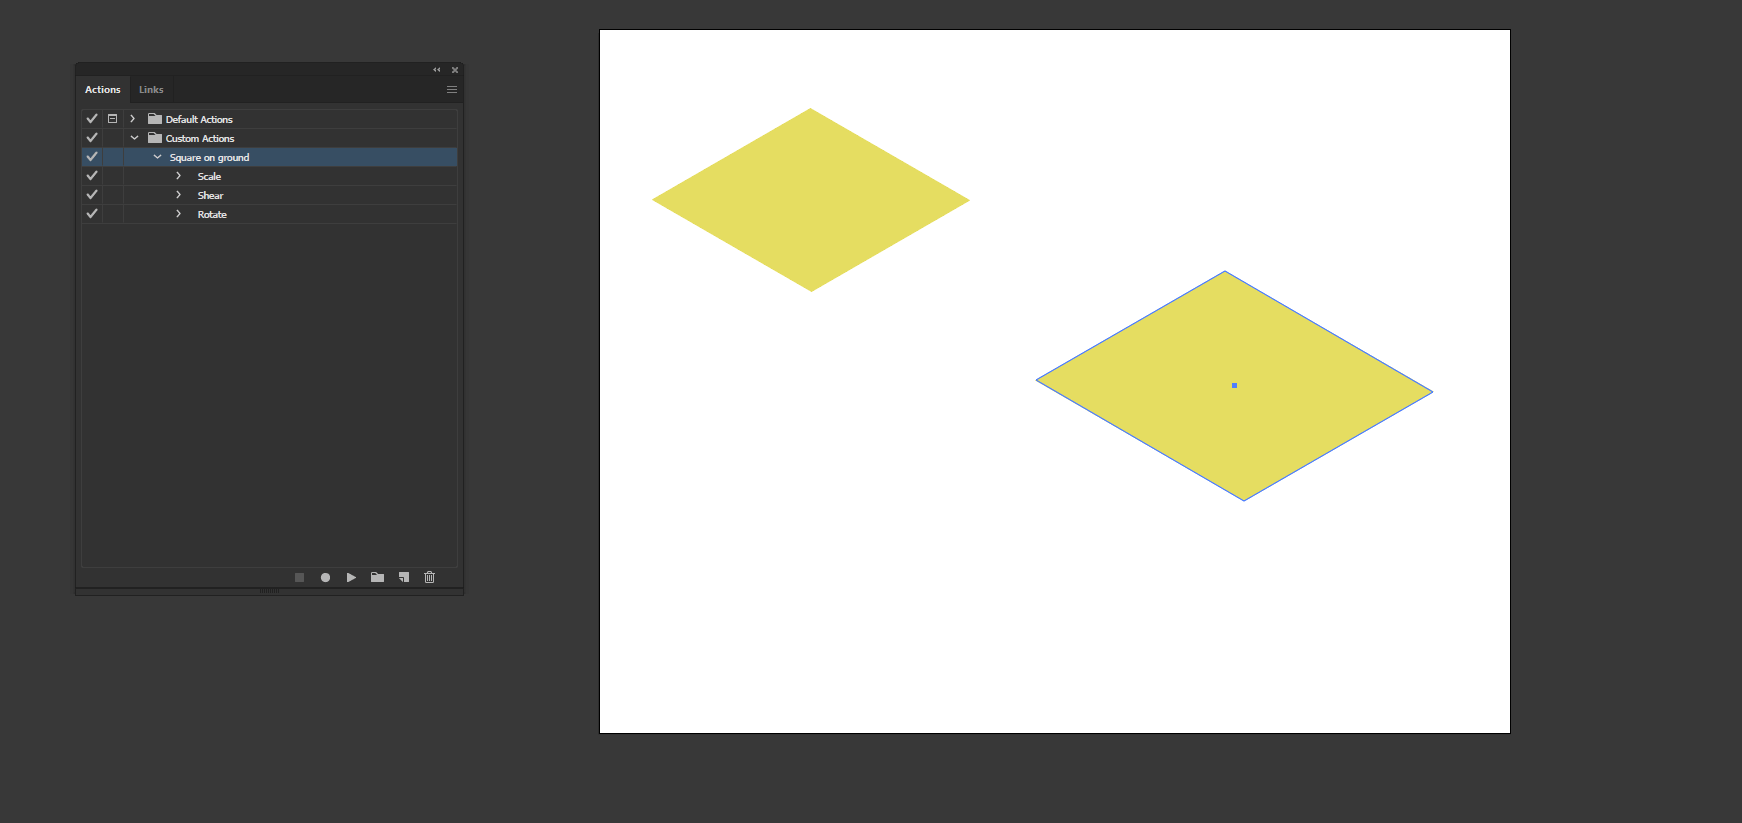
Step #22
Create another shape as shown, and now we will apply the action of Square on the ground to this shape and see the magic.
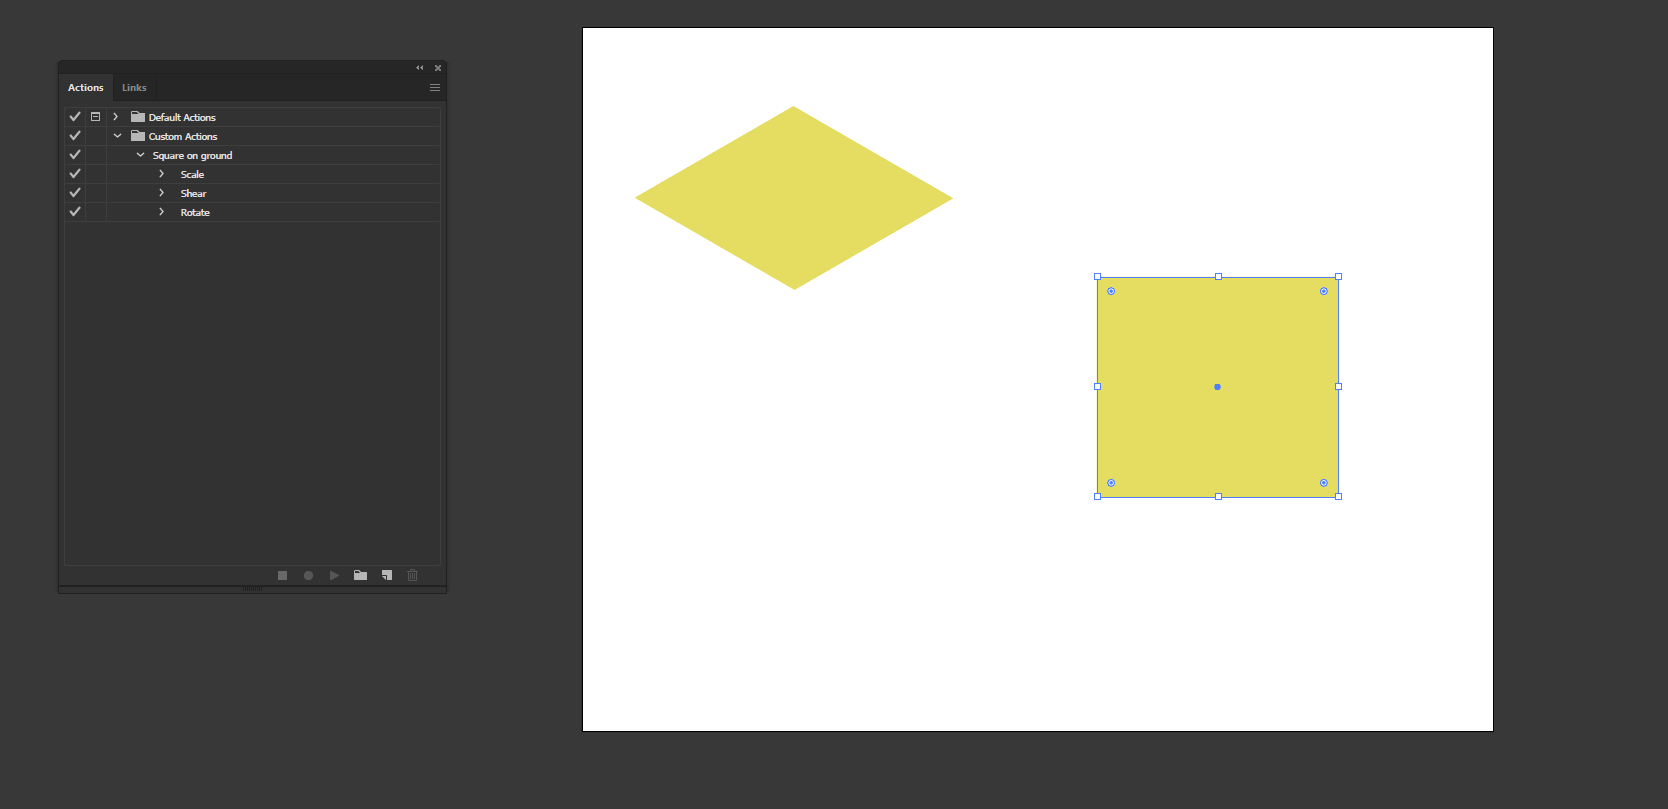
Step #23
This is the result; all the steps are performed automatically to create the shape as shown.
Step #24
Next, we will work with some text for which we have created a sample text that we will convert to outline and create an action.
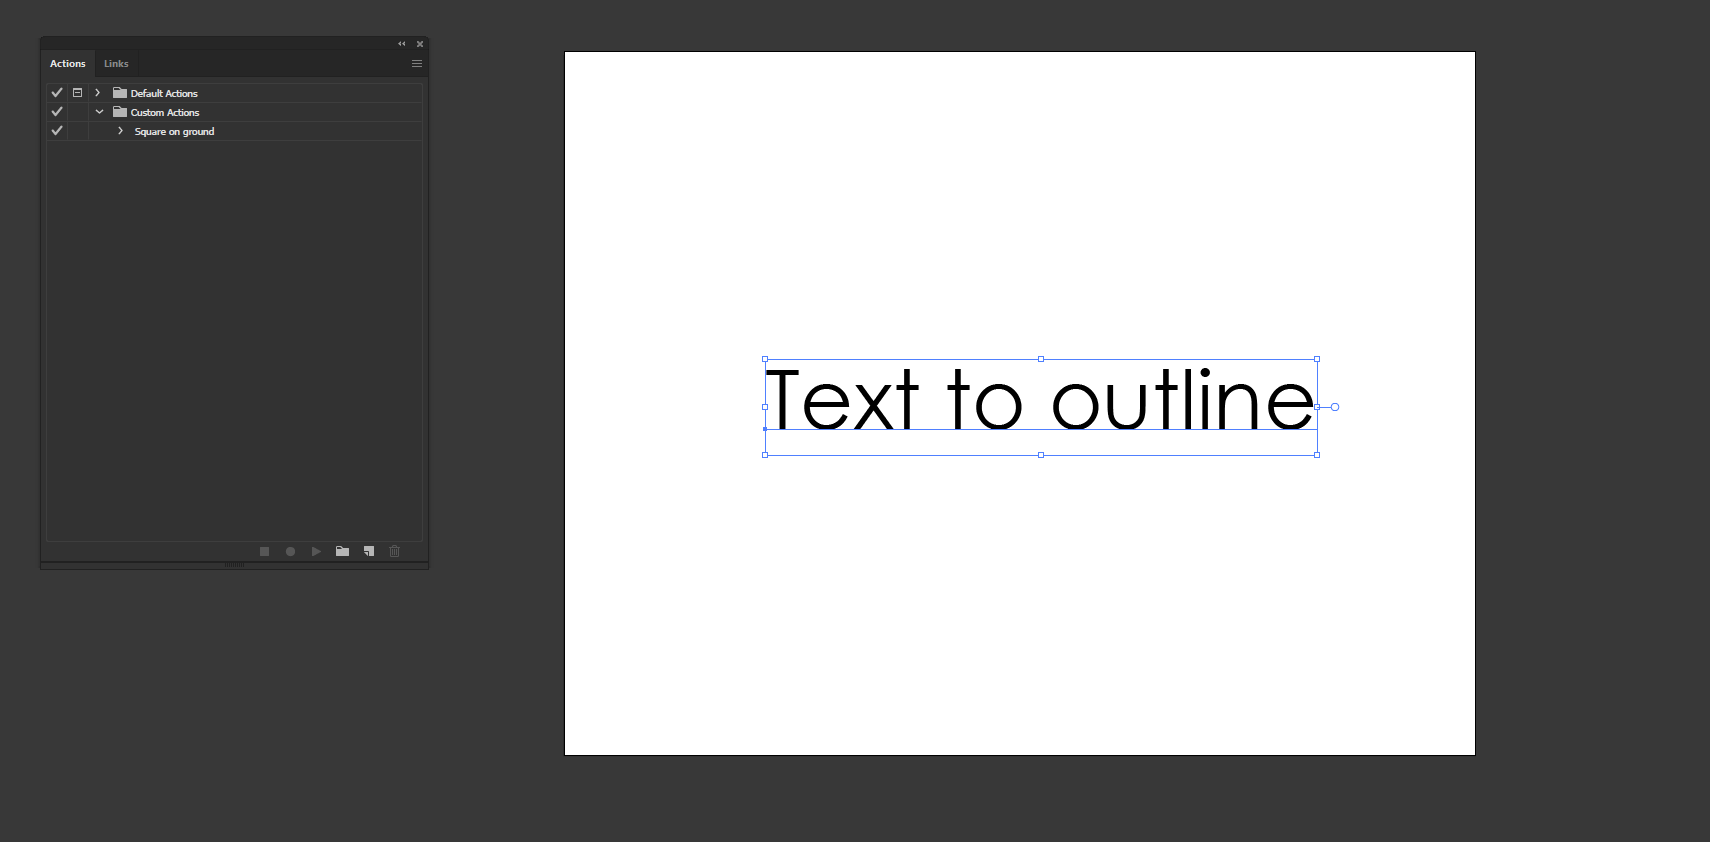
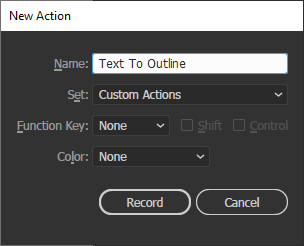
Step #25
Create a new action with options set to the defaults with the name and set which we just created and click Record.
Step #26
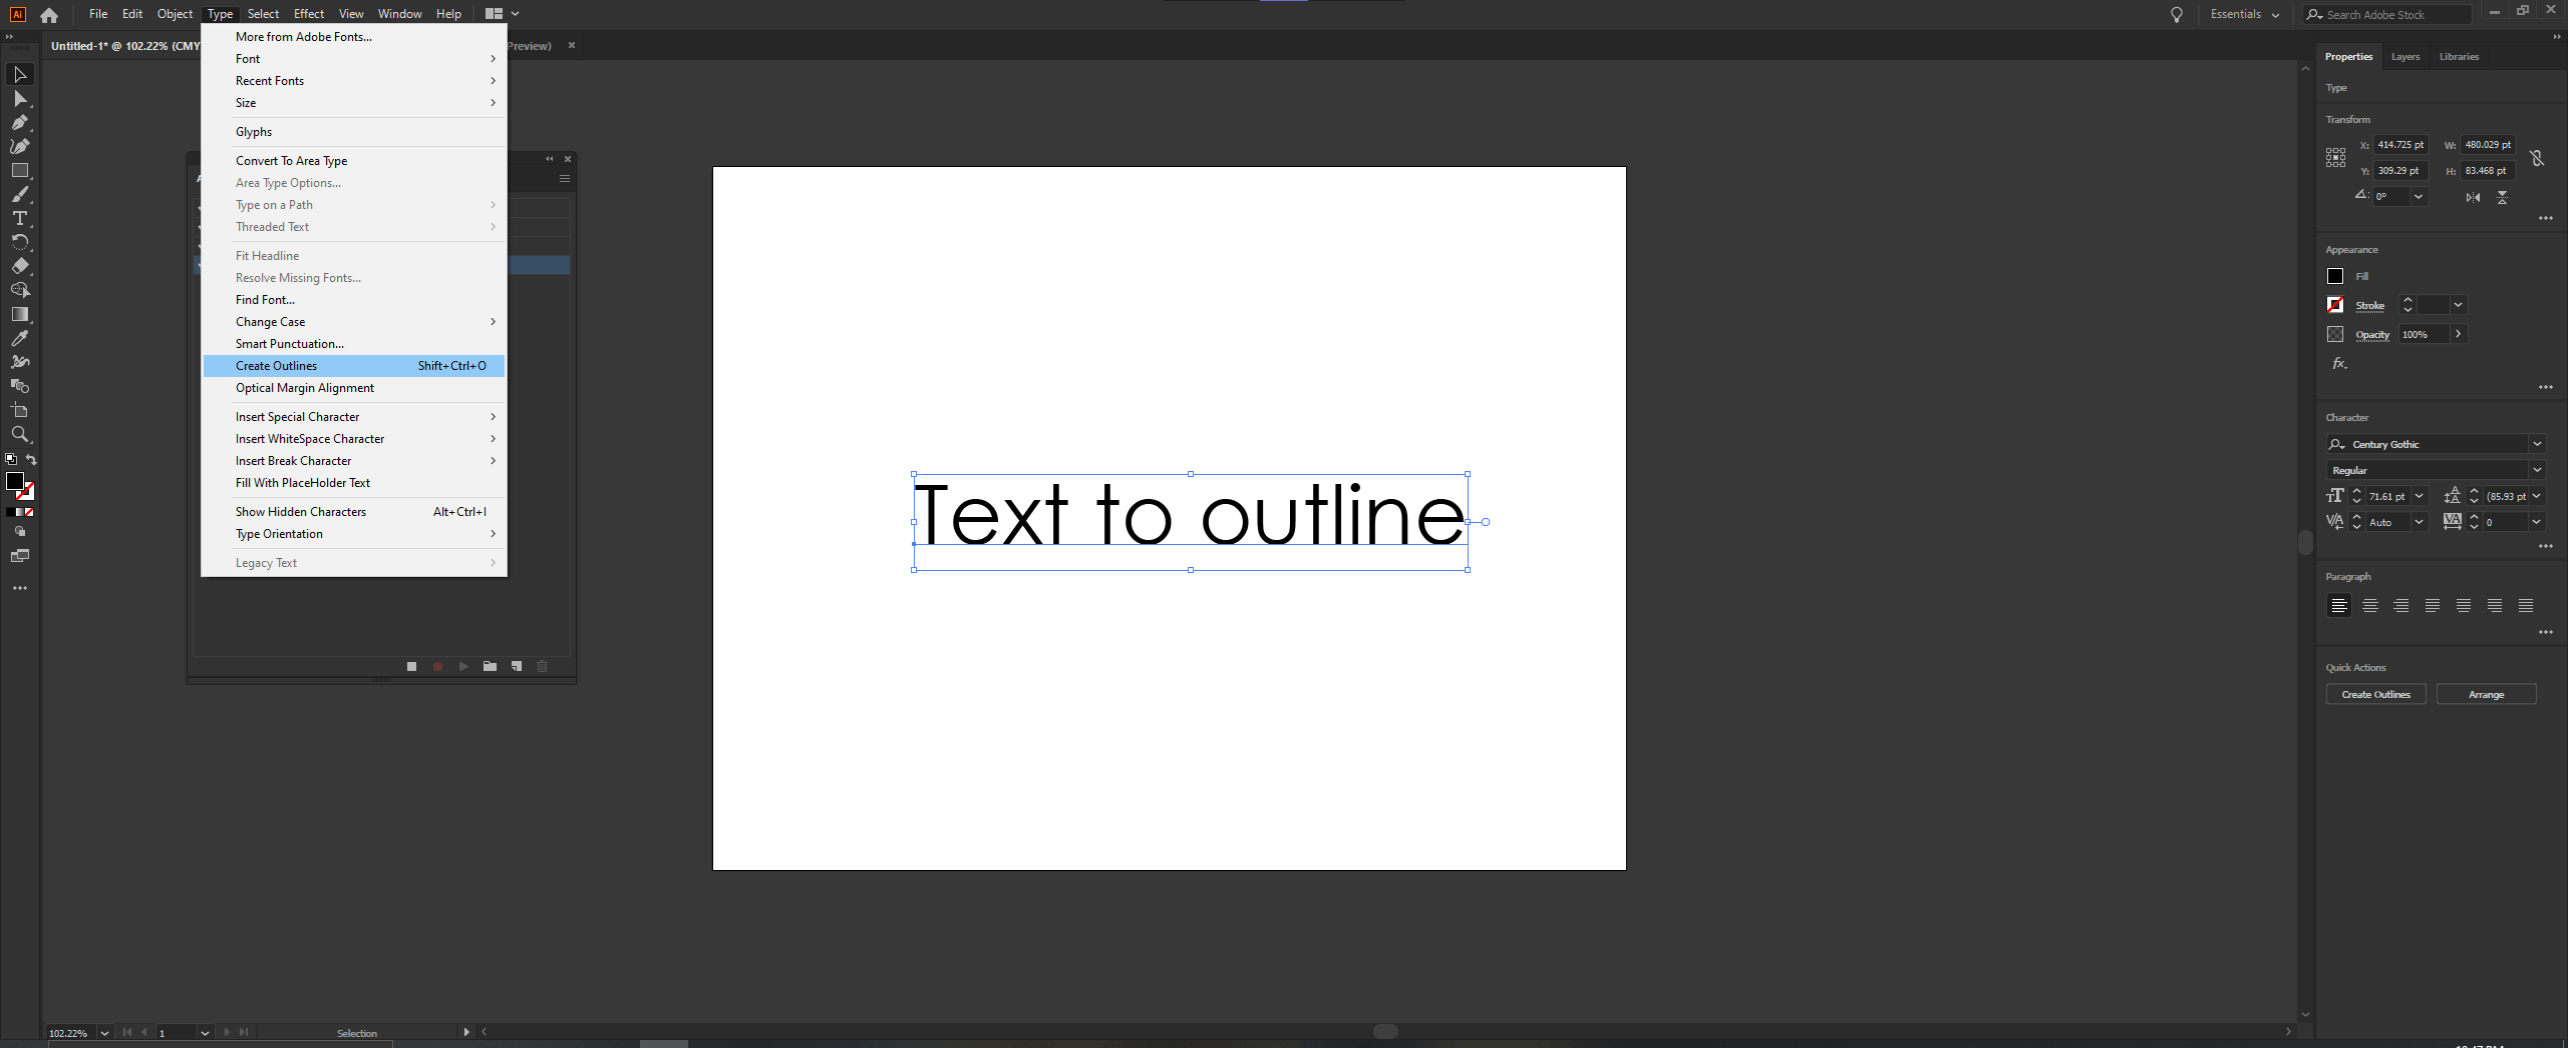
Then go to Type -> Create Outlines or press Shift + Ctrl + O
Step #27
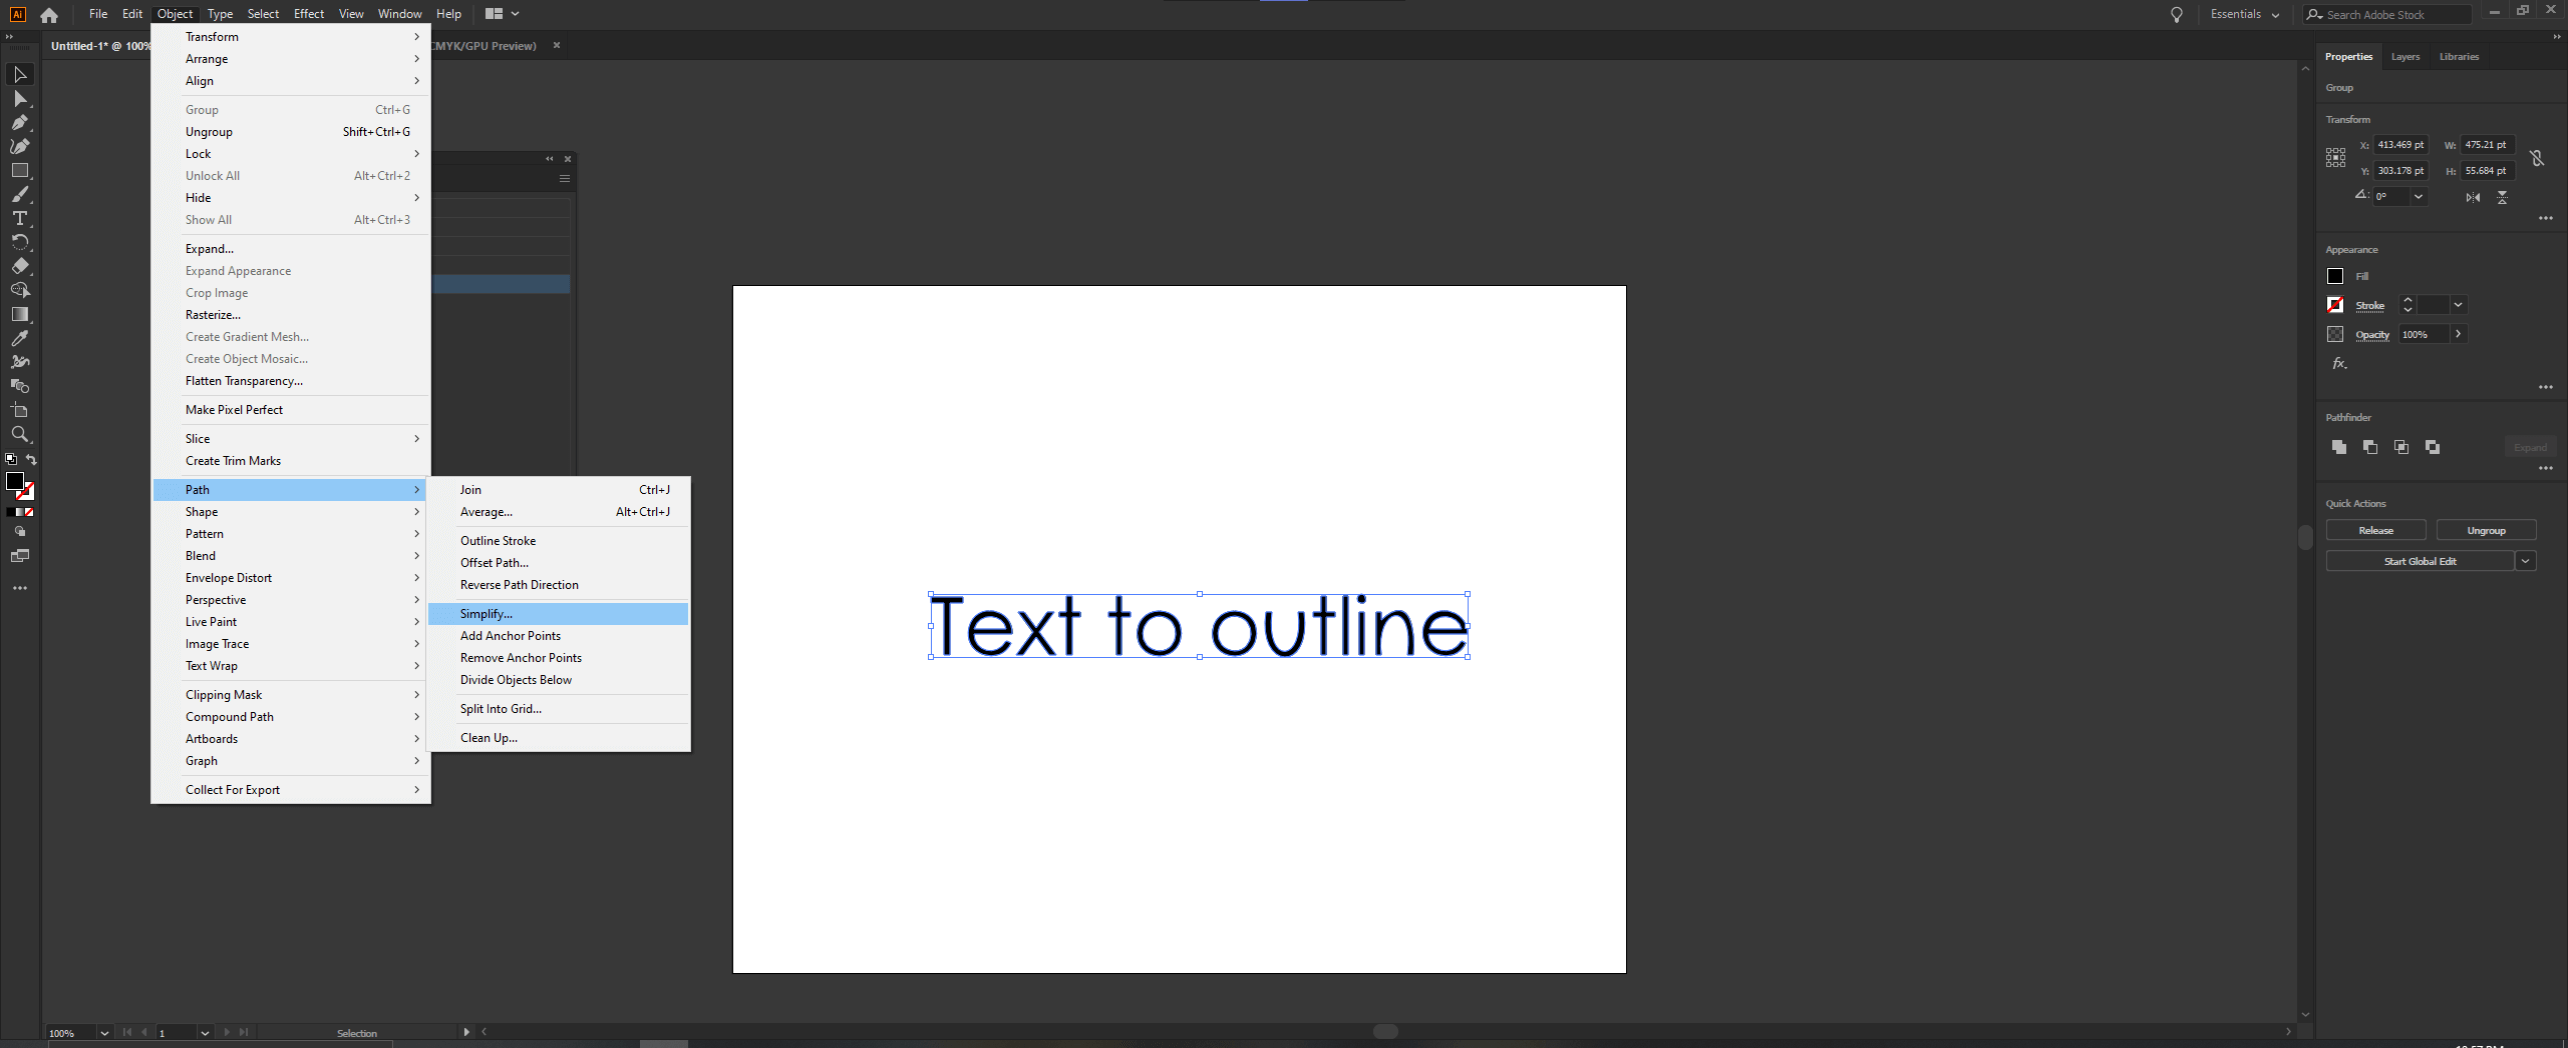
Once the outlines are created, we will simplify it so that the anchor points are reduced, reducing the processing power. For this we go to Object -> Path -> Simplify.
Step #28
This will simplify the path and also give a stylized effect. Then remember to stop the recording, which will end the action sequence.
Step #29
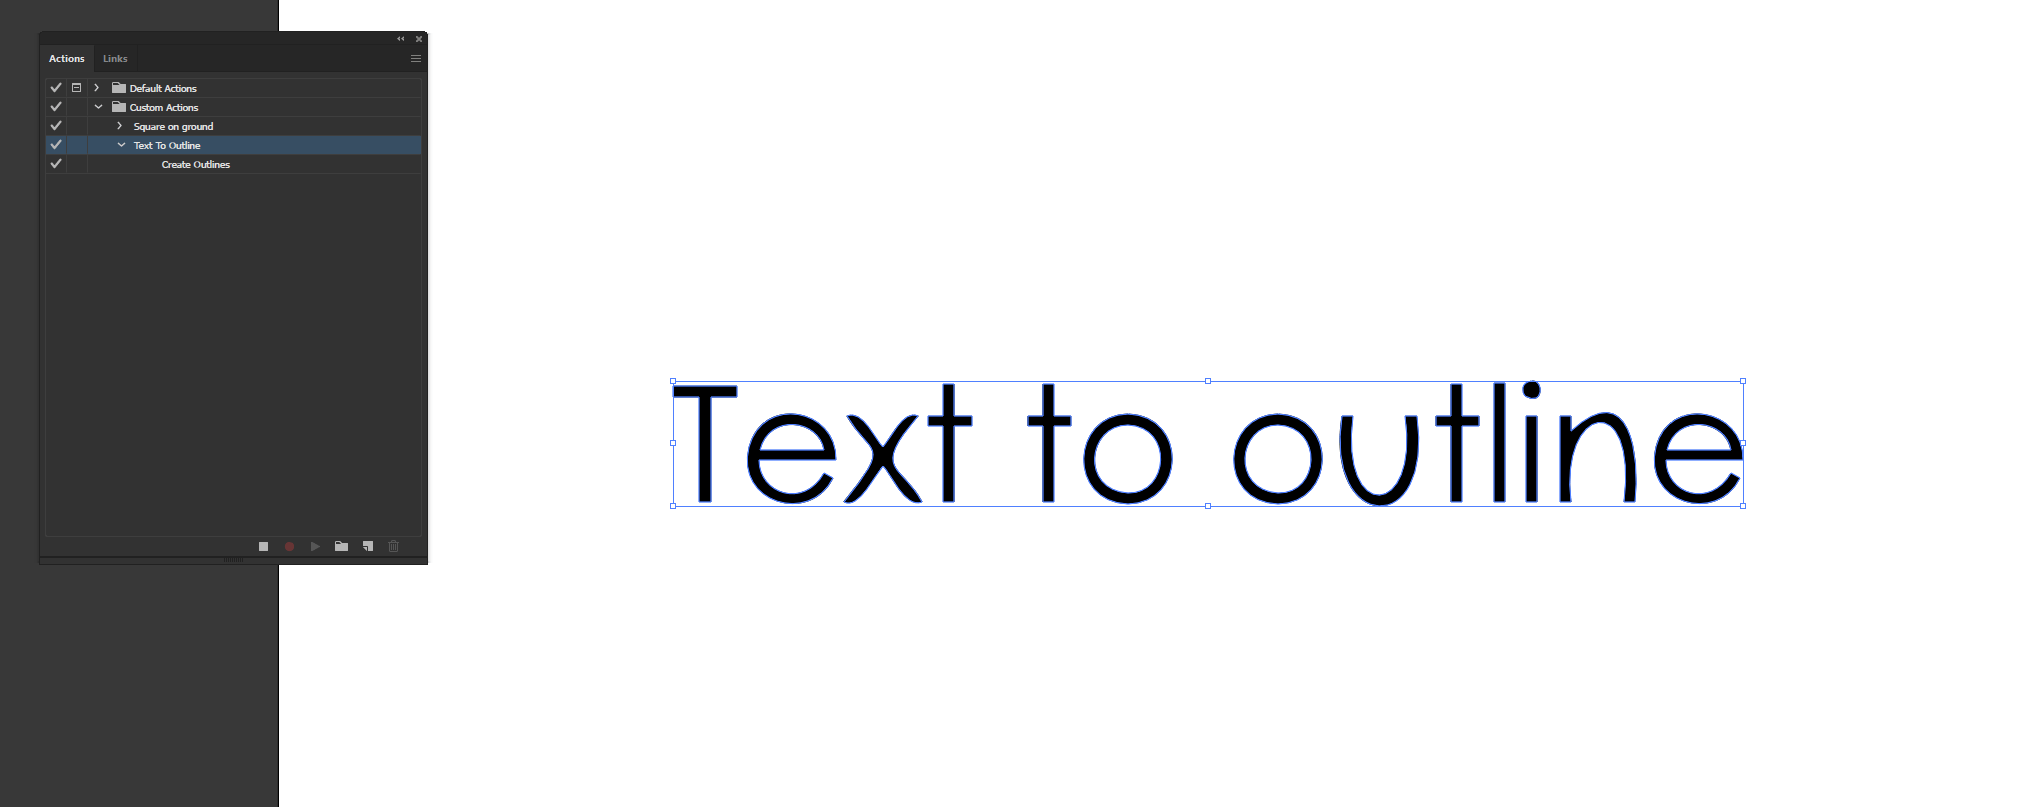
Then we create another text to check the action.
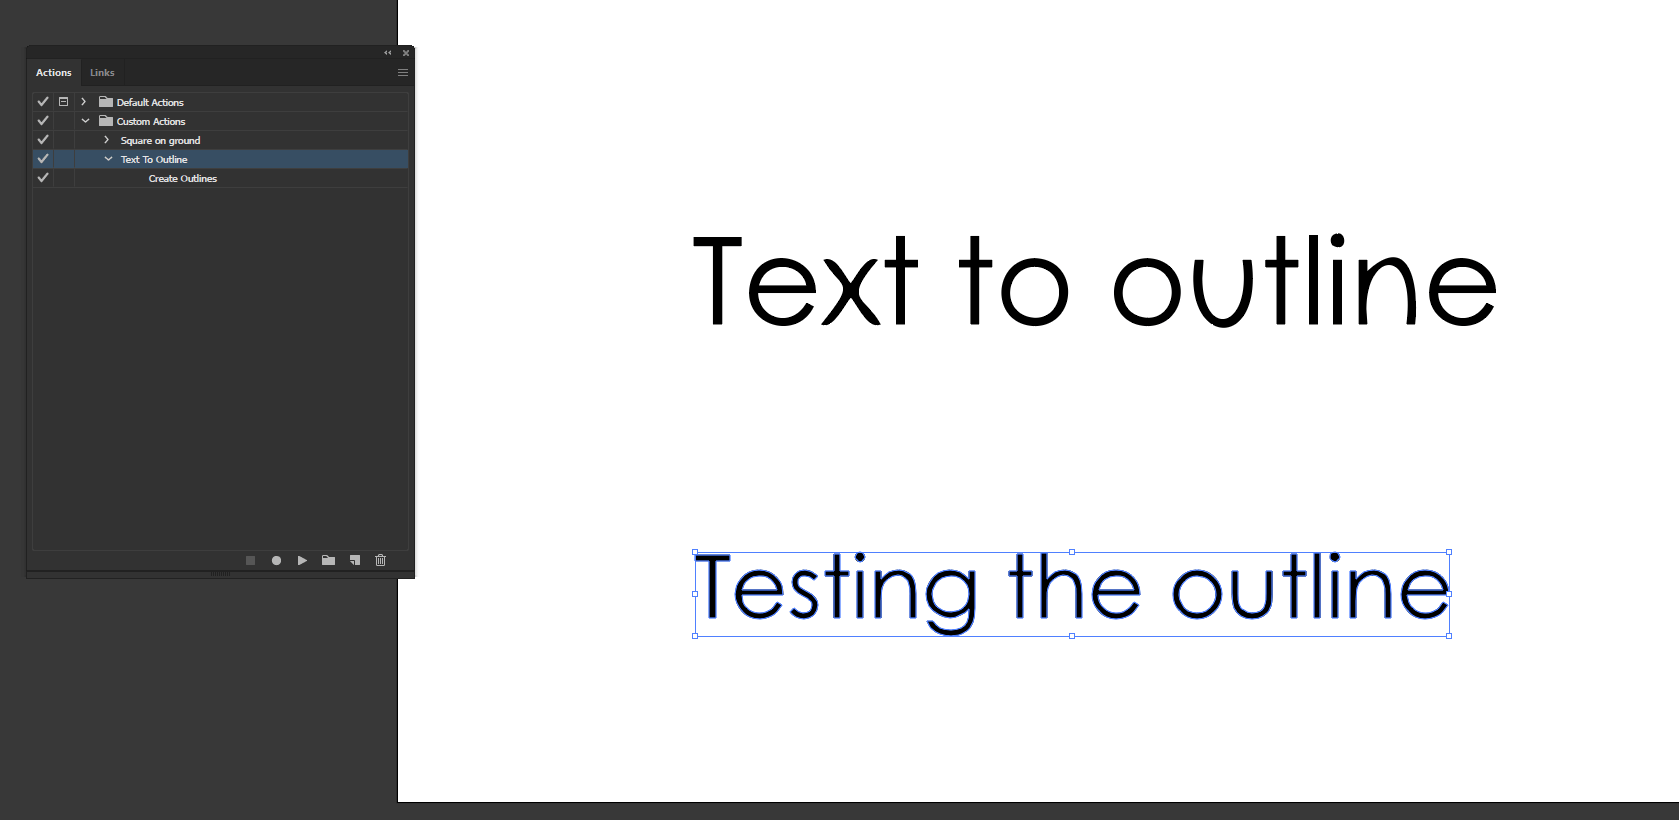
Step #30
Let’s look at the hamburger menu for the options of action. The first is Action Options.
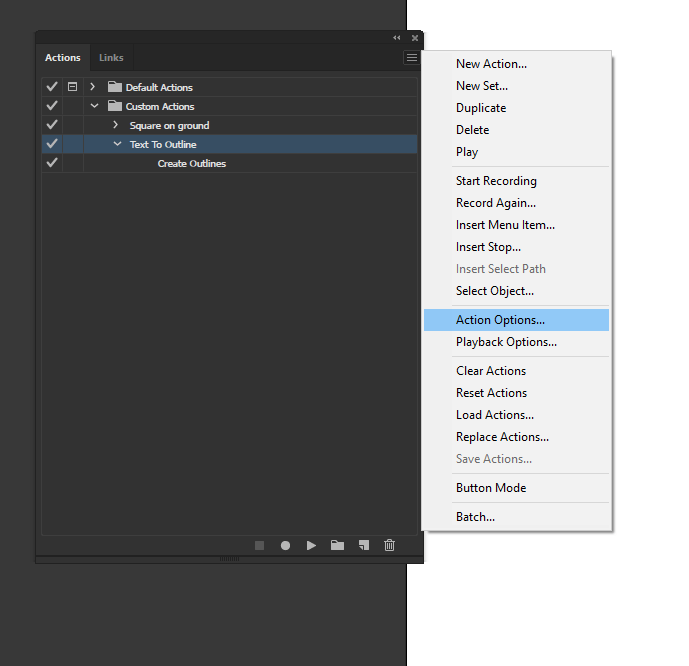
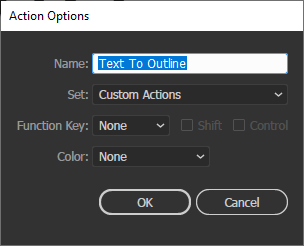
Step #31
You can edit the name and the set and also set the shortcut and label just as the time of creation.
Step #32
Next is playback options which will show how the actions should be carried out. In the Accelerated option, all steps will happen in one swoop, In step by step, it will show all the actions in step, and also, there is a pause for a custom number of seconds.

Step #33
There are also options to reset action to default state and load custom actions.
Conclusion
In this article, we have learned how to use default actions in Adobe Illustrator and how to record our custom action to suit our specific needs and speed our workflow and reduce the time for completing a sequence of tasks with actions.
Recommended Articles
This is a guide to Action in Illustrator. Here we discuss the Steps to Create Action in Illustrator and how to use default actions in Illustrator. You may also have a look at the following articles to learn more –
